How to Make Cloth Napkins — A Step-by-Step Beginner Sewing Tutorial
Some links in this post may be affiliate links. That means I might make a small commission on qualifying purchases if you click the link. There is no extra cost to you.
Learning how to make cloth napkins is one of the most rewarding beginner sewing projects you can start with — and after decades of sewing, it’s still one of my favorites to teach. There are no curves, no zippers, no intimidating techniques. Just fabric, an iron, and a sewing machine — and by the end of this tutorial you’ll have a finished set of cloth napkins with crisp, professional-looking hems that no one will believe you made yourself.
I’ll walk you through every step right here on the page and in the video tutorial below, including how to create mitered corners that give your napkins that polished, store-bought finish. Whether you’re picking up a sewing machine for the first time or just looking for a quick and satisfying project, this is exactly the right place to start.
If you’re not quite convinced to spend the time sewing napkins, please don’t leave. Let me convince you why you should learn to sew your own cloth napkins.
And before you go — grab my free Sew Like a Pro eBook. It covers the top 10 mistakes beginners make and how to avoid every single one of them.
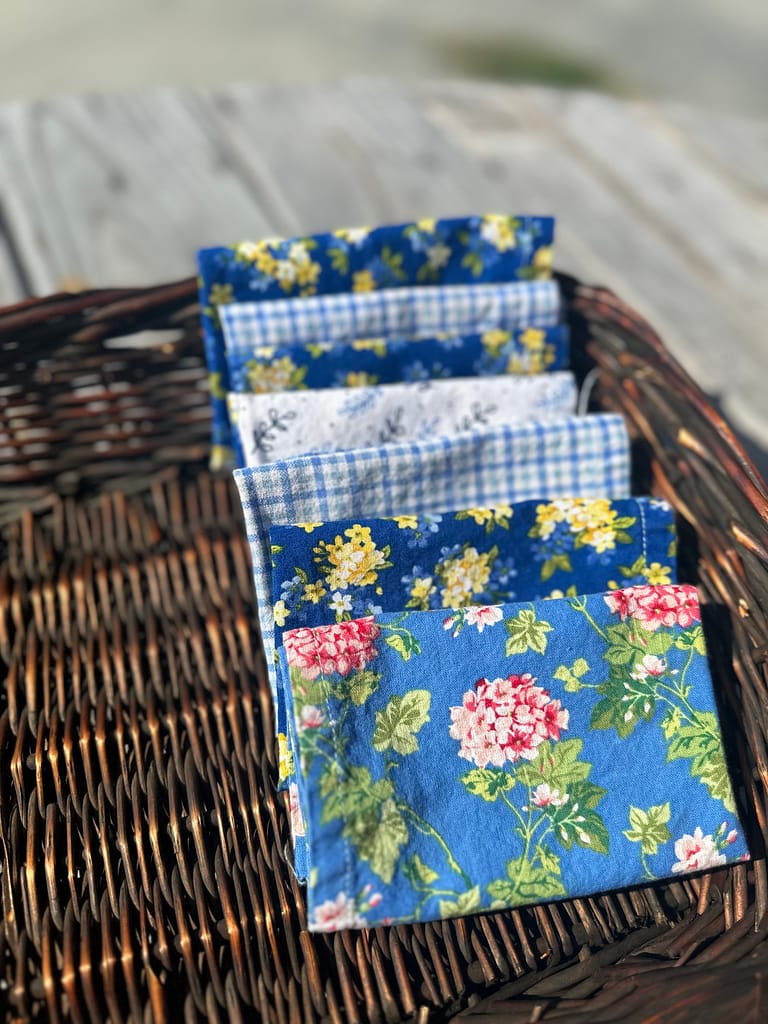
Table of contents
- What You’ll Need to Make Cloth Napkins
- Cloth Napkin Fabric Ideas — Find Your Perfect Style
- Classic & Timeless Fabric Choices
- Cozy & Seasonal Fabric Choices
- Bold & Playful Fabric Choices
- Where to Find Fabric for Your Cloth Napkins
- Watch the Full Cloth Napkin Tutorial
- How to Sew Cloth Napkins — Step by Step
- How to Get Perfectly Mitered Corners Every Time
- Tips for Sewing Cloth Napkins That Look Professional
- Creating A Handmade Home Brings Joy
- Frequently Asked Questions
- Printable How-To Card
- You’ll Also Love These Beginner Sewing Projects
What You’ll Need to Make Cloth Napkins
The supply list for this project is refreshingly short. New to sewing? Start with how to thread your sewing machine. Then, grab my free eBook full of beginner tips. Here’s everything you need before you sit down to sew:
- Fabric — quilting cotton, flannel, or linen (at least 1 yard; see size chart below)
- Coordinating thread
- Fabric scissors — sharp, dedicated to fabric only
- Sewing machine with a standard straight stitch foot
- Iron and ironing board — non-negotiable for crisp hems
- Hem guide — a strip of cardstock or manila folder (or print the free version in my guide)
- Ruler
- Rotary cutter and cutting mat (optional but makes cutting faster and more accurate)
- Clips or pins
- Paper scissors and cardstock or manila folder for the hem guide
How much fabric do you need?
| Finished Size | Cut Size (1/4″ hems) | Cut Size (1/2″ hems) | Napkins per Yard |
|---|---|---|---|
| 10″ | 10.5″ square | 11″ square | ~9 |
| 11″ | 12″ square | 13″ square | ~6–8 |
| 14″ | 15″ square | 16″ square | ~4 |
| 16″ | 17″ square | 18″ square | ~2–3 |
Follow my simple tutorial to learn how to make cloth napkins. Cloth napkins are a wonderful beginner project to help you get started on your sewing journey and create a cozy handmade home. I’ll walk you through step-by-step in this beginner sewing class. I’ll even teach you a simple technique to create mitered corners.
Cloth Napkin Fabric Ideas — Find Your Perfect Style
One of the most exciting parts of making your own cloth napkins is choosing the fabric. Unlike anything you’d find in a store, your napkins can match your kitchen perfectly, shift with the seasons, or reflect your own personal style.

Quilting cotton comes in thousands of prints — from delicate florals to bold geometrics to cozy plaids — and flannel adds a softness and warmth that makes everyday meals feel a little more special. Browse the inspiration gallery below to see how dramatically different the same simple napkin pattern looks depending on the fabric you choose, and let it spark some ideas for your own set.

Classic & Timeless Fabric Choices
Blue ticking stripe, natural linen, and white cotton with a simple border never go out of style. These fabrics work in any kitchen, complement any table setting, and look as beautiful the hundredth time you use them as they did the first. If you want napkins that feel elevated and intentional without being seasonal, this is your category.

Cozy & Seasonal Fabric Choices

Flannel plaids in warm earth tones, autumn leaf prints, and buffalo check are the fabrics that make a kitchen feel like the coziest room in the house from September through February. These are the napkins you reach for on soup nights, slow Saturday mornings, and holiday table settings. Choose a color palette that coordinates with your seasonal decor and you’ll find yourself setting the table just for the excuse to use them.
Bold & Playful Fabric Choices

Floral prints, novelty fabrics, vintage-inspired patterns, and bright solids are for the home that likes a little personality at the table. These are the napkins that start conversations, make kids smile, and turn an ordinary Tuesday dinner into something worth noticing. Fat quarter bundles are perfect for this style — you can mix five or six coordinating prints into one set and no two napkins will be alike.
Where to Find Fabric for Your Cloth Napkins
You don’t have to go far to find beautiful fabric for this project. Local quilt shops often carry the best selection of quilting cotton prints and are worth a visit if you want to feel the fabric before you buy. For online shopping, fat quarter bundles on Etsy and Amazon are an easy way to get a coordinated mix of prints without committing to full yardage.
Thrift stores and estate sales are wonderful sources for vintage cotton sheets and tablecloths that have just enough fabric left for a beautiful set of napkins — and the zero-waste angle makes them even better. Whatever you choose, hold it up to your kitchen cabinets or set it on your table before you cut — seeing it in your actual space tells you immediately whether it’s the right choice.
Watch the Full Cloth Napkin Tutorial
I walk through every step of this tutorial in the video below — including exactly how to press your hems, how to fold mitered corners, and my best tips for keeping your stitching straight and even. Watch alongside the written steps below, or come back to the video any time you need a visual reference for a specific step.
Don’t stop there: I’ve created a guide to help your sewing look more professional. Most beginners make the same mistakes out of ignorance and all of the handmade products look homemade-but in a bad way! Get my free Ebook to help learn how to avoid beginner mistakes!
Unfamiliar with any of these terms? My sewing glossary has you covered
How to Sew Cloth Napkins — Step by Step
Step 1: Pre-wash and press your fabric
Before you cut a single thing, wash and dry your fabric. Cotton and flannel both shrink, and pre-washing now means your finished napkins won’t pucker or warp the first time they go through the laundry. Press the fabric smooth with a hot iron before cutting.
Step 2: Cut your squares
Using your ruler and fabric scissors (or a rotary cutter and mat), cut your fabric into squares at your chosen cut size. Refer to the chart above.Your cut size is always larger than your finished size to account for the double-folded hem. Take your time here: square, accurate cuts make every step that follows easier.
Step 3: Make your hem guide
Cut a strip of cardstock or manila folder about 2 inches wide and 6 inches long. Draw parallel lines at 1/4″, 1/2″, 3/4″, and 1″ from one long edge. This is your hem guide. You’ll fold fabric over it and press directly on top of it, so it acts as a perfectly accurate template every single time. The free printable hem guide in my guide download saves you this step entirely.
Step 4: Press your first fold
Place your fabric wrong side up on the ironing board. Fold one edge over your hem guide to the total hem depth.For a 1/4″ finished hem, fold up 1/2″ total; for a 1/2″ finished hem, fold up 1″ total. Press firmly with a hot iron and let the fold cool before moving. Repeat on all four sides.
Step 5: Press your second fold
Open the fabric back out flat. Slide the hem guide in close to the raw edge and fold the raw edge over to the hem line — this tucks the raw edge completely inside the hem so no fraying is possible. Press again. You now have a clean, double-folded hem on all four sides.
Step 6: Mitered corners (optional but recommended)
Open each corner flat. Fold the corner point in diagonally so the point meets the intersection of your two pressed hem lines. Press that diagonal fold. Then refold both hem edges in on top of each other — the corner will lie flat with a clean diagonal seam and no bunched fabric. This is what separates handmade napkins that look professional from ones that look homemade. It takes an extra two minutes per corner and is absolutely worth it.
Step 7: Clip or pin your hems
Fold all four pressed hems back into place and secure with clips or pins. Check that your corners are sitting flat before you move to the machine.
Step 8: Sew your hems
Set your machine to a straight stitch at 2.5–2.8mm length. Sew close to the inner folded edge of the hem on each side, backstitching at the beginning and end. For corners, stop with the needle down, lift the presser foot, pivot the napkin, lower the foot, and continue. Sew all four sides and trim any thread tails.
Step 9: Press the finished napkin
Give the finished napkin one final press with a hot iron. This step is the difference between a napkin that looks handmade and one that looks like it came from a boutique. Press firmly, let it cool flat, and admire what you just made.
How to Get Perfectly Mitered Corners Every Time
Mitered corners intimidate a lot of beginners, but they’re actually quite simple once you understand what you’re trying to achieve — a flat, diagonal fold at each corner that eliminates bulk and creates a tailored finish. The key is pressing each fold in the correct order and not skipping the diagonal crease step.
If your corner is bunching or not lying flat, the most common cause is that the diagonal fold wasn’t pressed far enough in — the corner point needs to meet exactly where your two hem lines intersect. Take your seam ripper, open the corner back up, and try again. It’s worth it every time.
For a visual walkthrough of exactly how I fold and press mitered corners, check out my tutorial video where I demonstrate this step in real time.
Tips for Sewing Cloth Napkins That Look Professional
After teaching sewing for years, I see the same beginner mistakes over and over — and none of them are your fault. Nobody tells you these things when you’re starting out.
Here are the ones that matter most for this project: never skip the pressing between steps, because the iron is doing half the work your machine does. Always press before you sew, not after.
Create a Hem Guide with my Free Printable
Use a seam guide or a strip of masking tape on your machine’s throat plate to keep your stitching line perfectly parallel to the hem edge — even a small waver is visible on a finished napkin. And cut your fabric on grain — look for the straight line of the weave and cut along it, not just eyeballing a straight line.
These three habits alone will make your napkins look like they came from a skilled seamstress. For the full list of my top 10 beginner sewing tips, grab the free Sew Like a Pro eBook below.
Creating A Handmade Home Brings Joy
Making your own cloth napkins will bring you immense satisfaction as you use theme to create a cozy atmosphere in your home. A handmade home gives off the impression that you’ve lovingly spent time and consideration to make everyone fell comfy and welcome within your walls. Add a pop of color or seasonal flair to your kitchen and dining room. With my guidance, no one will believe that you are a beginner sewist!
Now set the table and bake something delicious to go with your new napkins.
Frequently Asked Questions
Quilting cotton is the best starting fabric for beginners — it’s stable, easy to cut, presses beautifully, and comes in thousands of prints. Flannel is a cozy alternative with a slightly softer hand.
No — a properly sewn double-folded hem tucks the raw edge completely inside the fold before sewing, which prevents fraying without any serging at all.
A standard straight stitch at 2.5–2.8mm is ideal for cloth napkins.
Technically yes — hand stitching a hem is possible — but a sewing machine makes this project dramatically faster and the result more durable. If you have access to a machine, use it. Cloth napkins are also an excellent project to try on a borrowed machine before investing in your own.
Machine wash in cold water and tumble dry on low. Avoid high heat, which can cause cotton to shrink unevenly over time. Pull them out of the dryer slightly damp and press with a hot iron while still warm — they’ll lie perfectly flat. With basic care, well-sewn cloth napkins last for years, even decades.
Once you have your fabric cut and pressed, most beginners sew one napkin in about 20–30 minutes. By the time you’ve made four, you’ll be moving much faster. Batch the steps — cut all squares first, press all hems next, then sew all four at the machine — and a set of four takes about 2 hours start to finish, including the video tutorial.
Printable How-To Card

How to Sew Cloth Napkins
Equipment
- 1 iron
Materials
- 1 yard quilting cotton
- 1 spool coordinating or contrasting thread
- 1 piece cardstock for my hem guide
Instructions
Step 1: Pre-wash and press your fabric
- Before you cut a single thing, wash and dry your fabric. Cotton and flannel both shrink, and pre-washing now means your finished napkins won’t pucker or warp the first time they go through the laundry. Press the fabric smooth with a hot iron before cutting.
Step 2: Cut your squares
- Using your ruler and fabric scissors (or a rotary cutter and mat), cut your fabric into squares at your chosen cut size. Refer to the chart above — your cut size is always larger than your finished size to account for the double-folded hem. Take your time here: square, accurate cuts make every step that follows easier.
Step 3: Make your hem guide
- Cut a strip of cardstock or manila folder about 2 inches wide and 6 inches long. Draw parallel lines at 1/4″, 1/2″, 3/4″, and 1″ from one long edge. This is your hem guide — you’ll fold fabric over it and press directly on top of it, so it acts as a perfectly accurate template every single time. The free printable hem guide in my guide download saves you this step entirely.
Step 4: Press your first fold
- Place your fabric wrong side up on the ironing board. Fold one edge over your hem guide to the total hem depth — for a 1/4″ finished hem, fold up 1/2″ total; for a 1/2″ finished hem, fold up 1″ total. Press firmly with a hot iron and let the fold cool before moving. Repeat on all four sides.
Step 5: Press your second fold
- Open the fabric back out flat. Slide the hem guide in close to the raw edge and fold the raw edge over to the hem line — this tucks the raw edge completely inside the hem so no fraying is possible. Press again. You now have a clean, double-folded hem on all four sides.
Step 6: Mitered corners (optional but recommended)
- Open each corner flat. Fold the corner point in diagonally so the point meets the intersection of your two pressed hem lines. Press that diagonal fold. Then refold both hem edges in on top of each other — the corner will lie flat with a clean diagonal seam and no bunched fabric. This is what separates handmade napkins that look professional from ones that look homemade. It takes an extra two minutes per corner and is absolutely worth it.
Step 7: Clip or pin your hems
- Fold all four pressed hems back into place and secure with clips or pins. Check that your corners are sitting flat before you move to the machine.
Step 8: Sew your hems
- Set your machine to a straight stitch at 2.5–2.8mm length. Sew close to the inner folded edge of the hem on each side, backstitching at the beginning and end. For corners, stop with the needle down, lift the presser foot, pivot the napkin, lower the foot, and continue. Sew all four sides and trim any thread tails.
Step 9: Press the finished napkin
- Give the finished napkin one final press with a hot iron. This step is the difference between a napkin that looks handmade and one that looks like it came from a boutique. Press firmly, let it cool flat, and admire what you just made.
Notes
- 10″ finished napkin → cut 10.5″ (1/4″ hems) or 11″ (1/2″ hems) → ~9 per yard
- 11″ finished napkin → cut 12″ (1/4″ hems) or 13″ (1/2″ hems) → ~6–8 per yard
- 14″ finished napkin → cut 15″ (1/4″ hems) or 16″ (1/2″ hems) → ~4 per yard
- 16″ finished napkin → cut 17″ (1/4″ hems) or 18″ (1/2″ hems) → ~2–3 per yard
I found everything I need. Here’s your complete “You’ll Also Love” section with real links pulled directly from your site:
You’ll Also Love These Beginner Sewing Projects
Now that you know how to make cloth napkins, you’re ready for whatever comes next. Here are a few more beginner-friendly tutorials from the Plain Living Home sewing library — each one builds on the skills you just practiced and makes a beautiful addition to a handmade home.
🧵 How to Thread a Sewing Machine — A Beginner’s Tutorial The perfect starting point if you’re brand new to the machine. Learn every part of the threading path and why it matters before you sew a single stitch.
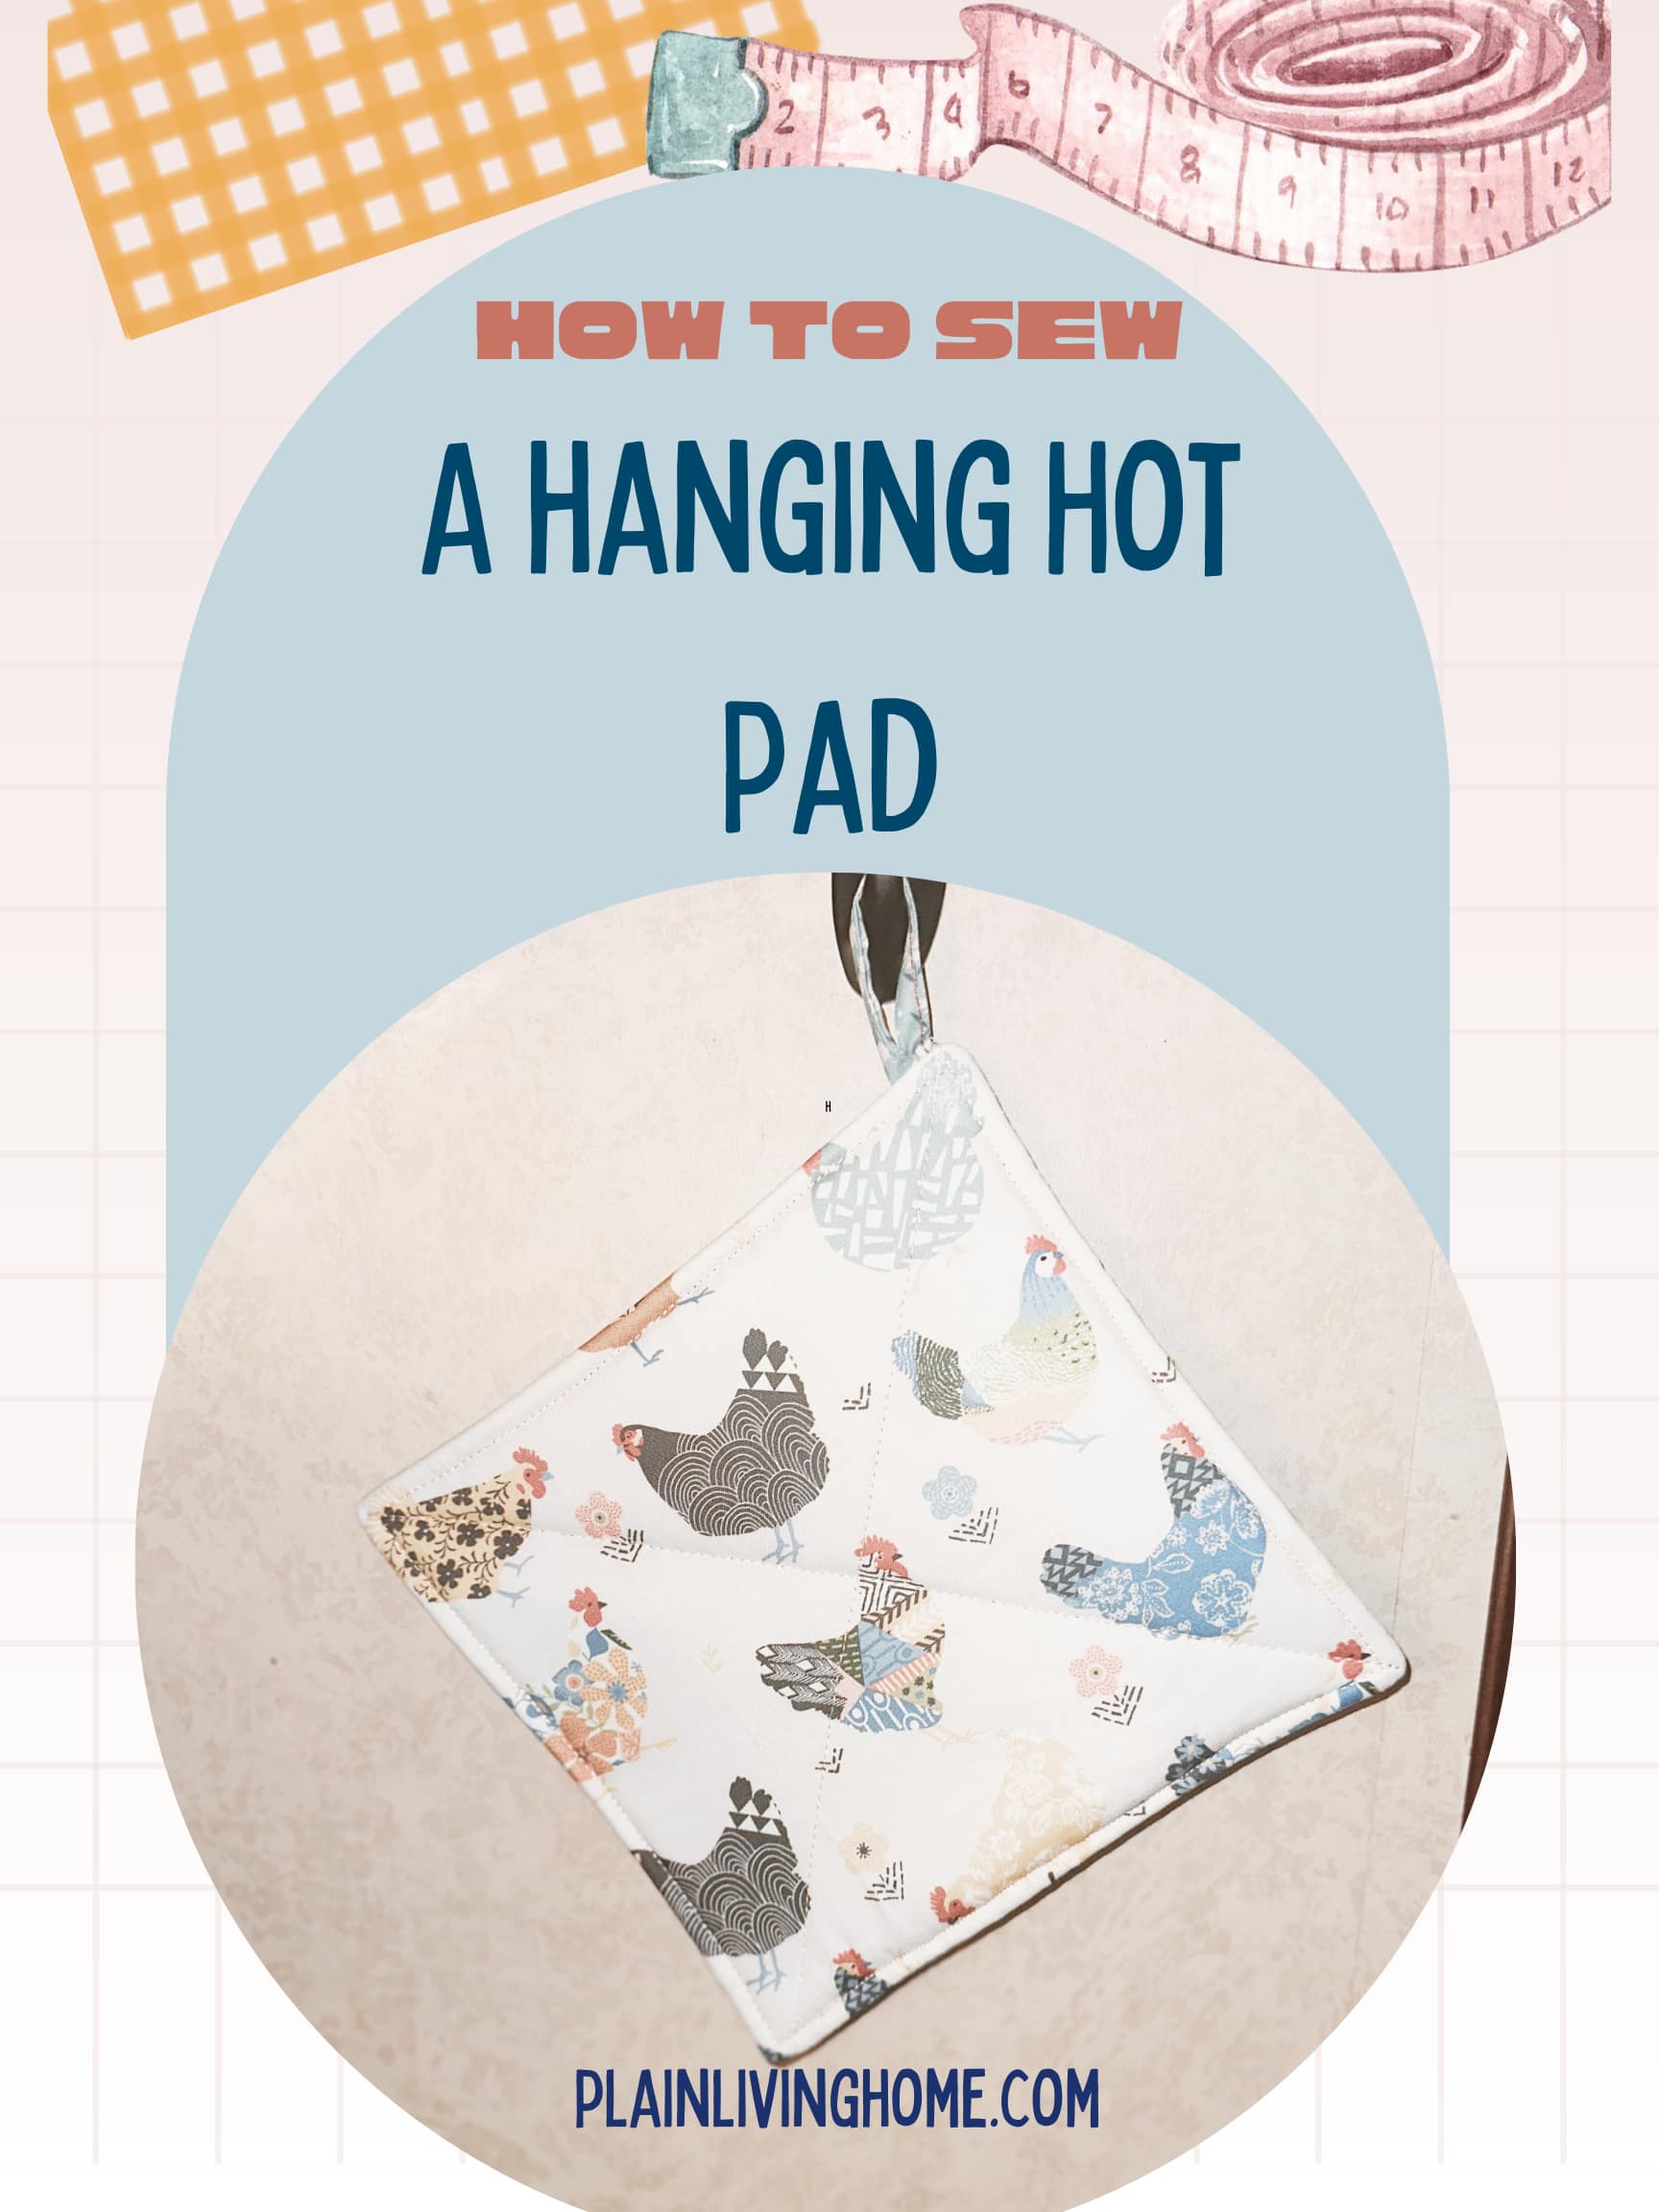
🧵 How to Sew a Simple 8.5″ Hot Pad — Beginner Sewing Tutorial The perfect project to sew right after your napkins — same straight-stitch skills, same fabric, totally different result. Great for gifts, great for your kitchen.
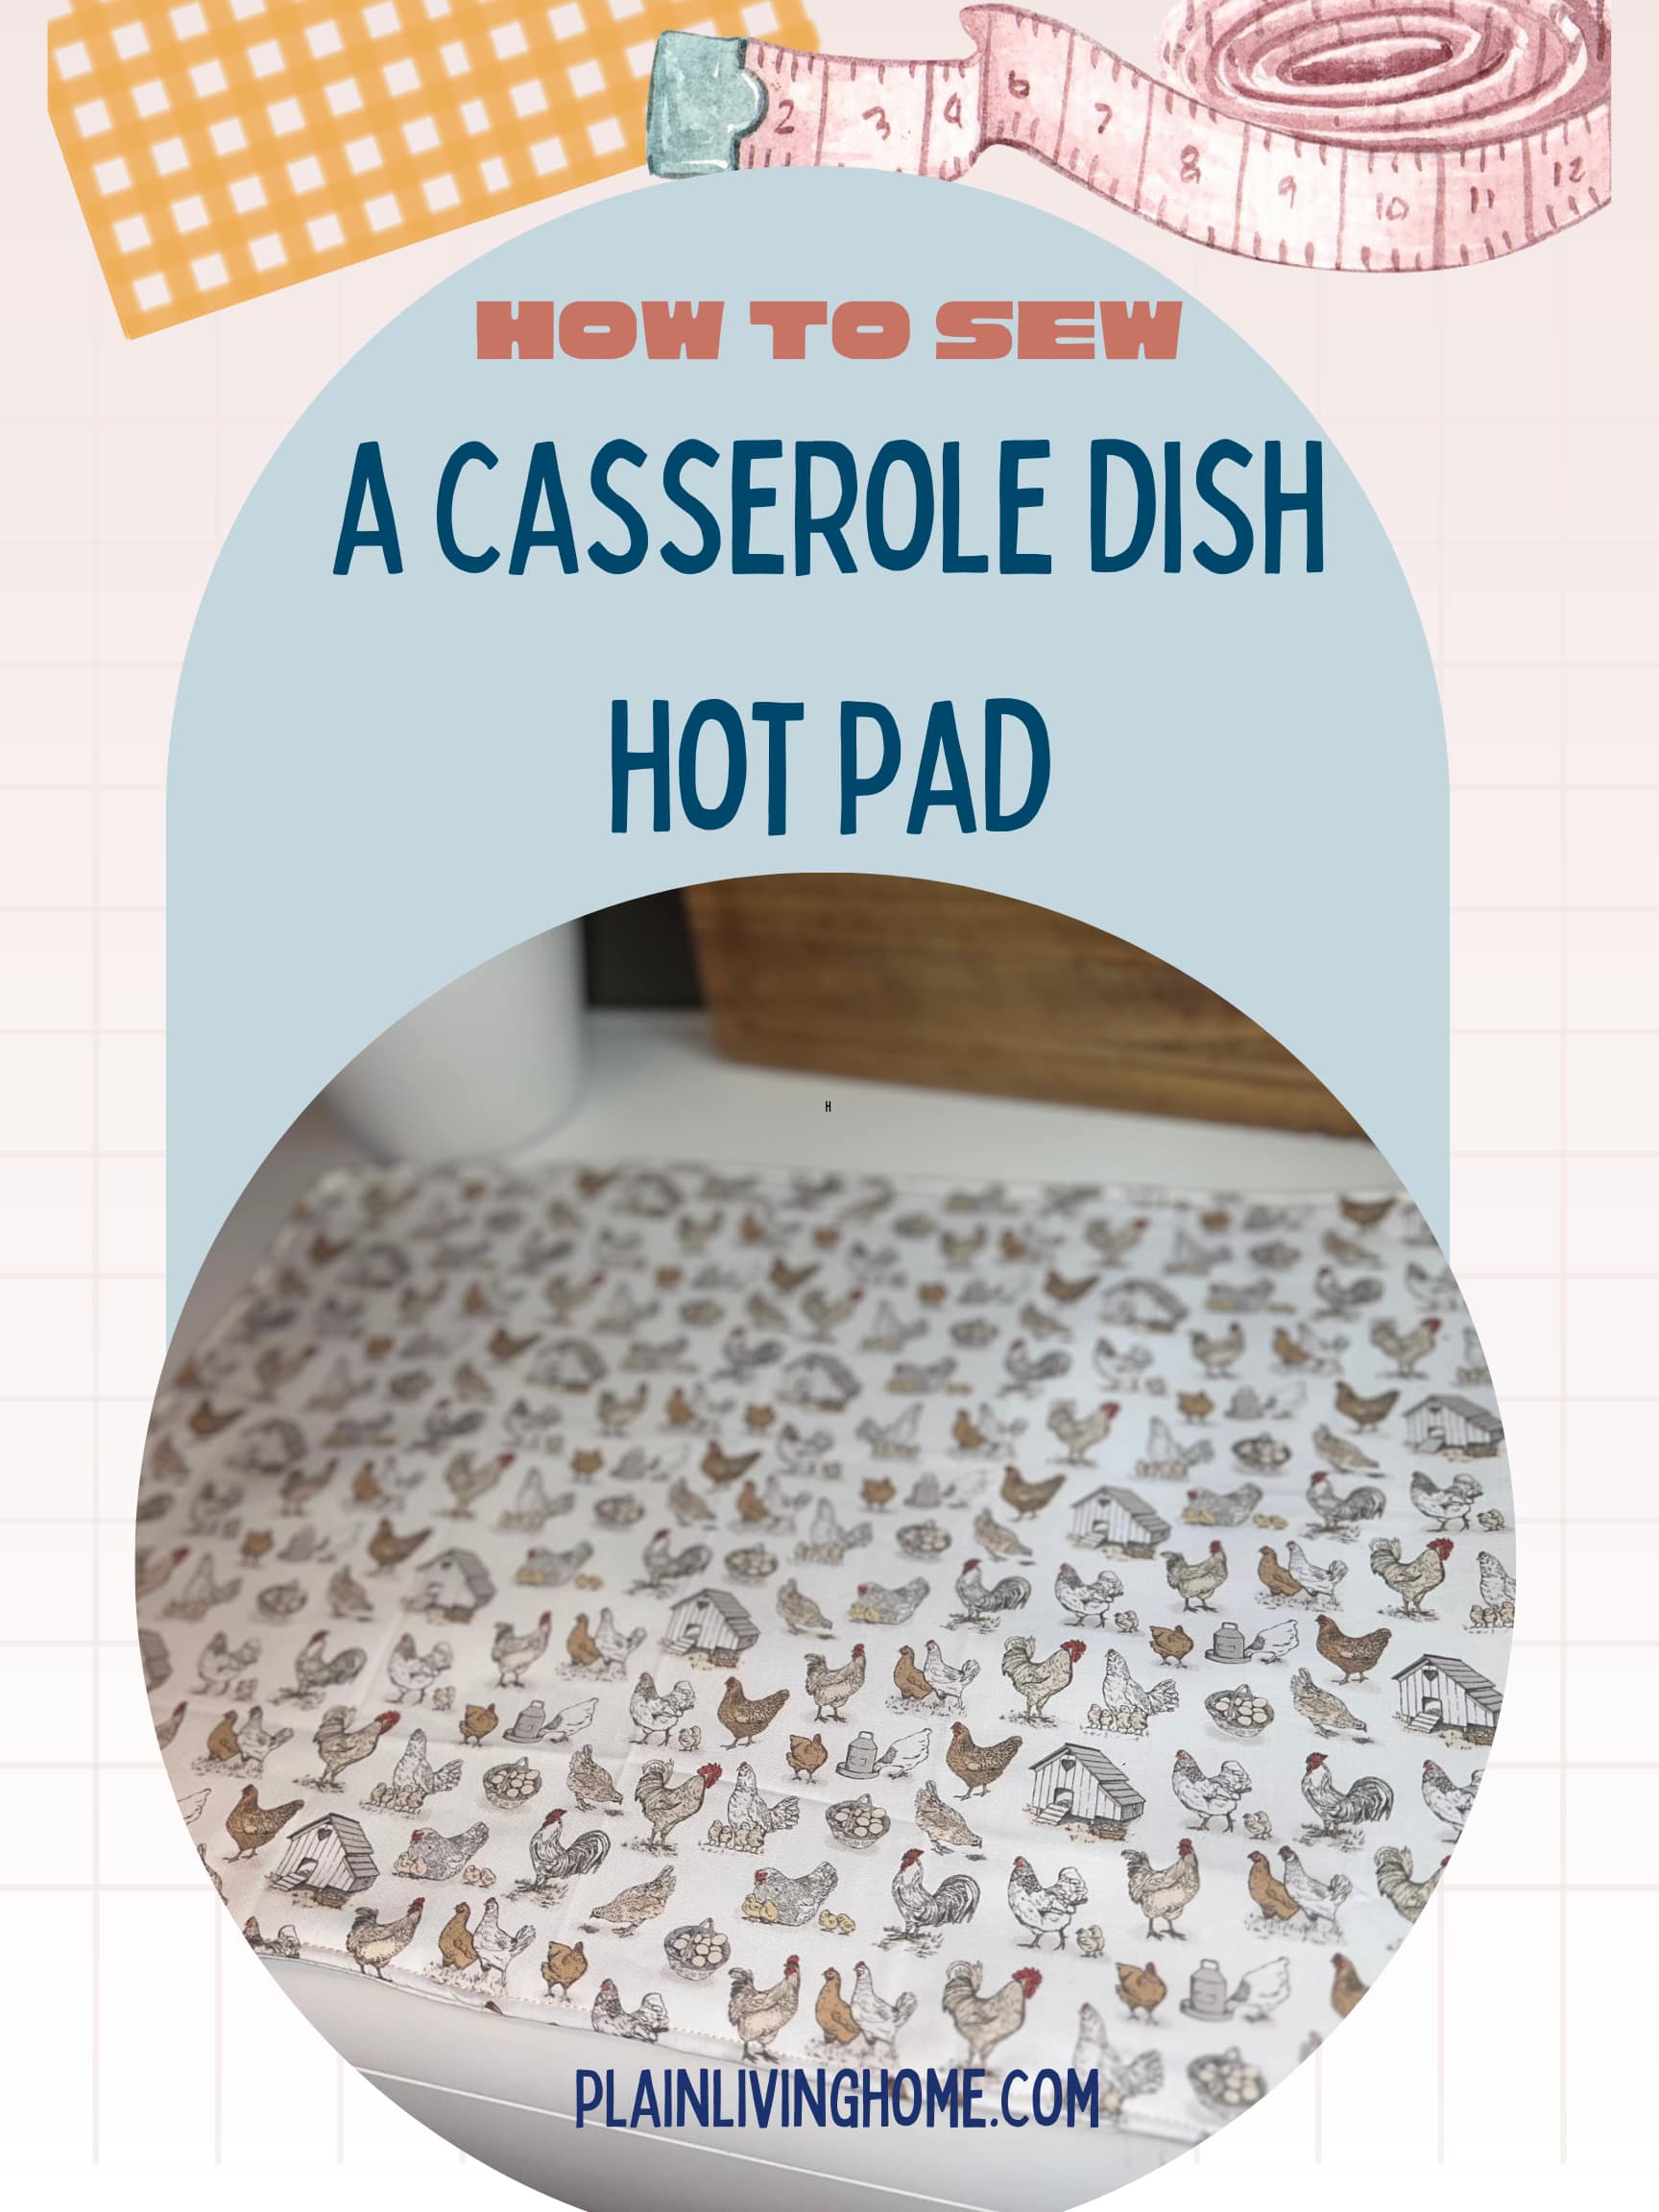
🧵 How to Sew a Casserole Dish Hot Pad — Beginner Friendly Tutorial Level up the basic hot pad into a 13″ x 18″ casserole-sized version with rounded corners. A stunning handmade gift for any home cook.
🧵 How to Sew a Half Apron or Waist Apron A quick, beginner-friendly apron with pockets and a clever hook loop detail you won’t find in other tutorials. Make one for yourself or a friend in an afternoon.
🧵 How to Sew Reusable Cotton Jar and Bowl Covers A fun eco-friendly project that uses up your fabric scraps. Match them to your cloth napkins for a coordinated, handmade kitchen set.
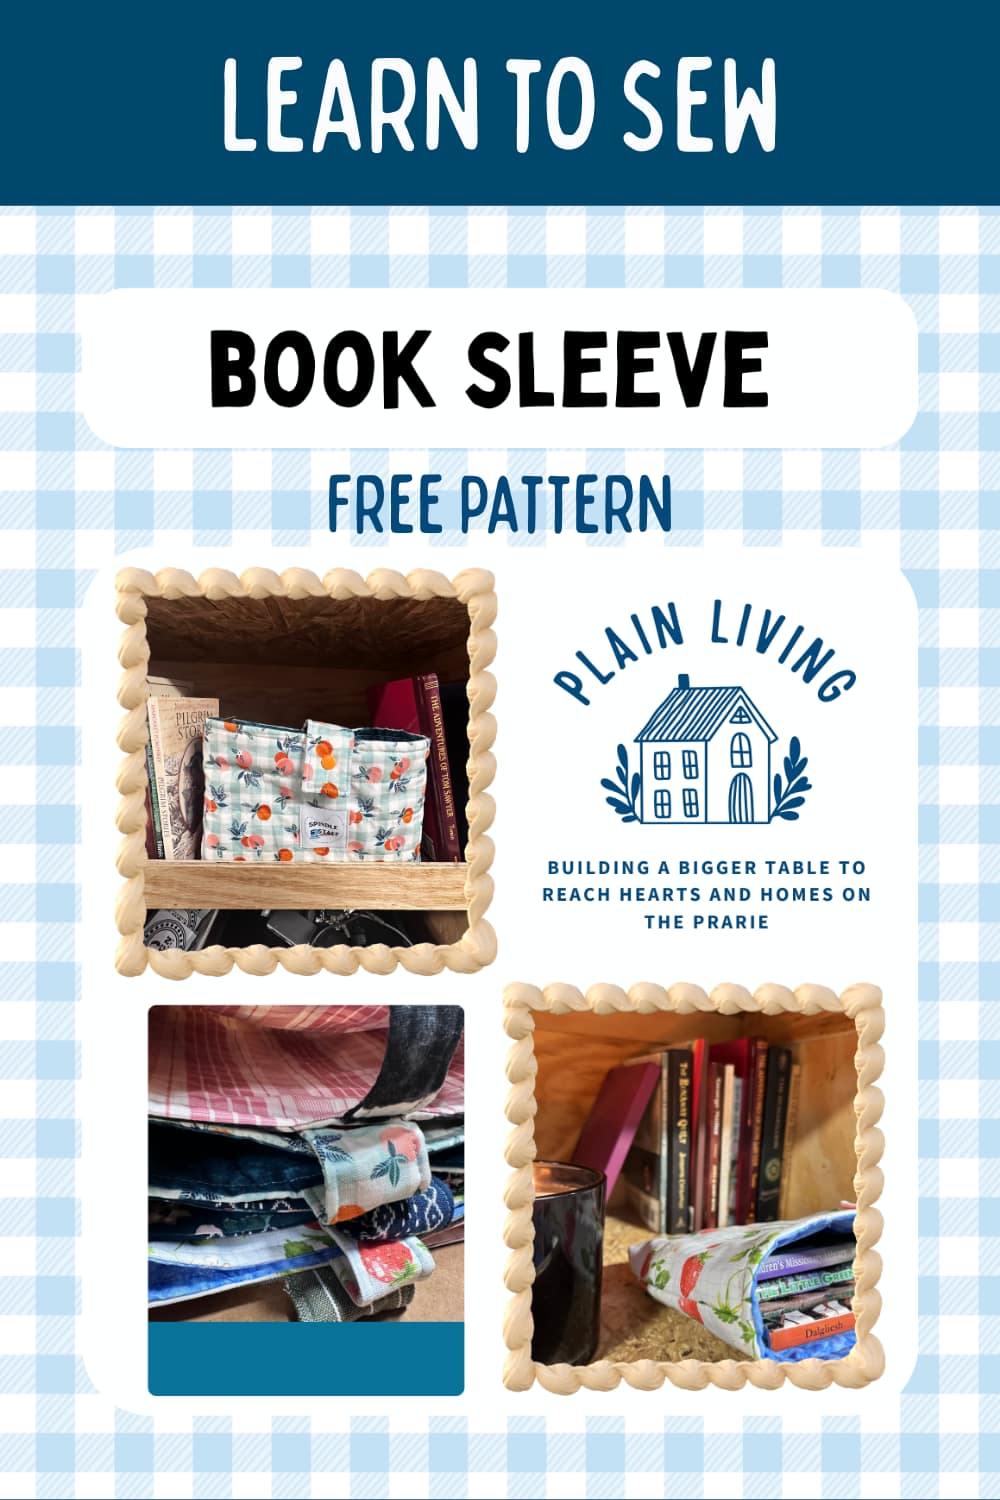
🧵 How to Sew a Book Sleeve — Beginner Friendly & Perfect for Gifts Once you’ve mastered straight lines and pressed hems, this is your next satisfying project. A padded book sleeve makes a beautiful gift for readers, students, and homeschool families.
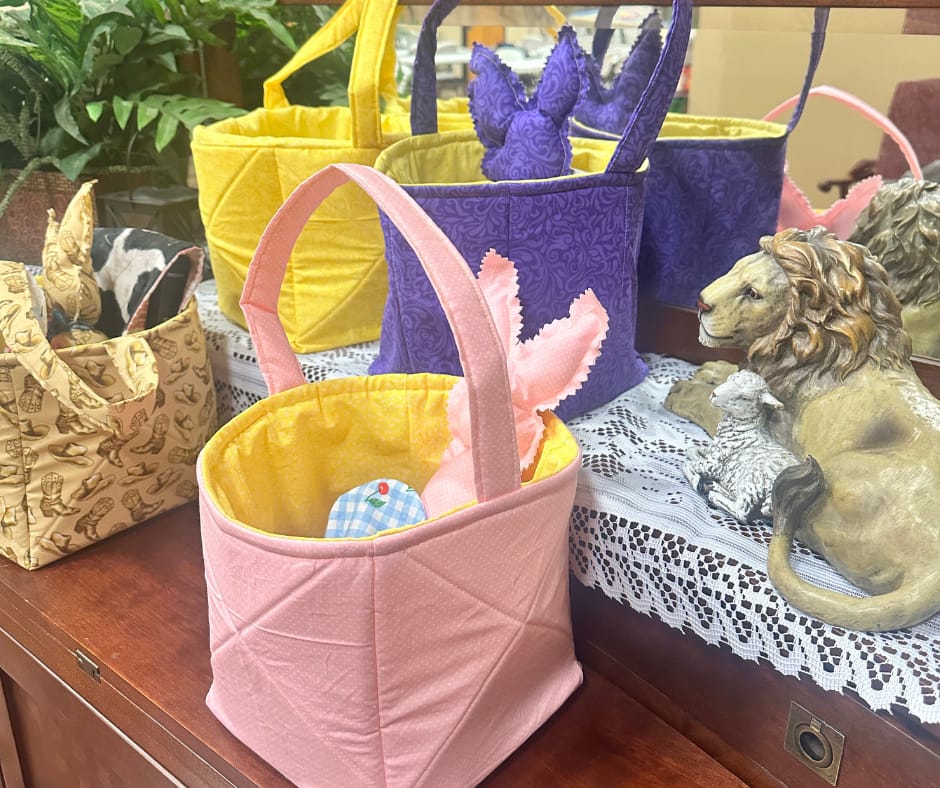
🧵 How to Sew a Quilted Fabric Basket With Handles Ready for a little more of a challenge? This quilted fabric basket with handles is still beginner-friendly but introduces you to working with batting and multiple fabric layers.