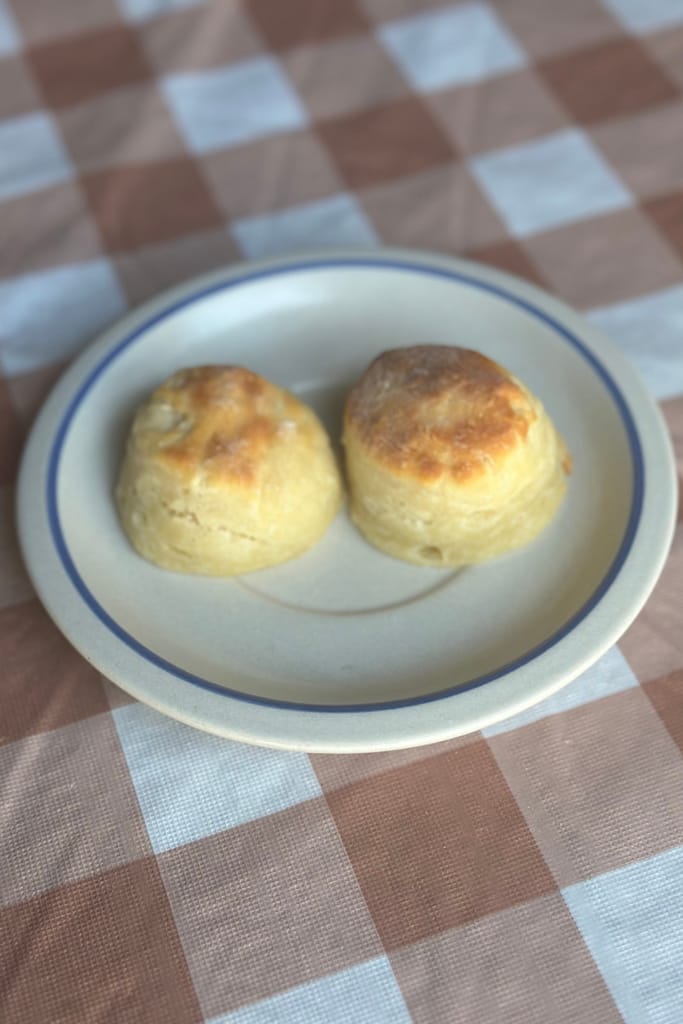
Bake Flaky, Buttery Sourdough Biscuits with this easy recipe
Some links in this post may be affiliate links. That means I might make a small commission on qualifying purchases if you click the link. There is no extra cost to you.
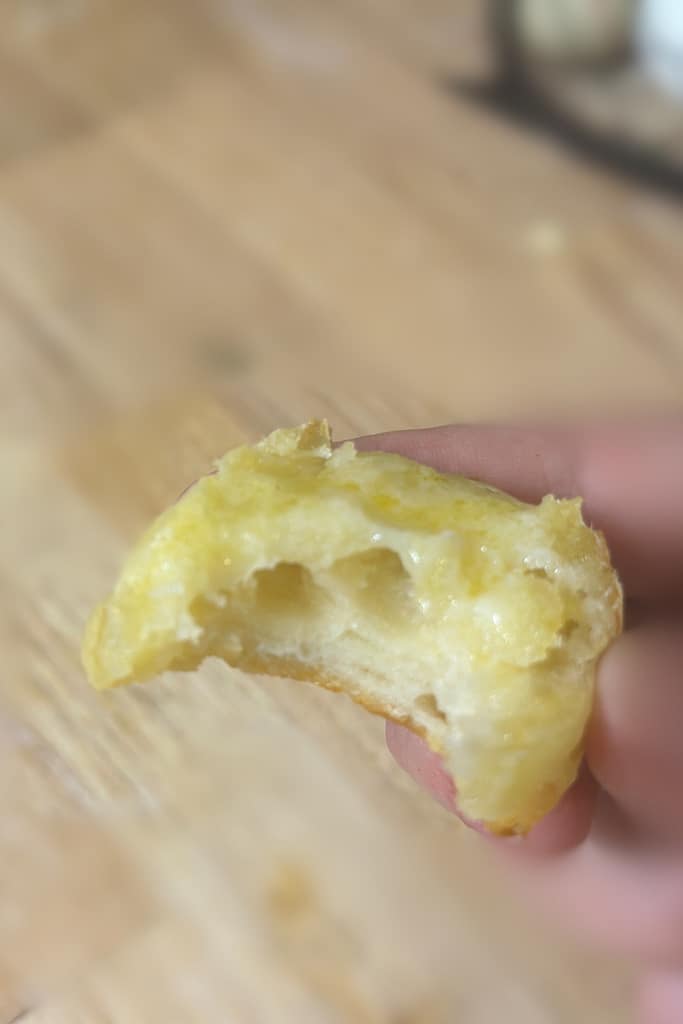
This simple recipe for sourdough biscuits will blow you away! It is so much easier than you imagine. Biscuits work great with active starter or discard. The sourdough gives them a delicious, tangy flavor. With cold butter and a little bit of time, your biscuits will turn out flaky, tender, and delectable.
For everything you need to master sourdough — starter care, hydration, discard recipes, and troubleshooting — see our Complete Sourdough Baking Guide.

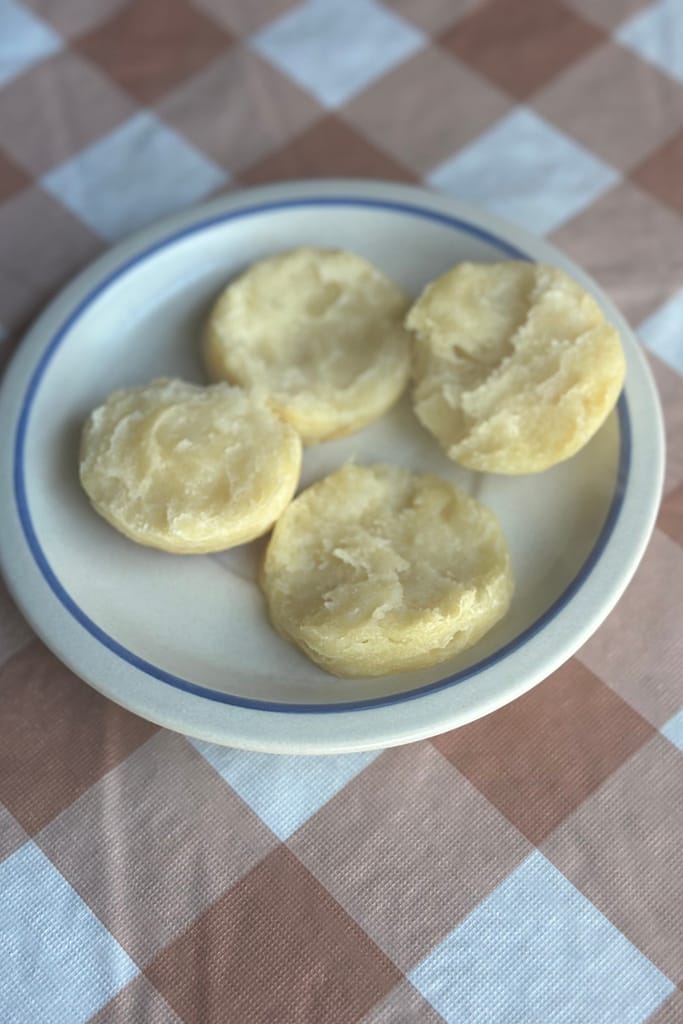
Flaky, buttery biscuits make the perfect accompaniment for almost any meal. You can top with butter and jam or gravy. You can make garlic butter to drizzle over the top.
Biscuits can even make a delicious topping to something like chicken pot pie. They’re already amazing, just the way they are. This recipe takes a regular biscuits and makes it incredible! The simple addition of sourdough starter and the time to ferment makes these biscuits develop an amazing flavor AND adds nutritional benefits! Try my flaky sourdough biscuits recipe today.
Table of contents
Why You’ll Love This Sourdough Biscuits Recipe
These aren’t your average drop biscuits. The overnight fermentation does two things that a standard recipe simply can’t: it develops a deep, tangy flavor that makes each bite taste complex and bakery-worthy, and it breaks down the phytic acid in the flour, making the biscuits significantly easier to digest.

If you’ve ever wondered why homemade biscuits from scratch taste flat compared to what you remember from grandma’s kitchen, fermentation is the missing secret. Best of all, the hands-on time is minimal — you mix the dough in about ten minutes, let time do the rest, and bake fresh biscuits whenever you’re ready.
Ingredients for Sourdough Biscuits
The ingredients for sourdough biscuits are pretty simple. If you’re already a biscuit pro, just add in a half cup of starter and let it ferment on counter for 8+ hours. No special adjustments, no special techniques. If you’re not used to making biscuits, or need specific measurements, here’s what you’ll need:
- flour ( I use organic unbleached all purpose)
- baking powder
- salt ( we use Redmon’s or Celtic sea salt)
- butter (make sure it’s cold)
- milk (you can use almost any dairy product in a pinch, but try milk or half n half)
- sourdough starter (this can be active or discard)

How to make Sourdough Biscuits
When you first mix your dry ingredients togethers, whisk them thoroughly. If your’e not careful, you can leave a clump of baking powder. Nobody wants to bite into a clump of baking power – ask me how I know. After whisking well, cut the COLD butter into the flour. You can use your hands, but be cautious not to melt the butter.

Ferment the Biscuit Dough
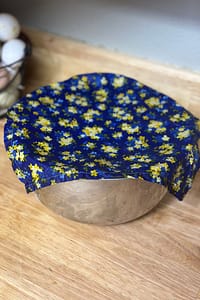
This biscuit dough will be wet and a little bit of a mess. That’s to be expected. Mix it well and cover the bowl with a damp towel. Leave it on the counter 8+ hours or overnight in the fridge.
Fermenting sourdough can help to break down phytic acid which makes the biscuits more digestible. The flavors of the unbleached flour will develop into a deep, rich, multi-faceted flavor!
If you love working with sourdough, don’t miss my complete guide to sourdough starter — everything you need to keep a healthy, active starter going year-round.
Love working with sourdough dough? Try my sourdough pie crust next.
How to Shape and Bake Sourdough Biscuits
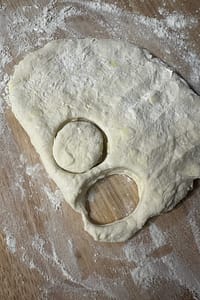
Once your dough has fermented, lightly flour your work surface and turn the dough out gently — resist the urge to overwork it, because every extra fold toughens the gluten and reduces flakiness.

Pat the dough to about 3/4-inch thickness and cut straight down with a sharp biscuit cutter or the rim of a floured glass. Do not twist the cutter as you press — twisting seals the edges and prevents the biscuits from rising tall.
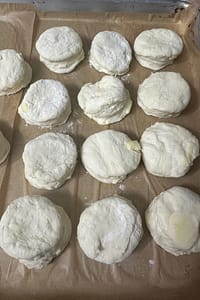
Place them on a parchment-lined baking sheet with the edges just touching for soft sides, or spaced apart for crispier edges. Bake at 425°F for 12–15 minutes until the tops are golden and the layers are pulling apart.

If you love the biscuits, you’ll absolutely adore my sourdough cheddar bay biscuits! Think Red Lobster, but healthy!
Tips for the Flakiest Sourdough Biscuits Every Time
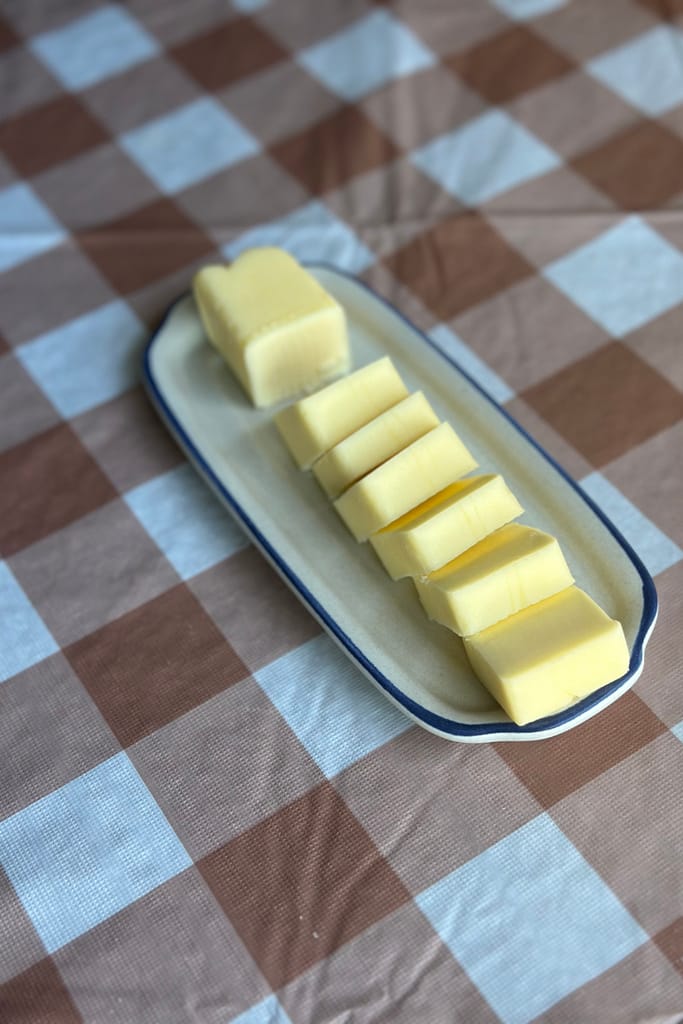
Cold butter is non-negotiable. The steam from cold butter hitting a hot oven is what creates those distinct, pull-apart layers. If your kitchen runs warm, pop the cut butter in the freezer for 10 minutes before you use it.
Your sourdough starter can be active and bubbly or unfed discard — both work beautifully here, though active starter gives a slightly more pronounced tang.
If you’re using discard straight from the fridge, let it come to room temperature before mixing so it incorporates evenly. Finally, resist overbaking: pull the biscuits when they are just golden, not deep brown, to keep the interior tender and moist.

Southern Sourdough Layered Biscuits
Equipment
- 1 bowl
- 1 cast iron skillet or sheet pan
- 1 patry cutter
- 1 stirring utensil
- 1 biscuit cutter, jar lid ring, etc to cut biscuits
Ingredients
- 2 Cups unbleached all purpose flour
- 1 tsp baking powder
- 1 tsp salt
- 6 Tbs cold butter
- 3/4 C milk, buttermilk, or half n half
- 1/2 C sourdough starter can be active or discard
- 1/3 C melted butter for brushing top of biscuits
Instructions
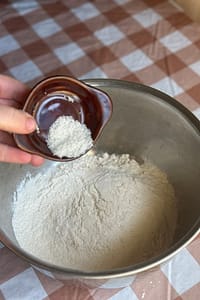
- Mix the flour, baking powder and salt in a large bowl. Which together to evenly distribute the baking powder. No one wants a mouthful of baking powder.
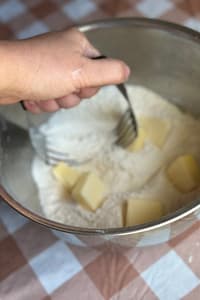
- Add the cold butter and cut it into the flour with the pastry cutter. You can use your hands to blend the butter by squeezing the flour into each chunk of butter. Be careful not to handle the butter too much.
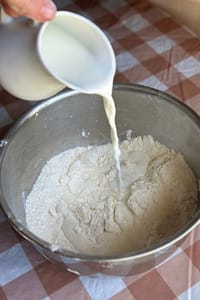
- Stir in the milk until all flour is wet.
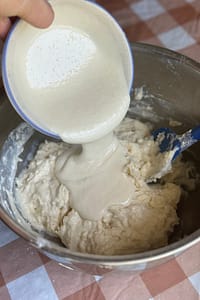
- Add in the sourdough starter and knead until the mixture is well combined.
- Cover with a damp tea towel or cloth and leave at room temperature for 8-10 hours or in the fridge for up to several days. *top of the dough may turn grey from the baking powder, but I find that keeping the cloth on top damp stops this from happening.
- Preheat the oven to 450 ℉.
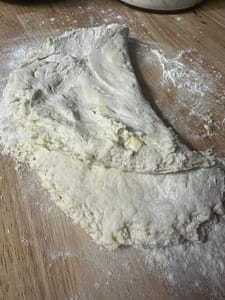
- Dump the dough onto a lightly floured surface and knead it 10-15 times. Roll the dough out to about 1.5" thick. Fold in half.
- Roll the dough out again until 1.5" thick. fold in half. Repeat this process 4 or more times to create layers in your biscuits. Try not to use your hands because the butter will melt. You want cold chunks of butter to still be visible in your dough.
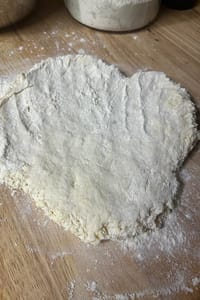
- Roll the dough out to about 1" thick an cut the biscuits out with a biscuit or cookie cutter. Push the cutter straight down into the dough. Do not twist.
- Arrange the biscuits in you skillet or on your pan, either touching on all sides, or just beryl separated form each other.
- Brush the tops of the biscuits with melted butter and bake for 15 minutes. Biscuits should be golden brown. Continue to bake if the biscuits do not have enough color yet.

Notes
- Butter: Must be cold — frozen and grated on a box grater is the easiest method for perfect even pieces
- Starter: Active or discard both work; active starter yields a slightly tangier biscuit
- Milk substitute: Half-and-half gives a richer crumb; buttermilk adds extra tang and tenderness
- Ferment time: 8 hours minimum on counter, or up to 24 hours in the fridge for a more developed flavor
- Make ahead: Dough can be shaped and refrigerated unbaked overnight, then baked fresh in the morning
- Freeze: Freeze shaped unbaked biscuits up to 3 months; bake from frozen, adding 4–5 minutes
- Don’t twist the cutter — press straight down for maximum rise
- Flour: Bread flour can be swapped in for chewier biscuits; whole wheat replaces up to 25% for a nuttier flavor


Frequently Asked Questions
Yes! Sourdough discard works perfectly in this recipe. It won’t leaven the biscuits on its own — the baking powder handles the rise — but it adds flavor and the fermentation benefits still apply during the overnight rest. Active starter gives a slightly tangier result.
A minimum of 8 hours on the counter at room temperature is ideal. For a milder flavor and more flexibility, ferment overnight in the refrigerator — the cold slows the process and you can bake fresh biscuits the next morning on your schedule.
The most common culprit is warm butter or overworked dough. Butter must stay cold and in distinct pieces throughout mixing — those pockets of fat create the steam that makes layers. Overworking develops gluten, which makes biscuits tough and dense instead of tender and flaky.
Yes — shape the biscuits, freeze them on a baking sheet until solid, then transfer to a freezer bag. Bake straight from frozen at 425°F, adding 4–5 minutes to the bake time. They keep for up to 3 months.
These biscuits are incredibly versatile. Serve them with butter and honey for breakfast, ladle sausage gravy over the top for a hearty brunch, or use them as a topping for chicken pot pie. They also pair beautifully with soups, stews, and chili.
Made these biscuits? I’d love to see them! Leave a ⭐⭐⭐⭐⭐ rating below and drop a comment telling me how you served yours — with gravy, honey butter, or something totally unexpected. And if you’re saving this for later, pin it to your biscuit board on Pinterest so you can find it easily!

You’ll Also Love
- Sourdough Cheddar Bay Biscuits — light, fluffy, cheesy, and topped with garlic butter
- Sourdough Pop Tarts — flaky fermented pastry filled with jam
- Simple Sourdough Pie Crust — the same fermented dough magic in a pie
- Is Sourdough Actually Healthier? — the science behind why fermentation matters
About the Author

Kim is a homeschooling mama of 5 who has been teaching her children at home since the very beginning — from preschool through high school. Over the past decade, she and her family have built a homestead from the ground up, starting with meat and egg chickens, growing into a large garden, and learning to preserve their harvest.
She taught herself to sew 13 years ago through books and early YouTube tutorials, and has been making modest, affordable clothing for her girls ever since.
Cooking from scratch became a necessity and a passion as her family learned to eat more nutritionally and live more frugally. She tests all of her sourdough and fresh milled flour recipes on the kids to ensure they’re delicious and nutritious.
At Plain Living, Kim shares what she’s actually lived — not theory, but the real skills she’s picked up through years of trial, error, and love for her family and home.