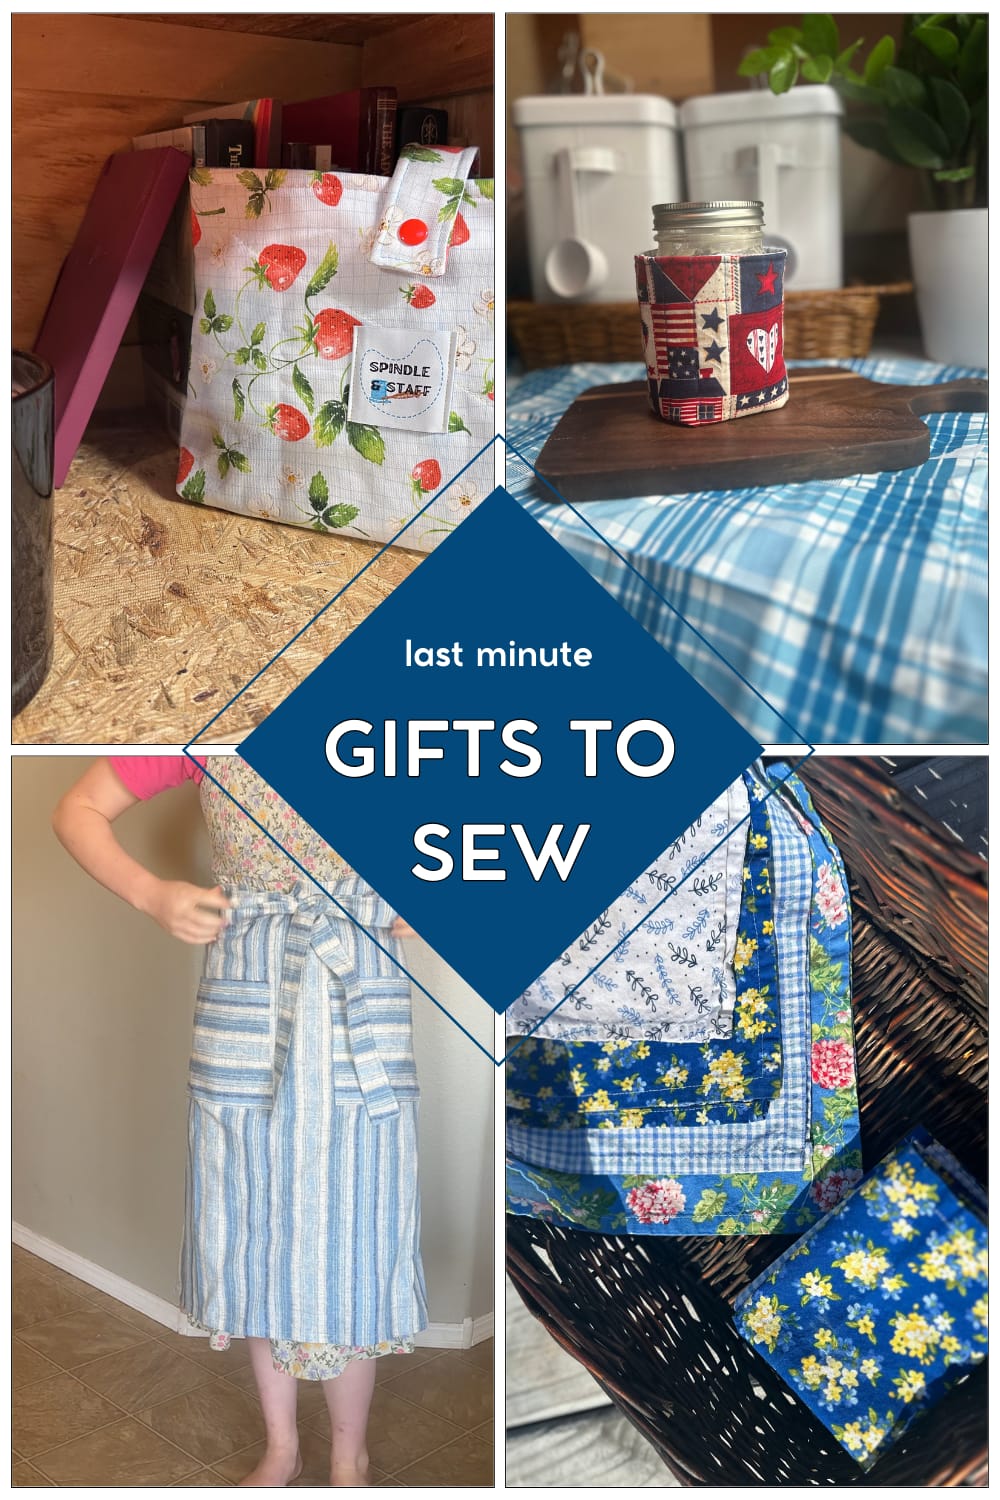
How to Sew a Half Apron or Waist Apron
Some links in this post may be affiliate links. That means I might make a small commission on qualifying purchases if you click the link. There is no extra cost to you.
What do you buy for that friend that has everything, or that just buys the things they want? Something handmade is just the thing! Try sewing a DIY waist apron in their favorite fabric, or pick a design that reminds you of them. This sewing guide is quick and easy and super beginner friendly. With a few rectangles, and all straight seams, you’ll be able to whip these half aprons with pockets up in no time for last minute gifts or to sell.
This waist apron has a special detail that you won’t see in other DIY tutorials. Keep reading to see how a simple addition can elevate your waist apron!

DIY Waist Apron at a glance
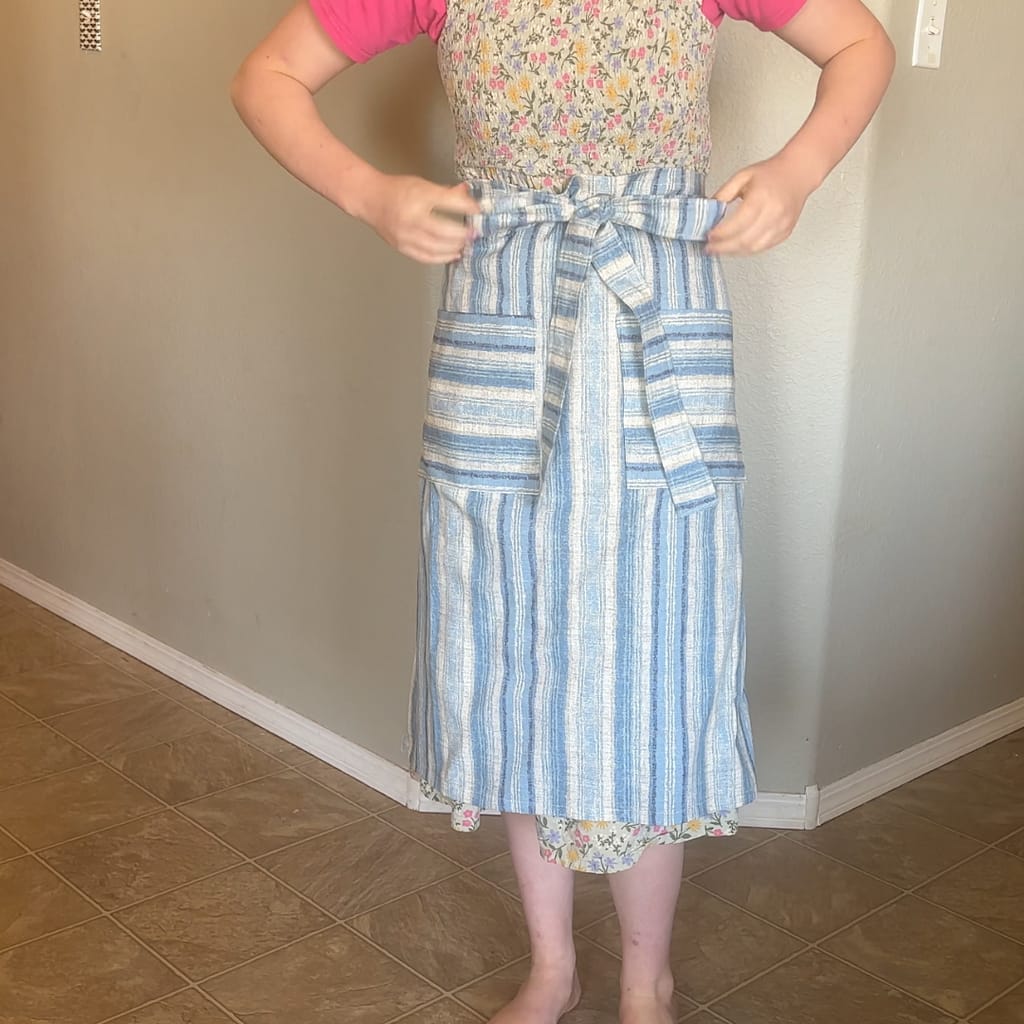
This waist apron is a hard style apron that ties at the waist and has optimal pockets and hanging loops.
Skill Level: beginner
Time: 1 hour 15 minutes
Finished Size: 28″ x 28″, extra long straps
Table of contents
What is a waist apron?
This may sound silly, but a waist apron is a large piece of cloth that you tie around your waist to protect your clothing while cooking, painting, crafting, etc. You may also hear it called a half apron- presumably because it covers half of your clothes/half of your body. Whatever you want to call it, it’s a cute addition to any homemaker or gardener’s outfit.
Materials You need to Make a Waist apron
To make this DIY waist apron, you’ll need the obvious basics like a sewing machine, a measuring tool and a cutting tool. This apron will require about a yard and a half of fabric and you can decide if you want the thread color to blend in or really pop against the color of the fabric.
Favorite Sewing Tools
Buy quilting cotton for a lightweight waist apron that will stand up to small spills. Quilting cotton is available in a vast variety of designs, so you can really customize your apron!
Try flannel if you’re thinking the apron might be used for wiping hands a lot! Flannel gets softer and more absorbent every time you wash it.
Canvas is a great choice for slightly heavier duty apron- say for gardening, or as waitress/craft fair style apron.
Linen, gauze, bamboo- really any woven fabric could work to create a unique apron. I highly recommend using something from your stash or heading to a fabric store so you can feel the fabric first. This is also a great project to use up thrifted sheets or table cloths.
Tools and Equipment
- Fabric scissors
- Quilting clips
- Rotary Cutter Kit
- Beginner Sewing Machine
- Soft measuring tapes
- Pins with holder
- Bodkin for turning straps
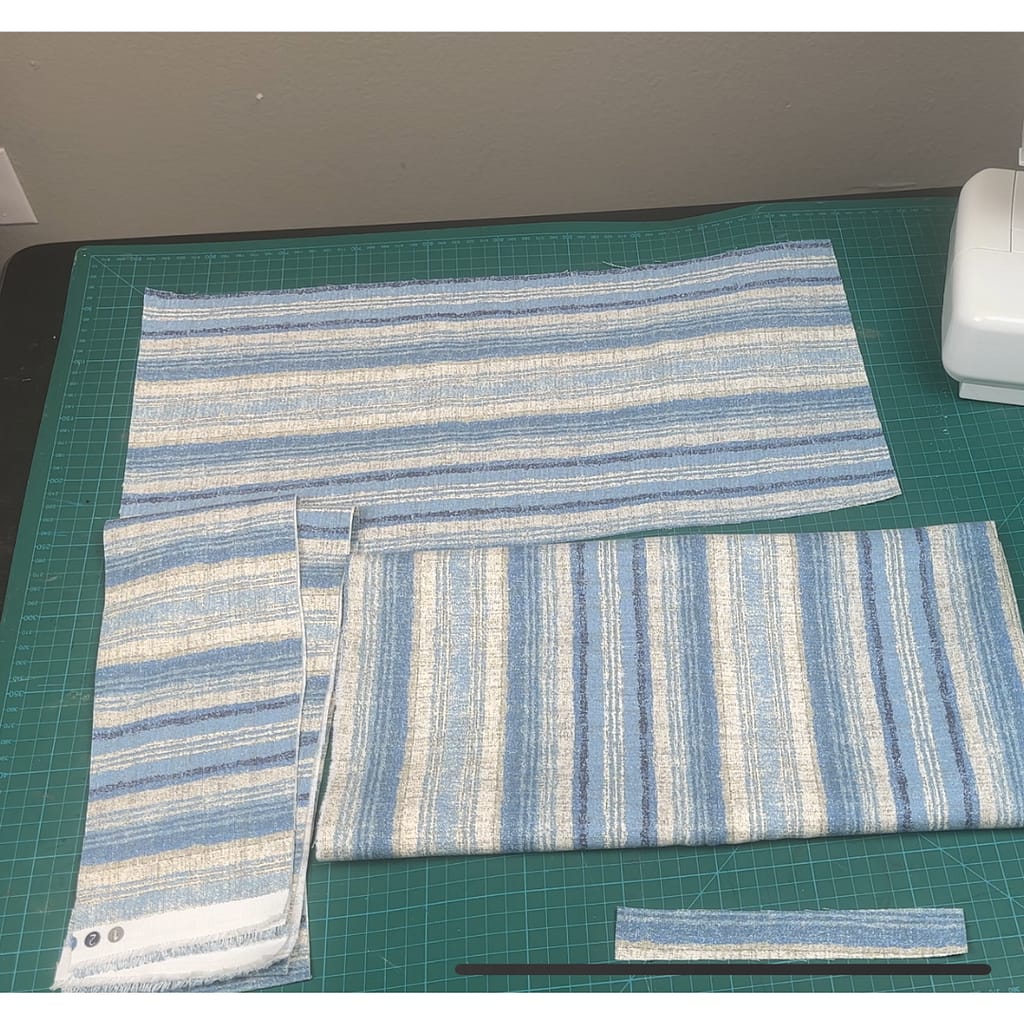
Cut your fabric pieces for your DIY waist apron
- (1) Main panel at 30″ x 30″
- (2) straps at 4″ x WOF (width of fabric, or from selvage to selvage)
- (1) hook at 1″ x 7″
- (2) pockets at 10″ x12″
Prep the DIY Apron pieces
Take the time to prep all of your pieces before you start sewing. This preparatory step will make your apron a super quick DIY project! Your apron will look so much more professional if you take the time to measure hems and press well and pinning carefully will save you time at the sewing machine.
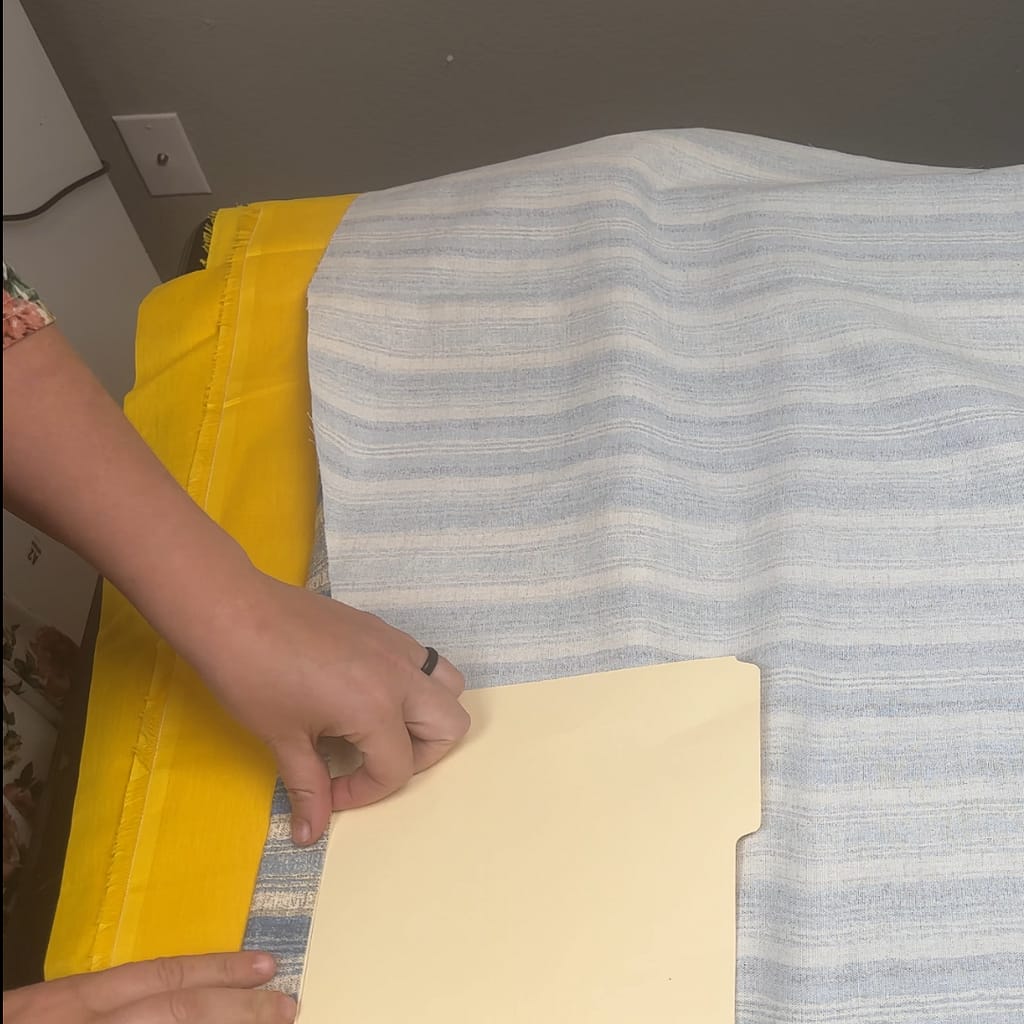
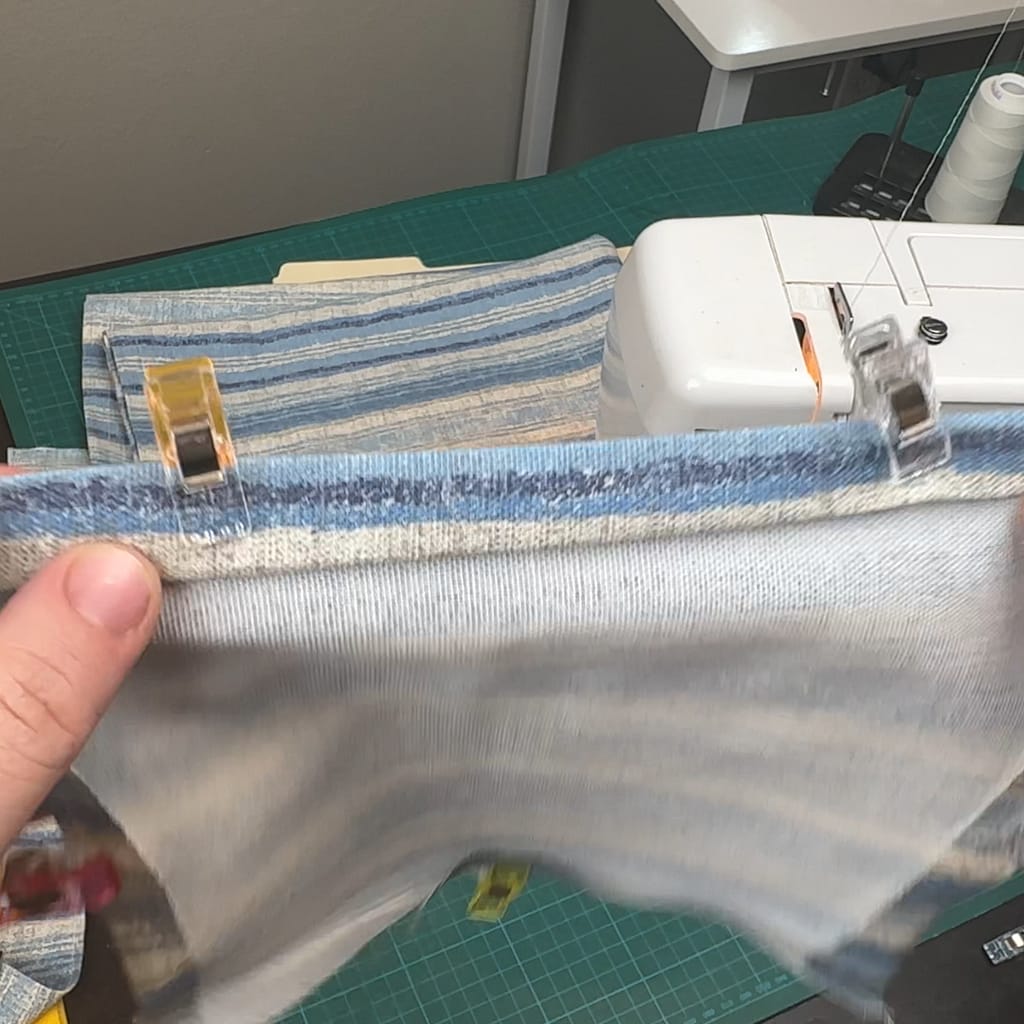
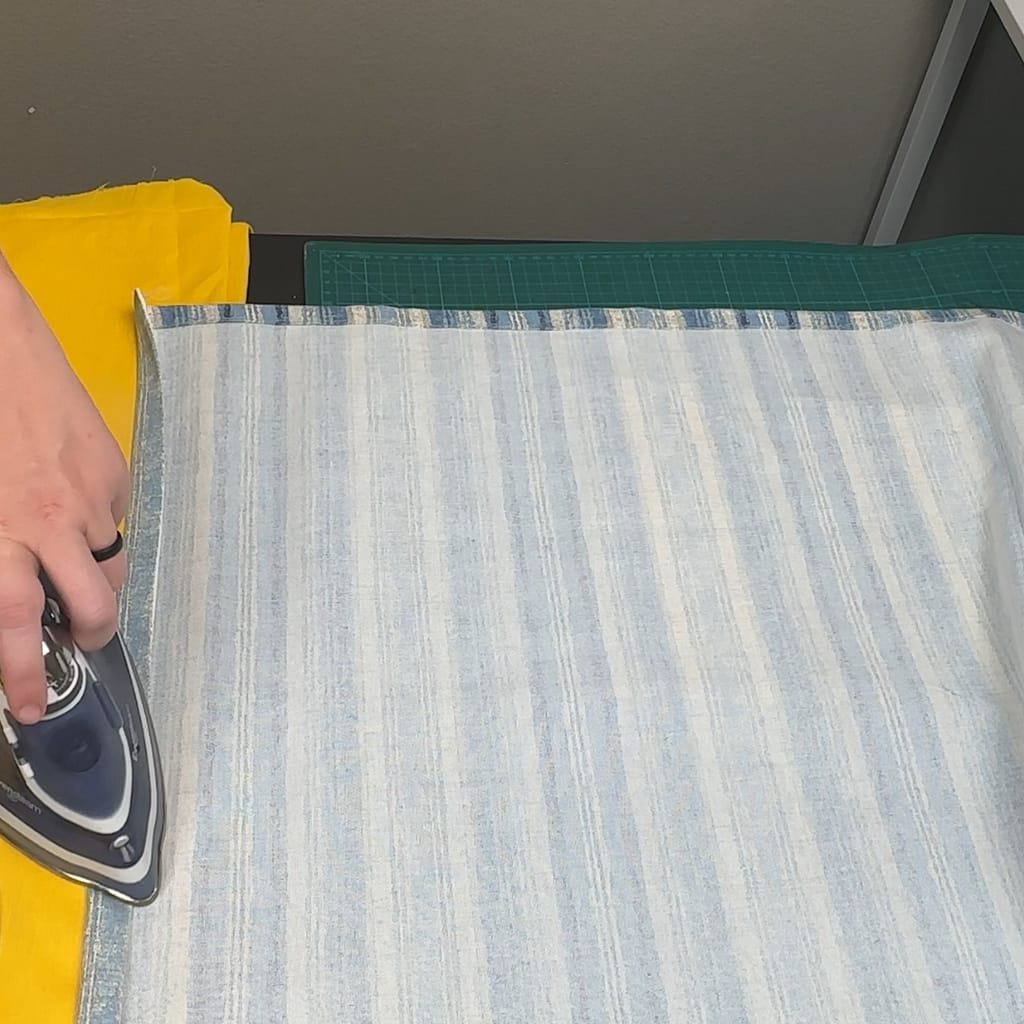
Main panel: On the back side of the fabric, press the top edge over at 1/2″. Fold it over a second time at 1/2″ and press to create a hem along one long edge. Repeat this to the opposite edge, and pin or clip both hems.
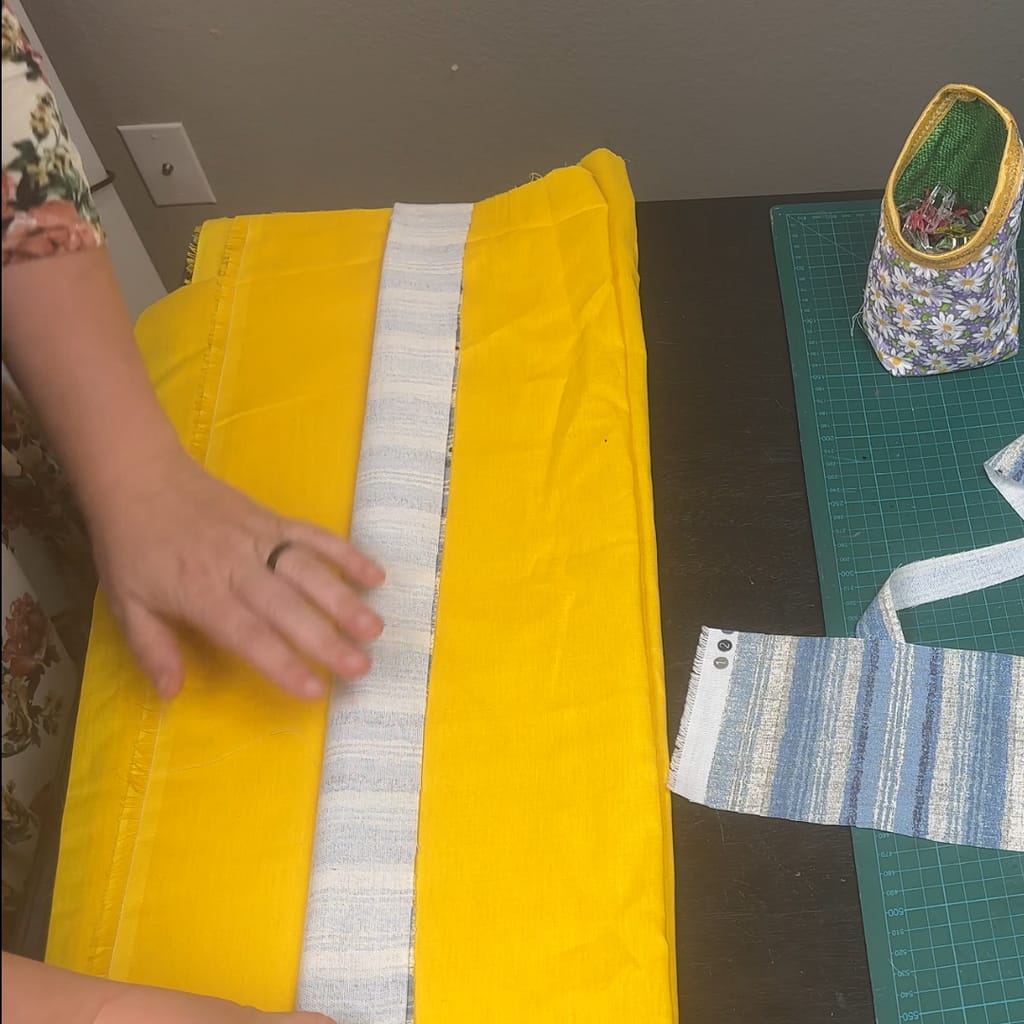
Straps: On one short edge of each strap piece, fold about 1/2″ towards the back of the fabric. Then, fold each strap piece in half length wise, with the pretty sides touching. Pin along the long edge.
Hook: Fold the hook piece in half length wise with the pretty sides facing out and press. Open the fabric back out, and fold one raw edge down to the center crease. Press. Fold the other long edge up to the crease and press. Close up the entire strip and pin. This piece should end up 1/4″ x 1″.

Pockets: turn the top edge of the pocket under towards the back of the fabric 1/2 inch and press. Fold it a second time at 1/2′ and press. This hem will be the top fold of the pocket. On the 3 remaining sides, press up 1/2″ once per side. These raw edges will be inside the pocket, and therefore not exposed.
Now to Assemble the Apron!
Straps
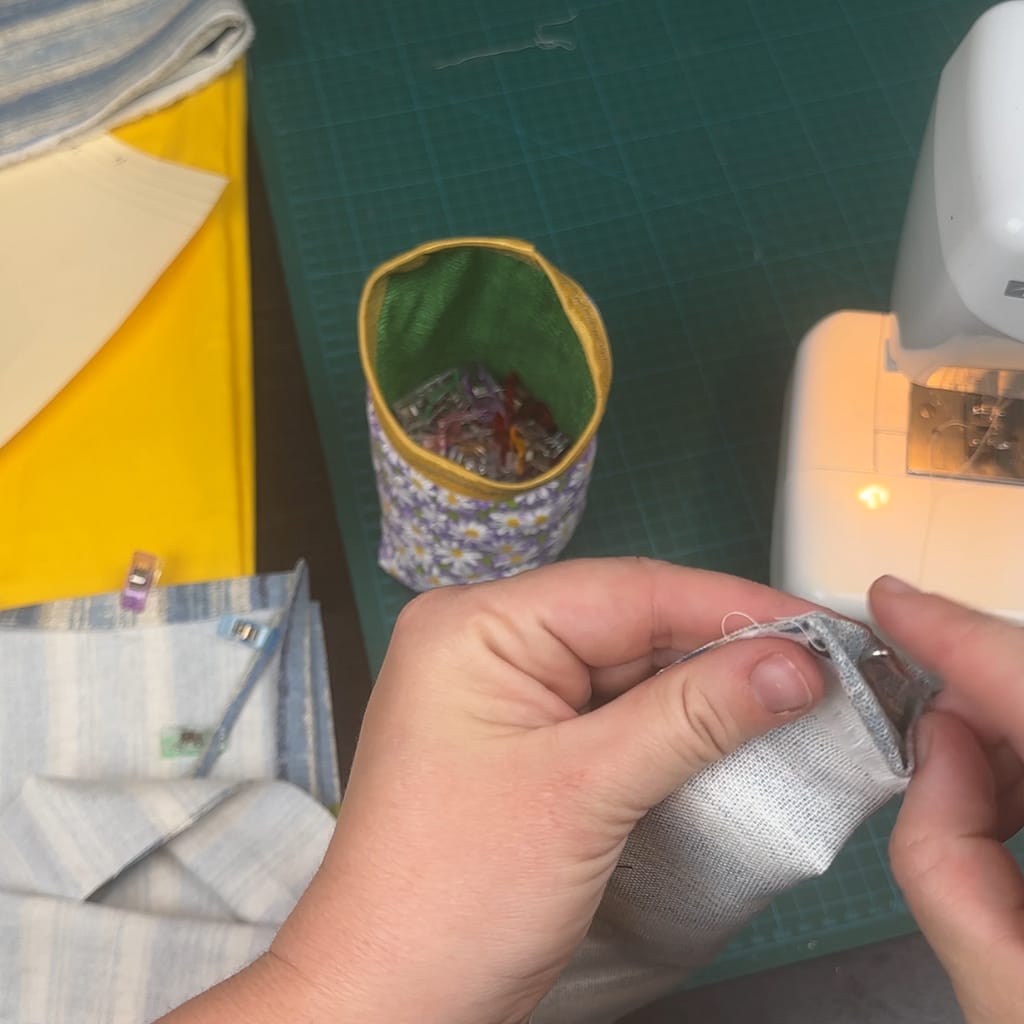
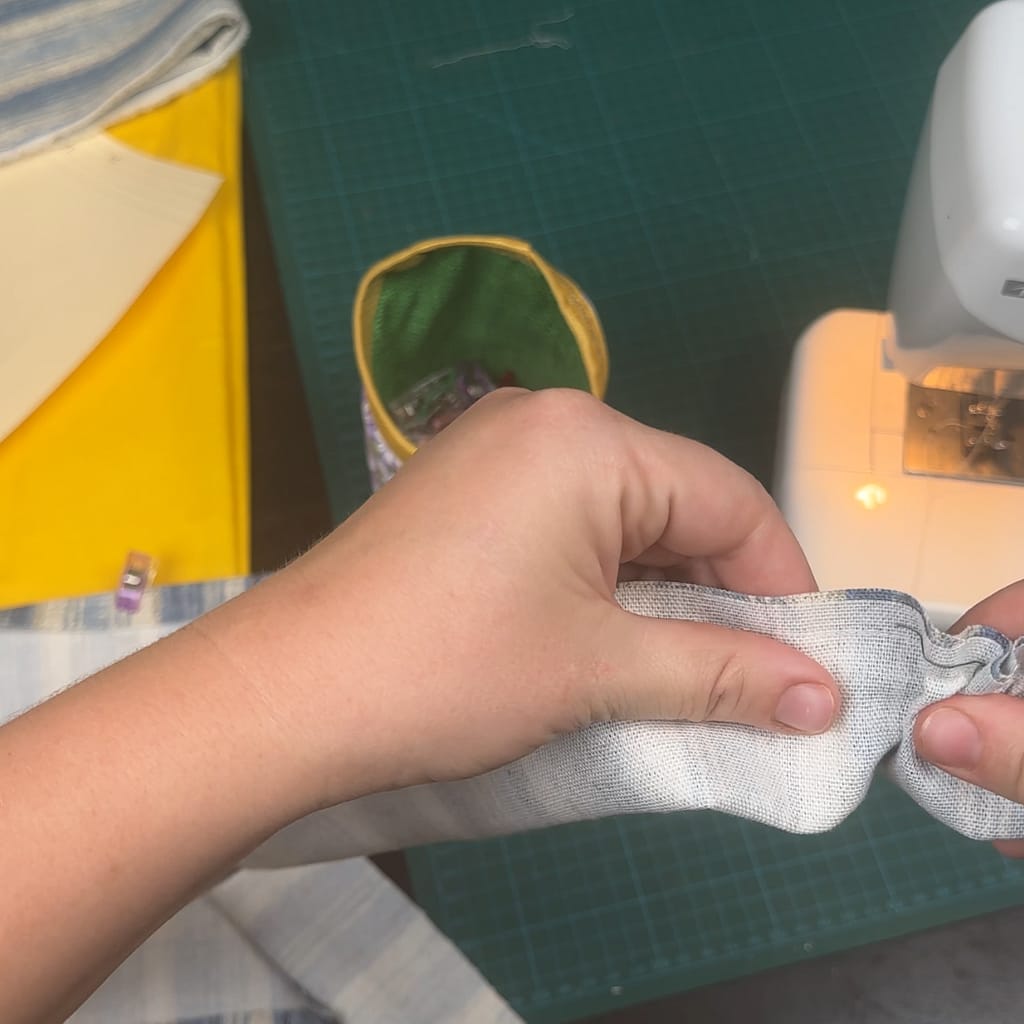
First, sew your straps. Along the raw edges, sew a 1/4″ seam, backstitching and beginning and end. Be sure to catch the hem on one end so you don’t have raw edges and the end of your strap. The other end will be enclosed in a seam, so you can leave that side raw. Use a bodkin or large safety pin to turn each strap right side out. Press and top stitch along all 4 edges. Set aside until you’re ready to complete the half apron.

Hook Loop
Next, sew your hook loop. This is a special additions that takes almost no extra time to do! You’ll be able to insert this loop into one of your seams on the back side of the apron so it can be easily hung from a hook. Simply sew down the long edge that has two folds layered on top of each other to close up the tiny strip.
Set this aside as well. Consider where you’ll like to sew the hook onto the apron: on the top edge int eh center so the apron draper symmetrically when hung, or somewhere along one of the sides.

How to Sew the Main Panel
Sew the hem on the top edge and bottom edge of your waist apron. If you decided to place your hook on the top edge, be sure to insert it under the folded edge of the hem before sewing.
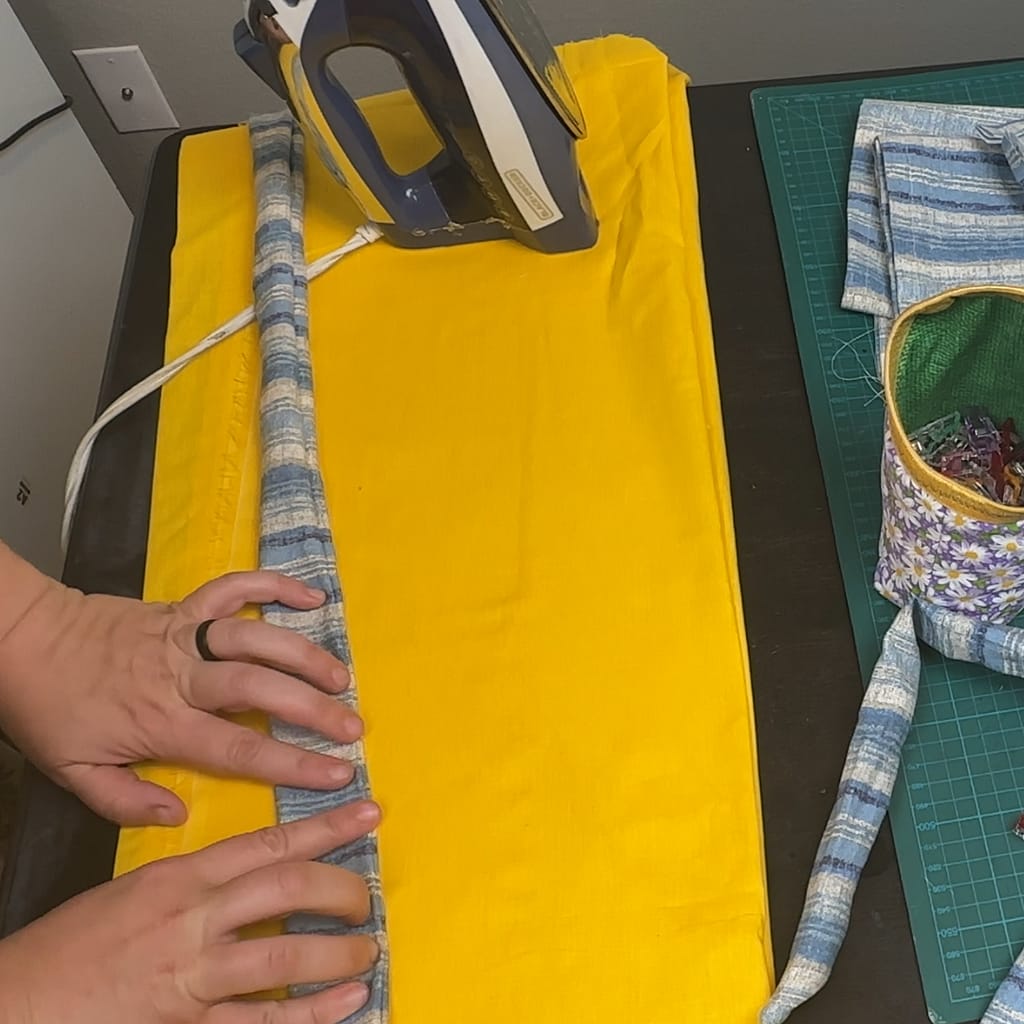
When you sew over the hook, backstitch a couple of time to secure the loop and strengthen the seam. Take the main panel to the iron and press both sides up 1/2′ and then fold a second time 1/2″ and press. Pin these hem in place.
Assemble the Pieces
On each side of the half apron main panel, insert the short raw edges of one strap under the hem, flush with the top of the apron. If you decided to place the loop on one of the sides, insert it under the folded edge of the hem and pin in place. Sew down each short side, backstitching at beginning and end. You have an apron now! But wait, it’s not quite finished!

Fix the straps
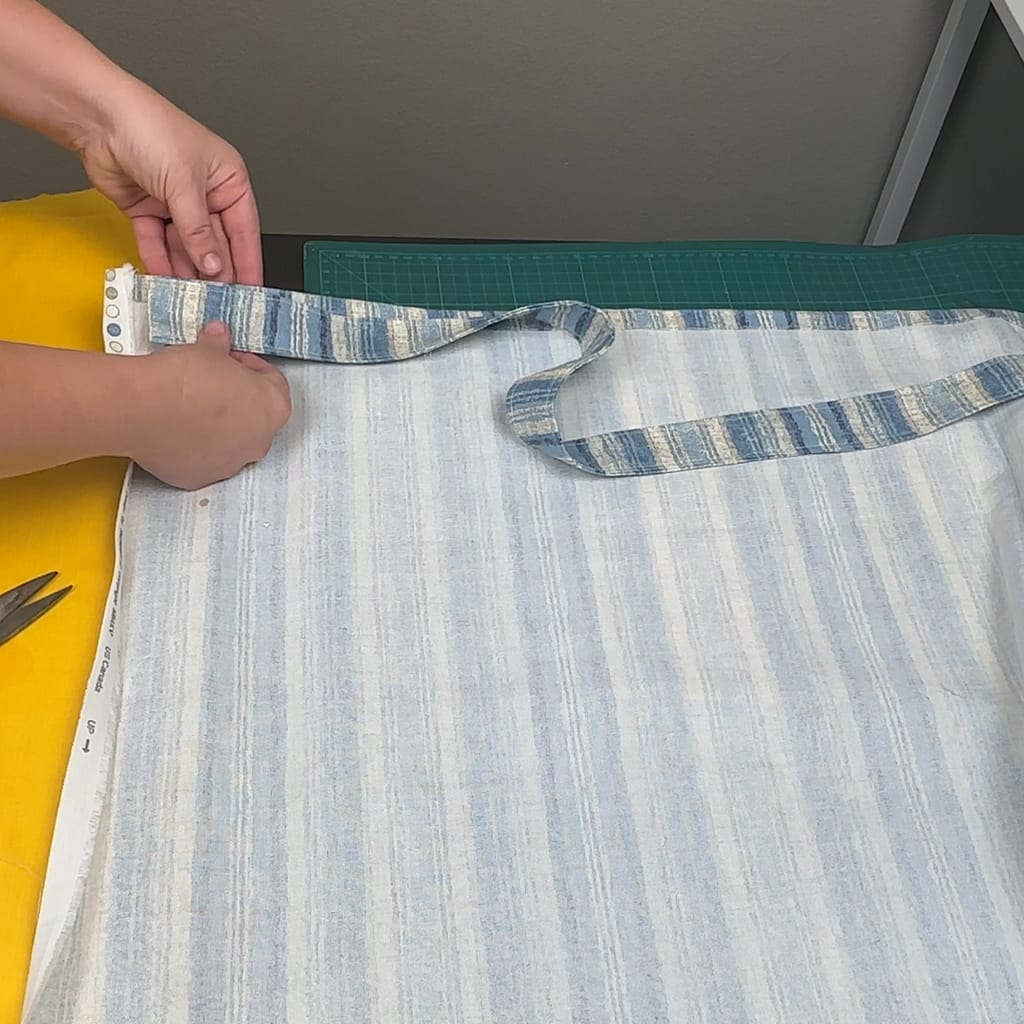
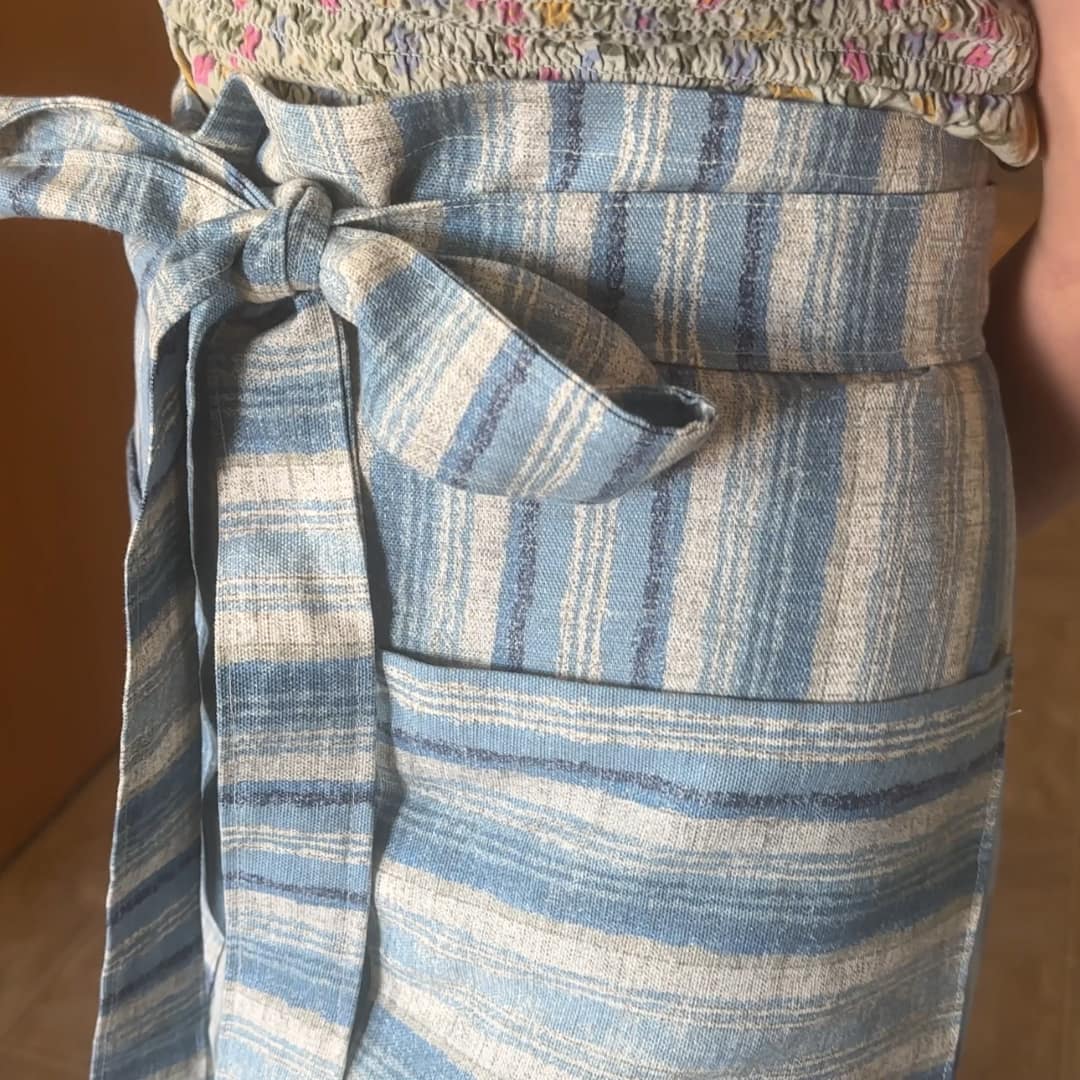
The straps will be oriented where the point towards the center back of the center back of the waist apron. Fold them out away from the main panel. You will see that the strap pulls the top edge of the side hem toward the front of the apron.
To eliminate this awkward pulling, Lay the apron face down on the table and extend the strap out to the side, pointing away from the apron. Position the strap so that it folds at the stitches on the hem, and overlap the 1/2″ folded hem.
Stitch from the top of the strap to the bottom, sewing through both the strap and the side hem of the main panel. The strap will now be oriented correctly without flipping the side hem out. Repeat to the other side.
Finish up!
Finally, lay your apron on the table face up. Pin the pockets to the front of the apron, face up. To position them correctly, measure the distance from the top edge of the main panel to the top left corner of the pocket and the top right corner of the pocket.
These measurements must match, or the pocket will be crooked! Sew the left side, bottom, and right side of the pocket onto the main panel, about 1/8″ from the folded edge. This is a great place to lengthen then stitch for topstitching. Trim all your threads and you’re done! You’ve sewn a custom DIY waist apron in no time flat!

DIY Waist Apron — Beginner Sewing Tutorial
Equipment
- rotary cutter or fabric scissors
- quilting clips pins are okay
- Measuring tape
- Bodkin
- ironing board
Materials
- 1.5 yards woven fabric quilting cotton, canvas, linen, or flannel
- Thread matching or contrasting
Instructions
- Cut pieces: Main panel 30″ x 30″; straps 4″ x WOF; hook 1″ x 7″; pockets 10″ x 12″. Lay pieces out and double-check measurements.
- Press main hem: Fold the top and bottom edges 1/2″ twice and press. Pin in place.
- Prepare straps: Fold one short edge 1/2″, then fold each strap lengthwise with right sides together. Pin.
- Sew straps: Stitch 1/4″ along the long edge and leave one end open. Use a bodkin or safety pin to turn straps right-side-out. Press and topstitch 1/8″ around edges.
- Make hook loop: Fold the 1″ x 7″ strip as instructed into a 1/4″ wide loop and sew along the long edge to close. Press.
- Insert straps and hook: On the back side, tuck short raw strap ends and the hook loop under the top hem. Pin them flush with the top edge.
- Sew top hem: Stitch across the top hem, catching straps and hook. Backstitch over hook to secure it.
- Secure straps: Lay apron face down, extend strap out, fold it at the seam, and stitch from top to bottom through strap and side hem to stop flipping. Repeat for other side.
- Prepare pockets: Fold the top edge of pockets 1/2″ twice and press. Fold remaining raw edges 1/2″ inward and press.
- Attach pockets: Pin pockets evenly; measure left and right so pockets are level. Stitch three sides 1/8″ from the folded edge, leaving the top open.
- Finish: Trim threads and press the completed apron.
Notes
5 Creative Ways to Use a Mason Jar Cozy
Did you know it’s surprisingly simple to sew your own mason jar cozy? I created a free printable mason jar cozy sewing pattern and step-by-step tutorial that’s perfect for beginner sewists, homemakers, and handmade gift lovers. These little fabric sleeves are quick to sew, endlessly customizable, and incredibly practical around the home. Still not sure?…
How to Read a Sewing Pattern
How to Read Sewing Patterns (Beginner Guide to Understanding Instructions) Have you ever opened a sewing pattern and felt confused before you even started cutting fabric? You are not alone. Sewing patterns can look like a lot: tiny print, strange words, and big tissue pieces that feel hard to manage. But here is the good…
How to Read a Sewing Pattern with Abbreviations
Have you ever opened a sewing pattern and felt confused by all the capital letters? You see things like RST, WOF, SA, and RS, and suddenly the instructions feel harder than they should be. Sewing abbreviations are short forms of common sewing instructions used in patterns to save space. They tell you how to place fabric, how to stitch,…


Gift Ideas for a Waist Apron
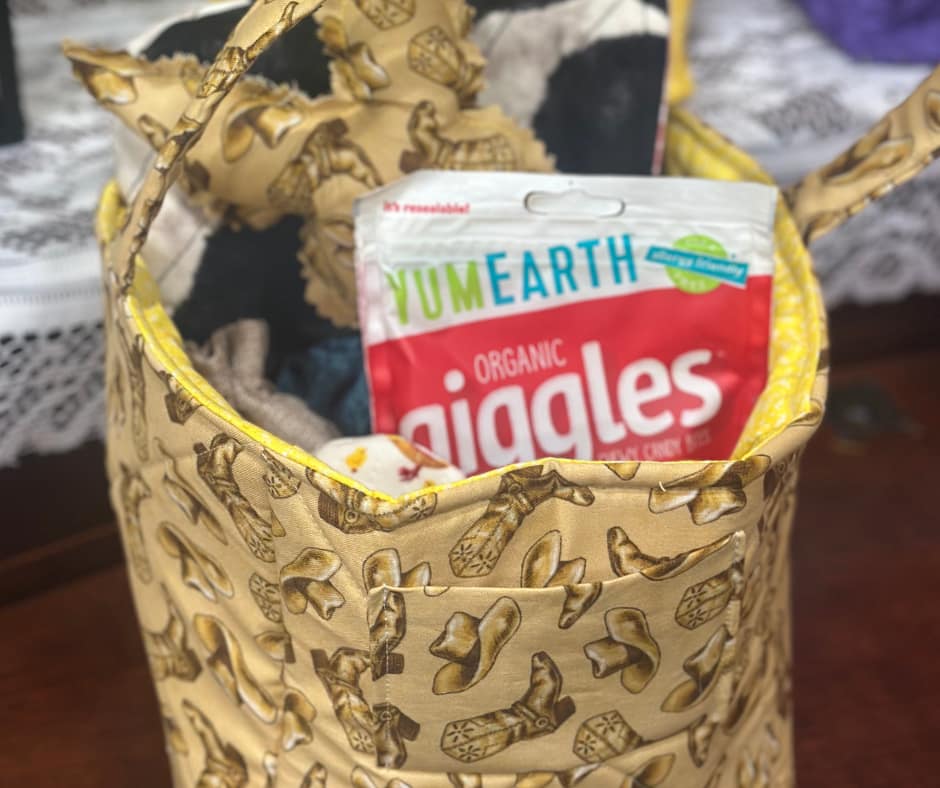
This handmade gift is sure to please any recipient! Turn it into a little gift basket by pairing it with one of these ideas:
- seed packets, garden gloves, hand tools
- paint brushes and a canvas
- wooden spoons, a homemade dry mix
- matching scrunchie from your leftover fabric
- a crochet wash cloth and non-toxic cleaning supplies(homemade is even better)
- a collection of useful tools for a homemaker ( a fancy pen, a small notebook, scissors, hair tie or clip, nail file, bandaids, anymore!)
What will you use this waist apron for? Please share your ideas!
➡️ Next Projects to Try
- New to sewing? Try the Basic Square Hot Pad Tutorial first.
- Or make a full Housewarming Gift Set with hot pads, an apron, cloth napkins, and more.
- Create a bakers gift basket with a sourdough starter jar cover, a bowl cover, a sourdough starter cozy, a bread bag, and a hot pad.
- How to Sew a Book Sleeve (Beginner Friendly & Perfect for Gifts)
- How to Sew a Quilted Fabric Basket with Handles (Easy Tutorial)
Frequently Asked Questions
A waist apron is a piece of fabric you tie around your waist. It protects clothes while cooking, crafting, or gardening.
Use woven fabrics like quilting cotton for light use and canvas for heavier use. Flannel works if you want something soft and absorbent.
Yes. You can hand-sew every step, but it will take more time. A machine makes the project faster and the stitches stronger.
WOF means “width of fabric.” It is the full usable width from one selvage edge to the other selvage edge
Wash by the fabric care label. For most cottons, use warm water and tumble dry low. Press seams after washing if needed.
A bodkin is a tool to pull straps or ties right-side-out. You can use a large safety pin instead if you don’t have a bodkin.

Kim is a homeschooling mama of 5 who has been teaching her children at home since the very beginning — from preschool through high school. Over the past decade, she and her family have built a homestead from the ground up, starting with meat and egg chickens, growing into a large garden, and learning to preserve their harvest.
She taught herself to sew 13 years ago through books and early YouTube tutorials, and has been making modest, affordable clothing for her girls ever since.
Cooking from scratch became a necessity and a passion as her family learned to eat more nutritionally and live more frugally. She tests all of her sourdough and fresh milled flour recipes on the kids to ensure they’re delicious and nutritious.
At Plain Living, Kim shares what she’s actually lived — not theory, but the real skills she’s picked up through years of trial, error, and love for her family and home.