How to Sew a Hot Pad: Easy Beginner Tutorial
Some links in this post may be affiliate links. That means I might make a small commission on qualifying purchases if you click the link. There is no extra cost to you.
Hot pads are one of my favorite first projects for someone learning to sew. They are useful, forgiving, and small enough to finish without spending an entire day at the sewing machine.
This simple square hot pad uses straight stitching while giving you practice cutting fabric, layering materials, sewing through batting, turning corners, and topstitching. Cut the pieces at 9 inches square and use a 1/4-inch seam allowance to make a finished hot pad measuring approximately 8.5 inches square.
If this is one of your first projects, visit my Beginner Sewing Guide for help with sewing-machine basics, fabric, sewing vocabulary, and other easy projects.
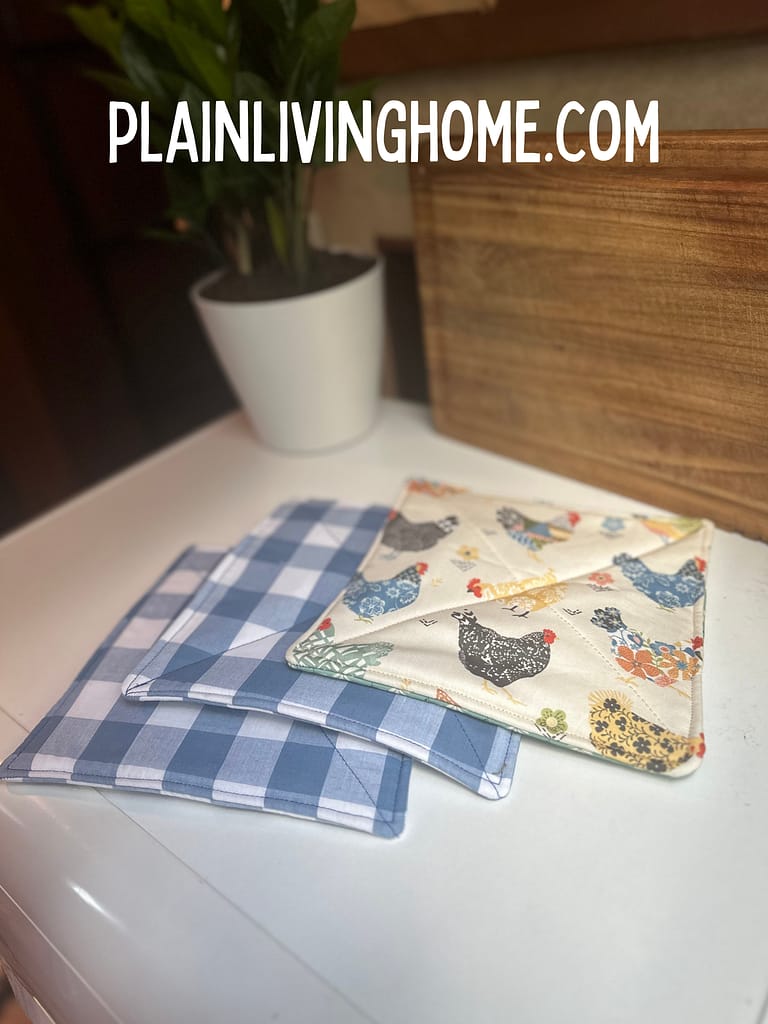
Quick Answer: How Do You Sew a Simple Hot Pad?
To sew an 8.5-inch hot pad, cut two 9-inch squares of cotton fabric, two 9-inch squares of cotton batting, and one 9-inch square of Insul-Bright. Quilt the layers into two panels, place the fabric right sides together, sew around the outside with a 1/4-inch seam allowance, and leave a 3-inch opening. Turn the hot pad right side out, press it carefully, and topstitch around the edge to close the opening.
This project takes approximately 45 to 60 minutes and only requires a straight stitch.
Table of contents
- Quick Answer: How Do You Sew a Simple Hot Pad?
- Important Hot Pad Safety Update
- Why This Is a Good Beginner Sewing Project
- Materials and Supplies
- Before You Begin
- Step 1: Cut the Fabric and Insulating Layers
- Step 2: Make the First Quilted Panel
- Step 3: Make the Second Quilted Panel
- Step 4: Layer the Two Panels
- Step 5: Sew Around the Hot Pad
- Step 6: Clip the Corners
- Step 7: Turn the Hot Pad Right Side Out
- Step 8: Press Carefully
- Step 9: Topstitch the Hot Pad
- How to Wash a Handmade Hot Pad
- Ways to Customize Your Hot Pad
- Handmade Gift Ideas
- More Beginner Sewing Projects
- Frequently Asked Questions
- Final Thoughts
- About the Author
Important Hot Pad Safety Update
The hot pads shown in my original photographs were made with two layers of Insul-Bright, and that is how I initially tested this project in my own kitchen. After reviewing the manufacturer’s current instructions, I have updated this tutorial to use its recommended construction for potholders.
The Warm Company recommends sandwiching one layer of Insul-Bright between two layers of cotton batting. The cotton batting helps absorb steam vapor when hot cookware meets cooler air. Follow the updated materials list and layering instructions below rather than copying the layers visible in my original photographs.
Insul-Bright is not microwave-safe. Never place this hot pad inside a microwave or conventional oven, and do not expose it to an open flame. A handmade hot pad is intended for brief contact with hot cookware. If you begin to feel heat through it, set the cookware down immediately.
You can read the Insul-Bright safety and layering recommendations from The Warm Company.
Why This Is a Good Beginner Sewing Project
A square hot pad is an approachable project because it:
- Uses only straight stitches
- Requires no pattern
- Uses inexpensive materials
- Helps you practice sewing consistent seam allowances
- Introduces quilting without complicated piecing
- Teaches you how to turn and finish a lined project
- Produces something practical in less than an hour
It is also a useful way to practice with layers before trying larger quilted projects, bags, or oven mitts.
Materials and Supplies
To make one approximately 8.5-inch square hot pad, you will need:
- Two 9-inch squares of 100% cotton fabric
- Two 9-inch squares of cotton batting
- One 9-inch square of Insul-Bright
- Coordinating thread
- Sewing machine
- Universal sewing-machine needle
- Fabric scissors or rotary cutter
- Cutting mat, if using a rotary cutter
- Quilting ruler or measuring tape
- Sewing clips or pins
- Fabric marker or tailor’s chalk
- Point turner, chopstick, or another blunt turning tool
- Iron and ironing board
- Walking foot, optional but helpful for thick layers
Quilting cotton is an excellent choice because it is stable, easy to cut, and available in many coordinating prints. If shopping for fabric feels confusing, my beginner’s guide to buying fabric explains what to look for.
Avoid polyester exterior fabric for a hot pad because synthetic fabric may melt when exposed to high heat.
Before You Begin
Prewash and dry the cotton fabric if you expect to machine-wash the finished hot pad. This helps prevent the exterior fabric from shrinking unexpectedly later.
Press the fabric before measuring and cutting. Flat, wrinkle-free fabric is easier to cut accurately.
Install a fresh universal needle if your current needle is old or damaged. You will be sewing through several thick layers, and a dull needle may skip stitches or struggle to penetrate them.
Step 1: Cut the Fabric and Insulating Layers
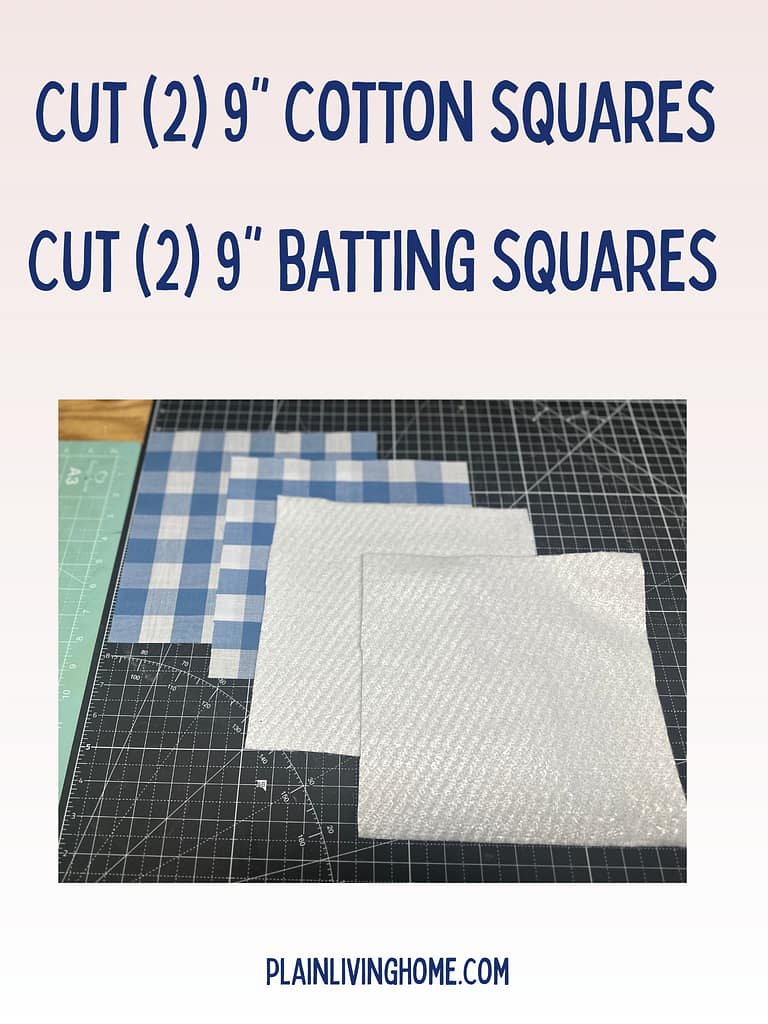
Cut the following pieces:
- Two cotton fabric squares measuring 9 by 9 inches
- Two cotton batting squares measuring 9 by 9 inches
- One Insul-Bright square measuring 9 by 9 inches
Try to cut all five pieces as evenly as possible. Matching squares will make the layers easier to align and help the finished hot pad lie flat.
Step 2: Make the First Quilted Panel
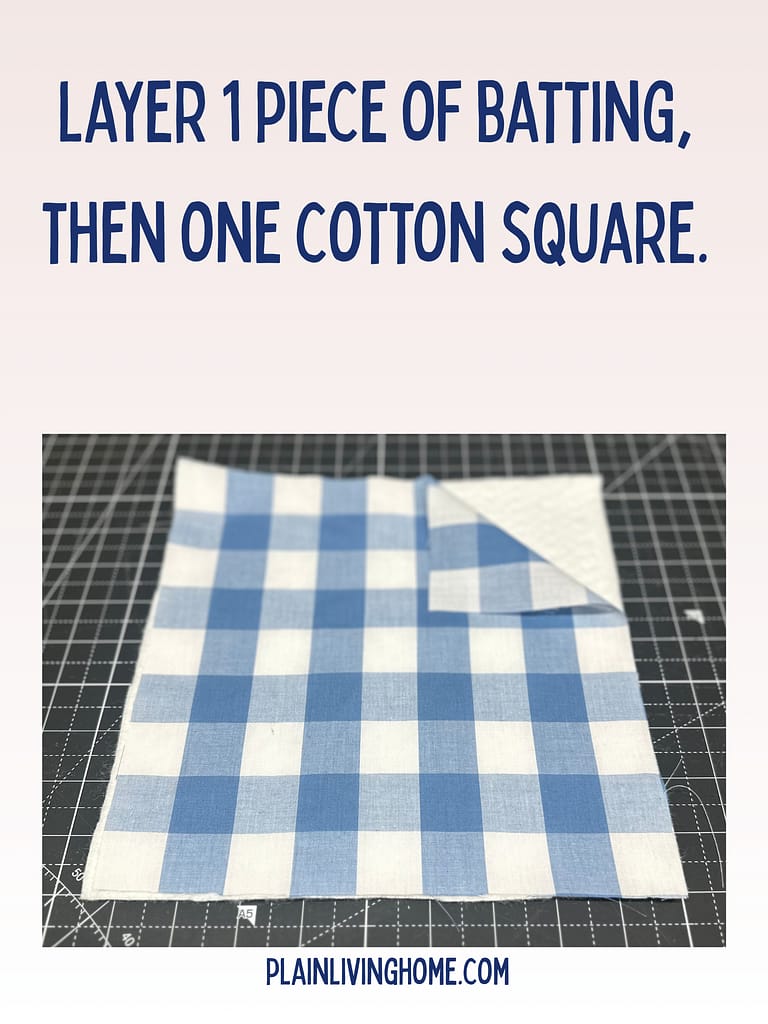
Place one cotton batting square on your work surface.
Position one cotton fabric square on top with its right, or pretty, side facing up. The wrong side of the fabric should be touching the batting.
Clip or pin the layers together so they do not shift.
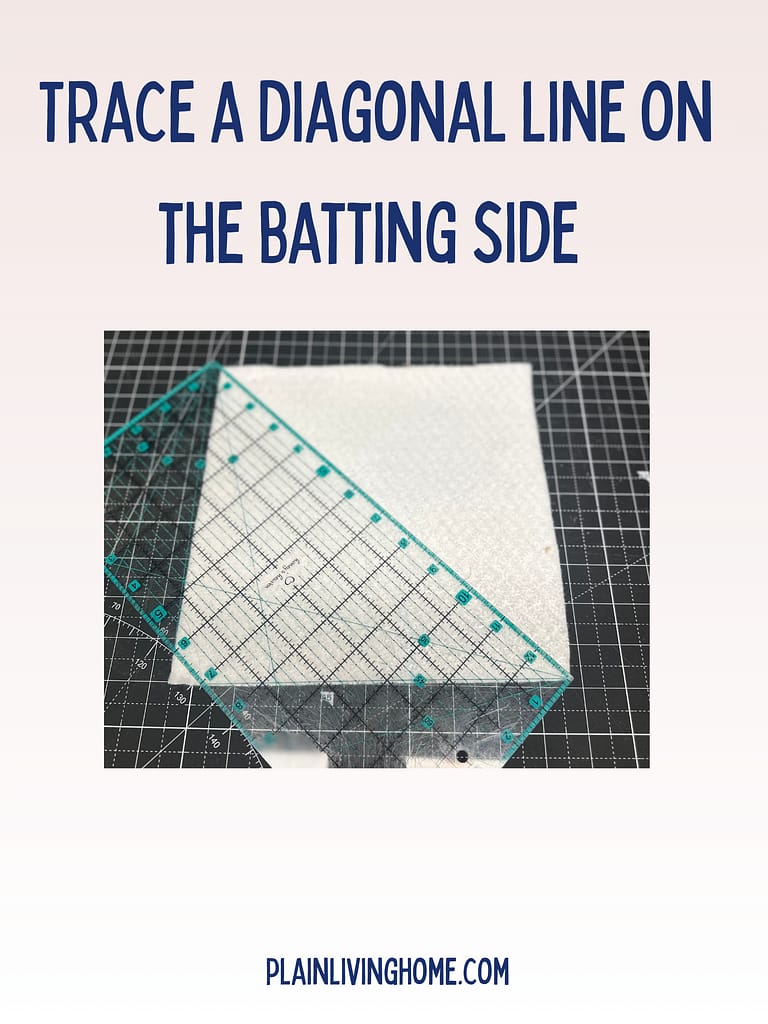
Set your sewing machine to a straight stitch approximately 3.0 to 3.5 millimeters long. Sew one diagonal line from the upper-left corner to the lower-right corner through both layers.
This quilting line holds the fabric and batting together while you assemble the hot pad.
Step 3: Make the Second Quilted Panel
Place the Insul-Bright square on your work surface.
Lay the second cotton batting square on top of the Insul-Bright. Then place the remaining cotton fabric square on top with its right side facing up.
The cotton batting should be between the exterior fabric and the Insul-Bright.
Clip the three layers together. Sew one diagonal line from the upper-left corner to the lower-right corner using the same 3.0-to-3.5-millimeter straight stitch.
You should now have two quilted panels:
- One panel made from cotton fabric and cotton batting
- One panel made from cotton fabric, cotton batting, and Insul-Bright
Step 4: Layer the Two Panels
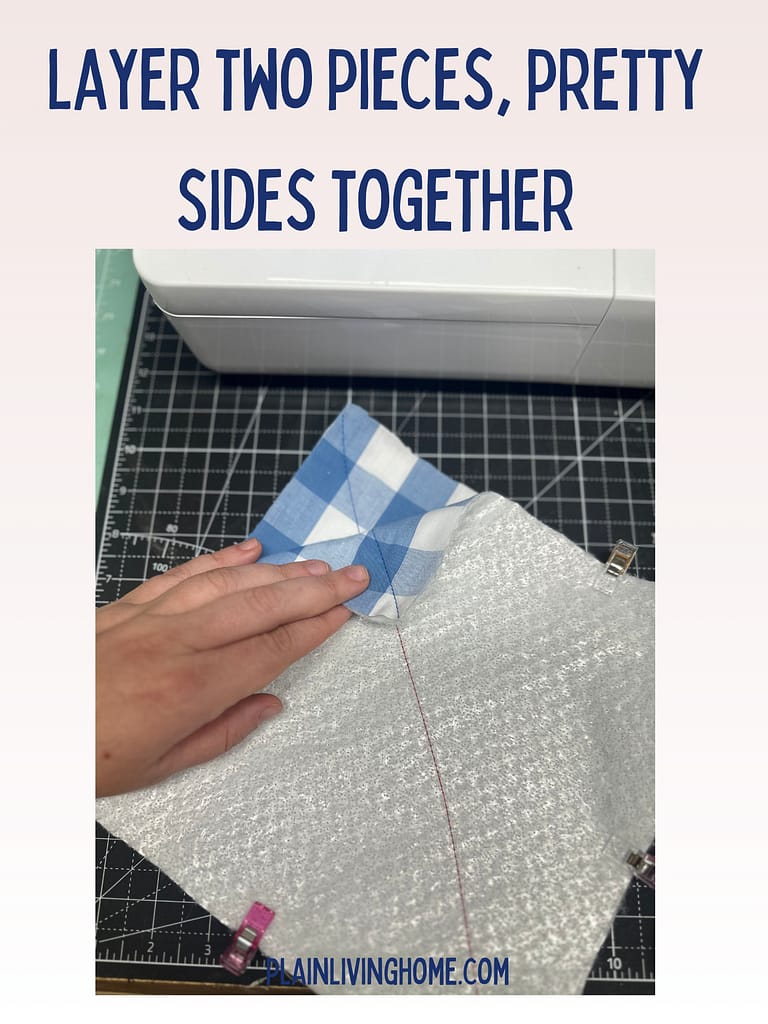
Lay the first quilted panel on your work surface with the fabric facing up.
Place the second quilted panel on top with its fabric facing down. The right sides of the two cotton fabrics should be touching each other. The batting and Insul-Bright layers will face outward while you sew.
Align all four raw edges and corners. Clip the layers securely around the perimeter.
Choose one side for the turning opening and mark a space approximately 3 inches wide. Placing the opening near the center of a side rather than at a corner makes it easier to turn and close neatly.
Step 5: Sew Around the Hot Pad
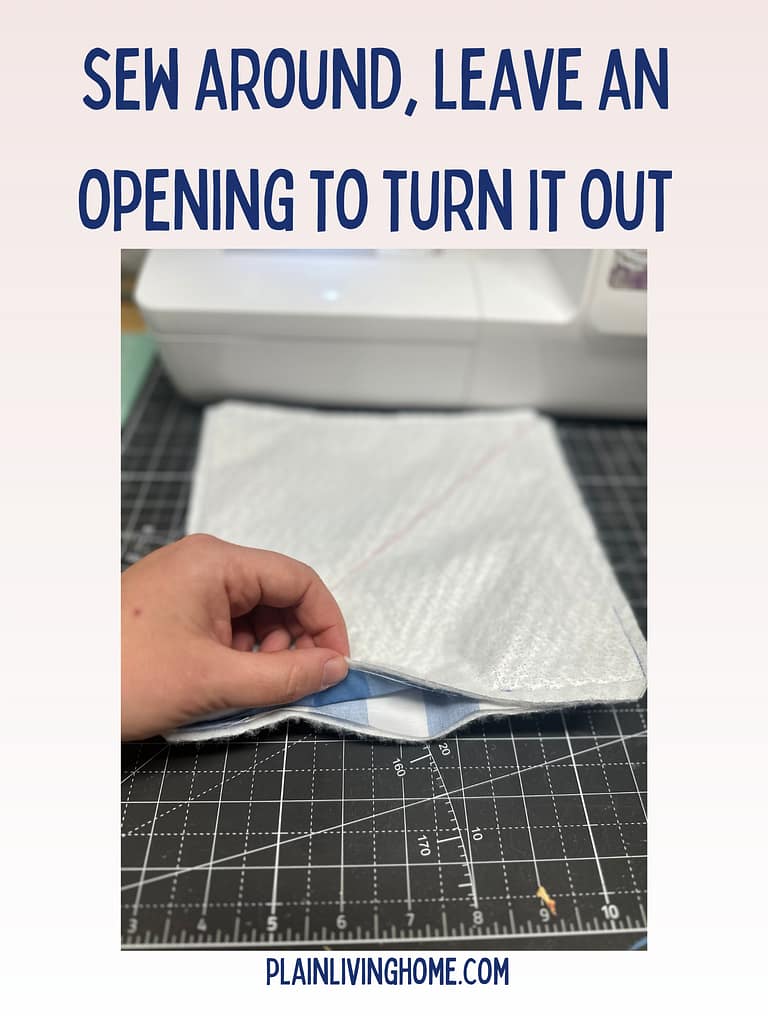
Set your machine to a straight stitch approximately 2.5 millimeters long.
Beginning at one mark for the turning opening, backstitch and sew around the hot pad using a 1/4-inch seam allowance. Pivot at each corner with the needle down.
Stop when you reach the second opening mark and backstitch again. Do not sew the 3-inch opening closed.
Sew slowly when crossing the thick layers. If your machine struggles to feed them evenly, lengthen the stitch slightly or use a walking foot.
Step 6: Clip the Corners
Trim the bulk from each corner by cutting diagonally across the seam allowance.
Do not cut through the stitching. Leave a small space between the cut edge and the corner stitches.
Clipping the corners removes excess material so the corners will look sharper after the hot pad is turned.
Step 7: Turn the Hot Pad Right Side Out
Carefully pull the hot pad through the 3-inch opening.
Use a point turner, chopstick, crochet hook, or another blunt tool to gently shape the corners. Do not use a sharp object that could poke through the fabric or stitches.
Roll the seams between your fingers to work the fabric completely toward the edges.
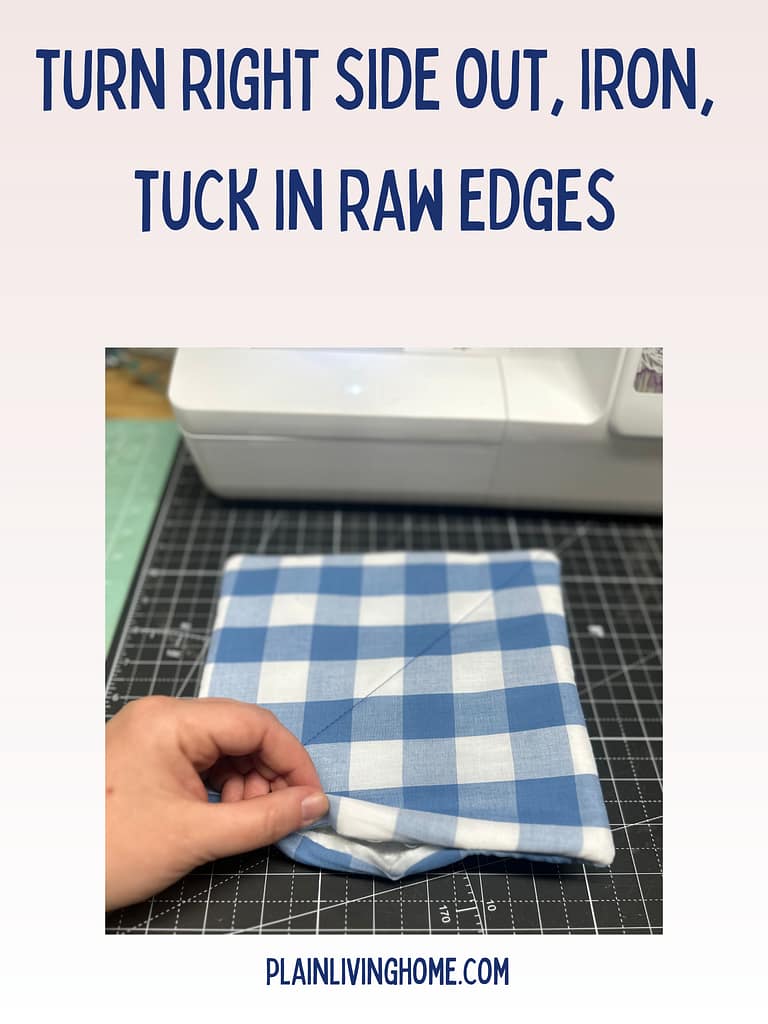
Fold the raw edges of the opening inward so they align with the sewn edge. Clip the opening closed.
Step 8: Press Carefully
Press the cotton exterior and edges to help the hot pad lie flat. Avoid leaving a hot iron directly on the Insul-Bright area for an extended time.
The opening can be bulky. Insert your fingers into the opening and gently pull against the backstitched ends. This helps the raw edges fold inward along the same line as the sewn seam.
Take your time arranging and pressing the opening because a neat fold will make the final topstitching look much better.
Step 9: Topstitch the Hot Pad
Set your straight stitch to approximately 3.5 to 4.0 millimeters long.
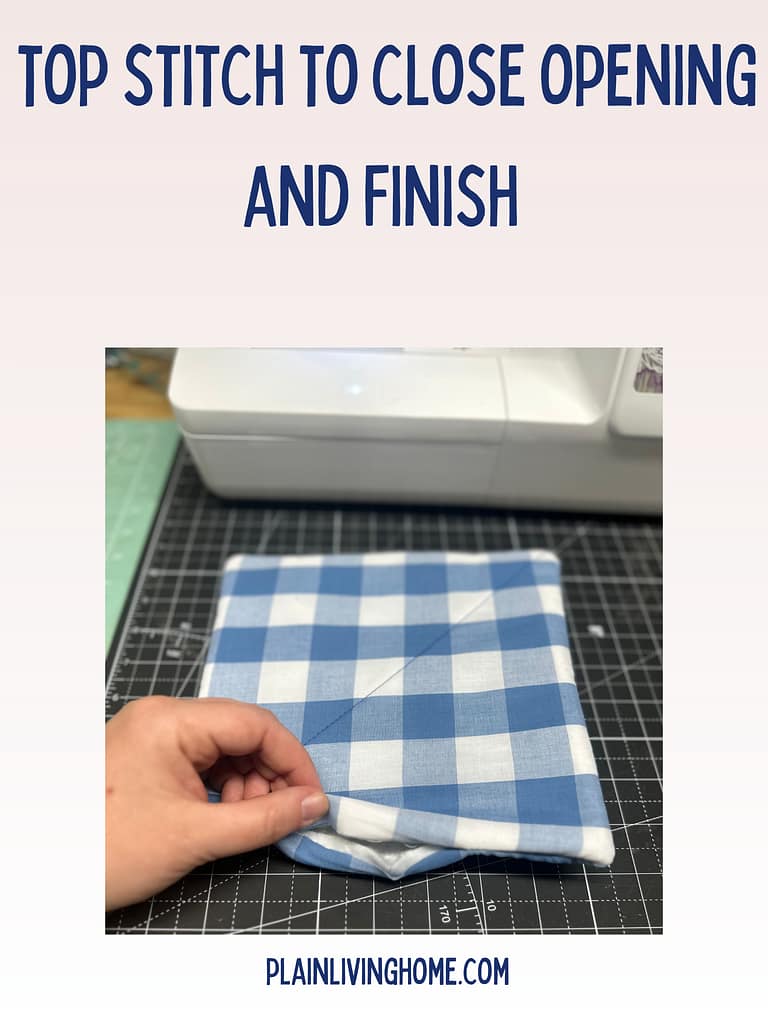
Beginning near the turning opening, topstitch around the entire hot pad approximately 1/8 inch from the edge. This closes the opening and creates a neat border.
Backstitch at the beginning and end.
If desired, add another diagonal quilting line in the opposite direction to create an X across the hot pad. Additional quilting helps keep all five layers together through repeated washing and use.
How to Wash a Handmade Hot Pad
Once the layers have been quilted securely, wash the hot pad in cool or warm water with a mild detergent. Tumble dry on low or lay it flat to dry.
Inspect the hot pad regularly. Stop using it for hot cookware if the fabric becomes scorched, the insulating layers shift, or the stitching opens.
Do not microwave the hot pad.
Ways to Customize Your Hot Pad
Once you understand the basic construction, you can make the project your own.
- Use coordinating prints on the front and back for a reversible hot pad.
- Make several from one collection of fat quarters.
- Add a second diagonal quilting line to create an X.
- Use contrasting thread for decorative topstitching.
- Add machine embroidery before assembling the layers.
- Sew a set in seasonal fabric for Christmas or fall.
- Add a hanging loop using my square hot pad with a hanging loop tutorial.
Complete embroidery before assembling the hot pad so the back of the embroidery remains hidden inside the finished project.
Handmade Gift Ideas
Hot pads are inexpensive, practical handmade gifts. Sew several from coordinating fabric and pair them with:
- A handwritten family recipe
- A casserole dish
- Wooden spoons or other kitchen utensils
- Homemade bread, cookies, or dry baking mix
- A matching apron
- Reusable cloth napkins
- A casserole-size hot pad
A coordinated kitchen set makes a thoughtful wedding, housewarming, hostess, Christmas, or Hope Chest gift.
More Beginner Sewing Projects
When you finish this hot pad, continue practicing with another useful project:
- How to Sew a Casserole Dish Hot Pad
- How to Sew a Square Hot Pad with a Hanging Loop
- How to Sew Cloth Napkins with Mitered Corners
- How to Sew a Half Apron
- How to Sew Reusable Jar and Bowl Covers
You can also return to the Beginner Sewing Guide for an organized path through sewing-machine basics, fabric, sewing terms, pattern reading, and first projects.
These hot pads also make a thoughtful addition to a sourdough gift basket. Pair them with a handmade bowl cover, a useful baking tool, and a homemade treat for a practical gift.
Frequently Asked Questions
Cut two 9-inch squares of cotton fabric, two 9-inch squares of cotton batting, and one 9-inch square of Insul-Bright. After sewing with a 1/4-inch seam allowance, the finished hot pad will measure approximately 8.5 inches square.
For this hot pad, use two layers of cotton batting with one layer of Insul-Bright sandwiched between them. The cotton batting helps absorb steam vapor, while the Insul-Bright reflects radiant heat back toward the cookware.
No. According to the manufacturer, it does not matter which direction the reflective side faces when making a hot pad. The important part is placing the Insul-Bright between cotton batting layers.
No. Insul-Bright and batting products are not recommended for microwave use. Never place this hot pad inside a microwave or conventional oven, and keep it away from open flames.
Yes. Machine-wash the finished hot pad in cool or warm water with mild detergent, then tumble dry on low or lay it flat to dry. Stop using it for hot cookware if the fabric scorches, the layers shift, or the stitching opens.
Final Thoughts
A simple square hot pad may be a small project, but it teaches several skills you will use again and again. You will practice cutting accurately, sewing through layers, maintaining a seam allowance, pivoting at corners, turning a project, pressing, and topstitching.
Do not worry if your first corners are not perfectly square or your topstitching wanders slightly. Finish the project, use what you learned, and make another one. Each small project builds the confidence and control needed for more advanced sewing.
About the Author
Kim is an adventurous mama of 5 who has been building new skills over 16 years of marriage. Over the past decade, she and her family have built a homestead from the ground up, starting with meat and egg chickens, growing into a large garden, and learning to preserve their harvest.
She taught herself to sew, crochet, and knit 13 years ago through books and early YouTube tutorials, and has been making handmade projects ever since.
Cooking from scratch became a necessity and a passion as her family learned to eat more nutritionally and live more frugally. She tests all of her sourdough and fresh milled flour recipes on the kids to ensure they’re delicious and nutritious.
At Plain Living, Kim shares what she’s actually lived — not theory, but the real skills she’s picked up through years of trial, error, and love for her family and home.
