Kitchen Staples: Never Run Out of these Essential Pantry Rations
Some links in this post may be affiliate links. That means I might make a small commission on qualifying purchases if you click the link. There is no extra cost to you.
Part of the homestead lifestyle is keeping your kitchen pantry stocked with the essentials. Essentially, you want to always be prepared. If you keep a pantry well stocked with basic organic ingredients, you are always ready to cook a meal from scratch. A well-stocked homestead pantry can save the day in so many situations. So, let me share with you some of the organic items I try to keep at all times!
As an Amazon Affiliate, I earn commissions on qualifying purchases through some of the links in this post.
Organic Baking Ingredients
Thankfully, a lot of organic ingredients can be purchased in bulk for a great price. Baking ingredients are especially easy to source for your homestead pantry. My essential baking ingredients include several different grains in berry form, raising agents, salts, spices and sweeteners.
grains
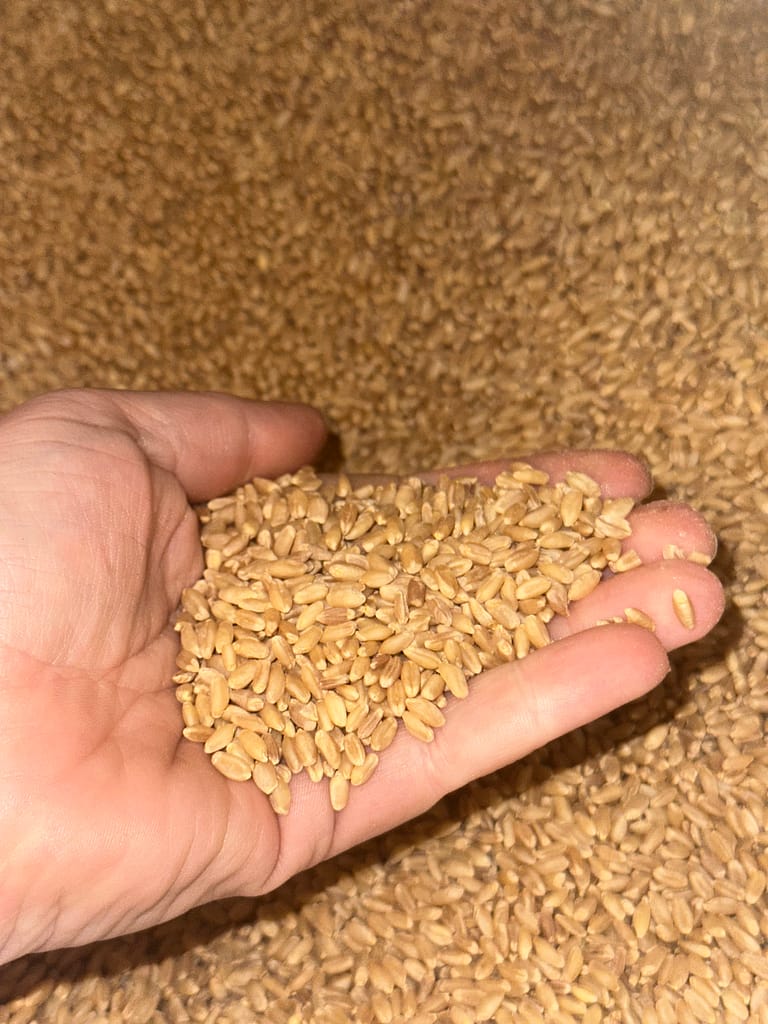
Four key grains to keep in your homestead pantry
This list is not exhaustive. But let me share with you the 4 grains I prefer to keep. You can expand this list to many more for yourself, but I find that I can do almost anything I want with these basics in my pantry.
I buy all of my grain in bulk through Azure Standard. But you can also try Bread Beckers, Amazon, and local health food stores.
hard red wheat
Hard red wheat berries are affordable when purchased in bulk. They have high protein content and make a delicious tasting bread. I’ve used fresh milled hard red wheat in brads, cookies, gravies and more with great success.
soft white wheat
Soft white wheat berries mill into a light and fluffy flour that’s great for cakes, cookies, tortillas and quick breads. It has slightly less protein and a milder flavor than red wheat, but stores just as well!
Spelt
Spelt has a plethora of health benefits. It is great for making breads and desserts. You’ll have to learn some new techniques because it a little different than wheat. But it offers some new flavors to add some flair to your kitchen.
Rye
Rye is great for all kinds of recipes. But where it truly shines is the steakhouse style pumpernickel brown bread! It gives a rich flavor and a dense texture that just begs for a pat of butter!
Additions for Grain Recipes
You can’t make breads or dessert with just grains. First you need to mill them. Then, you’ll need to add others ingredients to moisten, raise and sweeten various recipes. Here are my top 10 baking ingredients that I use almost every single day in the homestead kitchen:
- High Quality Salt. I use Redmon’s Real Salt, Baja Gold, or Celtic Sea Salt. Yes, the Baja is very expensive but worth it for special recipes. We love this one.
- Baking Powder. Of course, I would love to say that we ONLY use the high quality aluminum-free baking powder. But honestly, we tend to buy the Clabber Girl in bulk because it gives the best results.
- Baking Soda. Another incredibly useful and versatile ingredient. And, it can multitask in your homestead kitchen for DIY cleaning supplies and deodorizer.
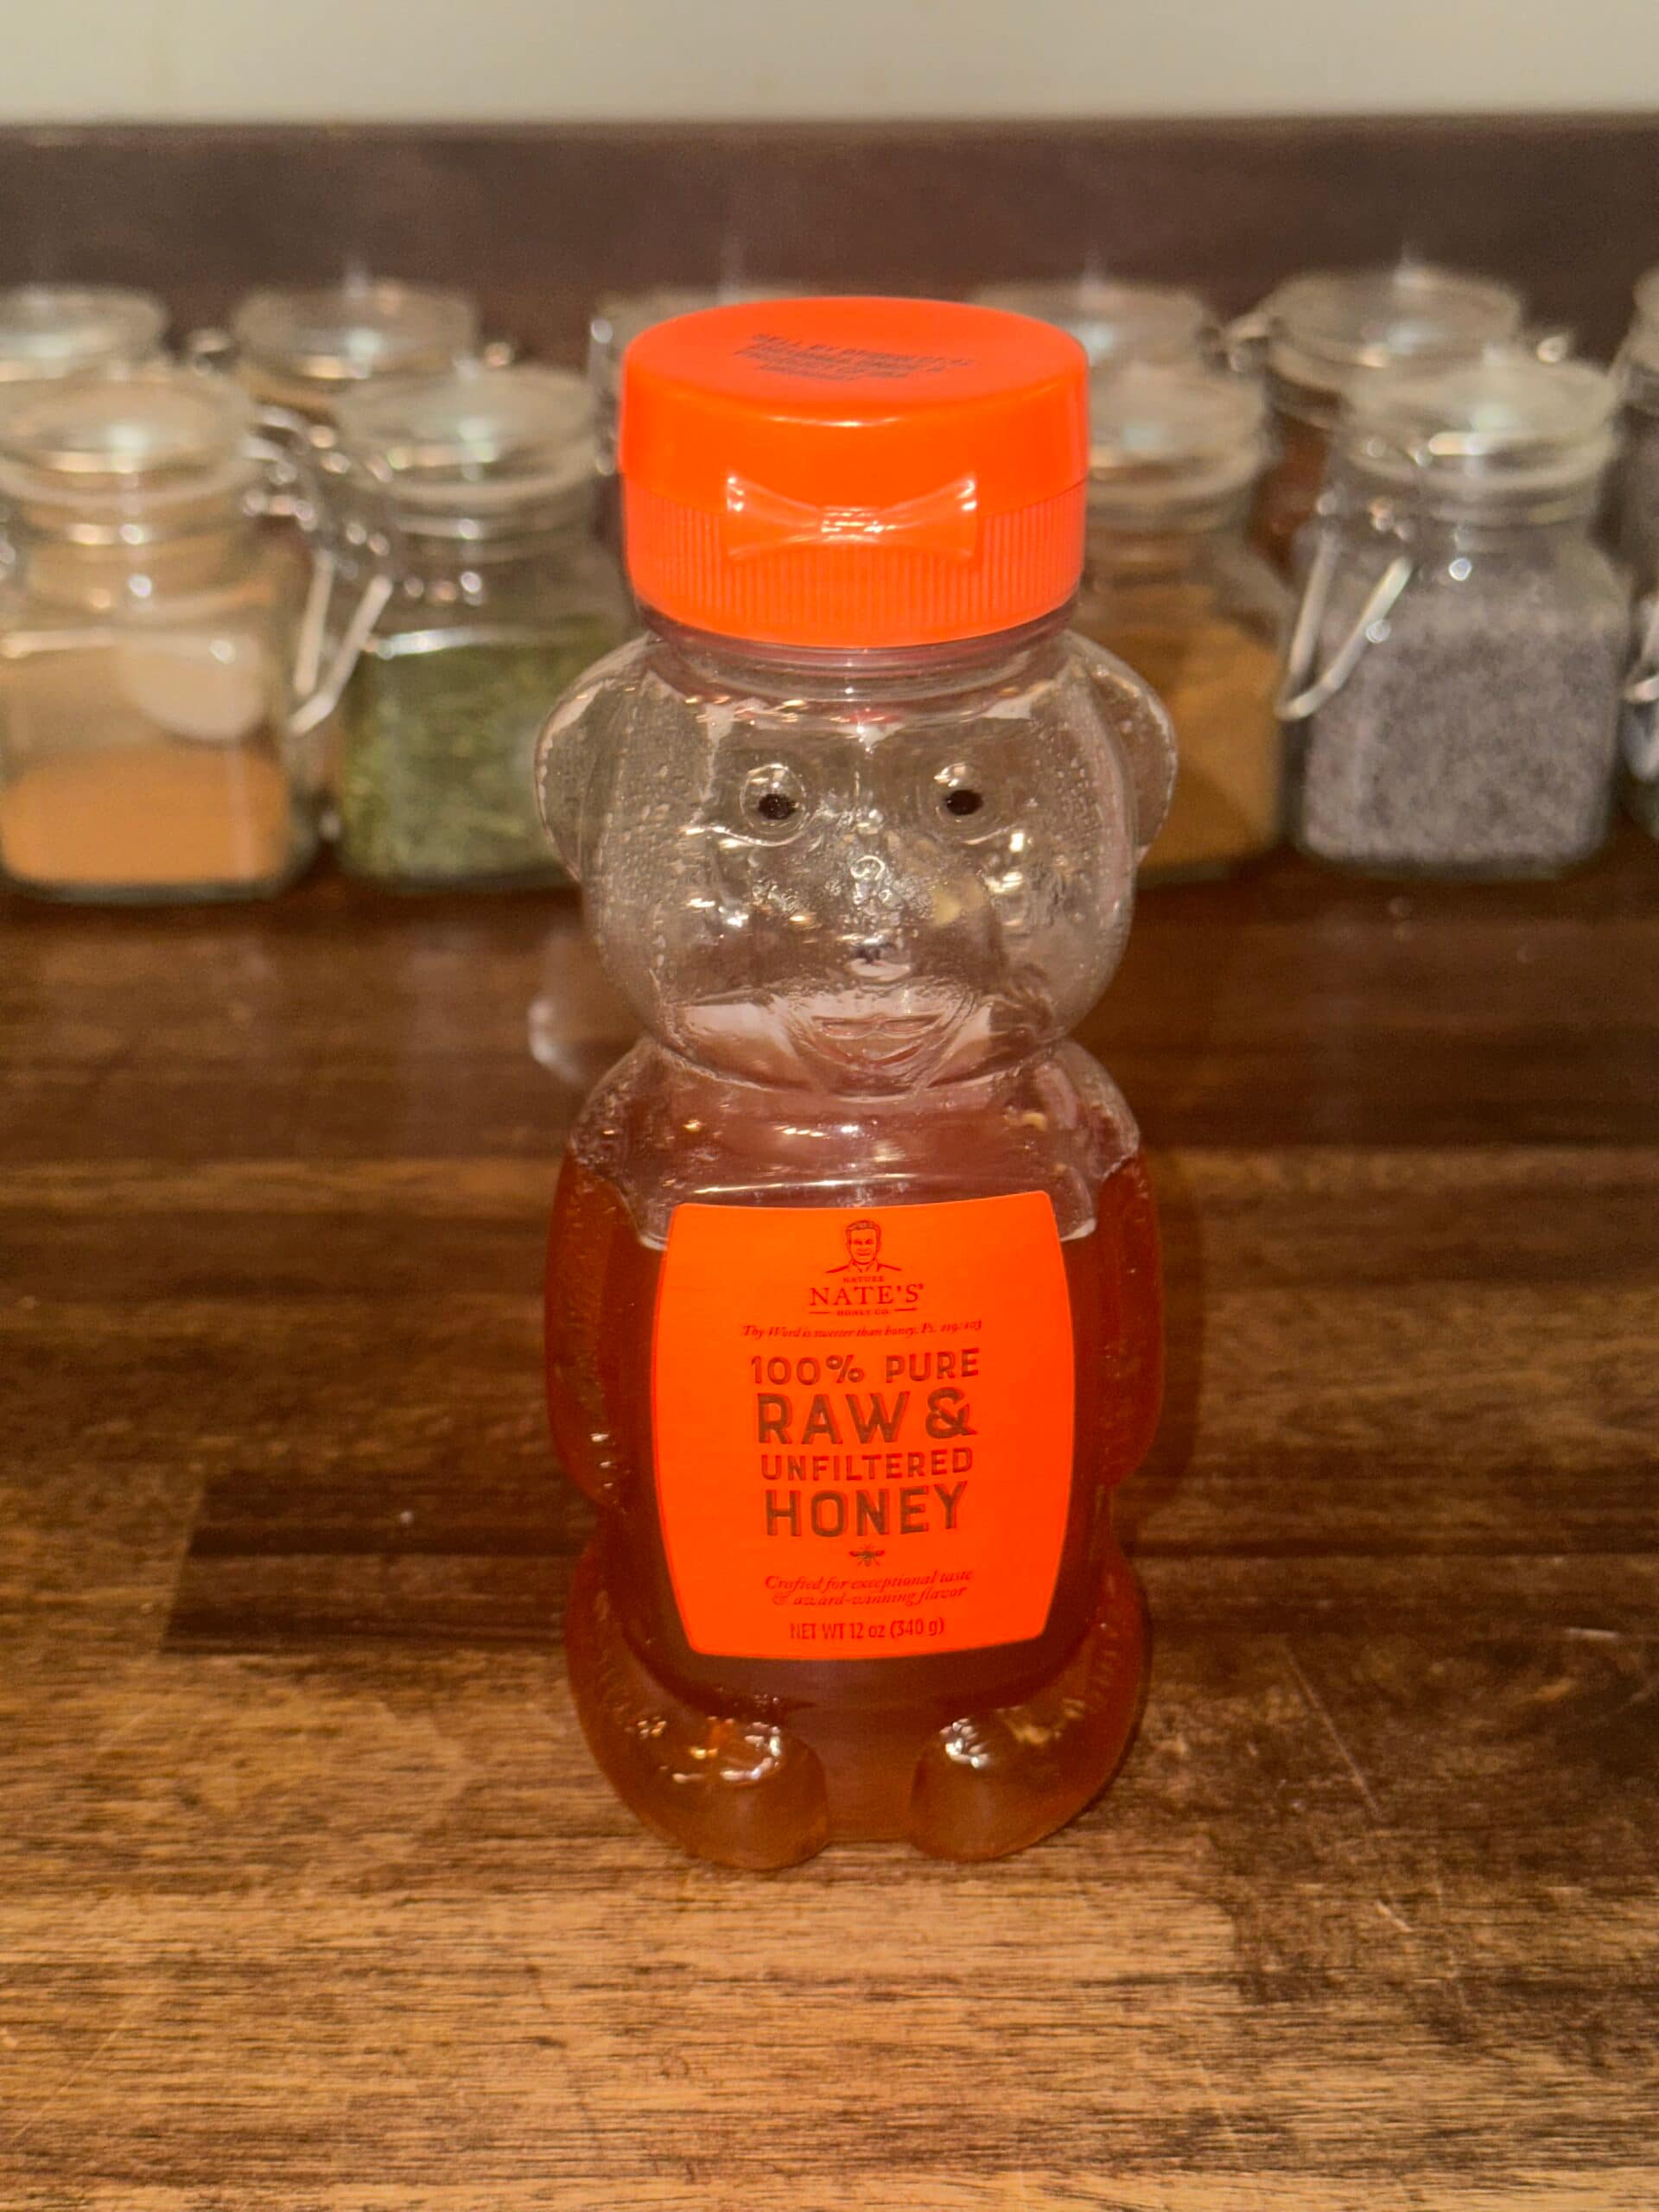
- Raw Honey. Honey is delicious in breads, on top of desserts, in teas. It can be used as a sugar replacement. And it’s very nutritious. unfortunately, we used to get in by the 5 gallon bucket but no longer have an affordable source, so we just get something like this.
- Cinnamon. Cinnamon is a wonderful spice that goes in so many wonderful from-scratch recipes. For example, think cinnamon rolls, chai, apple pie and more! We try to keep a good, high quality, REAL cinnamon in the pantry.
- Instant Yeast. I know, I know. We’re supposed to be doing sourdough on the homestead. But, sometimes real life with a bunch of kids and homestead can get in the way and I just need my bread to be ready quickly!
- Sunflower Lecithin. On their own, fresh milled flours sometimes need a little extra help to get strong and create a fluffy bread. Plus, lecithin contains a lot of necessary vitamins and minerals. I use this one and we love it!
- Butter. Okay, technically this isn’t a “pantry” item because it goes in the fridge. But, I really really prefer bread and baked goods made with butter rather than oil. Even breads that I use oil for the dough, I like to melt butter over the top of the bread while it’s still hot. For me, butter is worth every bit of your freezer space, and you can never have too much!
- High quality oil. Lately, my favorite oil for baking has been avocado oil. However, we also keep grapeseed oil around for seasoning our skillets, and it makes delicious baked good as well.
- Chocolate chips. These chips don’t have to just be chocolate. You can do white chocolate, peanut butter, caramel. Whatever delicious morsels you can find to add to cookies, pancakes, brownies, on top of cakes. This kitchen staple is SO versatile, I try to never run out. Our favorite is Lily’s. They aren’t organic, but they’re made with stevia and fair trade chocolate. Lastly, they offer lots of flavors.
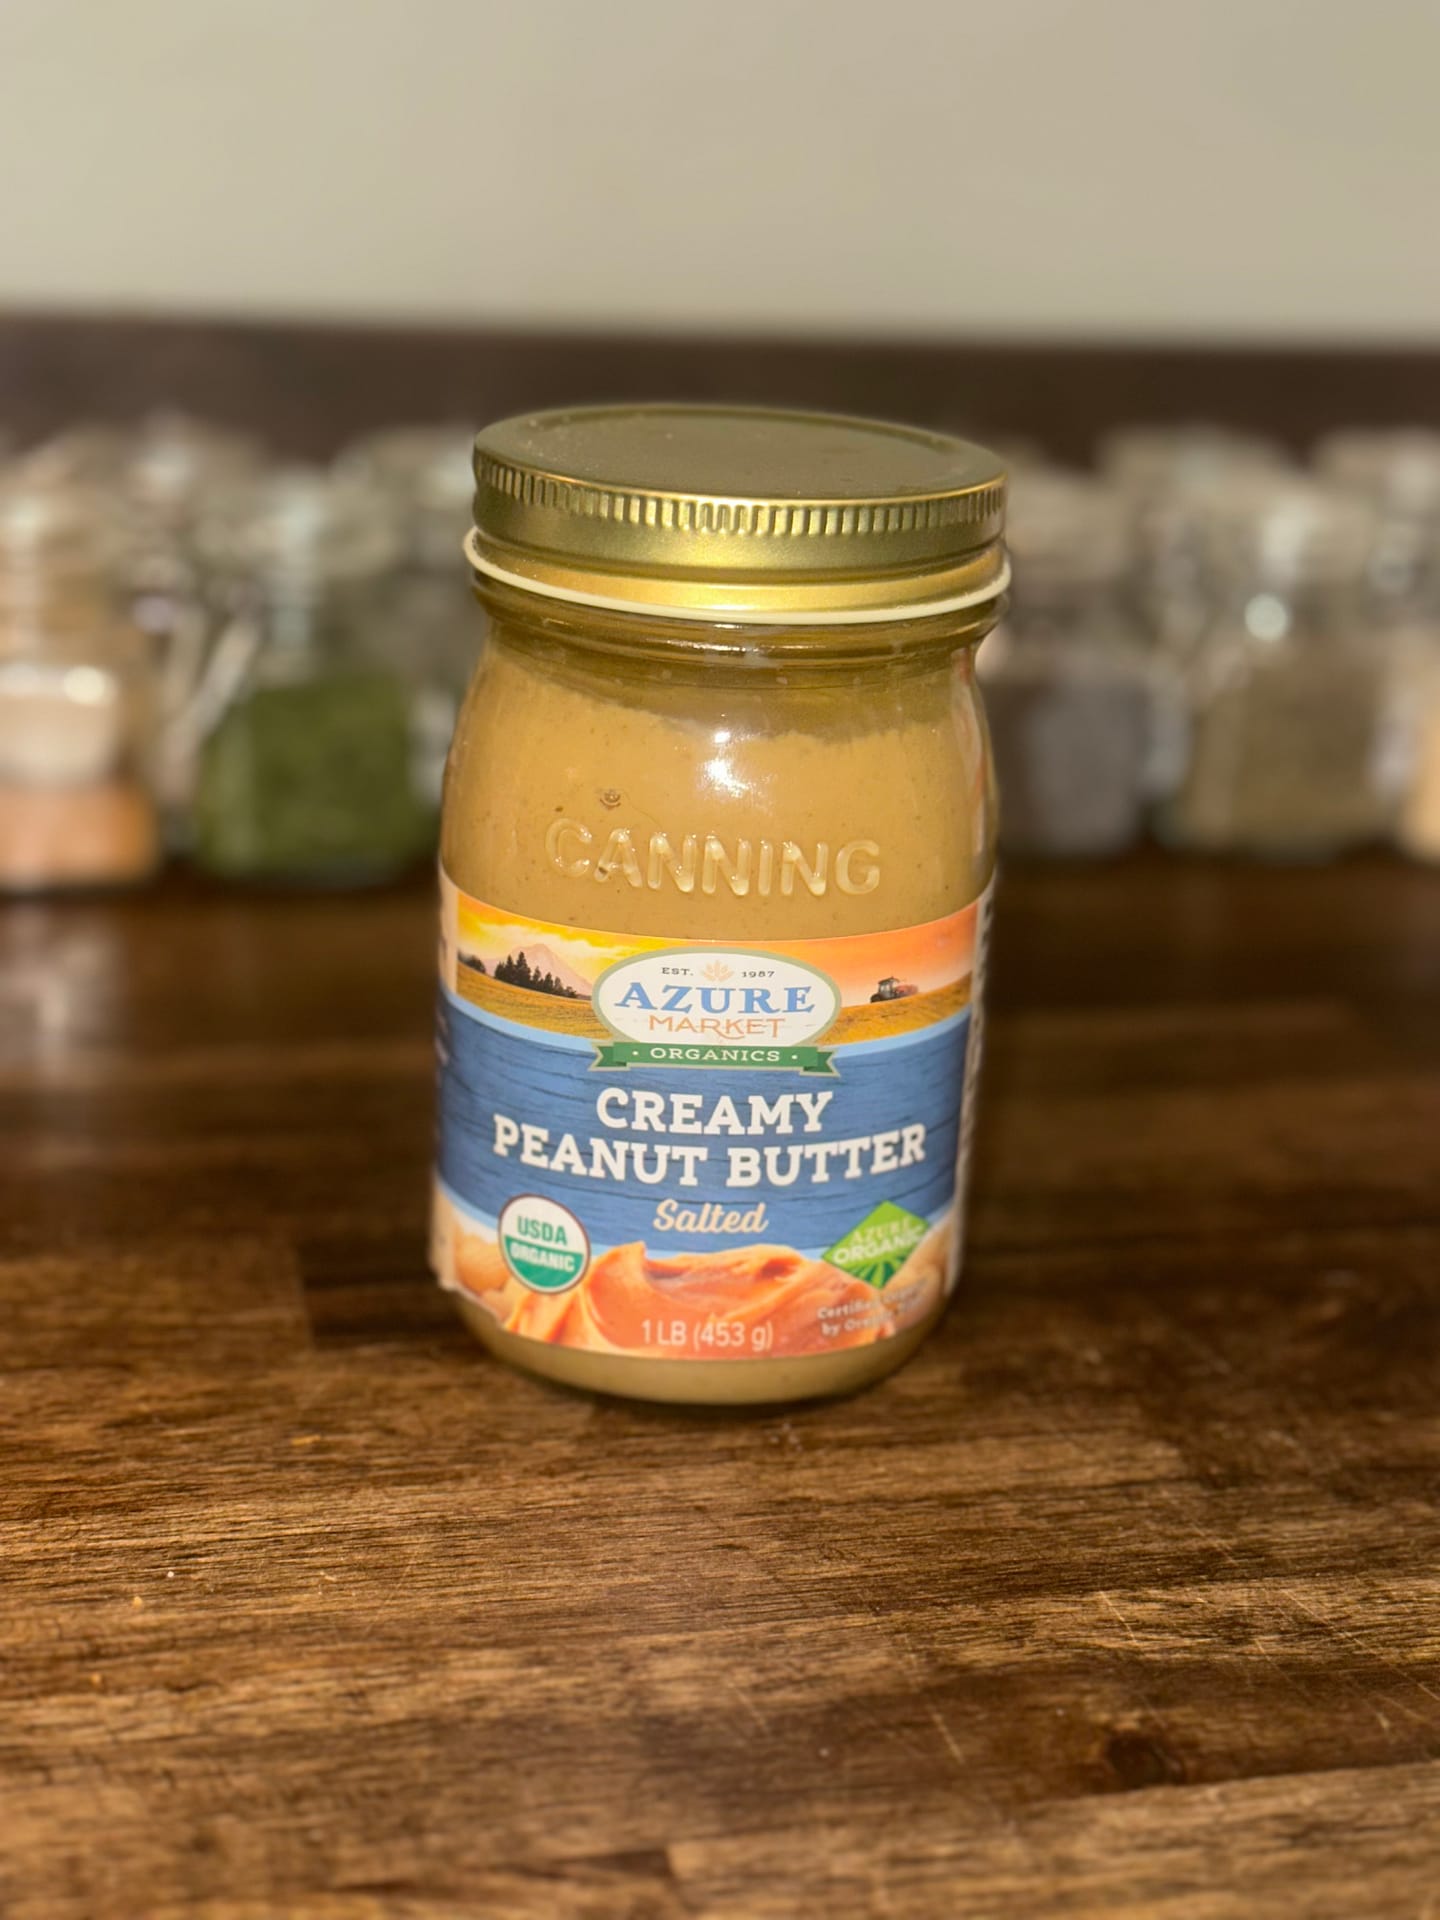
Peanut Butter in the Pantry
Yes. Of course, I’m giving peanut butter its own category. Because…Peanut butter is wonderful. You can put it into recipes. Or, you can smear it on a slice of bread. Then, a kiddo can make a sandwich with some homemade jelly from the homestead or the farmer’s market. Also, you can make candies with it. In fact, you can just eat it with a spoon! But, even better than that, it comes in so many different forms. So, here all the ways I keep peanut butter in my pantry:
- Creamy Natural Peanut butter- by the case from Azure Standard
- Crunchy Peanut Butter- I don’t like it but my family LOVES it. Also from Azure.
- Peanut Butter Powder. Just throw a scoop in ANYTHING!
- Peanut butter chips or morsels. Again, we use Lily’s. (not organic, but a better choice)
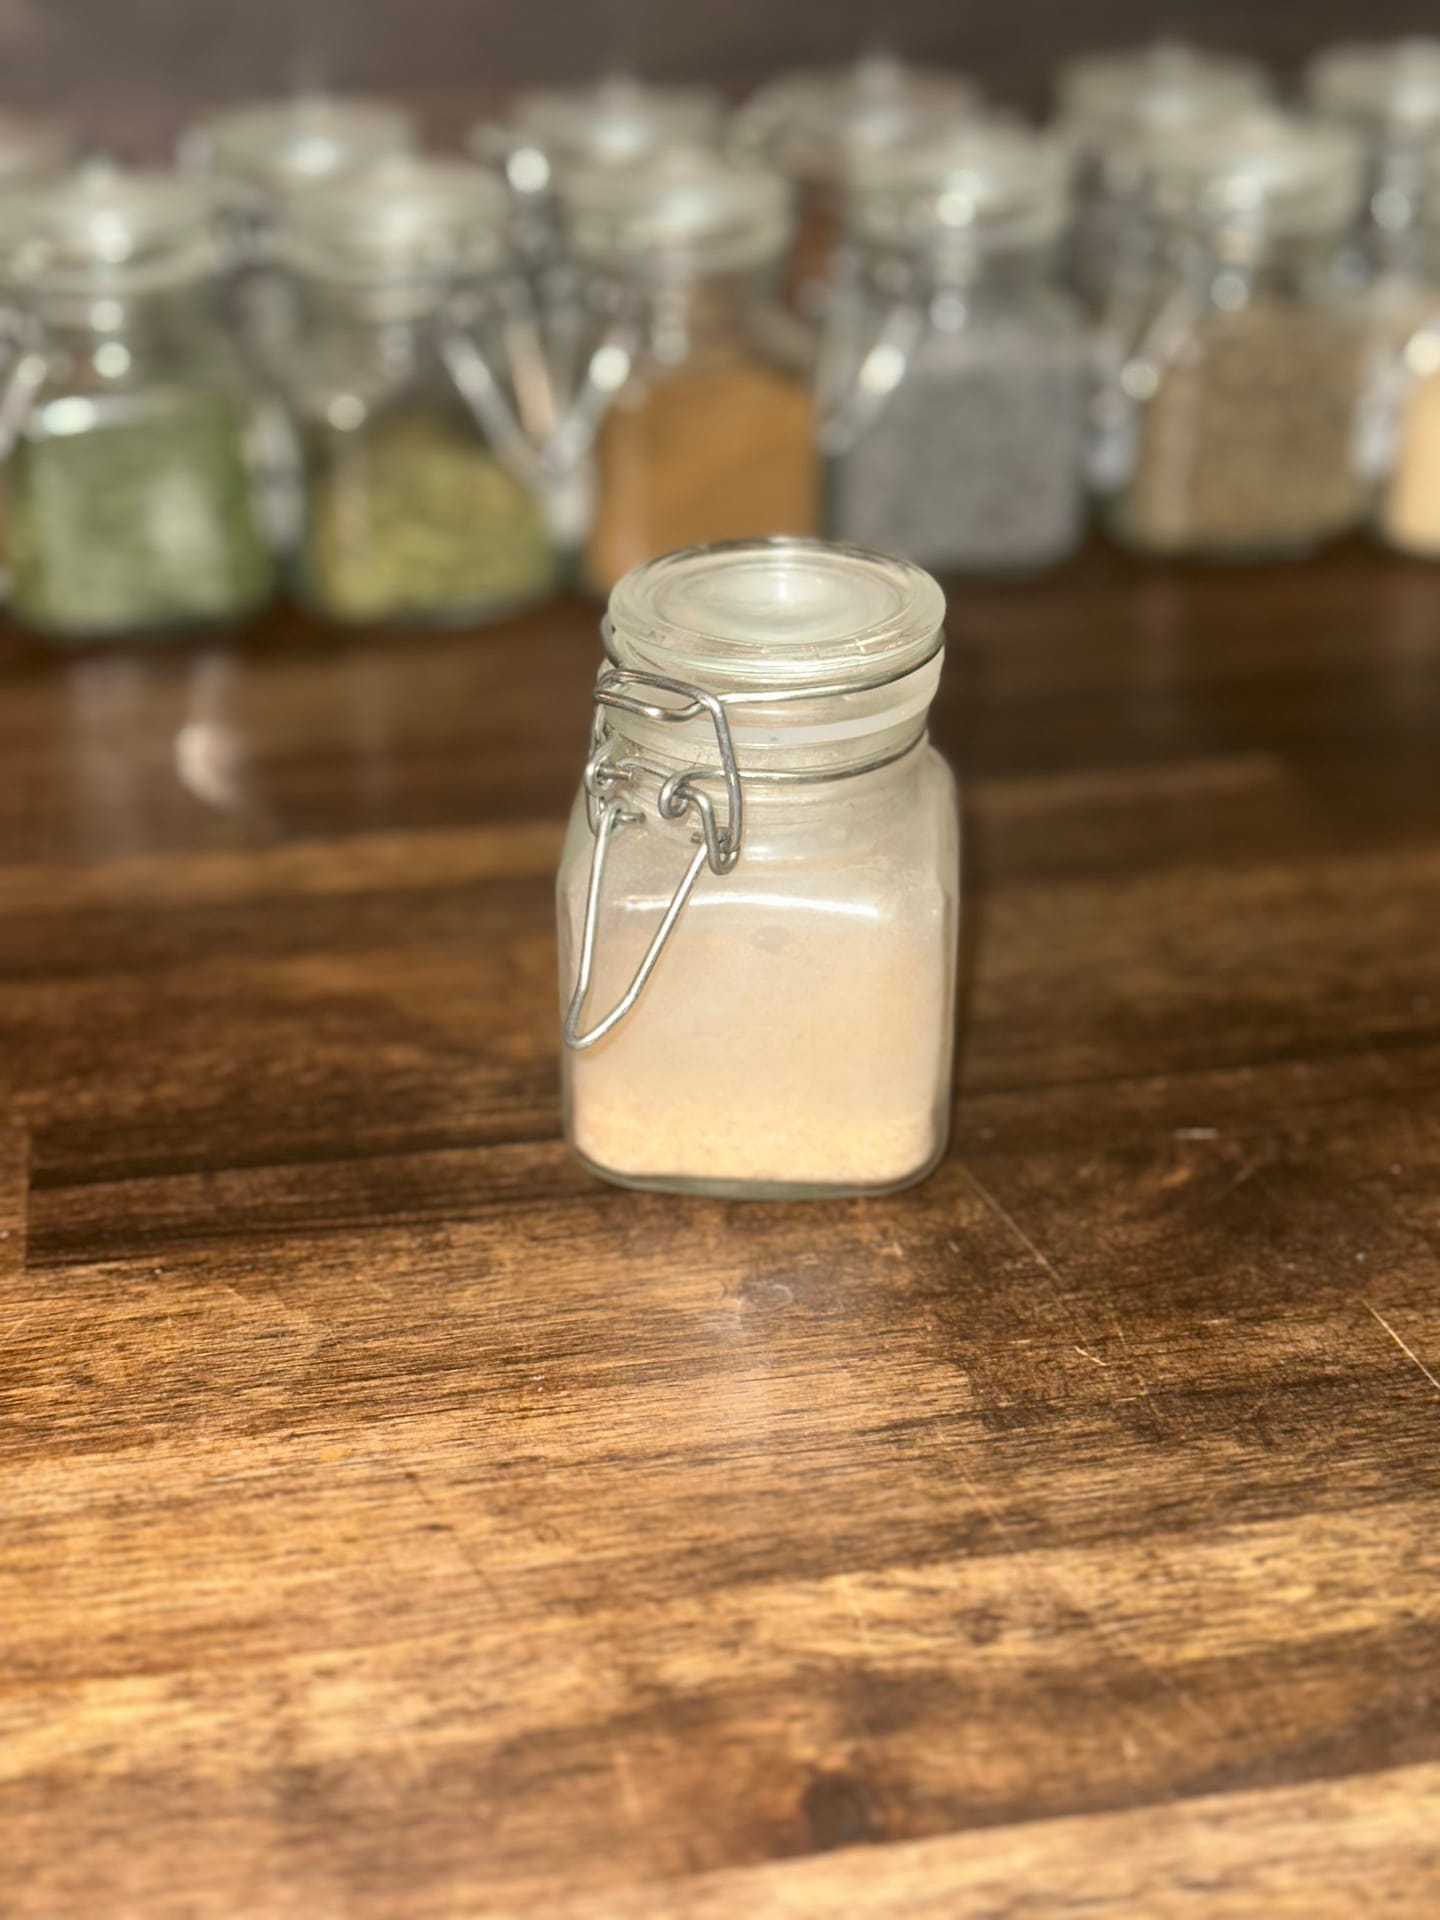
Herbs and Spices
Herbs and spices turn cooking into an art! With a sprinkle here and pinch there, you can transform a recipe into something marvelous. Spices make the difference between edible and irresistible! To save money, but in bulk and refill smaller containers to use regularly. Bonus: you can pick cute containers for kitchen decor! Lately, we have been using more sage and tarragon than ever before. And a good oregano makes this Greek meal to die for! I try to choose organic, freeze-dried options when available.
Some Fun Options
No homestead pantry is complete without some yummy snacks. We rotate through several different options. But, we always have 3 choices for a delicious snack! First, we keep pop corn. Not microwave in the bag full of chemicals pop corn. But real, organic, whole grain popping corn. We pop it in a dutch oven, drizzle with butter, and add a favorite seasoning mix. Ranch or dill ranch both make amazing popcorn toppings! Plus, if you keep those chocolate or other flavored chips, you can toss some in for a sweet treat.
Next, I keep nuts. Our favorite is cashews and we used them in several ways. They are delicious by the handful. And you can bake them with all kinds of different seasonings. They also make amazing knock-off Lara bars. Which brings me to the final pantry staple..
Pitted dates! Now, I buy my pitted dates in bulk from azure, but you can get them at any grocery store. The dates make a great snack by themselves, as a sweet items on a snack tray, or you can make faux snickers. Fill the date with peanut butter, drizzle with a bit of honey or some granule stevia, and top with a few chocolate chips. My kids love this and can make it for themselves in under 30 seconds!
Homestead Pantry to suit Your needs
Naturally, I hope my list is helpful for you. But let it be the law. Craft your pantry to your needs. Really, only stock what you know your family loves. Think through a few weeks worth of recipes and determines the items that you’re consistently grabbing for. Make a list and start building that homestead pantry up a little at a time. Maybe your family needs a gallon of mustard stored away. Or perhaps you are gluten free and wouldn’t dare keep wheat in the house. Regardless, you do you, boo.

Greek Chicken Bites
Ingredients
Method
- Mix yogurt, oil, lemon juice, and seasoning in a bowl.
- Add cubed chicken and coat thoroughly.
- Cover and marinate for 30 minutes or overnight.
- Preheat oven to 400°F.
- Line baking sheet with parchment paper.
- Spread chicken pieces evenly—don’t crowd.
- Bake for 20–25 minutes until crispy and cooked through.
Tried this recipe?
Let us know how it was!
White Chocolate Cranberry Granola Bars
Ingredients
Method
- Mix everything well.
- Line a baking sheet with parchment paper or silicone mat.
- Spread the batter across the pan. I use a rubber spatula, and then shape all the edges to be square and not touch the edge of the pan.
- Bake at 350 til the center feels set. Mine took about 28 minutes for a double batch but I think 20 minutes is a good starting point.
- Let them cool for 5 minutes and score with a knife into bars.
- Let cool another 5 minutes then move to cooking rack. This process helps shape the bars and make the cutting easier.
Tried this recipe?
Let us know how it was!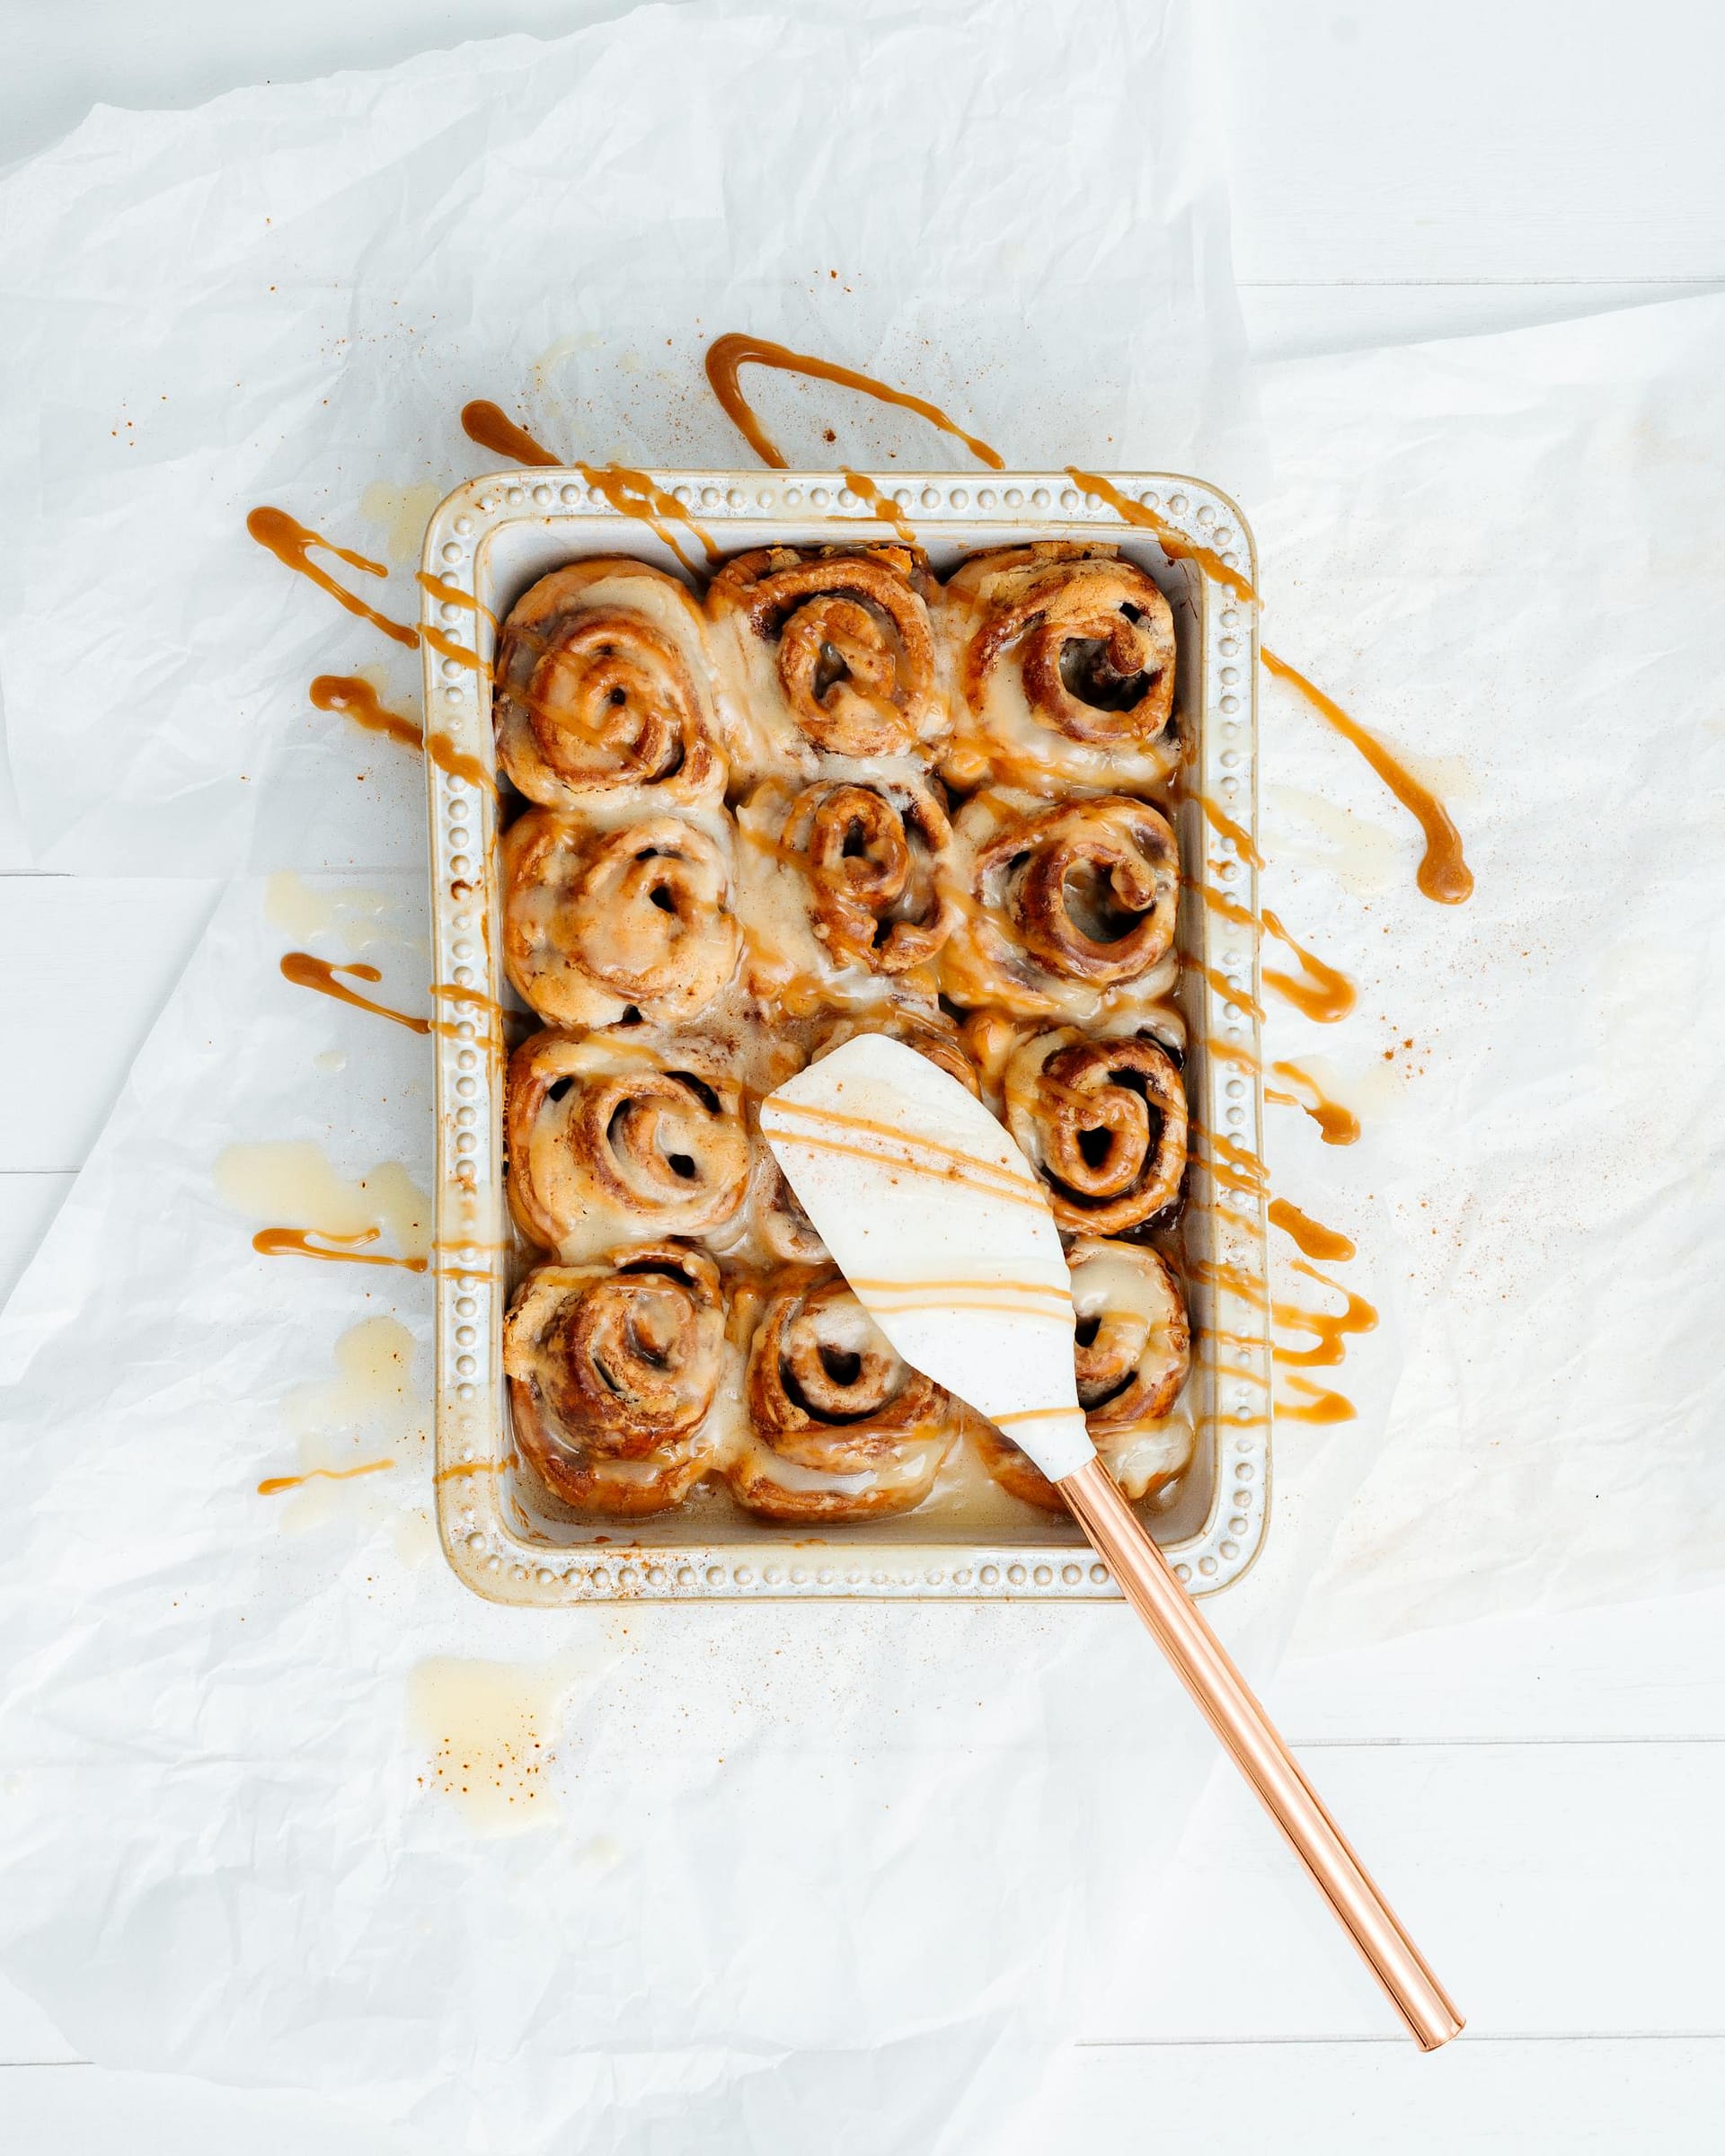
Sourdough Cinnamon Rolls
Ingredients
Equipment
Method
- Combine all dough ingredients in the bowl of a stand mixer. Knead with a dough hook until the dough is shiny. This can take 15 minutes sometimes. The dough will be a bit sticky.
- Cover the bowl with plastic wrap or a damp tea towel. Place it in a warm spot until doubled in size. If you keep it near the stove while cooking, it may rise in as little as 3-4 hours. It may take overnight to double if the areas is cool. When to gently touchtone top of the dough, it should no longer be sticky to the touch, and should feel soft and fluffy, almost cloud-like.
- In a separate bowl, combine all of the filling ingredients. The butter should be soft but not melted. You can pulse this mixture in a blender if your butter is still cold.
- Roll the dough out on a floured surface. Try to create a rectangle that measure about 8" x 12".
- Spread the filling across the entire surface of the dough. It should be evenly distributed.
- Starting on one long side, being rolling the dough tightly onto itself. Use your thumbs to lift the roll off the surface while using your finger to roll and tuck the filling in tightly as you roll. When you get to the end, pinch the seam together to seal the dough shut
- Cut the log into roughly 1" sections. Place these rolls into a greased skillet or on a sheet pan lined with parchment paper or silicone. Pack them in tightly so they will be forced to expand upward. Cover and allow to rise until double again.
- Preheat your oven to 375°. Once it comes to temperature, wait another 5 minutes or so to make sure it's nice and evenly hot. Bake the cinnamon rolls for 30 minutes, or until they're golden brown.
- Combine all icing ingredients with a fork or whisk. Pour or spread the icing over the tops of the cinnamon rolls, or on to individual rolls after serving.
Tried this recipe?
Let us know how it was!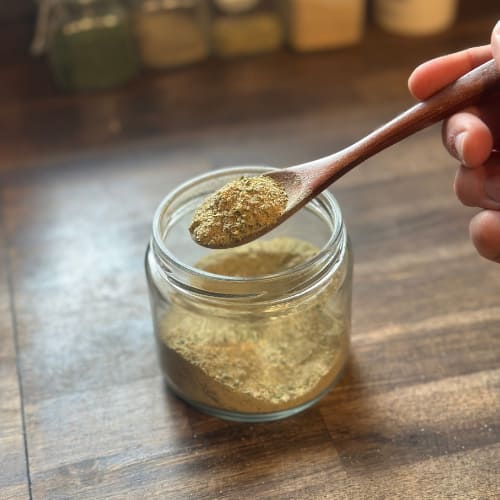
Homemade Greek Seasoning Blend
Ingredients
Equipment
Method
- Measure all dried spices into a bowl. Stir until mixed.
- If using rosemary or thyme, pulse in a spice grinder for a finer texture.
- Transfer the mix to an airtight jar. Label with date. Store in a cool, dark place up to 6 months.
Nutrition
Notes
Tried this recipe?
Let us know how it was!
Jelly Filled Sourdough Pop Tart or Toaster Strudel
Ingredients
Equipment
Method
- In a large mixing bowl, whisk together the flour, salt, and sugar until evenly combined.
- Add all of the cold butter to the flour mixture and cut in using a pastry cutter, two butter knives, or your fingertips — working quickly so the butter stays cold. You’re looking for pea-sized butter pieces throughout the flour. Cold butter is what creates flaky layers, so do not let it warm up.
- Add the sourdough starter and stir until the dough just comes together. If the dough remains shaggy or dry, add cold water one teaspoon at a time, stirring between each addition, until it forms a cohesive dough. Do not overwork it — stop mixing the moment it comes together. Shape into a puck, cover the bowl with a damp towel or plastic wrap, and move to the next step.
- Allow the dough to ferment at room temperature for a minimum of one hour, or refrigerate overnight for up to one week. The longer the ferment, the deeper and more complex the flavor — and the more digestible the dough becomes. An overnight fridge ferment is the sweet spot for both flavor and convenience.
- Lightly flour your work surface. Divide the dough in half and roll one half out to approximately 1/8″ to 1/4″ thick, aiming for a rectangle roughly 8″ by 12″. Trim the uneven edges with a knife, pizza cutter, or bench scraper to make clean straight lines. Cut the rectangle into 4 equal strips. Repeat with the second half of dough. You should have 8 strips total — enough for 4 finished pop tarts.
- Place one generous tablespoon of your chosen filling onto one half of each dough strip, leaving at least a 1/2″ border around the edges. Do not overfill — the filling expands during baking and too much will burst the seams. Brush the exposed edges of the dough around the filling with egg wash.
- Fold the unfilled half of each dough strip over the filling and line up all three open edges carefully. Press firmly along all three edges with your fingers first to seal, then crimp with the tines of a fork all the way around for a secure, decorative edge. Brush the entire top surface of each pop tart with egg wash for a golden, shiny finish.
- Place the assembled pop tarts on a parchment-lined baking sheet. Bake at 375°F (190°C) for 20 to 25 minutes, until the pastry is puffed, golden brown, and cooked through. Check at the 20-minute mark — oven temperatures vary. Remove from the oven and allow to cool on the baking sheet for at least 10 minutes before glazing.
- While the pop tarts cool, whisk together 1 cup of powdered sugar, 2 to 3 tablespoons of milk, and a splash of vanilla extract until smooth and pourable. The glaze should be thick enough to hold on the surface but thin enough to drizzle — add milk one teaspoon at a time to reach the right consistency. For a fruit-flavored glaze, stir in one teaspoon of jam matching your filling flavor. Once the pop tarts are fully cooled, spoon the glaze over the top of each one and allow it to set for 10 minutes before serving. To serve toaster strudel style, pour the glaze into a small dish and let everyone drizzle their own.
- Serve warm with a glass of cold milk, a hot coffee, or a cup of tea. Store cooled pop tarts in an airtight container at room temperature for up to 3 days, or freeze between layers of parchment for up to 2 months. Reheat from frozen in a toaster oven at 325°F for 8 to 10 minutes.
Notes
- Starter: Active, discard, or anywhere in between — all work equally well; no adjustment needed
- Ferment time: Minimum 1 hour at room temperature; overnight in the fridge (8–12 hours) gives the best flavor and digestibility
- Dough too dry? Add cold water one tablespoon at a time until the dough just comes together — don’t overwork it
- Filling quantity: No more than 1 generous tablespoon per pop tart — overfilling causes burst seams
- Egg wash: Brush edges before crimping to seal, then brush the top before baking for golden color; substitute melted butter if needed
- Icing: 1 cup powdered sugar + 2–3 tbsp milk + splash of vanilla; add fruit jam for flavored icing
- Savory option: Skip the sugar filling and icing; fill with cheese, egg, or meat for a savory breakfast pastry
- Storage: Airtight container at room temperature up to 3 days; freeze up to 2 months between parchment layers
- Reheat: Toaster oven at 325°F for 8–10 minutes from frozen; microwave works but softens the pastry
- Camping tip: Wrap individually in parchment — delicious at room temperature, no reheating needed
- Gift idea: A dozen wrapped in parchment and tied with twine makes a beautiful handmade food gift
Tried this recipe?
Let us know how it was!Dilly Potato Salad
Tried this recipe?
Let us know how it was!
Sourdough Creamy Chicken Pot Pie
Ingredients
Equipment
Method
- This recipe can be quick and easy if you do all the prep work before you start assembling the pie. Dice all your vegetables and have them ready in a bowl. Cook and shred your chicken and have your milk and chicken broth ready to use. Your sourdough biscuits should have been made the morning before or a day ahead, so you should pull those out, roll and fold the dough and cut the biscuits out.
- Once everything is prepped and ready,, heat a cast iron skillet over medium heat for 5 minutes. Add a pat of butter, then sauté the onions, carrots, celery until translucent. Next add in some flour or some sourdough starter (discard or active), and stir until the butter is well absorbed and flour is cooked. Slowly whisk in milk and chicken broth to create a gravy. Add in potatoes and allow everything to simmer while gravy thickens.
- Next stir in any peas or corn and level off the filling so that it's smooth in the pan. Top the filling with shredded cheese. Finally, arrange your biscuits over the top of the pie. Bake at 400 degrees until tops of biscuits are golden brown. Allow the entire pie to cool for 5-10 minutes before serving.
Notes
- Sourdough discard can be used directly to thicken gravy or combined with flour for extra structure.
- Long fermented sourdough biscuits improve digestibility and flavor.
- Sharp cheddar or pepper jack cheese adds depth and richness to the filling.
- This recipe works well with leftover chicken or rotisserie chicken for a quick meal.
- Filling can be made ahead and stored for easy weeknight dinners.
- For a thicker gravy, simmer a few extra minutes before adding biscuits.
Tried this recipe?
Let us know how it was!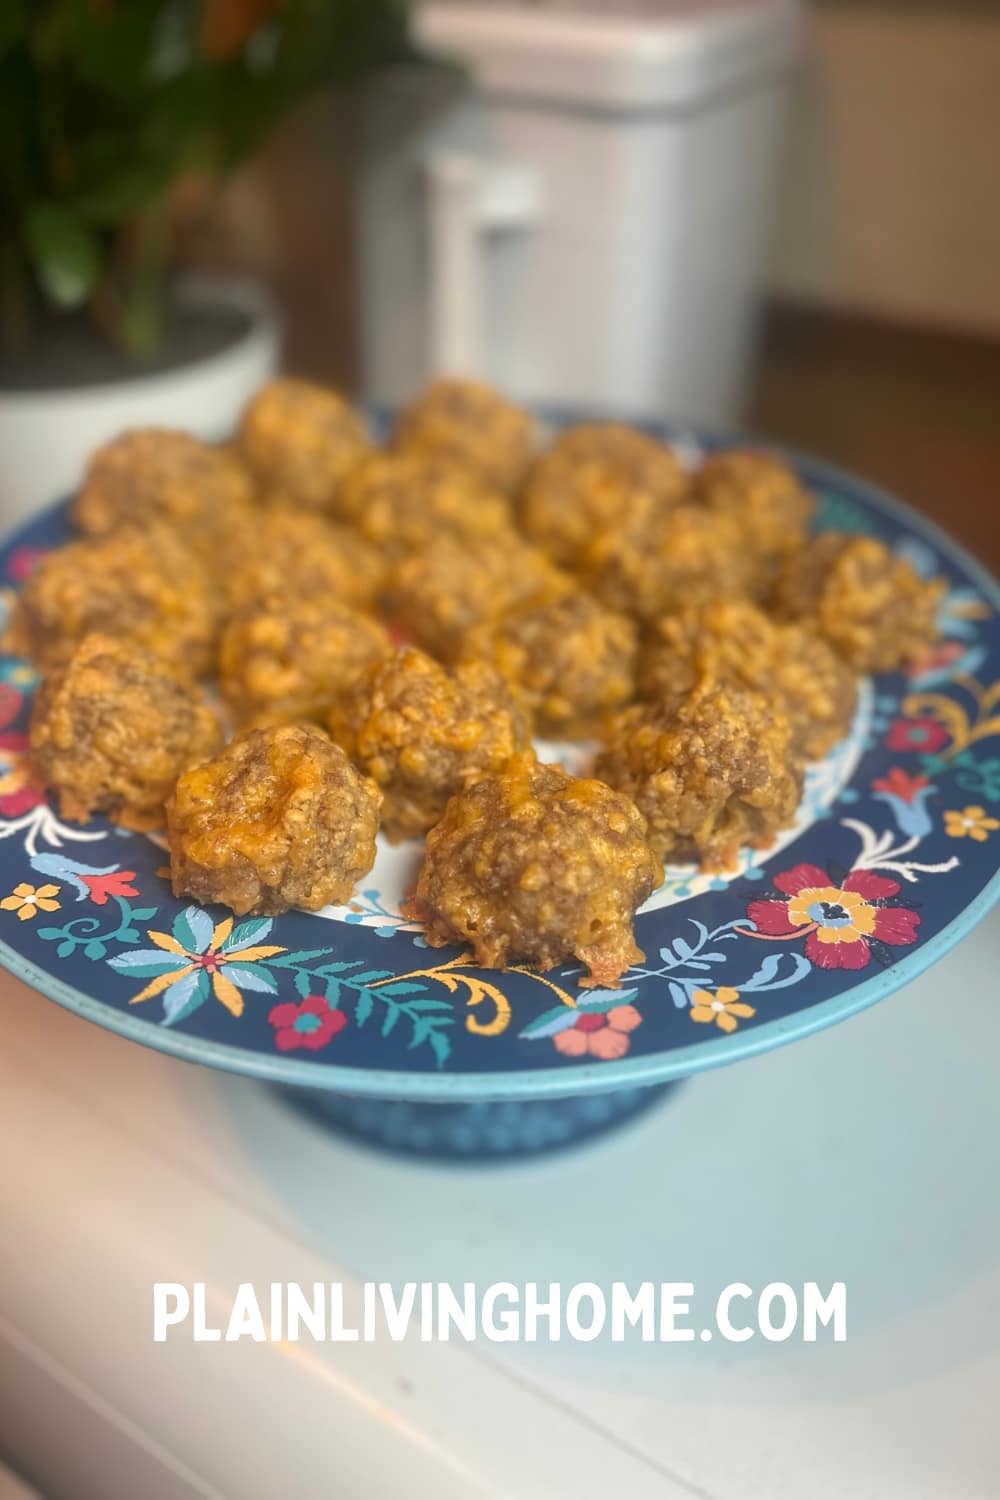
Sausage Balls
Ingredients
Equipment
Method
- Grate your cheese.
- Preheat your oven to 375°.
- Mix sausage, flour, and grated cheese until well incorporate. Use your hands or a stand mixer. Don't overwork it. You're not kneading, just mixing well.
- Scoop and roll into 1" balls.
- Place on a parchment lined baking sheet. Make sure the sausage balls aren't touching each other.
- Bake at 375° for 20-25 minutes, until the edges are crispy.
Nutrition
Notes
- Freshly Grated Cheese: Pre-shredded cheese has anti-caking agents that can make sausage balls dry. For best melt and texture, always grate your own.
- Sausage Choices: Mild breakfast sausage keeps them family-friendly. Hot or spicy sausage gives extra kick. Maple sausage is great for breakfast spreads.
- Make Them Ahead: Mix and roll the sausage balls the night before, cover tightly, and refrigerate. Bake fresh the next morning for warm, cheesy bites without the morning mess.
- Freezer Tip: Freeze unbaked sausage balls on a baking sheet, then store in a freezer bag. Bake from frozen—no need to thaw.
- Add a Splash of Milk: If your mixture feels crumbly or too dry, add 2–3 Tbsp of milk before rolling. This keeps the texture soft and tender.
- Serving Size Guide: A 1-inch ball is perfect for appetizers (about 24 per batch). For bite-sized party food, roll smaller (~36). For hearty breakfast portions, roll larger (~18).
- Gluten-Free Swap: A 1:1 gluten-free flour blend works perfectly in place of all-purpose.
- Air Fryer Method: Cook at 375°F for 10–12 minutes, shaking the basket halfway through. This makes them slightly crispier and cuts down on bake time.
- Reheating Tip: Warm leftovers at 350°F for 8–10 minutes. Microwaving works in a pinch, but the oven keeps them crispy.
- Dip Pairings: Ranch, honey mustard, BBQ sauce, and marinara are classics. For holidays, try cranberry sauce or pepper jelly.
Tried this recipe?
Let us know how it was!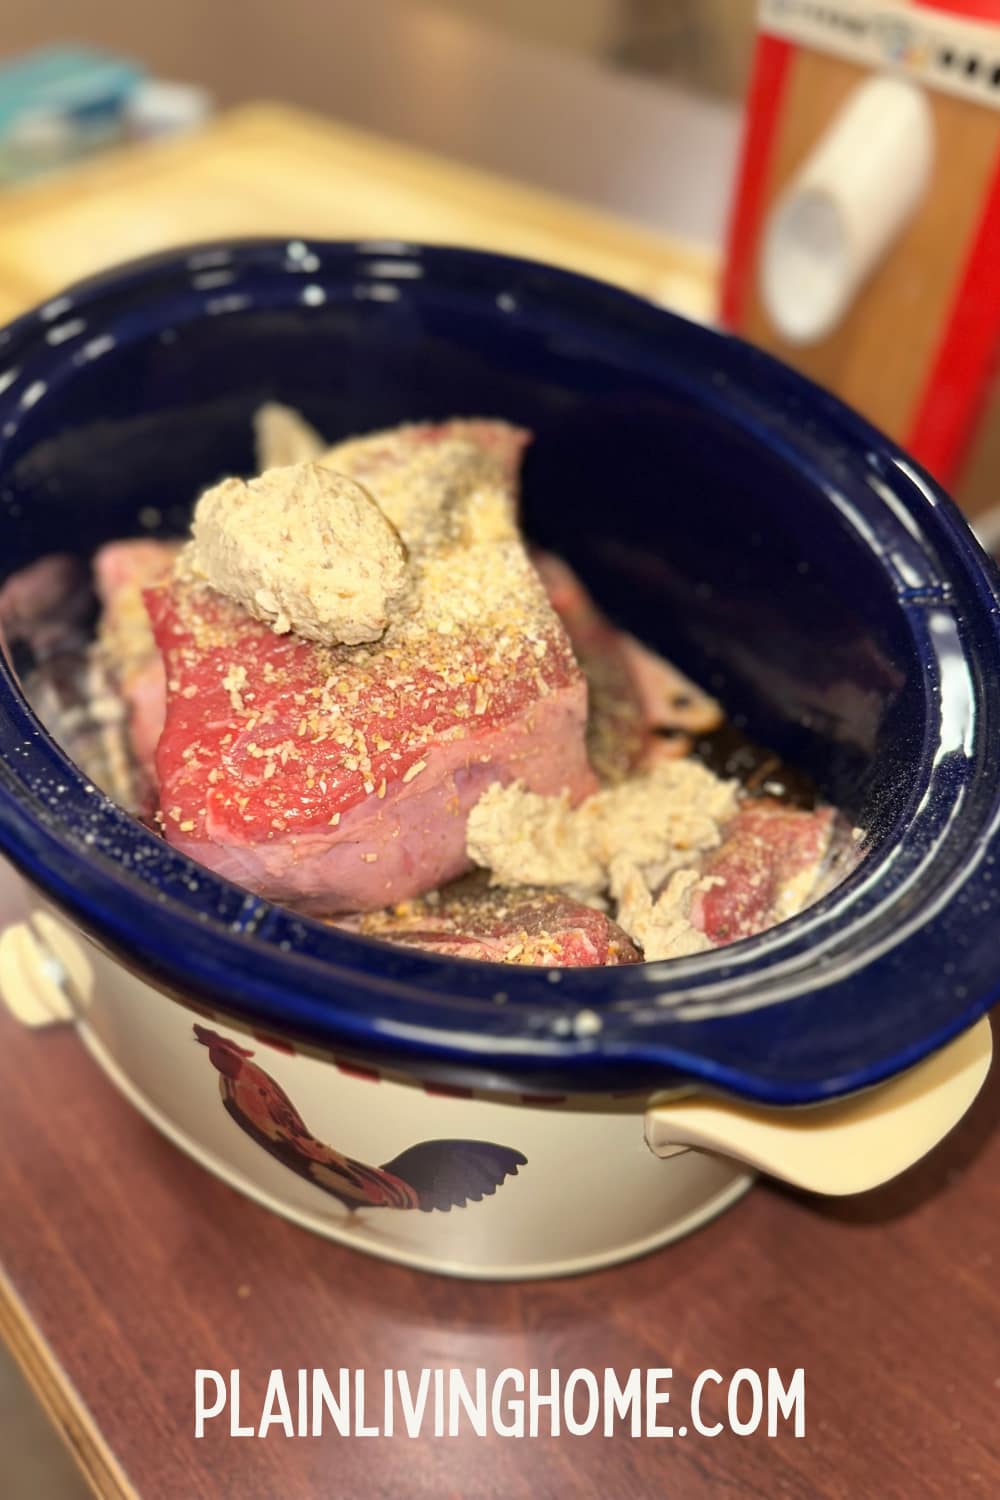
Traditional Pot Roast
Ingredients
Equipment
Method
- Place roast in the bottom of your slow cooker.
- Spread cream of mushroom soup over the top.
- Sprinkle bouillon, dehydrated onions, garlic powder, salt, and pepper over everything.
- Cover and cook on low for 8–10 hours, or until roast is fork-tender.
- Shred the meat and stir it back into the gravy before serving.
Nutrition
Notes
Cream of anything – Feel free to swap the canned soup with my homemade cream of anything soup to avoid processed ingredients and adjust the flavors.
Make-ahead friendly – You can prep this the night before and store the crock pot insert in the fridge.
Leftovers – Shredded roast makes excellent sandwiches or can be tucked into quesadillas.

This post is such a helpful guide for building a well-stocked homestead pantry! I love that you included details on grains like hard red wheat, soft white wheat, spelt, and rye, plus all the baking essentials like raw honey, salts, and high-quality oils. Living here in Georgia, it’s so important to keep bulk pantry staples on hand for family meals, potlucks, and community gatherings—especially since we love cooking from scratch in the South. I really appreciate that you share affordable bulk sources like Azure Standard too. This list makes me feel ready for everything from daily bread baking to holiday cooking!