How to Make Cutting Board Balm to Restore Wood
Some links in this post may be affiliate links. That means I might make a small commission on qualifying purchases if you click the link. There is no extra cost to you.
This homemade cutting board wax recipe turns two simple ingredients into an easy-to-use balm stick for wooden cutting boards, butcher blocks, and unfinished wooden kitchen tools. The 3-to-1 blend of food-grade mineral oil and pure beeswax is firm enough to hold its shape in a paper tube, but soft enough to glide over the wood and massage in easily.
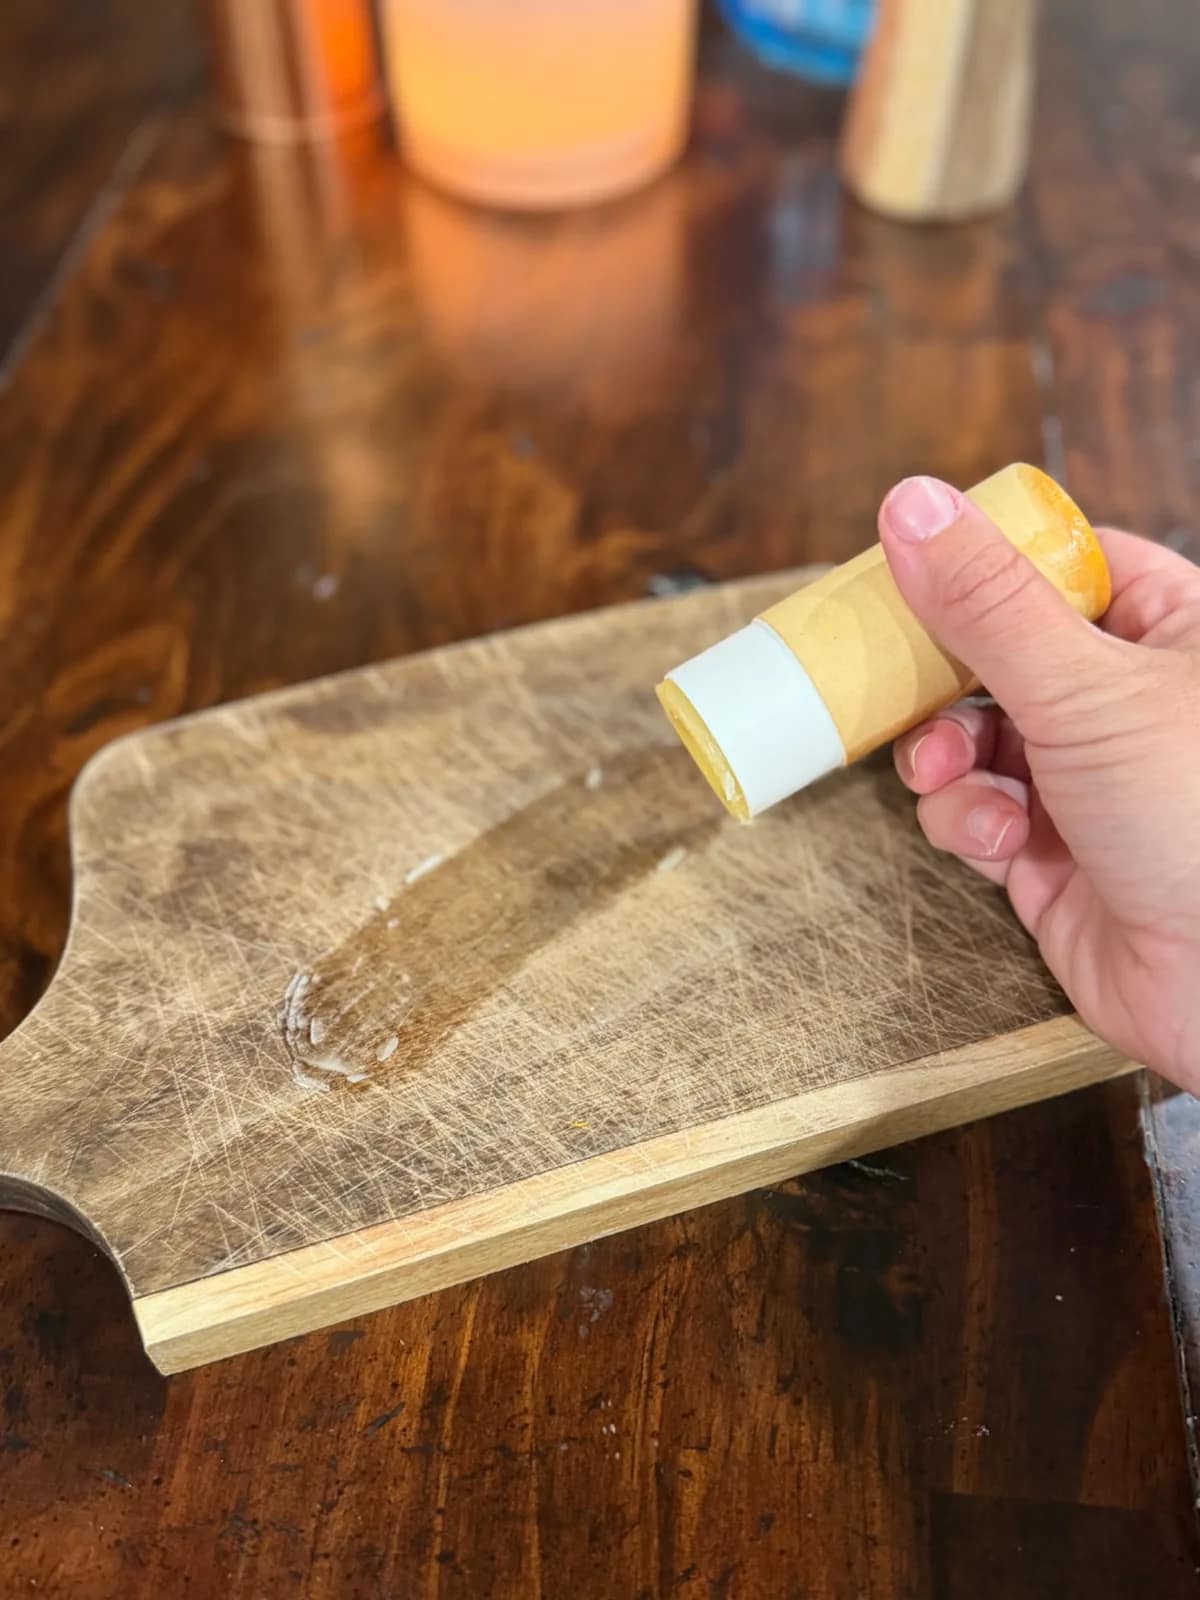
I first made these cutting board balm sticks as part of the homemade gift bags for our friends’ farmers market party. The push-up tubes made them feel special enough to give away, but after using the balm on several cutting boards and my wooden sauerkraut packer, I realized how practical the packaging is, too. There is no spooning wax from a jar and very little mess on my hands.
The original batch was much larger than most people need, so I scaled it down two ways: a gift batch that fills about twelve 2-ounce tubes and a small household batch that fills about two. Both keep the same consistency that worked so well in my original batch.
Want to Host your own Farmer’s Market Party to Share Your Handmade Gifts? Let me help!
Table of contents
- Want to Host your own Farmer’s Market Party to Share Your Handmade Gifts? Let me help!
- What Is Cutting Board Wax?
- Why Put Board Butter in Push-Up Tubes?
- Ingredients
- Supplies and Equipment
- How to Make Cutting Board Wax Sticks
- How to Apply Board Butter
- My Results on Cutting Boards and Wooden Tools
- How Often Should You Condition a Cutting Board?
- Turn the Balm Sticks Into Homemade Gifts
- Pair it With These Other Handmade Gifts
- Storage
- Frequently Asked Questions
- Cutting Board Wax Formula Card
What Is Cutting Board Wax?
Cutting board wax is also called board butter, wood butter, cutting board conditioner, or cutting board balm. It combines an oil that can soak into unfinished wood with wax that gives the mixture body and leaves a light protective coating on the surface.
This version is intentionally simple. It contains only:
- USP food-grade mineral oil
- Pure beeswax
This recipe uses USP food-grade mineral oil. Choose a product sold for cutting boards or other food-contact wood care and follow its label; the words “mineral oil” alone do not identify its grade. Federal regulations list specific permitted food uses and conditions for white mineral oil, but that does not evaluate every commercial product or this finished balm. Keep the balm for wood care only—it is not edible.
Why Put Board Butter in Push-Up Tubes?
You can store homemade board butter in a jar or tin, but the 2-ounce paper tubes make it especially convenient.
- The balm glides directly over the wood.
- You do not have to scoop it out with your fingers.
- The tube is easy to hold while working around handles and edges.
- It makes a useful handmade gift.
- The cap helps keep the balm clean between uses.
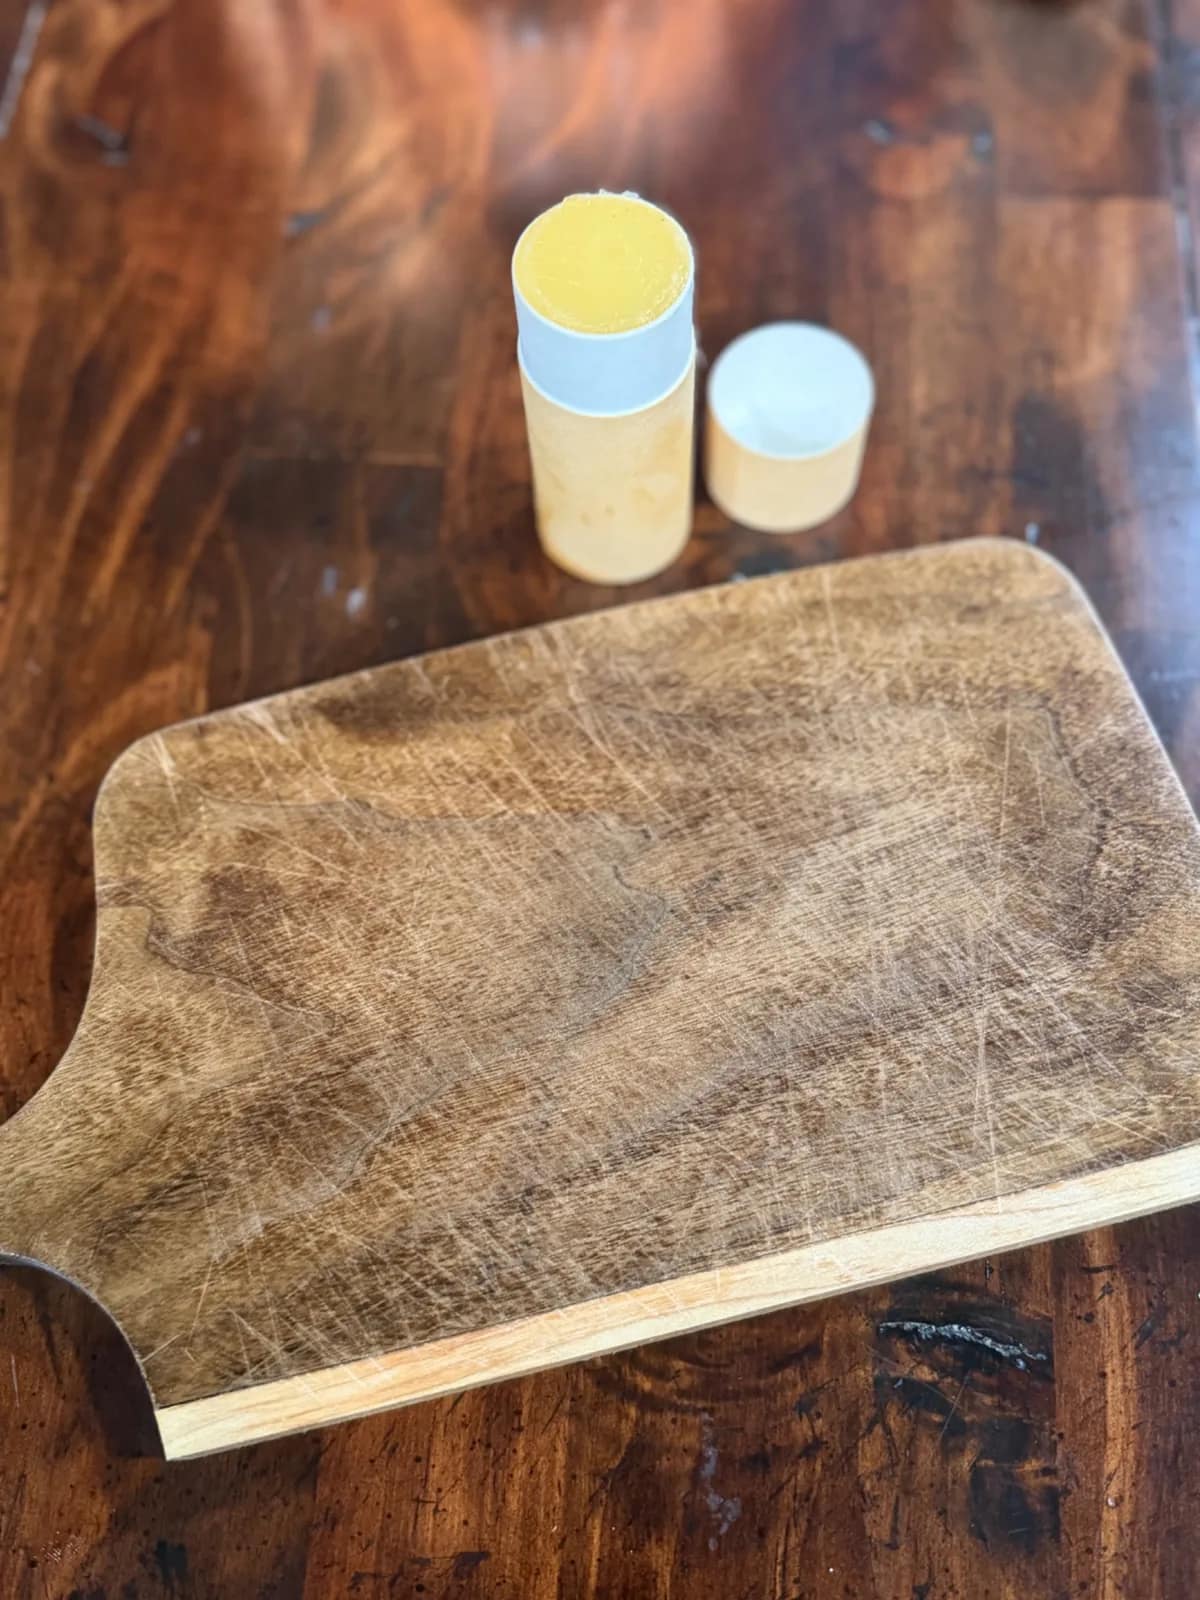
The finished balm has the consistency I wanted: it holds its shape but still pushes through the tube smoothly. It is not hard or crumbly, and it softens enough against the wood to spread easily.
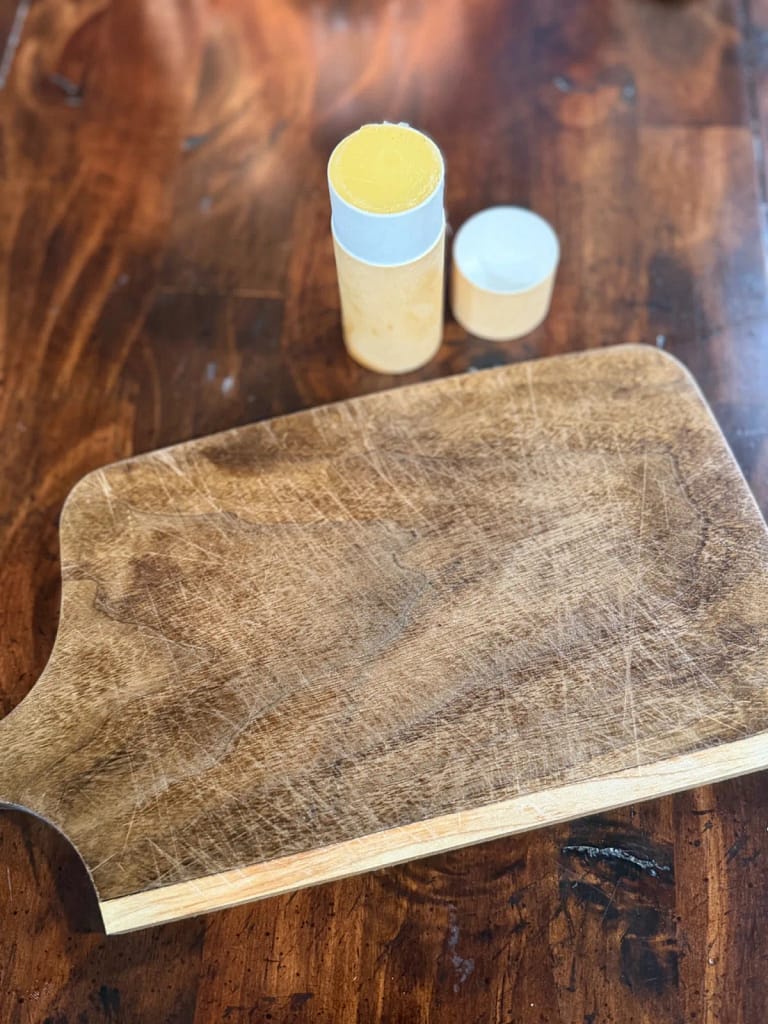
Ingredients
Gift Batch: About Twelve 2-Ounce Tubes
- 510 grams (18 ounces by weight) USP food-grade mineral oil
- 170 grams (6 ounces by weight) pure beeswax
Small Batch: About Two 2-Ounce Tubes
- 85 grams (3 ounces by weight) USP food-grade mineral oil
- 28 grams (1 ounce by weight) pure beeswax
The yield is approximate because tube capacities and the amount left in the melting container vary. The listed batches provide 680 g (24 oz by weight) and 113 g (about 4 oz by weight) of balm before pouring losses. Keep the 3-to-1 ratio by weight when scaling the recipe.
Supplies and Equipment
- Digital kitchen scale
- Double boiler or heat-safe bowl set over a saucepan
- Silicone spatula
- Heat-safe pouring cup or a container with a spout
- Two or twelve clean, dry 2-ounce push-up tubes
- Tray or small box to hold the tubes upright
- Labels, if giving the balm as a gift
Beeswax and mineral oil are difficult to remove completely from kitchen tools. If you plan to make salves, balms, or wood conditioner regularly, it helps to reserve a bowl, spoon, or pouring pitcher for wax projects.
How to Make Cutting Board Wax Sticks
- Prepare the tubes. Make sure each tube is clean and completely dry. Stand the tubes upright in a tray or snug box so they cannot tip while you pour.
- Weigh the ingredients. Place your melting container on the scale and tare it. Weigh the mineral oil and beeswax according to the batch size you are making.
- Melt gently. Place the container over simmering water. Heat slowly, stirring occasionally, until the beeswax is completely melted and the mixture looks uniform. Do not heat the mixture over a direct flame.
- Pour into the tubes. Carefully transfer the hot liquid to a heat-safe pouring cup if needed, then fill the tubes. Leave a little room at the top for the cap.
- Let the balm cool. Keep the tubes upright and uncovered until the balm is completely firm and cool.
- Cap and label. Once cool, add the caps and labels. Store the tubes upright in a cool, dry place away from heat and direct sunlight.
How to Apply Board Butter
Start with a clean, completely dry wooden surface.
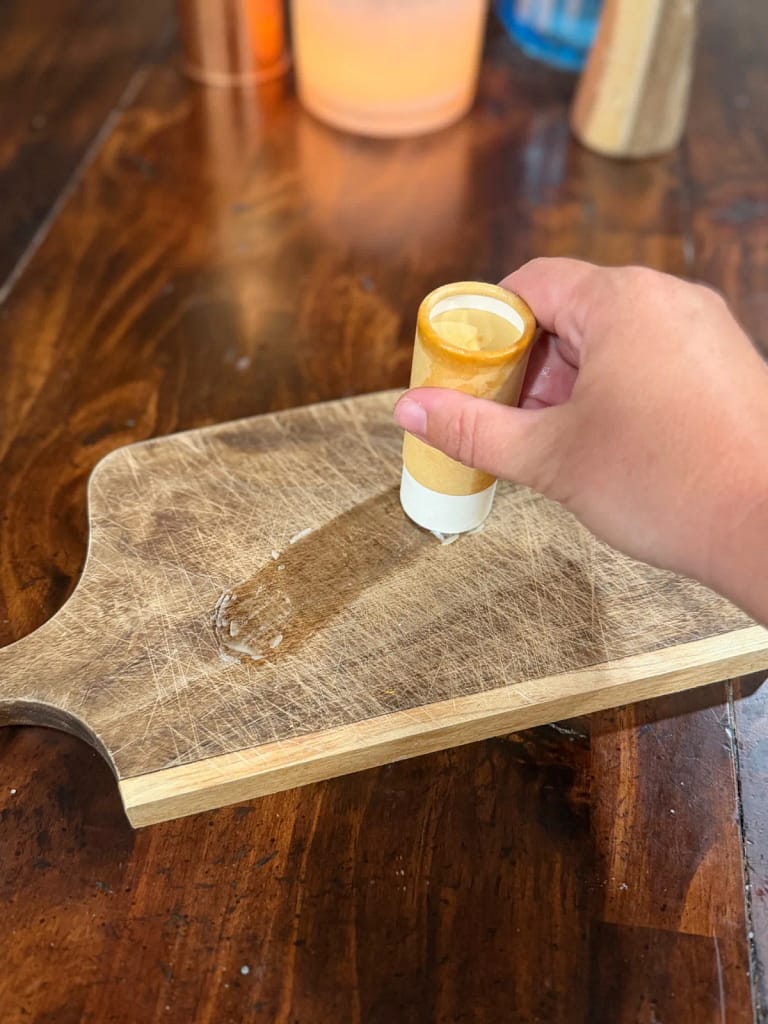
- Push a small amount of balm above the rim of the tube.
- Rub the stick directly over the wood, using overlapping strokes.
- Massage the balm into the grain with a clean microfiber towel.
- Buff away any obvious excess.
- Leave the board to rest overnight before using it again.
I tested buffing the balm immediately and letting it sit for about 10 minutes before buffing. Both methods gave me similar results, so use whichever is more convenient.
The wood may look or feel greasy right after application. Mine did. After I left it overnight, the balm had soaked in and the greasy feeling was gone. Very dry wood may need another light application after the first one absorbs. I used a microfiber towel for both the massage and buffing.
My Results on Cutting Boards and Wooden Tools
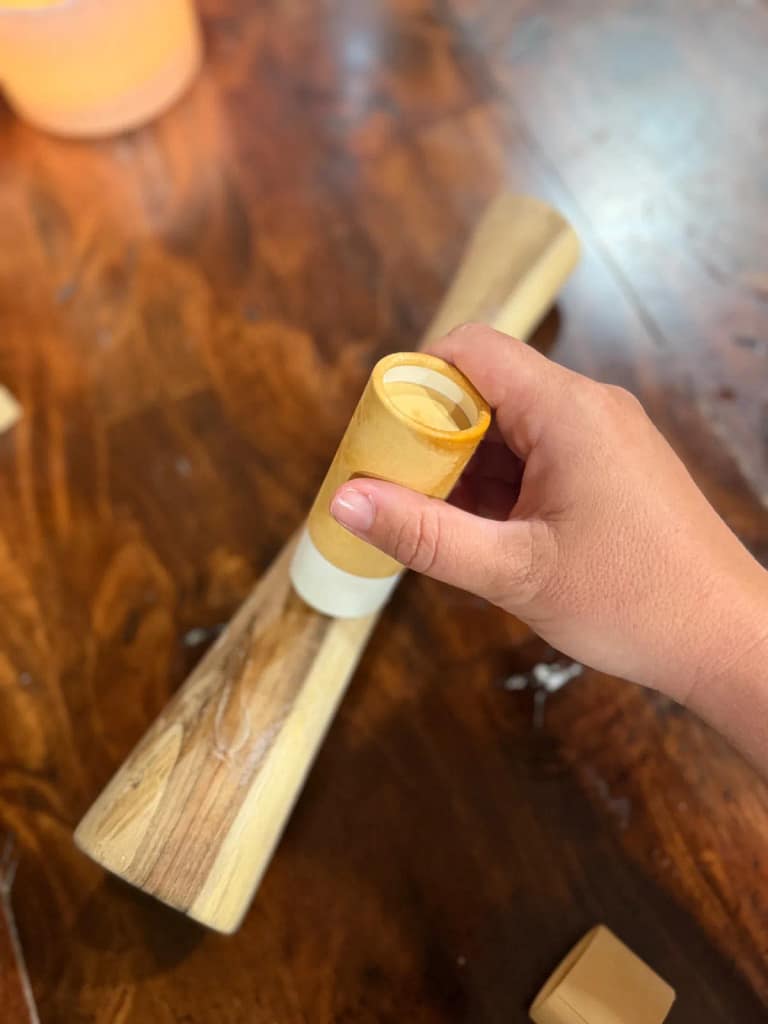
I have used this balm on several wooden cutting boards and on a wooden sauerkraut packer. The stick made it easy to cover flat surfaces and to work around the packer’s handle and curved edges. The balm massaged into the wood easily with a microfiber towel.
The mineral oil and beeswax brought back the richer look of the grain without leaving the wood permanently oily. Letting the piece rest overnight was the important final step.
This balm is intended for unfinished or oil-finished wooden kitchenware. Test it in an inconspicuous area before using it on an unfamiliar finish, and do not use it on painted or varnished surfaces unless the maker recommends an oil-and-wax conditioner.
How Often Should You Condition a Cutting Board?
There is no single schedule that works for every board. Reapply when the wood looks pale or dry, feels rough, or begins absorbing water quickly. A board washed frequently may need attention sooner than a decorative serving board.
Board balm does not replace proper cleaning. Wash cutting boards with hot, soapy water after each use, rinse them, and air-dry or pat them dry before applying conditioner. That is the cleaning guidance from USDA FSIS; conditioning is a separate wood-care step.
Turn the Balm Sticks Into Homemade Gifts
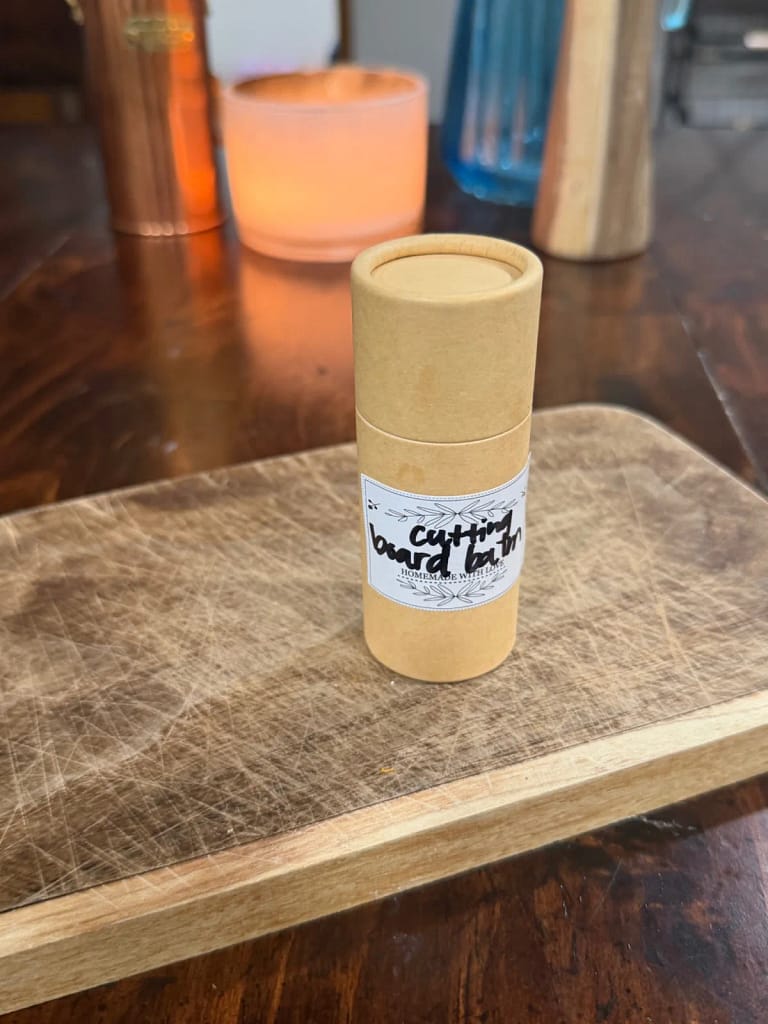
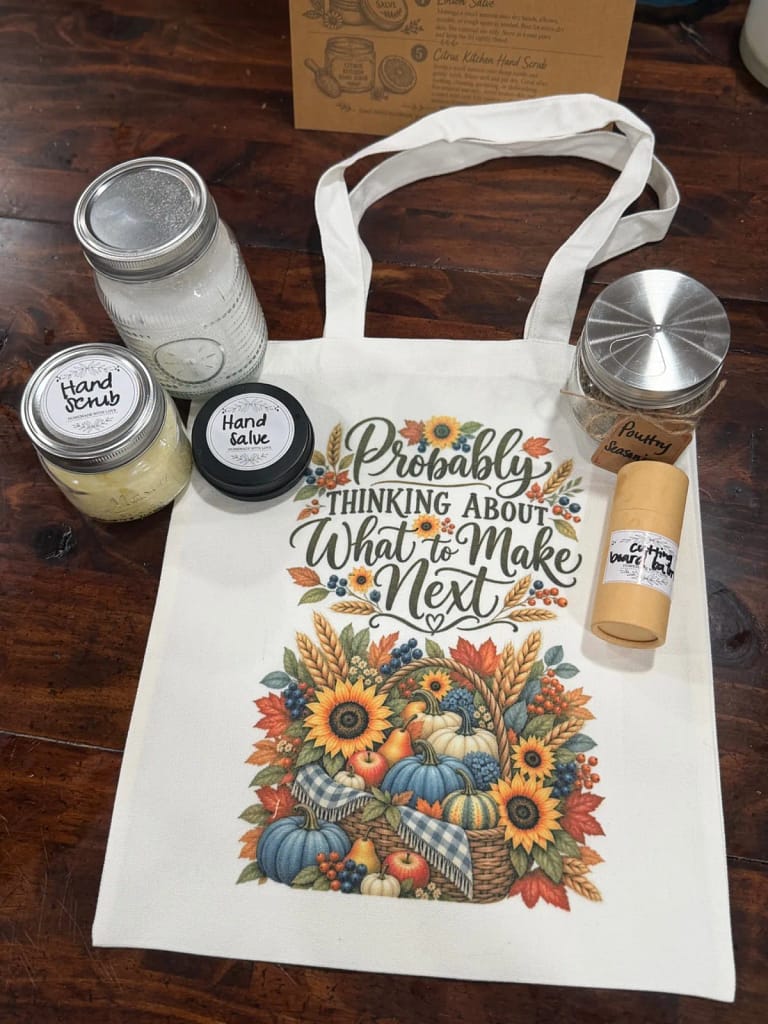
These 2-ounce tubes were part of the homemade gift bags at our farmers market party. Other gifts included homemade jam, natural deodorant, tallow balm, custom T-shirts, custom travel mugs, and fresh milled flour cookies.
For gifting, label each tube with:
- Cutting Board Balm
- Ingredients: USP food-grade mineral oil and pure beeswax
- Directions: Rub onto clean, dry unfinished wood; massage in and buff with a clean cloth; allow to rest overnight
- For wood care only—not edible
- Keep away from heat
- The date or batch number
The 12-tube batch is a practical size for holiday baskets, hostess gifts, farmers market parties, or a group homemaking activity. The two-tube batch is better if you only want one for your kitchen and one to share.
Pair it With These Other Handmade Gifts
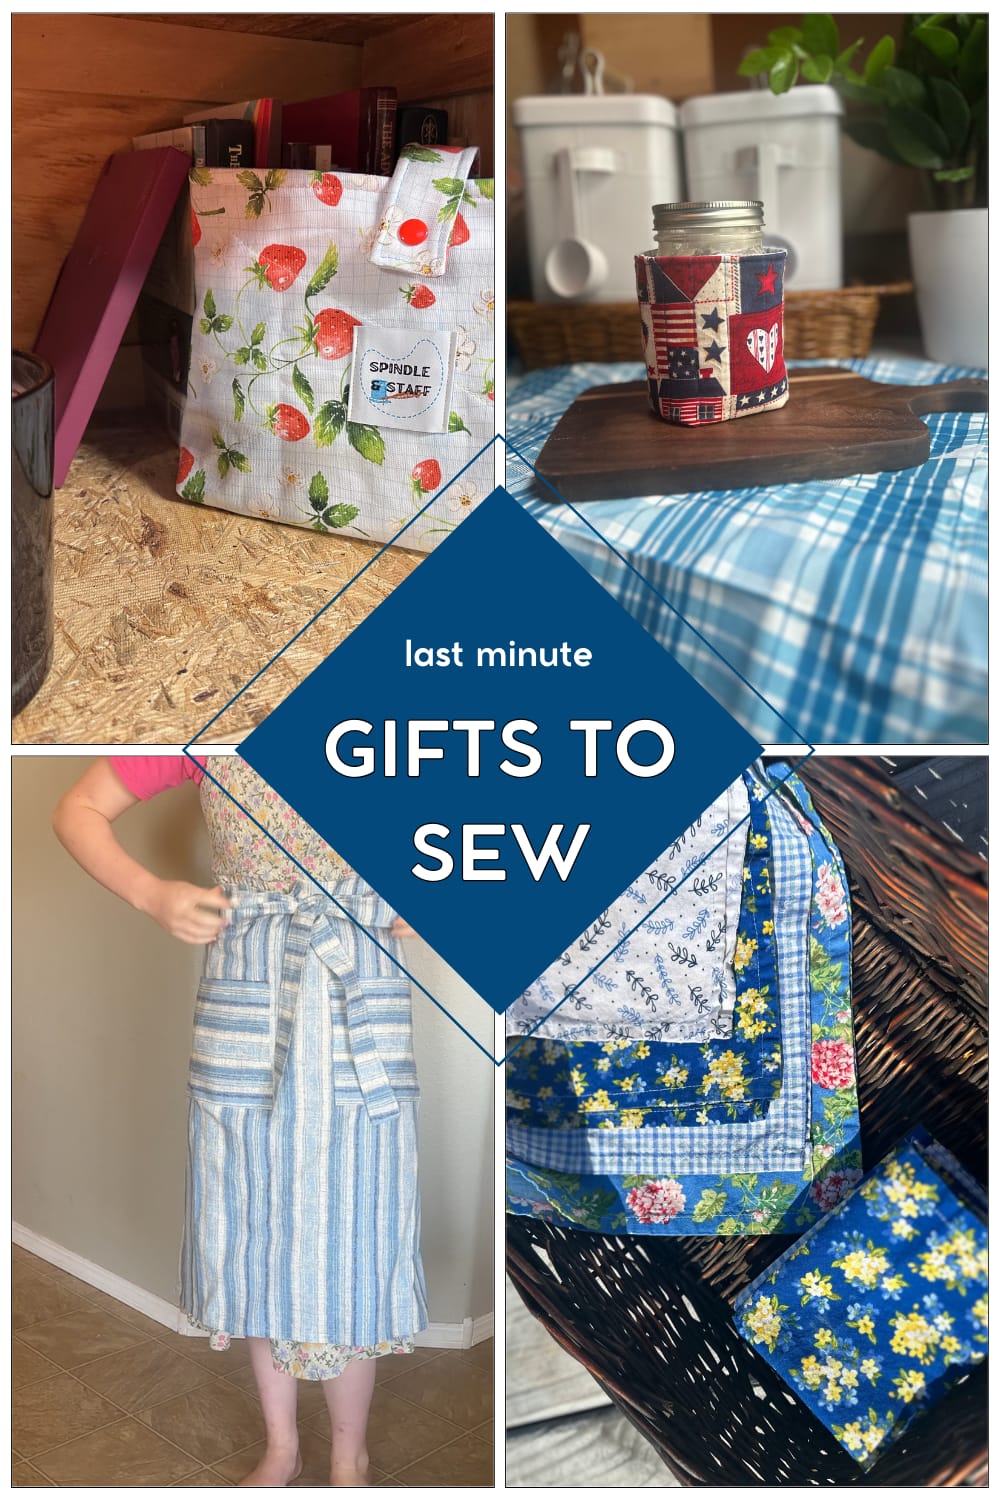
Make several batches and handmade gifts and put together gift bags or baskets for your friends. I have lots of tutorials for thoughtful, handmade home decor and gifts.
- Make a set of hot pads to match their kitchen
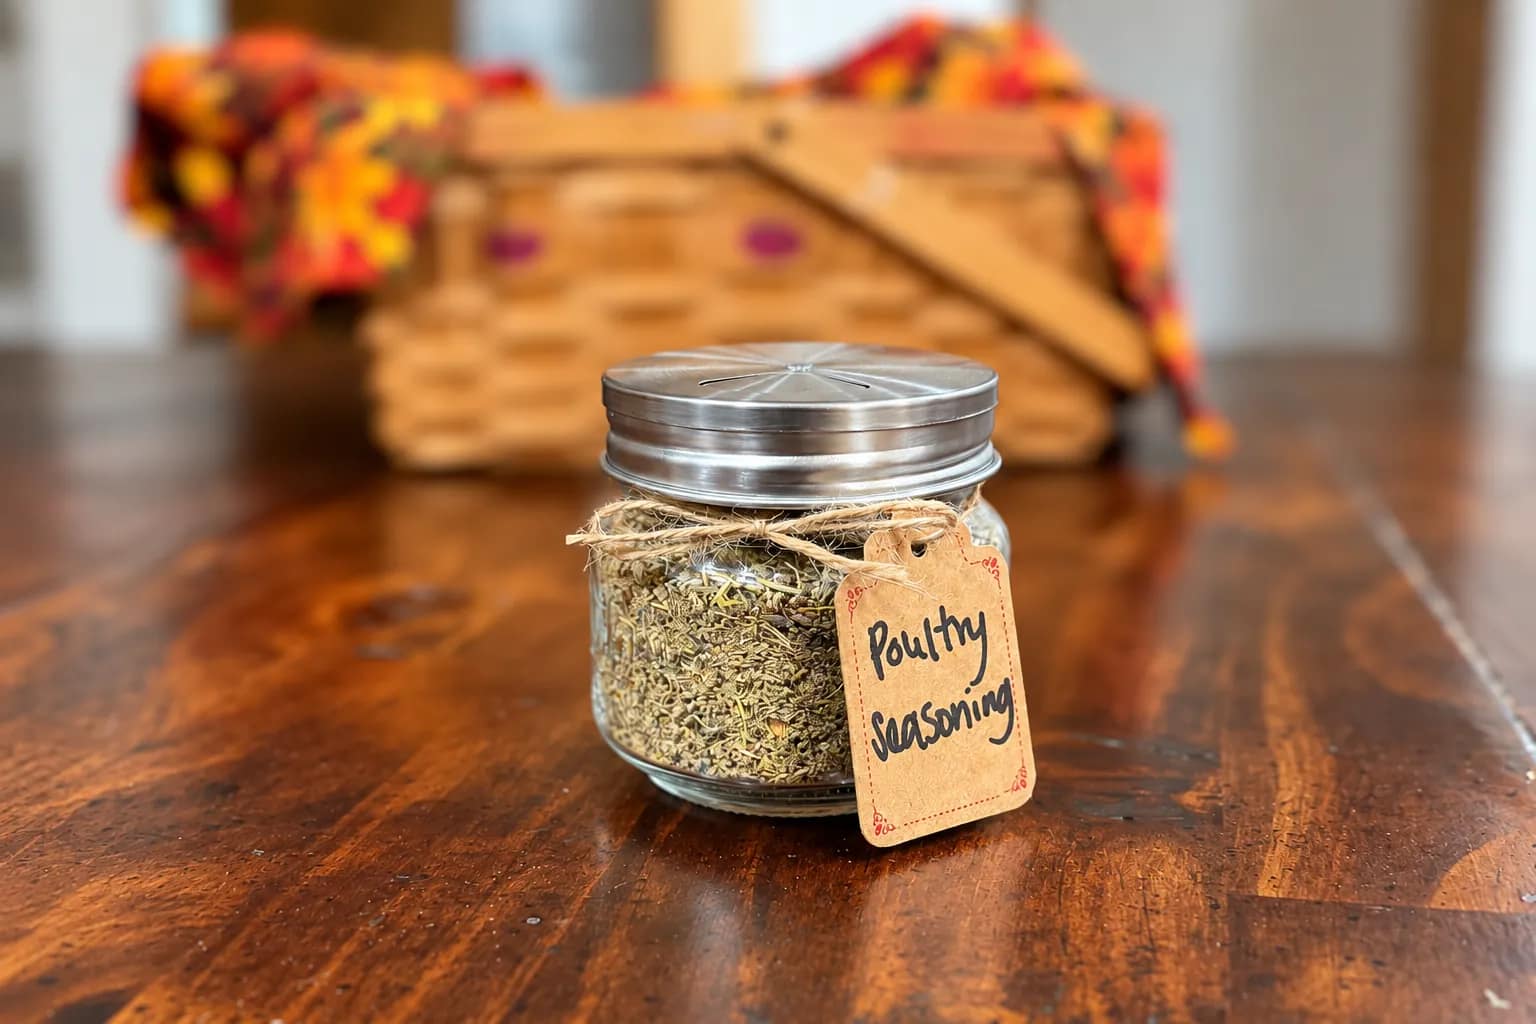
- Make a batch of poultry seasoning
- Cloth napkins are a woeful hostess gift to add to a gift bag
- For a sourdough baker, make a starter jar cozy and some bowl covers
Storage
Keep the capped tubes in a cool, dry cupboard away from direct sun, the stove, or other heat. Heat can soften the balm and cause it to seep into a paper tube. If the balm becomes soft, stand the tube upright in a cooler place and allow it to firm again.
Discard the balm if it becomes contaminated, develops an unusual odor, or changes in a way that concerns you. Always start with clean, dry tubes and utensils.
Frequently Asked Questions
What is the ratio of mineral oil to beeswax for cutting board wax?
This recipe uses three parts USP food-grade mineral oil to one part pure beeswax by weight. Weighing the ingredients gives a more reliable consistency than measuring beeswax by volume.
Is cutting board wax the same as board butter?
Yes. Cutting board wax, board butter, wood butter, board balm, and cutting board conditioner are common names for blends used to condition unfinished wooden kitchenware. Formulas vary, but this one uses mineral oil and beeswax.
Can I use olive oil or another cooking oil instead of mineral oil?
I have not tested cooking oils in this formula, so I recommend using the listed USP food-grade mineral oil rather than substituting another oil.
Do I have to wait before buffing the balm?
No. I got similar results when I buffed it immediately and when I waited about 10 minutes. In either case, let the wood rest overnight so the oil has time to absorb.
Why does my cutting board feel greasy after conditioning it?
A freshly treated board can feel greasy while the oil is still sitting near the surface. Buff away obvious excess with a clean microfiber towel and let the board rest overnight. My boards absorbed the remaining balm by the next day.
Can I store this cutting board balm in a jar?
Yes. A small jar or shallow tin should work with the same formula, although I tested and prefer the push-up tubes because they make application easy and less messy.
Can I use this on wooden spoons or other kitchen tools?
It is suitable for clean, dry, unfinished wooden kitchenware that is normally maintained with mineral oil. I used it successfully on a wooden sauerkraut packer as well as cutting boards. Check the maker’s care instructions when you are unsure about a particular finish.
Cutting Board Wax Formula Card
Cutting Board Balm (for wooden boards and utensils)
Equipment
- 12 Kraft tubes
- 1 funnel
Materials
Gift Batch: About Twelve 2-Ounce Tubes
- 510 grams 18 ounces by weight USP food-grade mineral oil
- 170 grams 6 ounces by weight pure beeswax
Small Batch: About Two 2-Ounce Tubes
- 85 grams 3 ounces by weight USP food-grade mineral oil
- 28 grams 1 ounce by weight pure beeswax
Instructions
- Prepare the tubes. Make sure each tube is clean and completely dry. Stand the tubes upright in a tray or snug box so they cannot tip while you pour.
- Weigh the ingredients. Place your melting container on the scale and tare it. Weigh the mineral oil and beeswax according to the batch size you are making.
- Melt gently. Place the container over simmering water. Heat slowly, stirring occasionally, until the beeswax is completely melted and the mixture looks uniform. Do not heat the mixture over a direct flame.
- Pour into the tubes. Carefully transfer the hot liquid to a heat-safe pouring cup if needed, then fill the tubes. Leave a little room at the top for the cap.
- Let the balm cool. Keep the tubes upright and uncovered until the balm is completely firm and cool.
- Cap and label. Once cool, add the caps and labels. Store the tubes upright in a cool, dry place away from heat and direct sunlight.
Notes