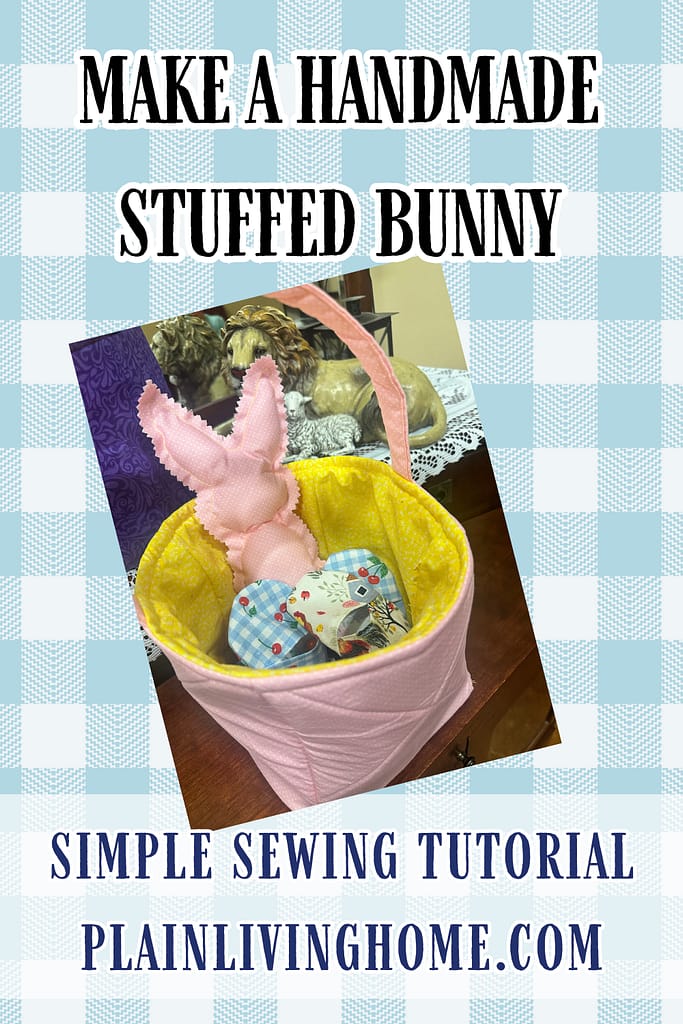
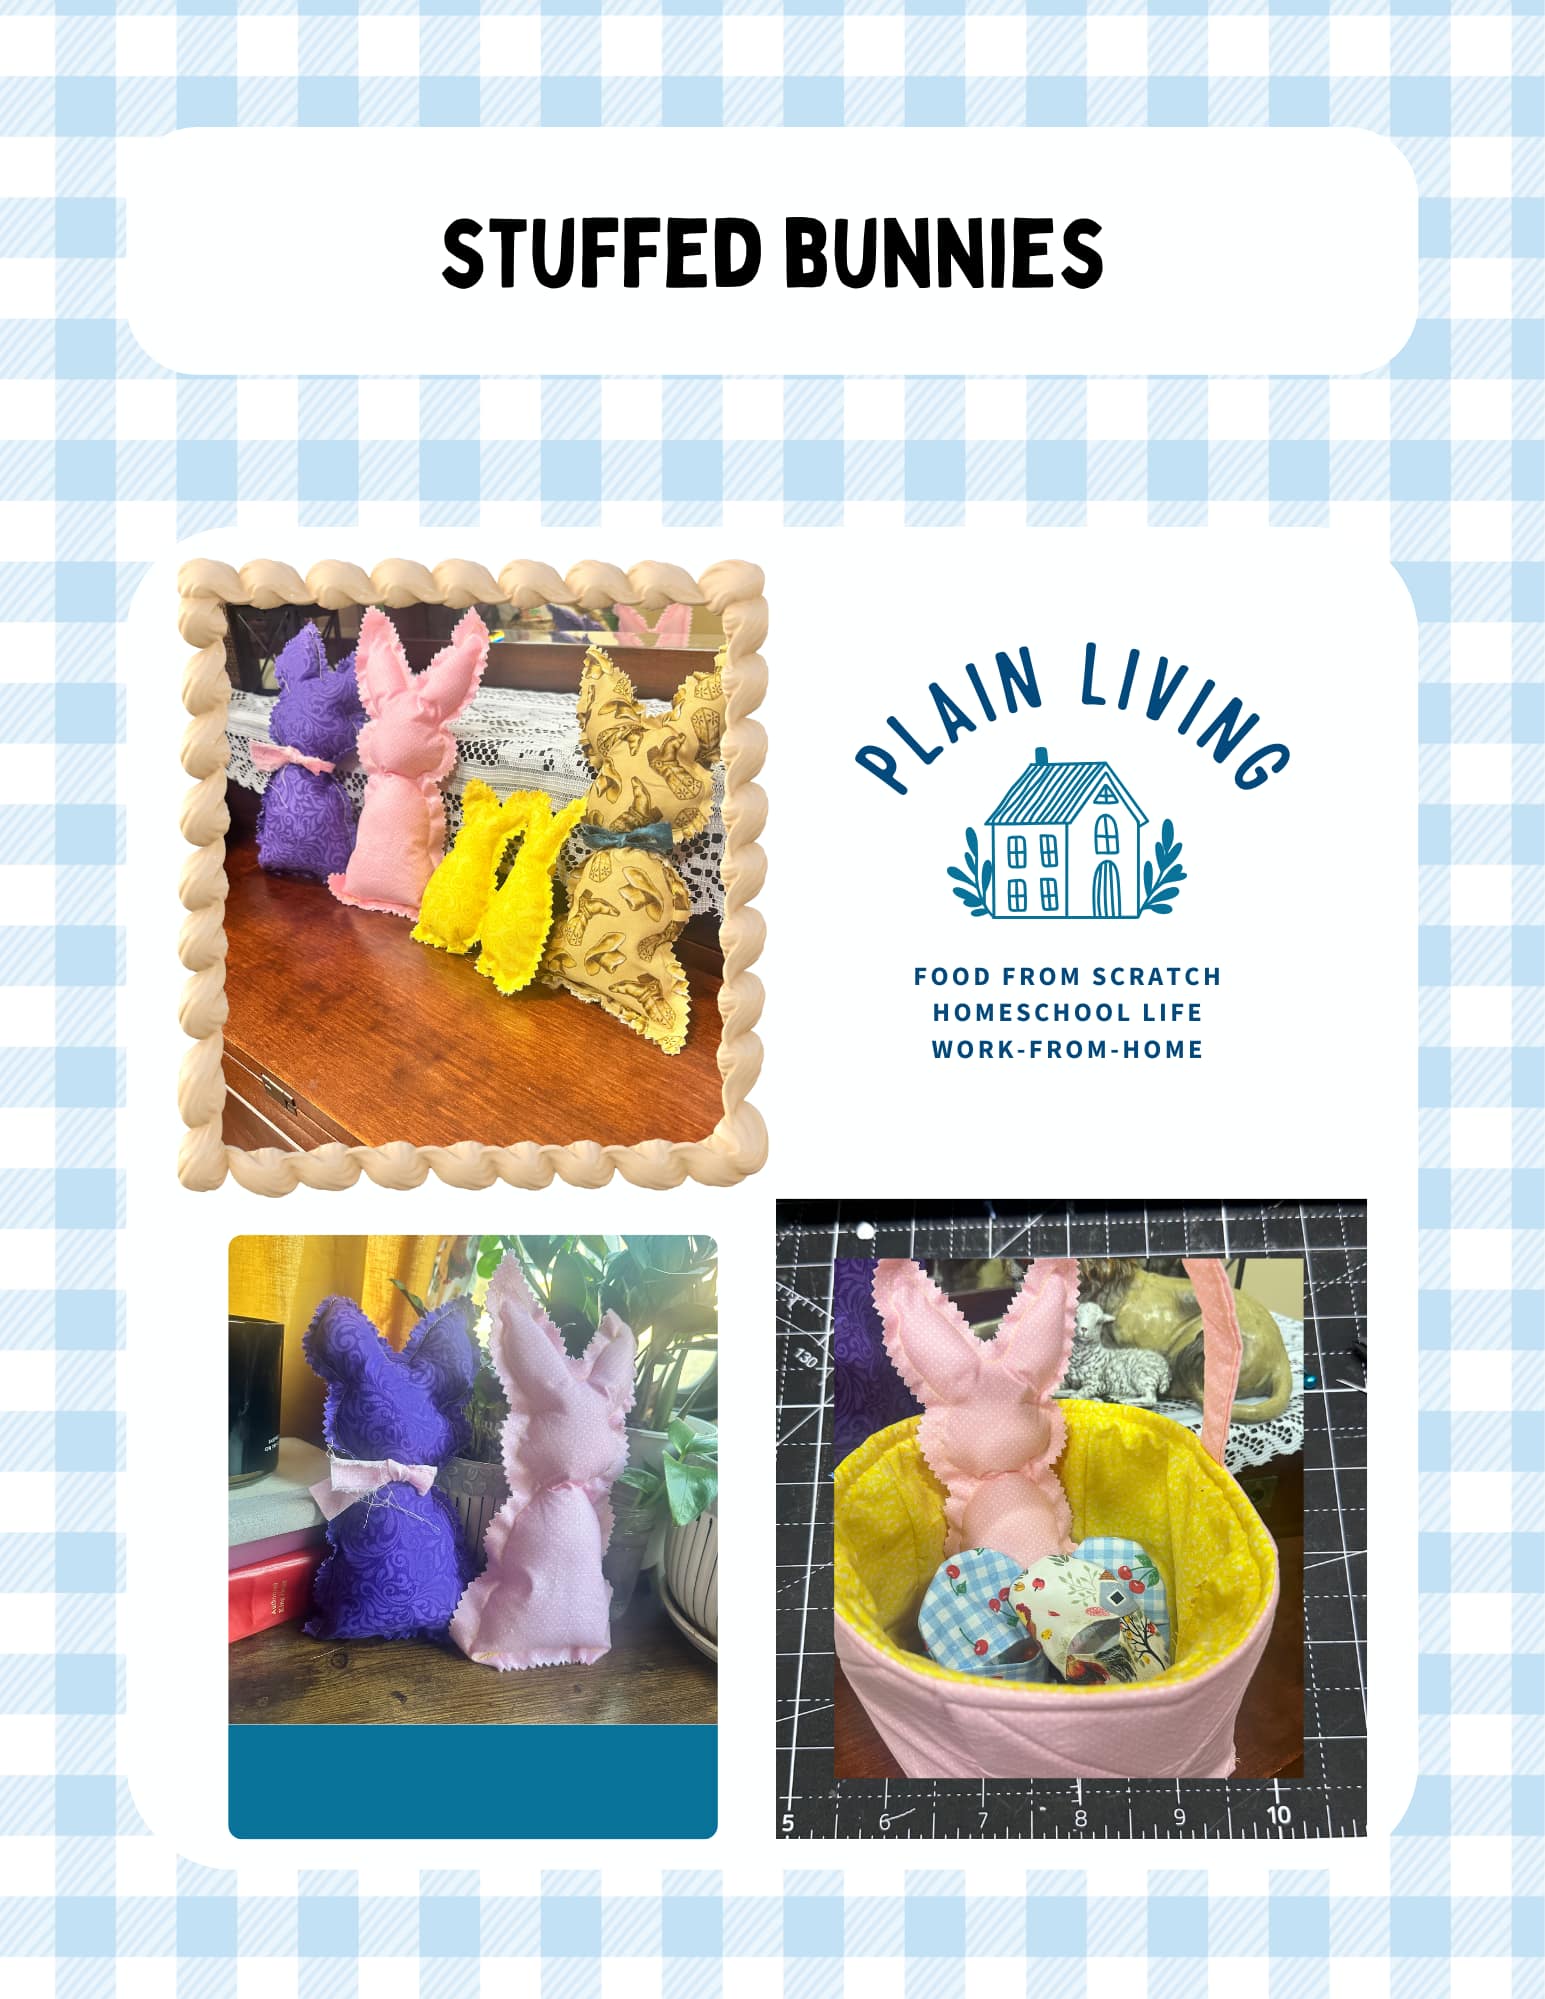
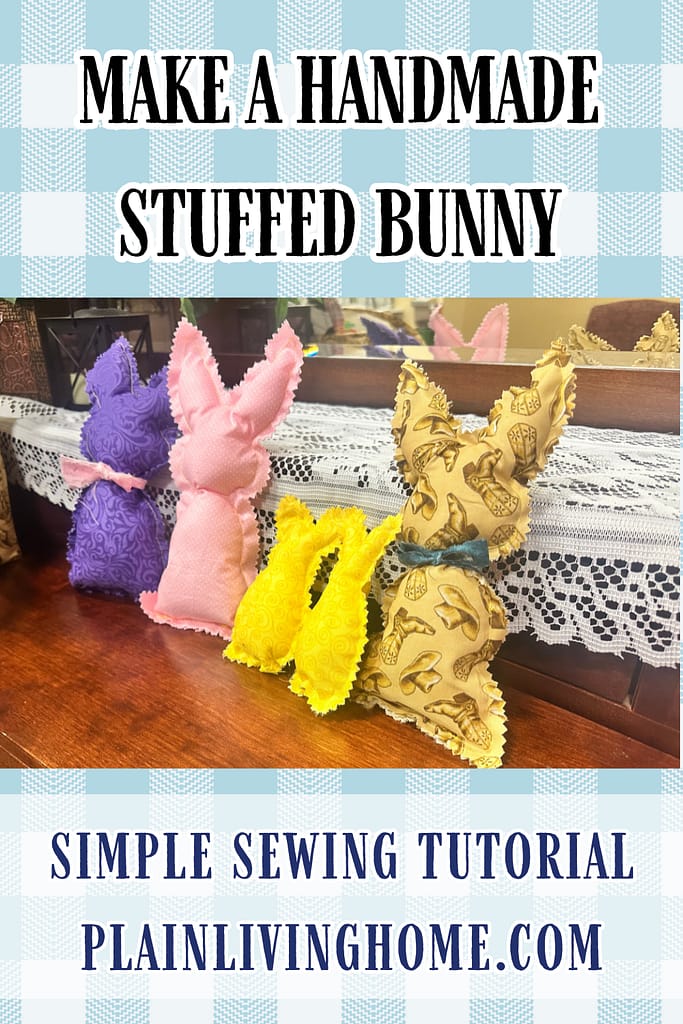
How to Sew a Raggedy Stuffed Bunny (or Peeps Bunny)
Some links in this post may be affiliate links. That means I might make a small commission on qualifying purchases if you click the link. There is no extra cost to you.
These raggedy stuffed bunnies are one of the easiest Easter sewing projects you can make.
They are quick, forgiving, and perfect for filling fabric Easter baskets.

First and foremost, there is no turning involved.
In addition, the raw edges are intentional.
That slightly messy look is part of what makes them so charming.
What are you waiting for? Grab my free printable template- I’ll send it straight to your inbox- and get sewing:
Table of Contents
- Why Raggedy Bunnies Are Perfect for Easter
- Supplies Needed
- How to Sew a Raggedy Stuffed Bunny
- How to Get the Raggedy Edge Look
- Bunny Shape vs. Peeps Shape
- How to Use These in Easter Baskets
- Why This Is a Great Scrap Fabric Project
Why Raggedy Stuffed Bunnies Are Perfect for Easter

Raggedy bunnies are relaxed sewing projects.
Accordingly, you do not need perfect curves or hidden seams.
Besides being super simple and using up scraps, they look sweet tucked inside an Easter basket.
Also…kids also love carrying them around on their own.
Because they are soft and simple, every bunny turns out a little different.
As I’m sure you know, that handmade feel is what makes them special.
Supplies Needed to sew a stuffed bunny
To begin, you only need a few basic sewing supplies.
- Bunny or peeps-style template
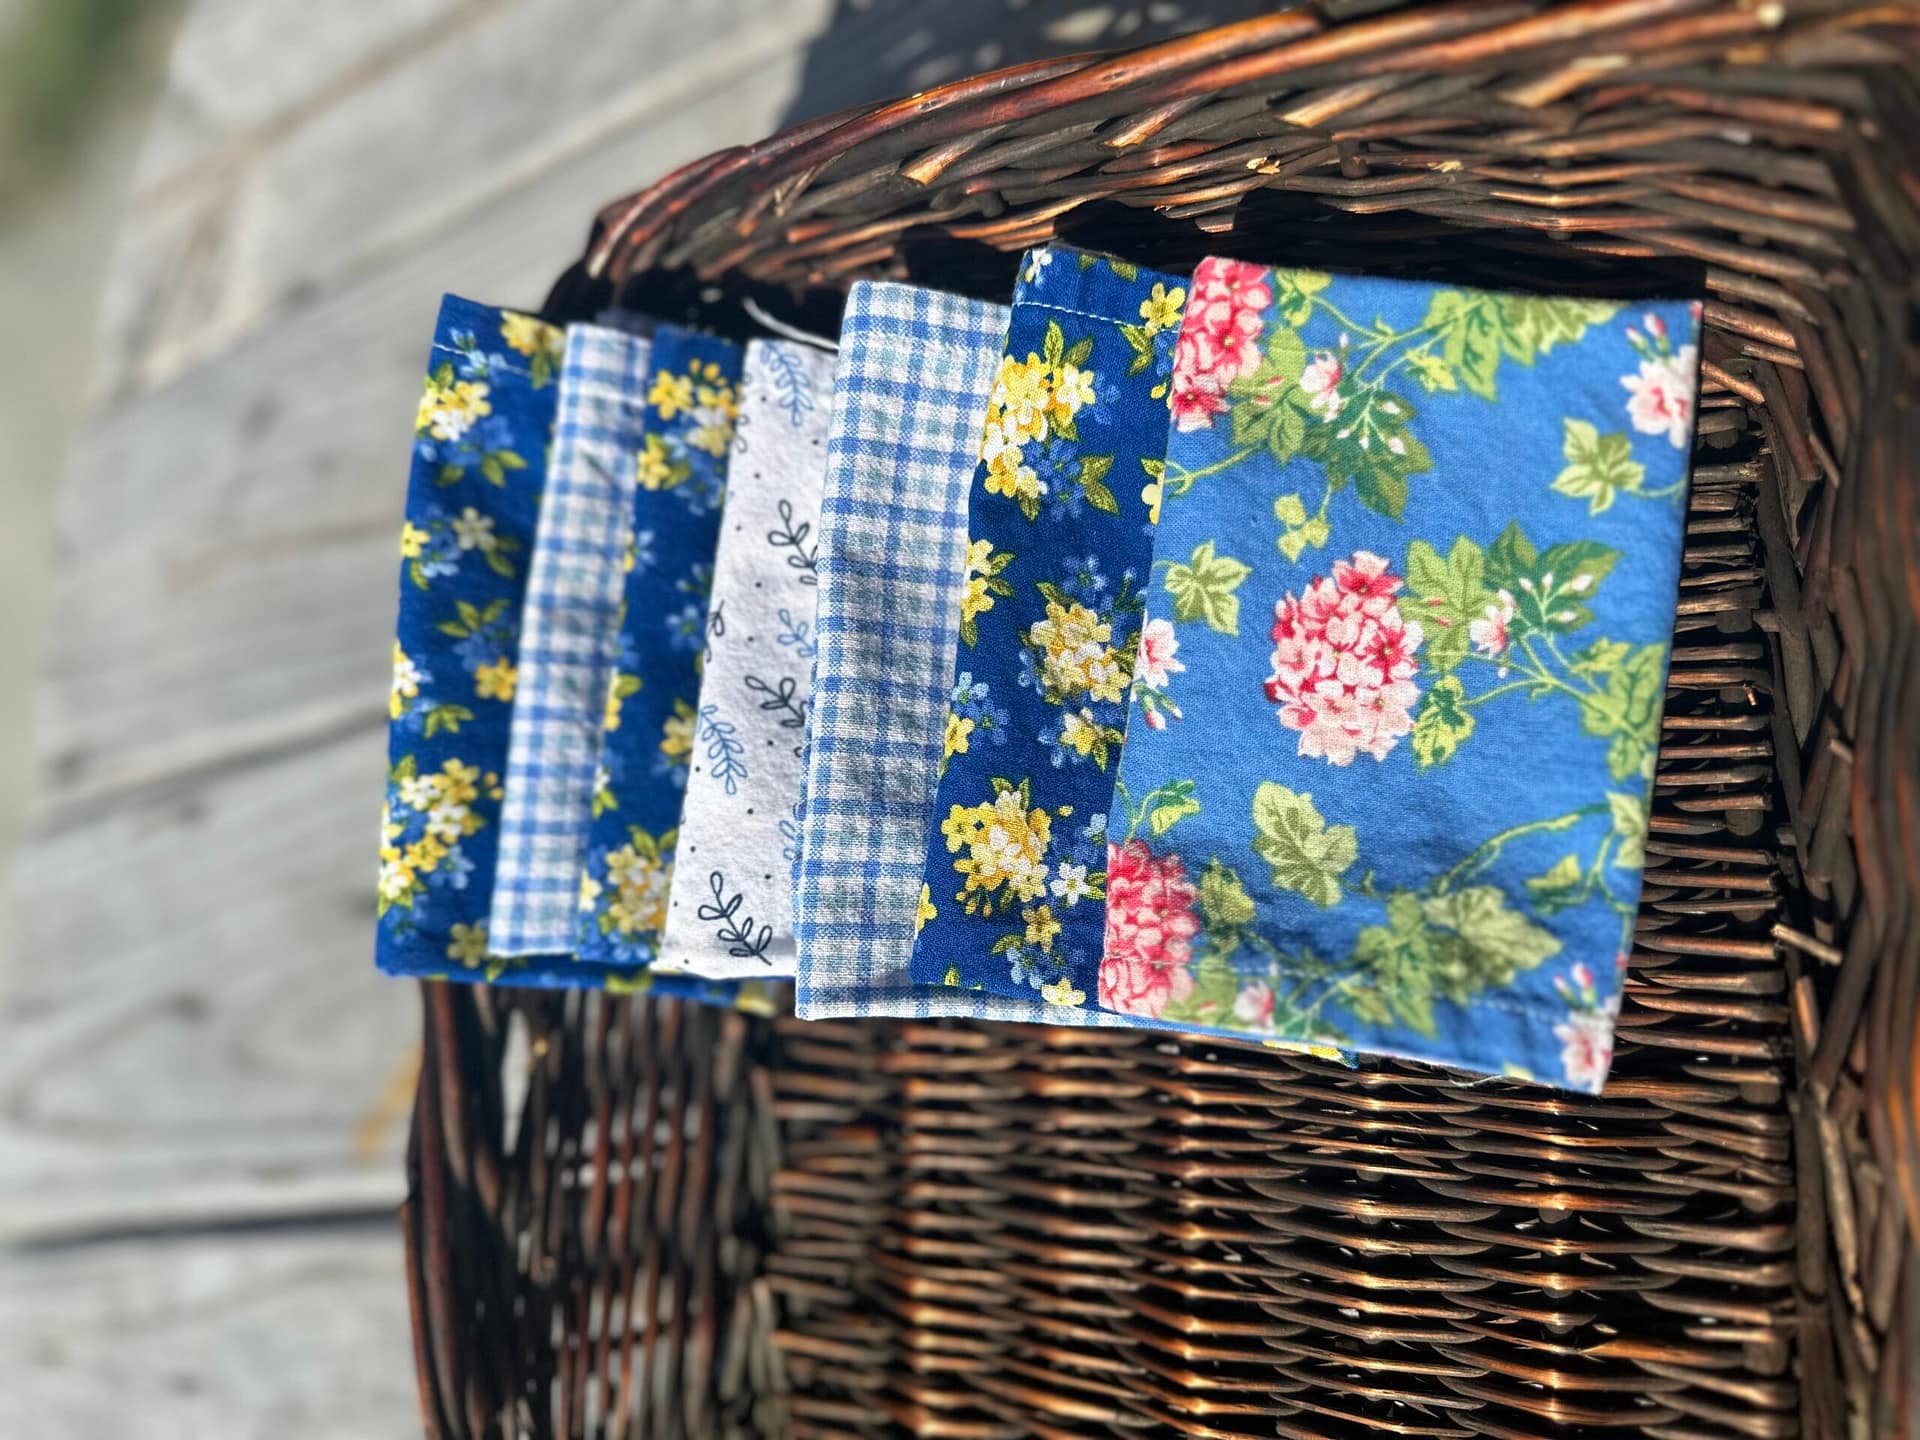
- Cotton fabric (scraps work great)
- Fiber fill stuffing
- Thread
- Sewing machine
- Pinking shears or scissors
As you sew, if you want help with unfamiliar tools or terms, bookmark the Sewing Terms Glossary
Get the Free Stuffed Bunny Template
A simple sewing project you can make at home.
Sign up below and I’ll send the stuffed bunny template straight to your inbox.
This beginner-friendly pattern is perfect for spring sewing, handmade gifts, or using up fabric scraps.
How to Sew a Raggedy Stuffed Bunny
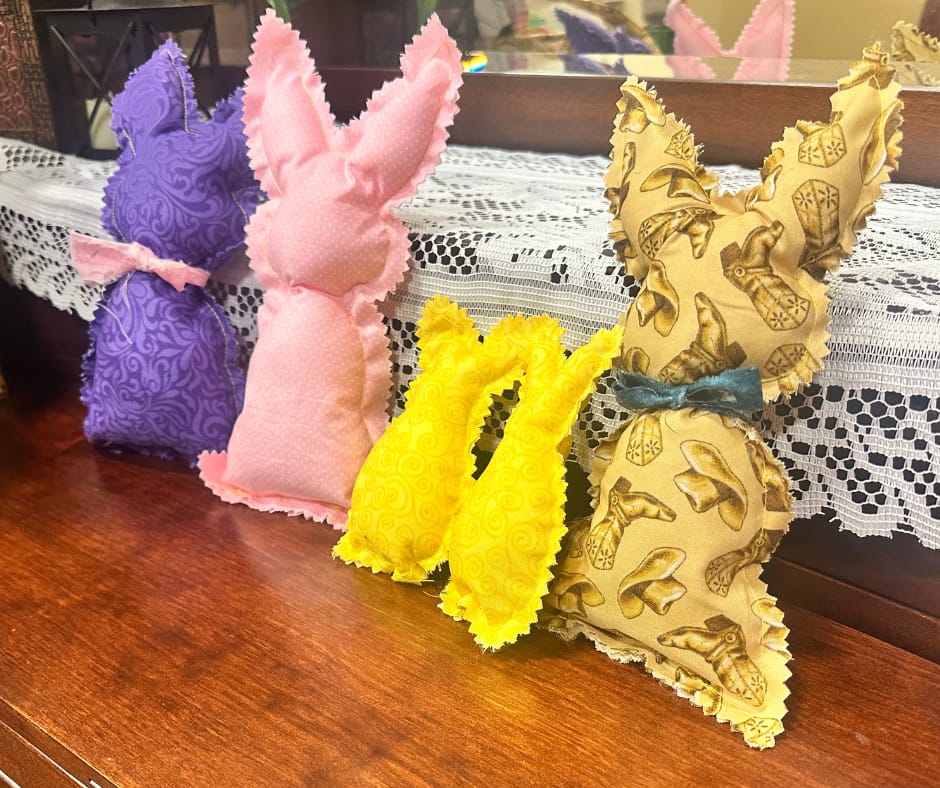
This tutorial on how to sew a stuffed bunny is so fast and simple, i didn’t include photos of each step. the finished project shows you exactly what to do because you see the shapes, the seams, and the raw edges. once you have my free template, it’s so simple!
1. Cut the Fabric
First, using your template, cut two pieces of fabric that are a couple inches larger than your bunny shapes from fabric. As shown in my photos, the excess fabric will leave you space to create the raggedy edges.
Contrary to usual sewing, keep the pretty sides facing out, not right sides together.
This keeps the raw edges on the outside, for the raggedy look. I like the country style and rustic feel of the rough edges, and it makes this project super quick to sew up, even in large batches. And, it’s super kid friendly if you have little hands that want to help.
Next, trace the bunny template onto one side of fabric with a chalk, fabric pen, or pencil. This template will be your sewing line, so don’t cut anything yet!
2. Sew Around the Bunny
Next, sew exactly on the line, all the way around the bunny, except for 2″ on the bottom flat edge. You definitely want to backstitch at the begging and end, because you’ll be tugging and pushing on the seams when you stuff the bunny.
In this project, your seam allowance will actually be the leftover fabric on the outside of the seam line. I like to leave at least half and inch, put you can do more to suit your taste. I like to trim all the way around the bunny with my pinking shears, except for the bottom edge, before I stuff it. Because once it’s stuffed, it’s difficult to get pinking shears around the shapes.
3. Stuff the Bunny
Finally, gently fill the bunny with your stuffing. You can use polyfill, like I did. Or, you can stuff it with oil fabric scraps. As a bonus, you could fill the bunny with rice to turn it into a hand warmer, or heating pad, or “warmie”.
Stuffing a handmade stuffed animal can be a delicate process, but there are some easy techniques to get a good result. If you want your bunny to look smooth and evenly filled, this tutorial on how to stuff handmade stuffed animals and pillows evenly walks through the technique step by step and is especially helpful for beginners.
Now, add stuffing slowly and work it into each area.
You want the bunny full, but still soft and squeezable.
4. Close the Opening
Lastly, sew the opening closed on your machine. Backstitch at the beginning and end, over the previous backstitching.
Obviously, this final stitch keeps the stuffing secure.
How to Get the Raggedy Edge Look
To finish, use your pinking shears to trim the bottom edge. However, if you’re going for a more raggedy look, you’ll need to do one more step.
Once the bunny is fully sewn and stuffed, it is time for the fun part.
If you do not have pinking shears, or want to purposely make the edges more ragged, use scissors.
Cut small snips around the edge, being careful not to cut through the stitching. At this point, you’ll need to rough it up with your fingers or pull some of the loose threads. Eventually, it will get raggedy on its own through wear and tear.
Bunny Shape vs. Peeps Shape
Everybody knows what Peeps are. They’re just classically and iconically EASTER. Naturally, a bunny represents easter and spring time.
Of course, both shapes work well for Easter, so take your pick. Both the large bunny and the small peeps bunny are super cute.
- Bunny shape: Classic and timeless
- Peeps shape: Playful and perfect for bright fabrics
Also, you can mix both styles inside the same basket for variety. And, you could add a pack of peeps to your gift basket to pull it all together.
How to Use These in Easter Baskets

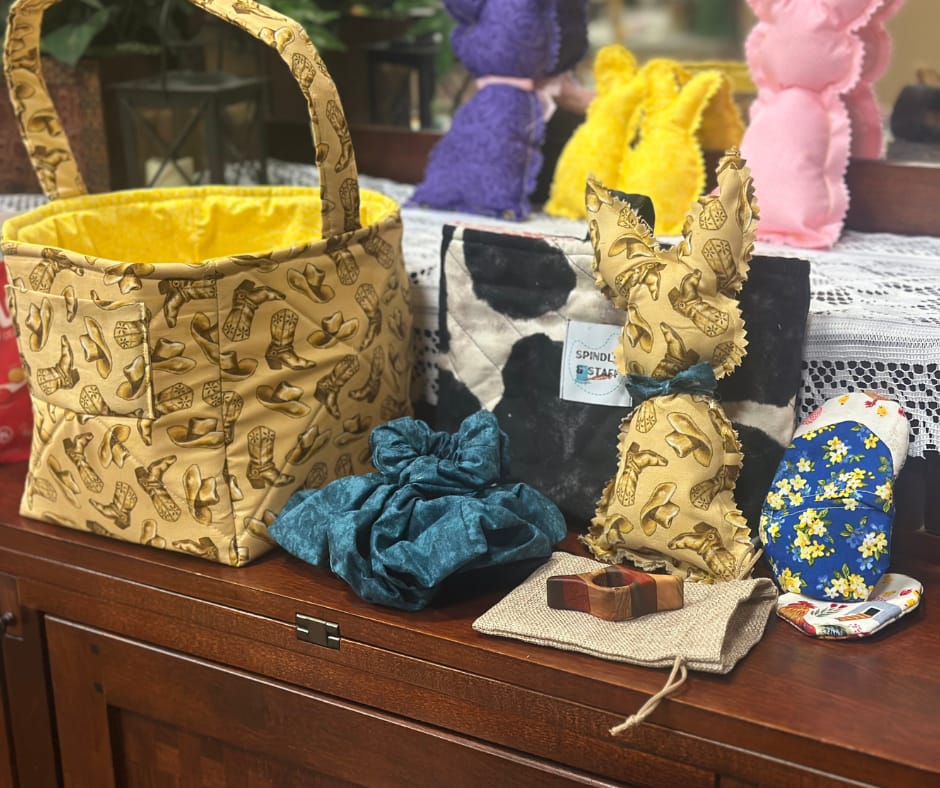
These raggedy bunnies fit perfectly inside fabric Easter baskets.
They work well with:
- Structured fabric Easter baskets
- Soft reusable fabric baskets
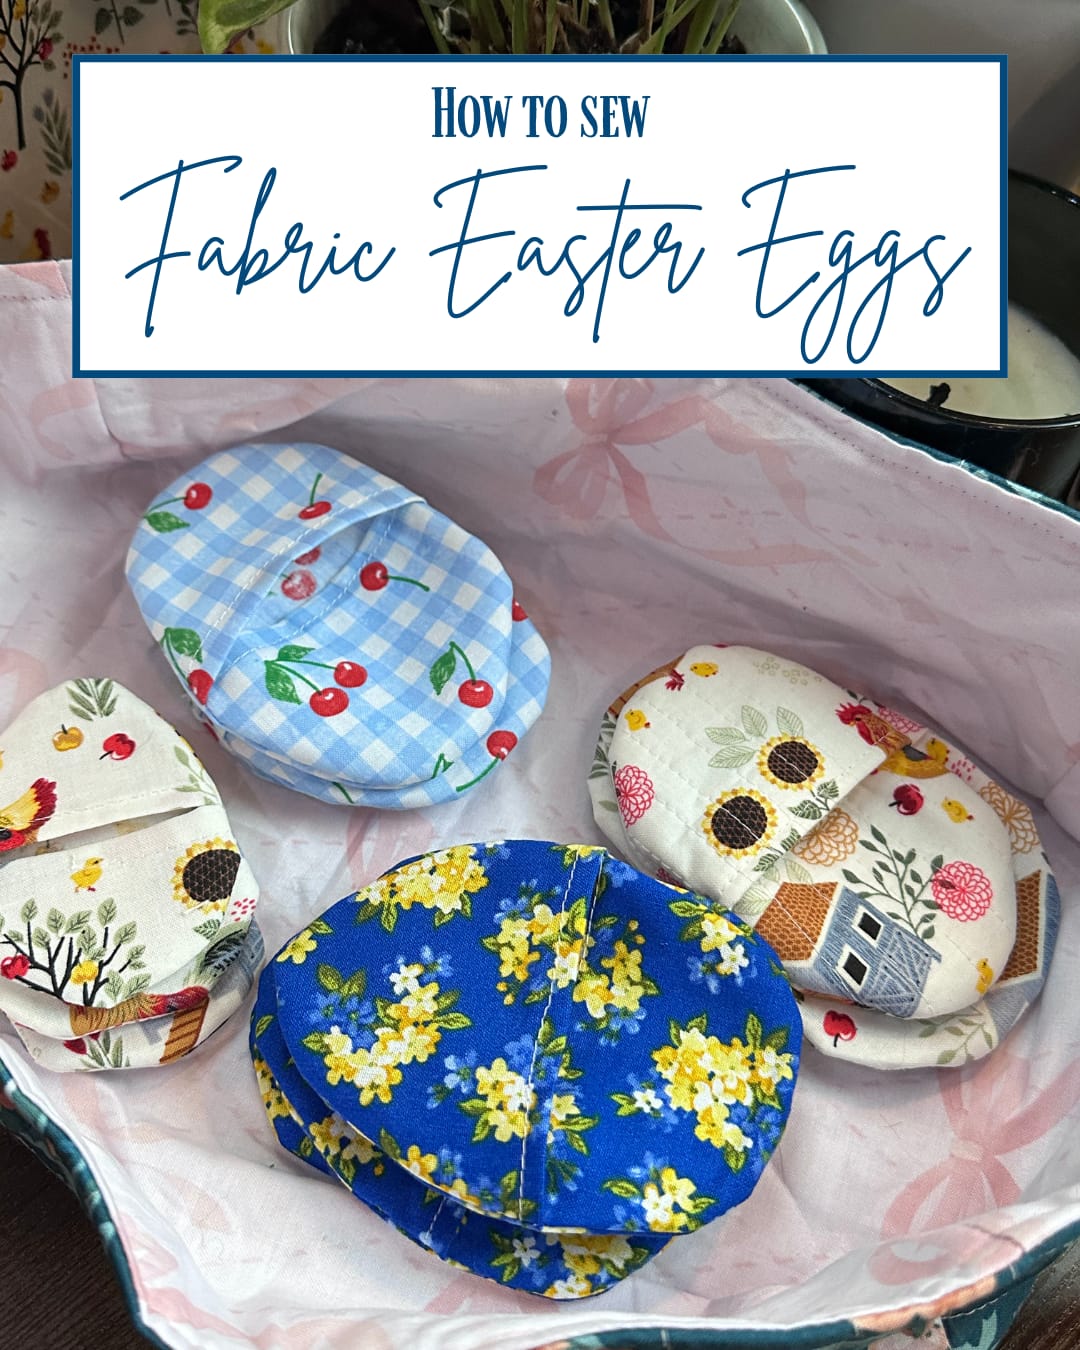
- Matching fabric eggs
- Handmade treats and small gifts
So, these bunnies are a great alternative to candy and can be reused every year.
Why This Is a Great Scrap Fabric Project
Because these bunnies use very little fabric, they are perfect for:
- Leftover yardage
- Corner cutouts from basket projects
- Coordinating prints from one fabric line
One yard of fabric can make a basket, a bunny, fabric eggs, and still leave scraps for scrunchies or keychains.
Final Tip for your stuffed bunnies
If you are sewing Easter baskets, make a few of these bunnies at the same time.
They sew up quickly and make your baskets feel complete.