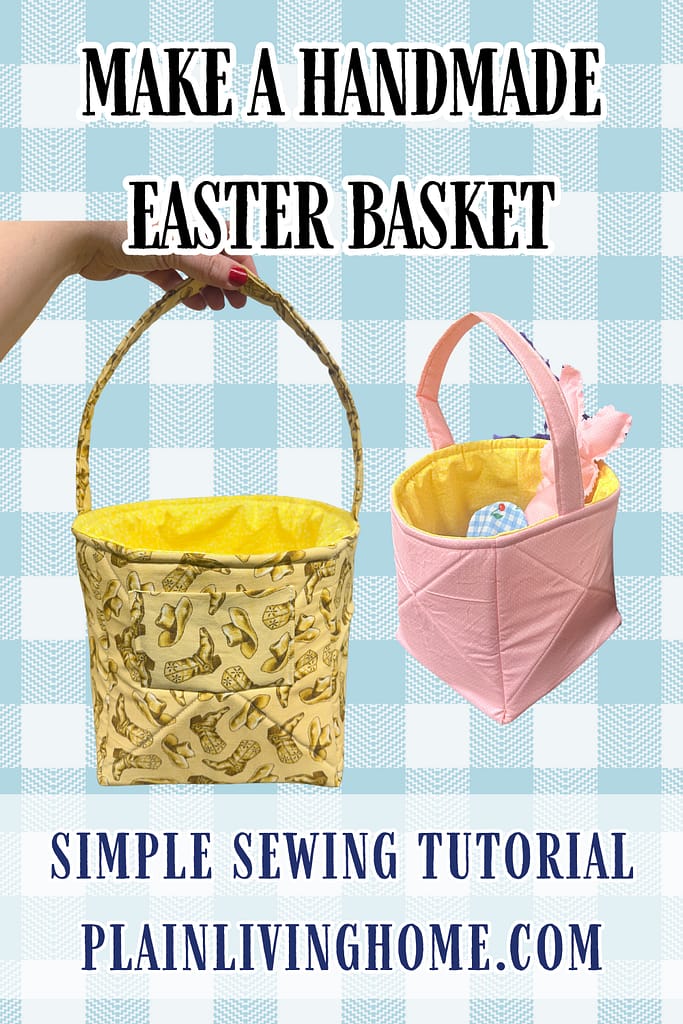
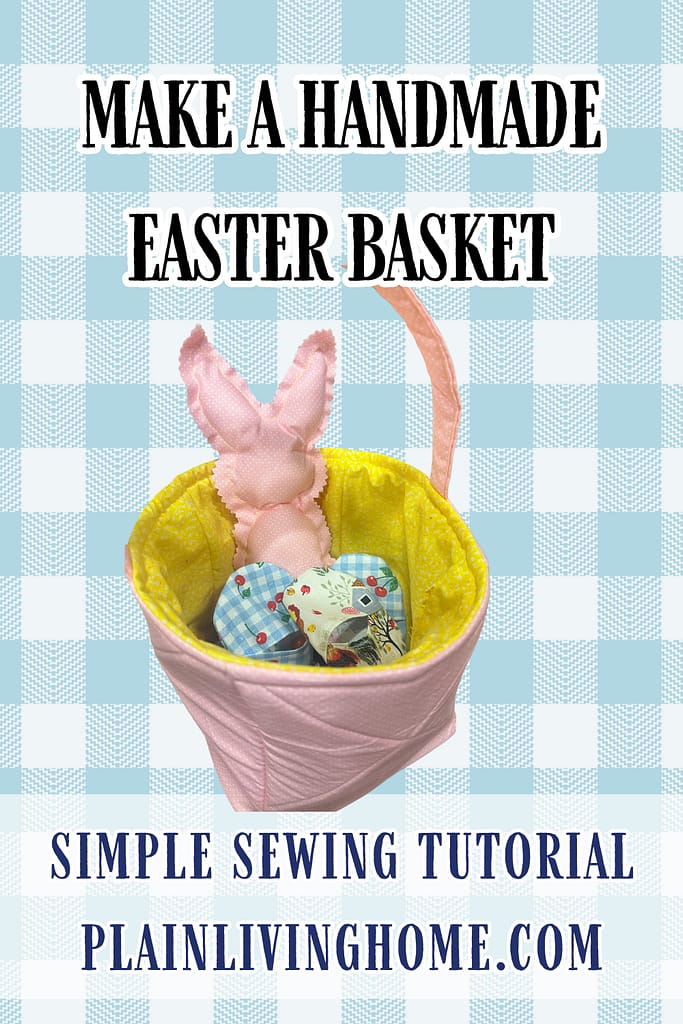
How to Sew a Structured Fabric Easter Basket (8″ x 8″ x 8″)
Some links in this post may be affiliate links. That means I might make a small commission on qualifying purchases if you click the link. There is no extra cost to you.

A structured Easter basket is one of those projects that feels extra special.
It stands up on its own.
It holds a lot.
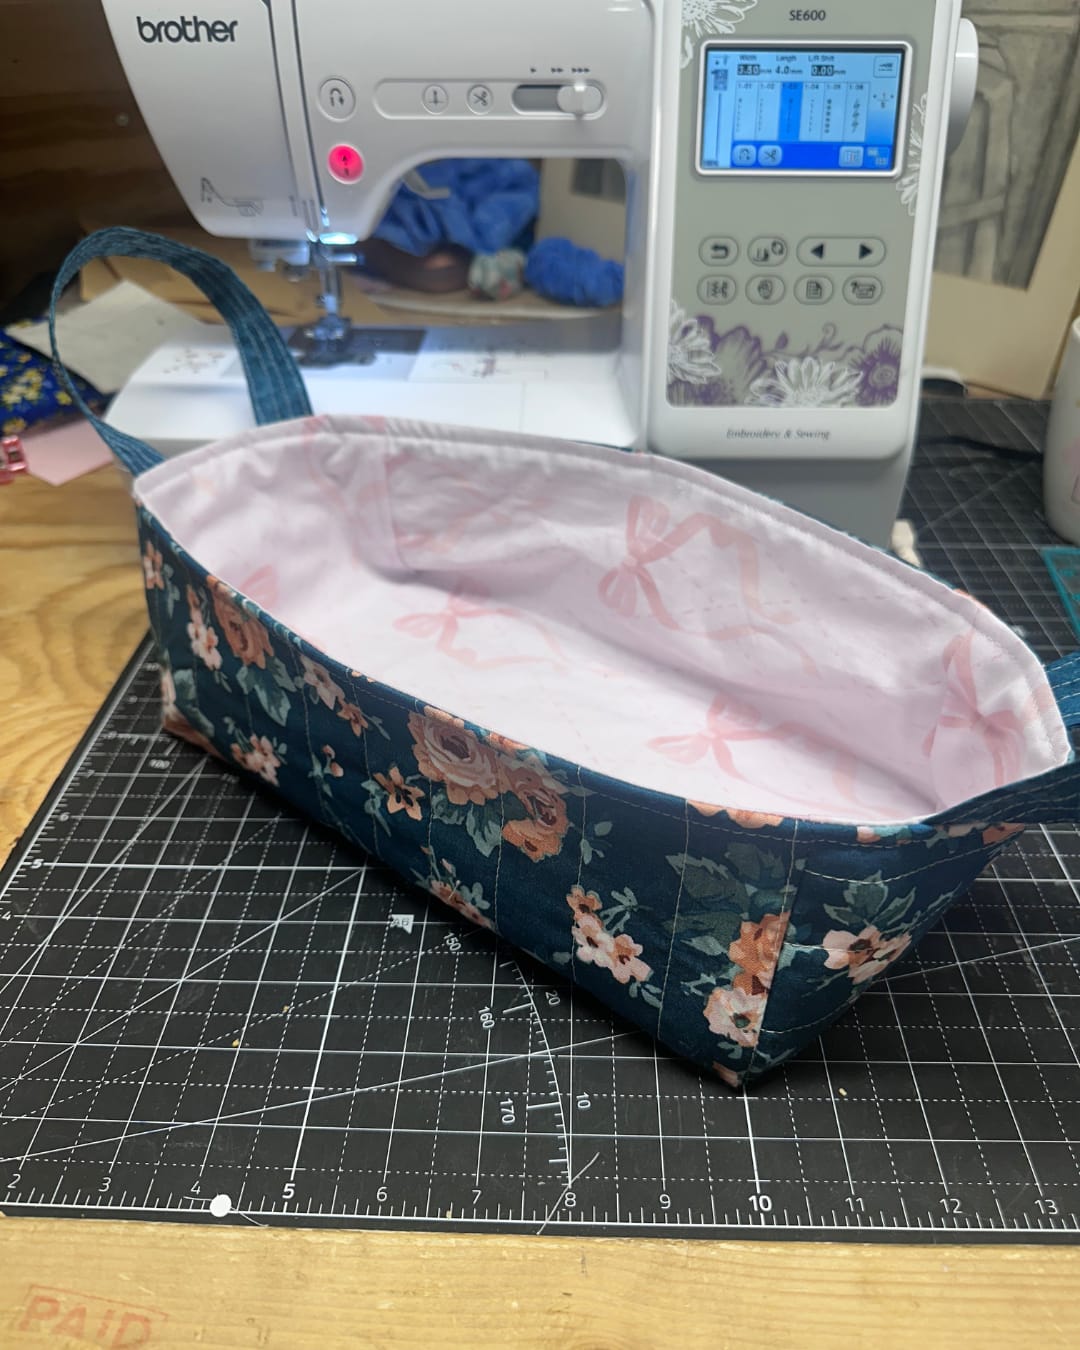
This basket finishes at approximately 8″ x 8″ x 8″ with a handle, making it the perfect size for Easter morning, church, and everyday use. It is sturdy enough for books and toys, but still soft and kid-friendly.
The Best Handmade Gift for Easter and Spring Time
Looking for a structured fabric Easter basket that actually stands up?
This 8″ x 8″ x 8″ DIY Easter basket tutorial walks you through every step using cotton fabric and foam batting for sturdy sides and a clean finish.
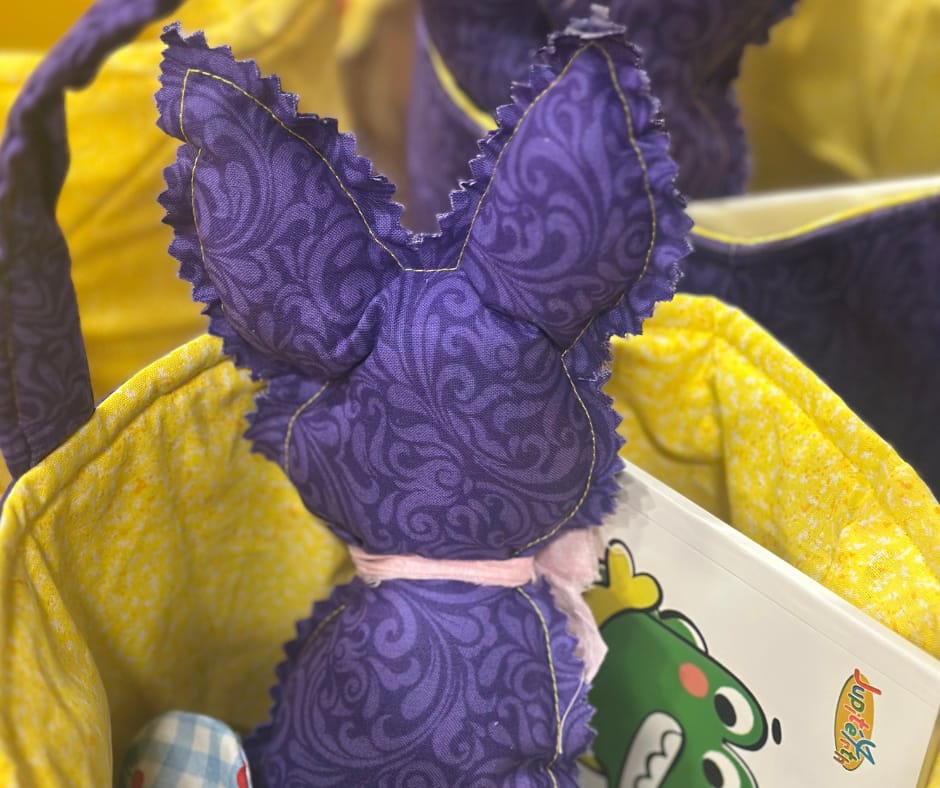
Each basket holds Easter goodies, books, toys, and church supplies without tipping over or collapsing. With just one yard of fabric, you can make a matching basket, stuffed bunny, fabric eggs, and still have fabric left for small projects.
** Save this tutorial so you can sew a reusable Easter basket your family will love year after year.
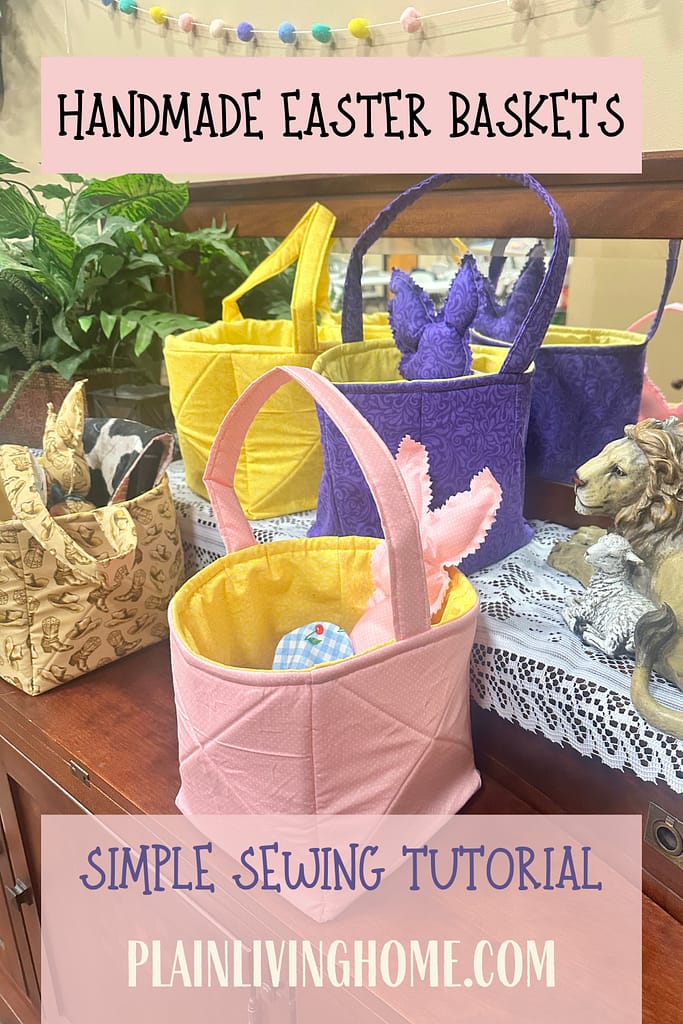
Table of Contents
- Why I Love Making Structured Fabric Easter Baskets
- Finished Basket Size
- Skill Level & Time Required
- Materials & Supplies
- How to Cut the Basket Fabric
- How to Make the Basket Handle
- How to Quilt the Basket for Structure
- How to Add an Interior Pocket
- How to Sew the Basket Together
- Finishing the Basket
- What to Put in a Structured Easter Basket
- Why These Baskets Became a Family Favorite
Why I Love Making Structured Fabric Easter Baskets
This project started with a simple trip to Hobby Lobby.
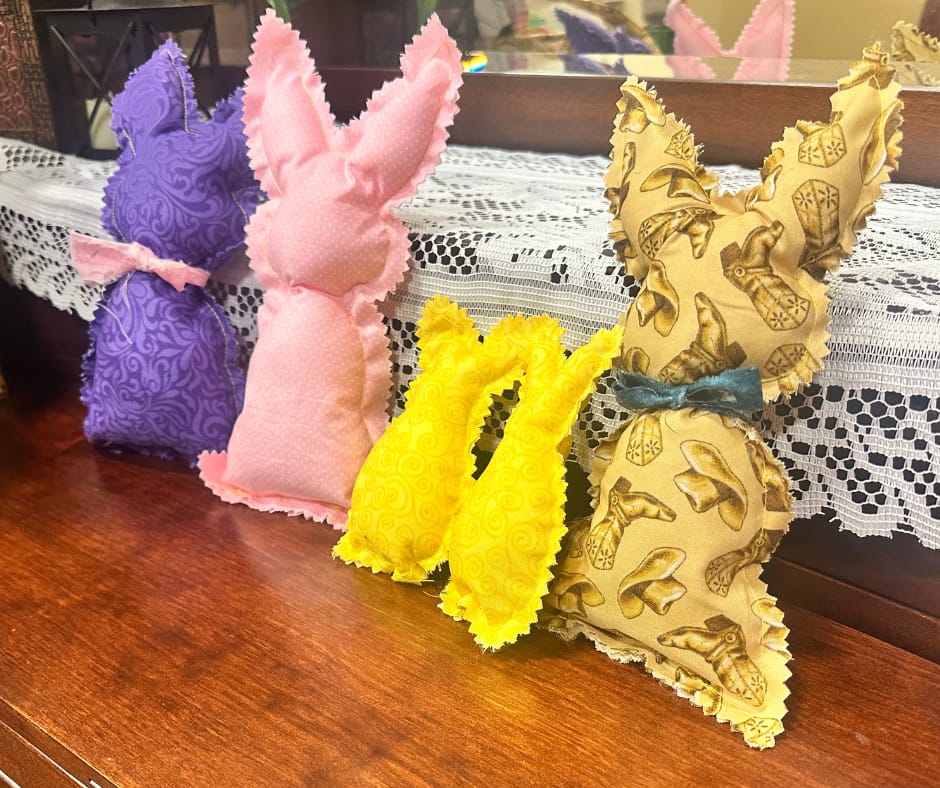
I took my kids with me and let each one choose their favorite fabric.
With one yard of their choice, plus a few yards of lining fabric, I was able to make a basket for each child. I also made a stuffed bunny, enough fabric eggs to hold their goodies, and still had fabric left over.
That extra fabric turned into scrunchies, keychains, quilt blocks, and more.
One night, after everyone went to bed, I stayed up late working through this pattern. I made all of the baskets and filled them with their handmade goodies.
The next morning, I lined the baskets up as a surprise.
They loved them.
They all thought the bunnies were so cute.
My girls asked if they could carry their baskets as a purse.
My boys packed theirs with church supplies and carried them proudly.
That is when I knew this basket was a keeper.
Finished Basket Size
- Approximate finished size: 8″ wide x 8″ tall x 8″ deep
- Includes a sturdy handle
- Holds plenty without feeling bulky
This size works well for toddlers, kids, teens, and even adults.
Skill Level & Time Required
Skill Level: Confident Beginner
You should be comfortable sewing straight seams and turning projects right side out.
Time Required:
Cutting and prep takes about 30 minutes.
Sewing and assembly take about 60–75 minutes.
Once you get the hang of it, you could whip on up in about 45 minutes if you’re quick.
Materials & Supplies
- (2) 24″ squares of fabric
One for the outside
One for the lining - (1) 4″ x 20″ strip of cotton fabric (handle)
- (1) 24″ square of foam batting
Bosal In-R-Form works well - (1) 1″ x 20″ strip of foam (handle)
- Thread
- Clips or pins
- Scissors or rotary cutter
- Ruler
- Marking utensil
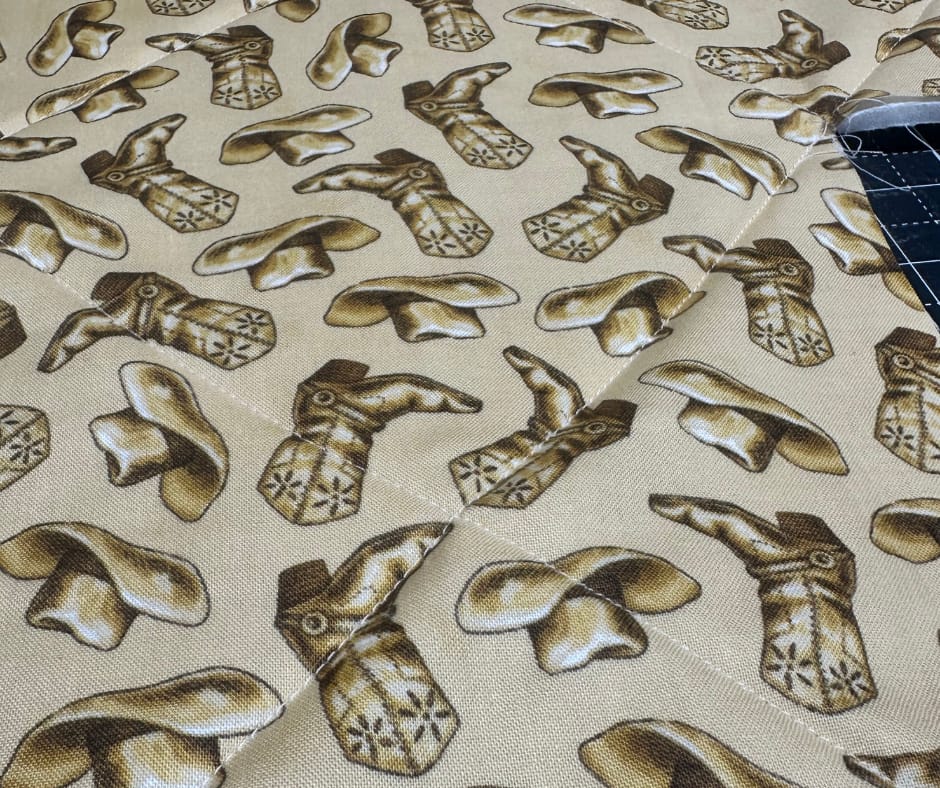
How to Cut the Basket Fabric
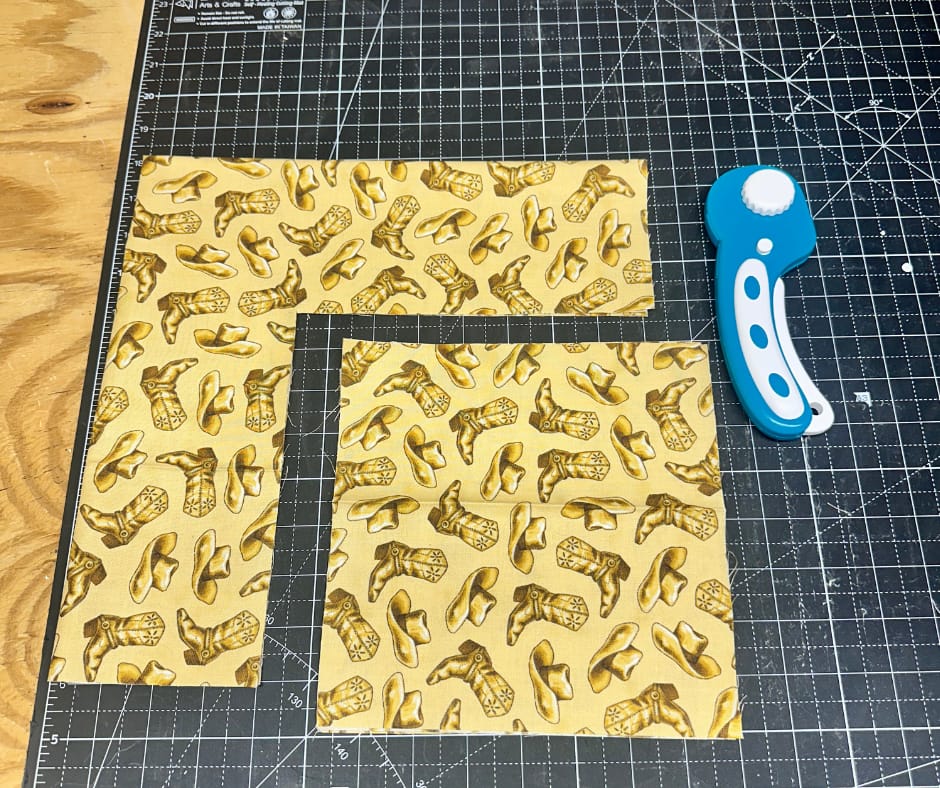
First, lay the outer fabric flat.
Next, fold it in half. Then fold it in half again.
Now, carefully line all raw edges up.
You should now have one edge with a single fold, one edge with two folds, and two edges with raw edges.
At the corner where all raw edges meet, cut out an 8″ square.
Set this piece aside for later projects.
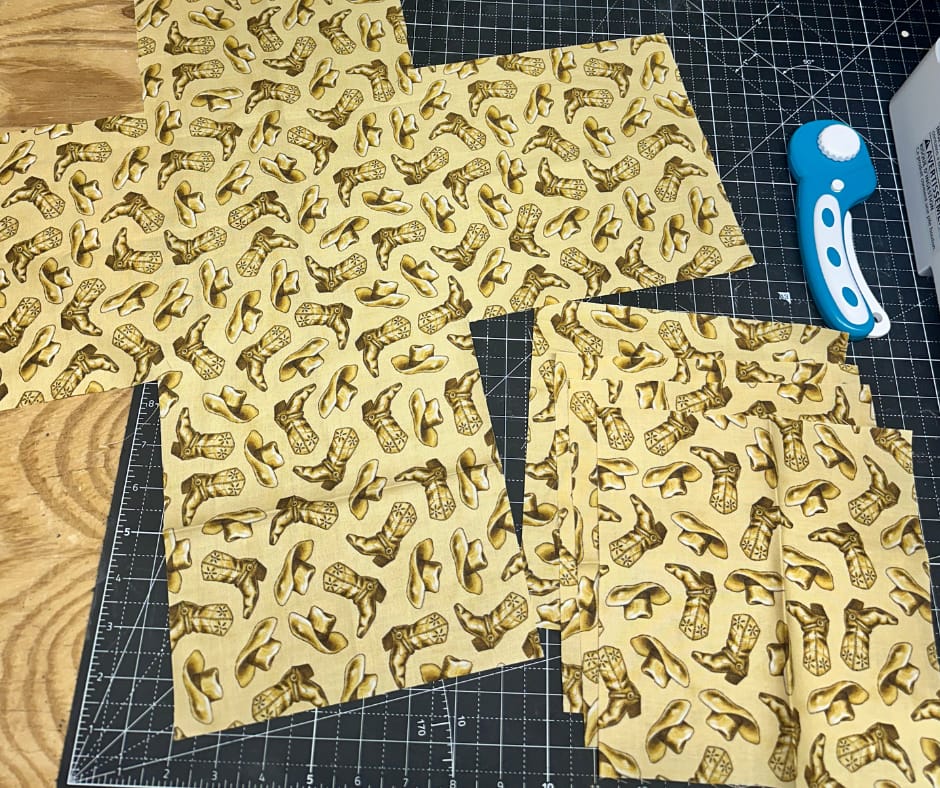
Next, open the fabric.
You should now have a cross shape, plus four 8″ square.
Repeat this entire step with the lining fabric.
How to Make the Basket Handle

Take the 4″ x 20″ fabric strip.
Press it in half lengthwise, then open it.
Fold both long raw edges toward the center crease.
Then, place the 1″ foam strip inside one fold.
After that, wrap the remaining fabric around the foam so it is fully enclosed.
Press again.
Then topstitch close to both long edges.
Set the handle aside.
How to Quilt the Basket for Structure
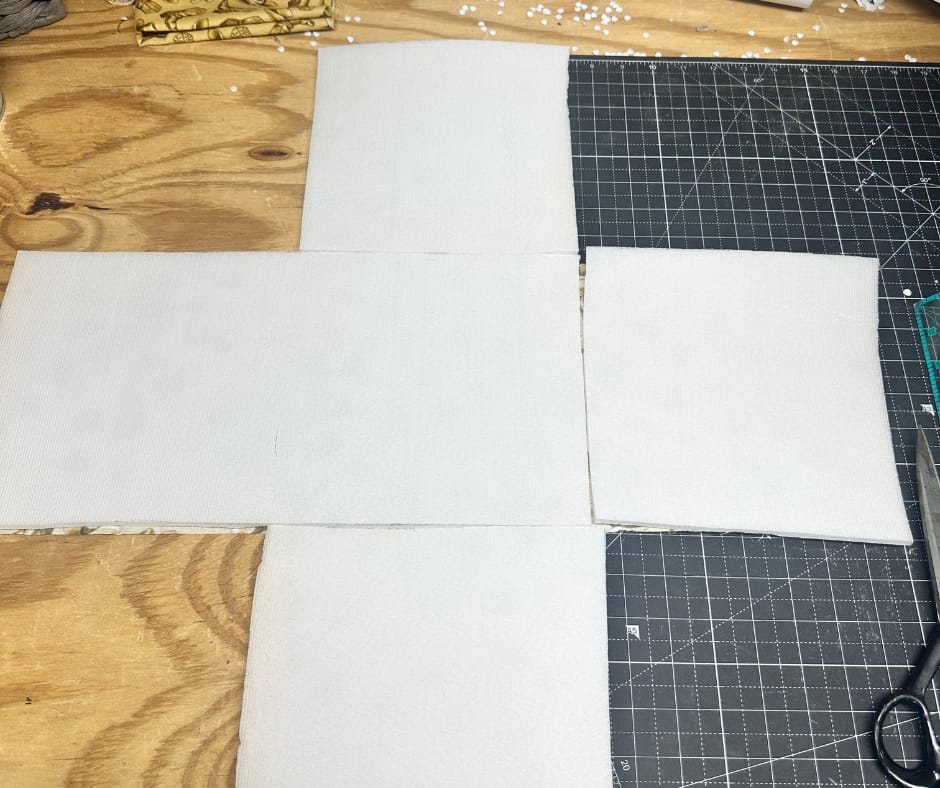
Foam comes in different sizes. As a result, it may be difficult to get a solid 24″ square of foam. Instead, you can cut individual 8″ squares. Then zigzag stitch the pieces together. As shown below, you can easily zig zag over both edges with a wide stitch.
Create a foam cross that matches the shape of the outer fabric.
You may need to cut five separate 8″ foam squares and arrange them into a cross.
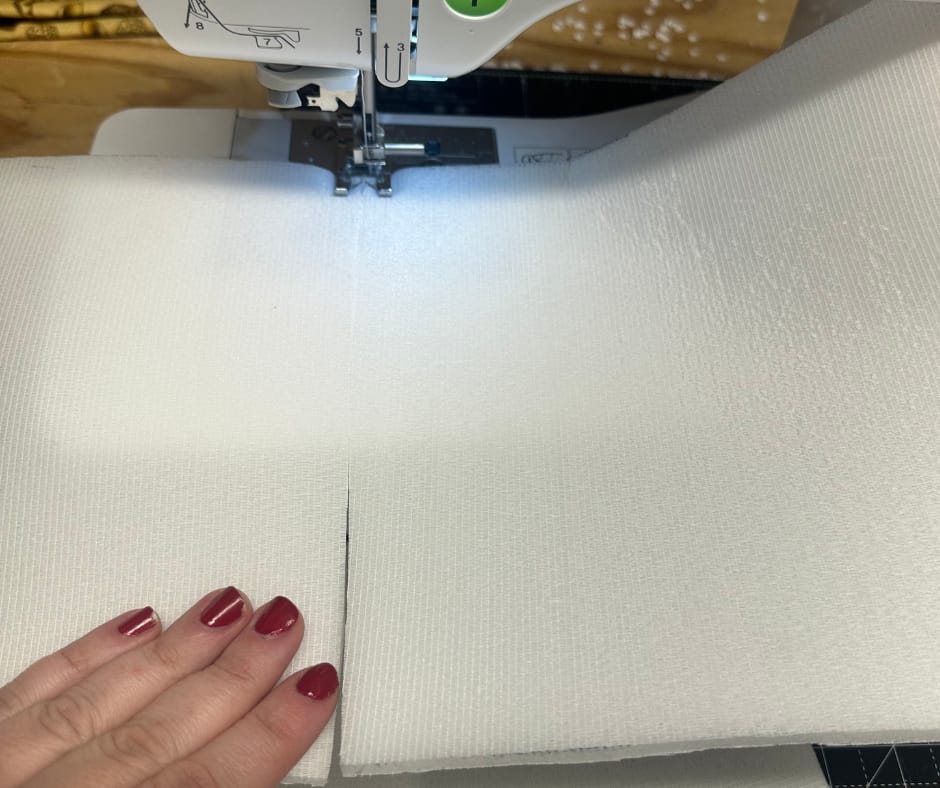
Place the outer fabric cross on top of the foam.
Then, sew a large X across each of the five squares.
Naturally, this step secures the fabric and adds structure.
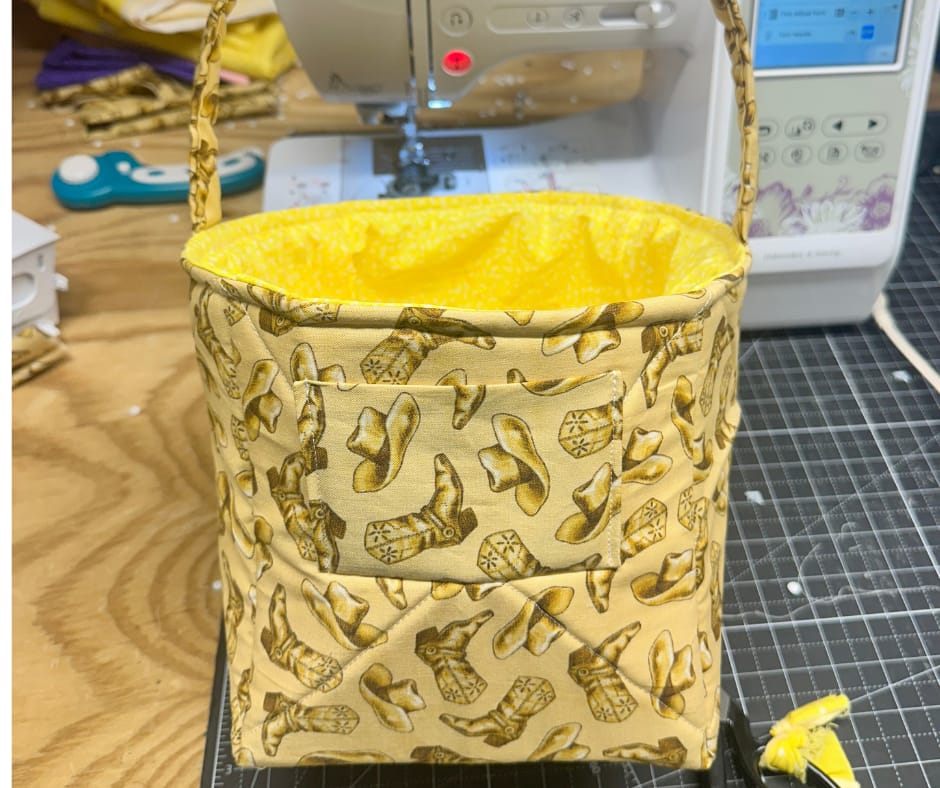
How to Add an Interior Pocket
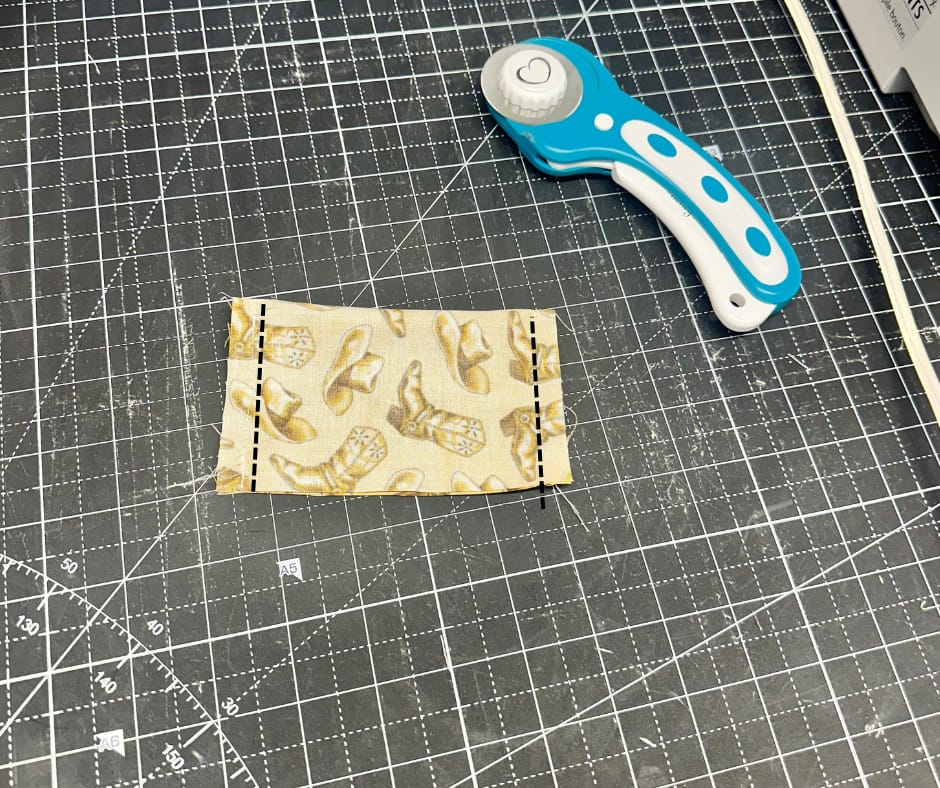
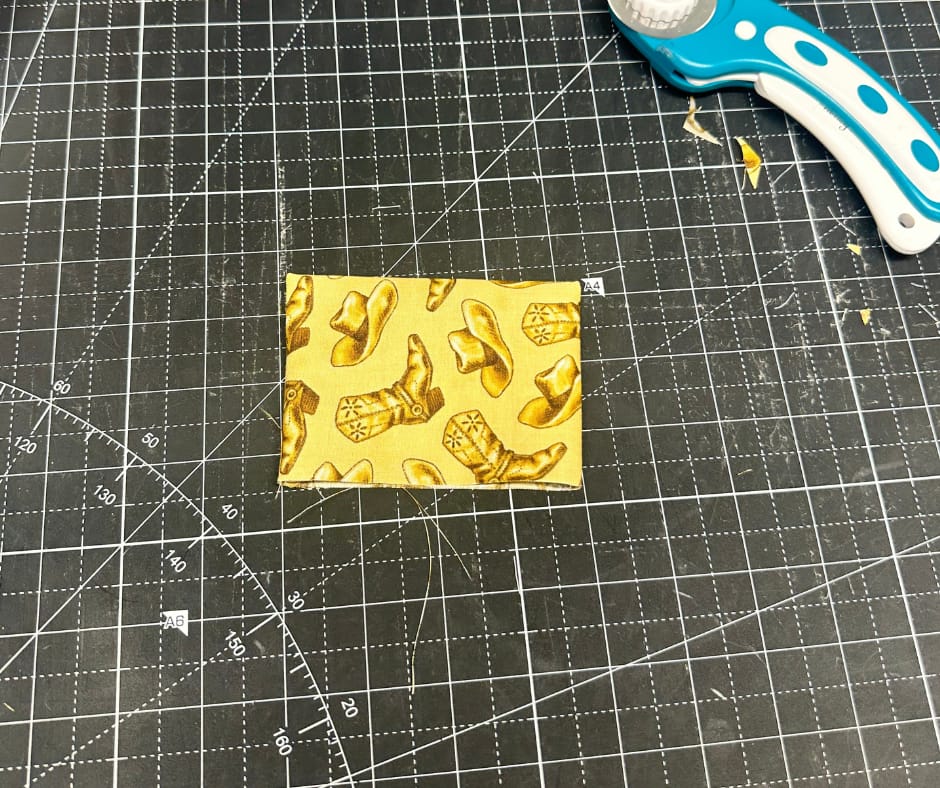
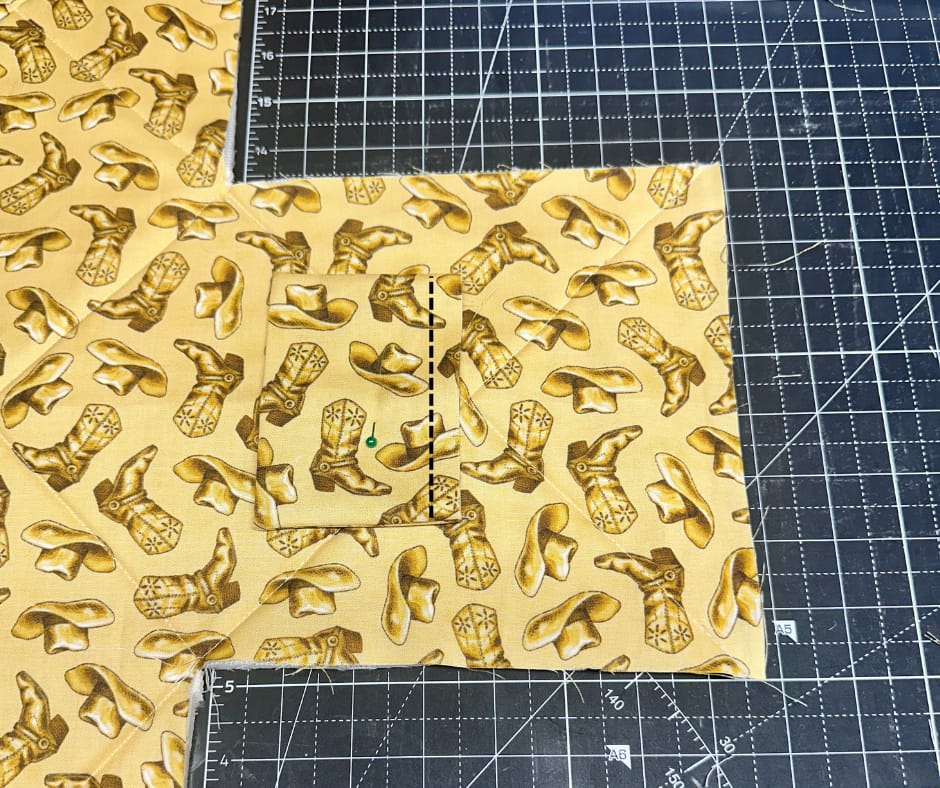
As shown below, cut a 4″ square from one of the extra fabric pieces.
Then fold it in half with right sides together.
Sew down the two short sides.
Now you can flip the pocket right side out and press.
Center the pocket on one side of the foam cross.
Next, place it upside down and sew the raw edge to the foam. This seam and raw edges will be hidden inside the pocket.
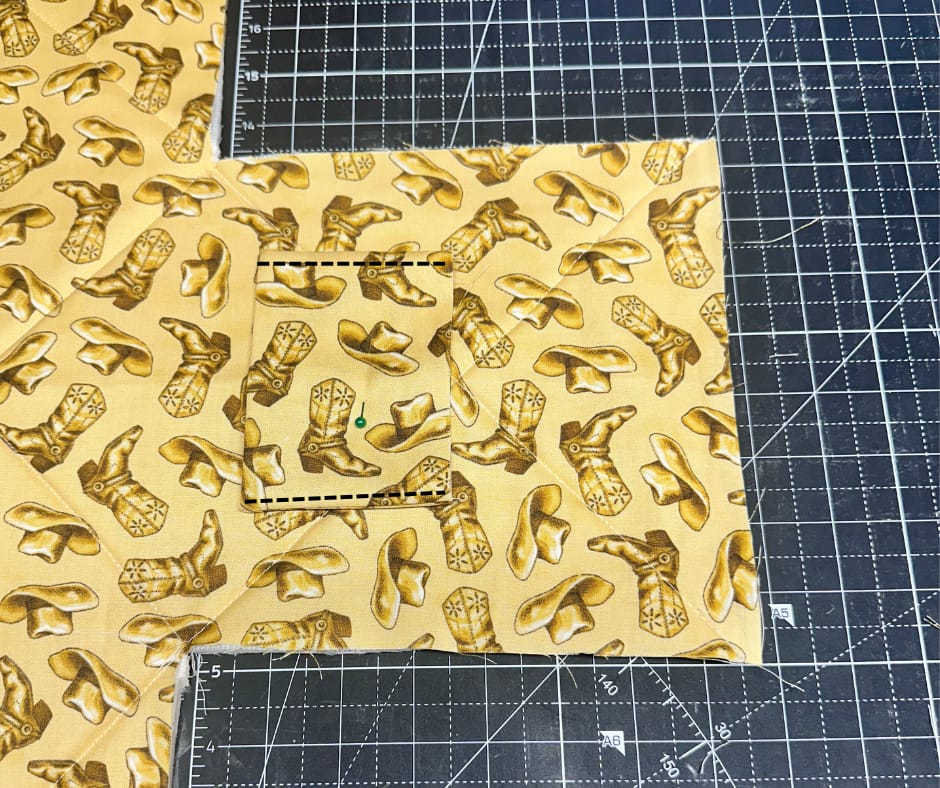
Flip the pocket up.
Carefully pin the sides. Then, sew them down. For extra strength, backstitch several times at the top edge of the pocket.
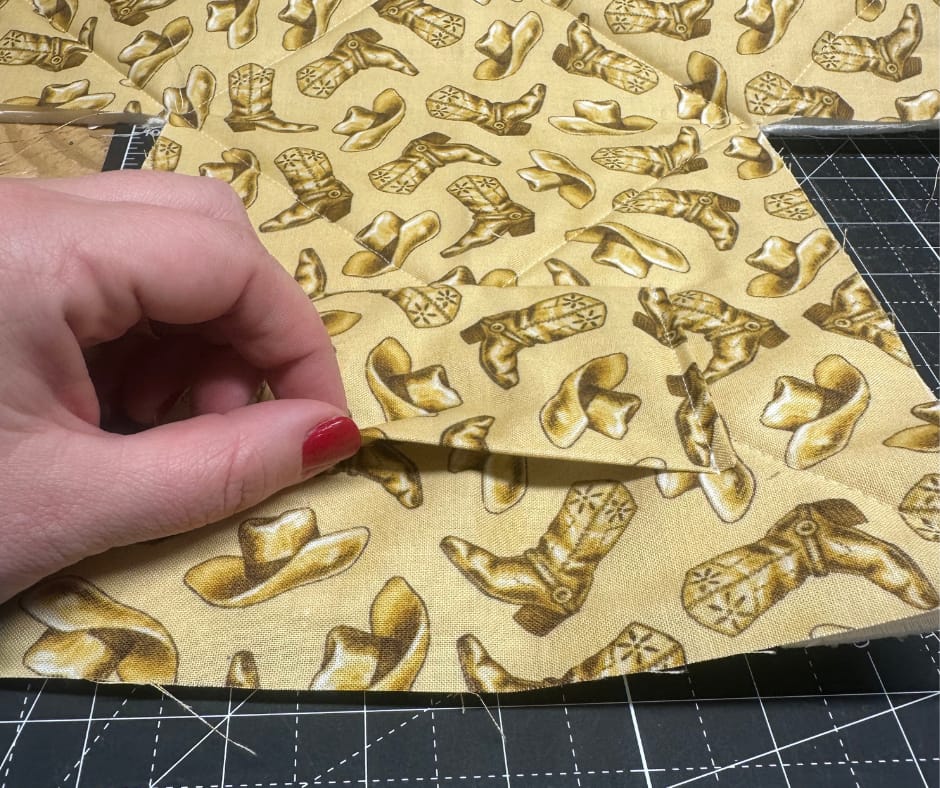
How to Sew the Basket Together
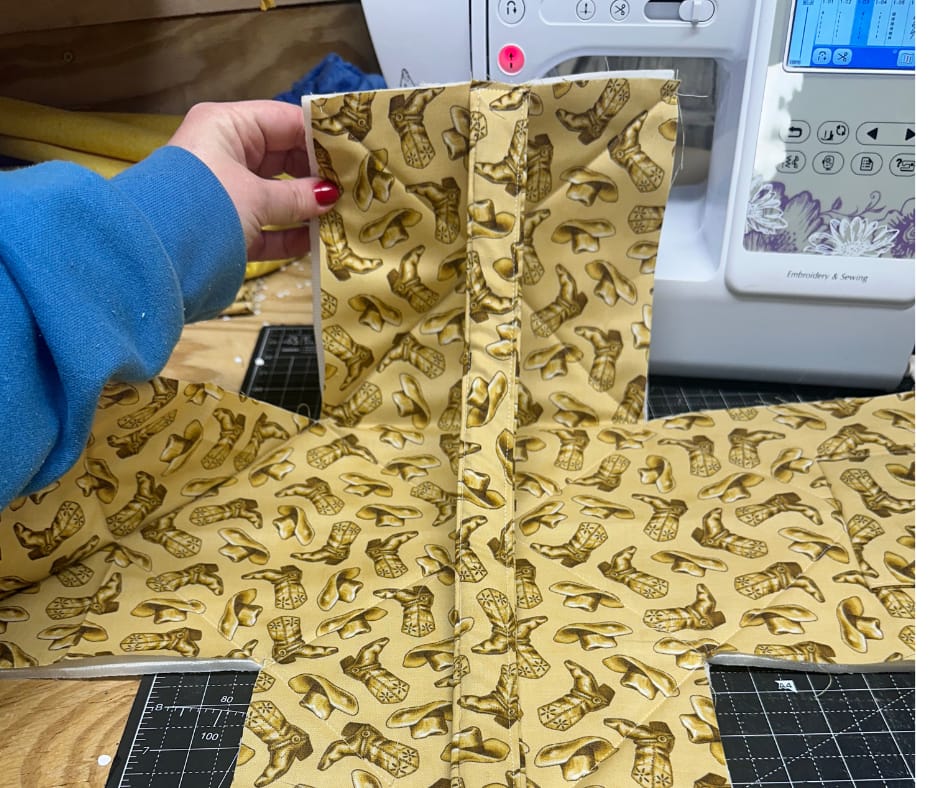
At this point, you’re ready to add handles. First, baste the handle ends to two opposite points of the cross.
Make sure the handle is not twisted.
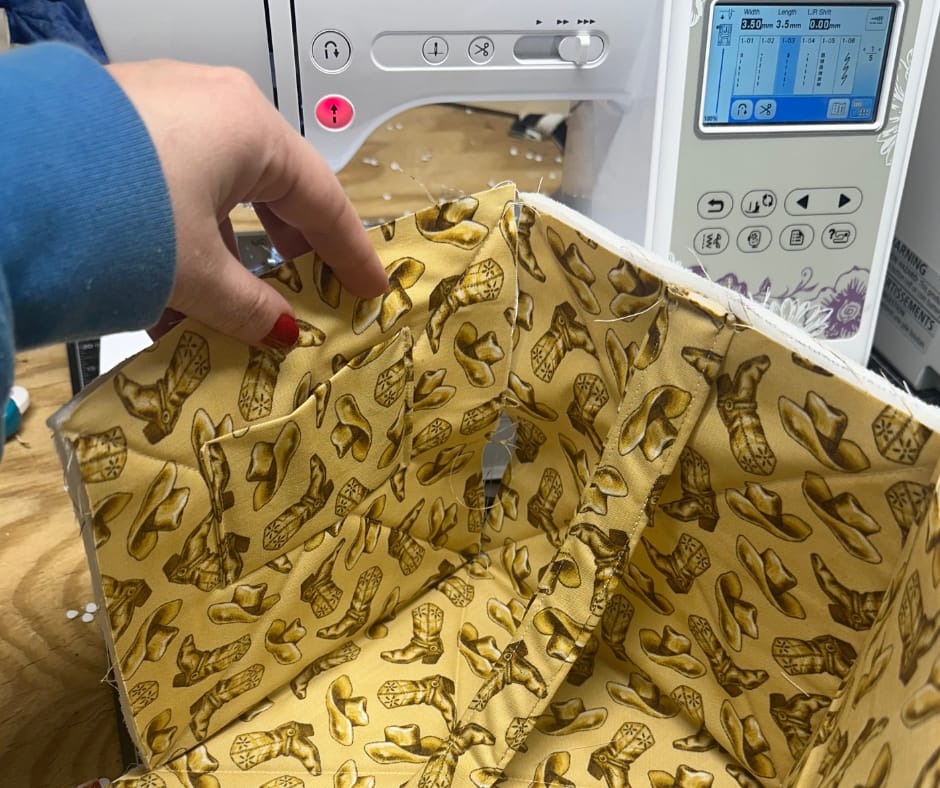
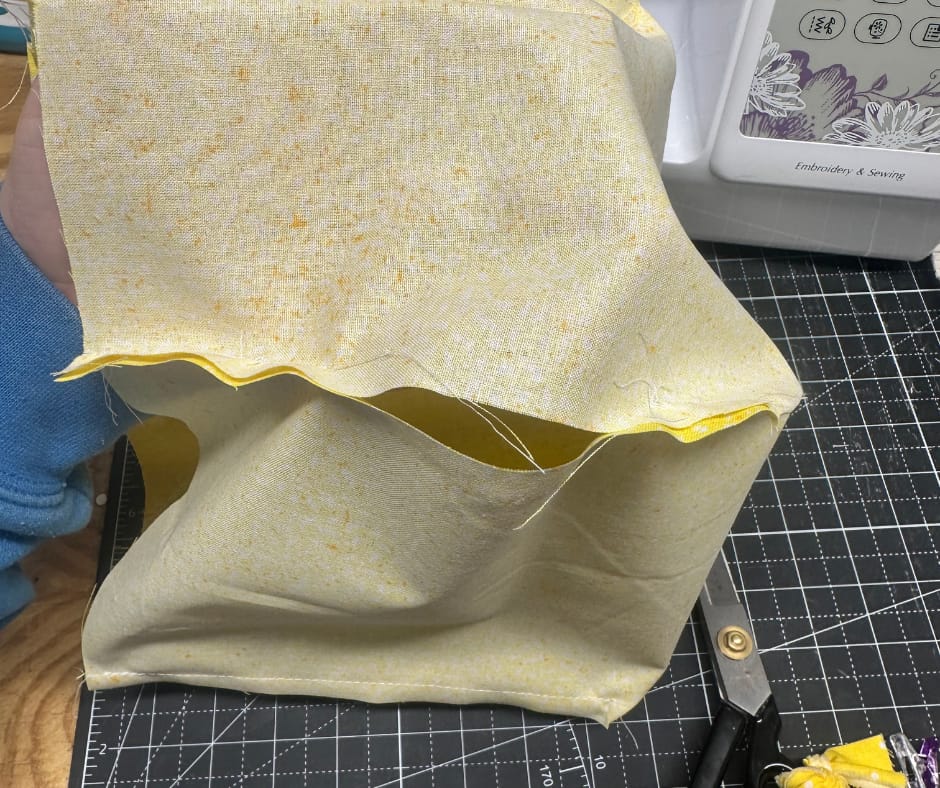
To create a boxed corder, pull two adjacent points together with pretty sides touching.
As shown above, align the raw edges and sew to box the corner. If you sew the correct piece together, the side of the basket will stand up. However, if you sew the wrong edges together, your basket will remain flat.
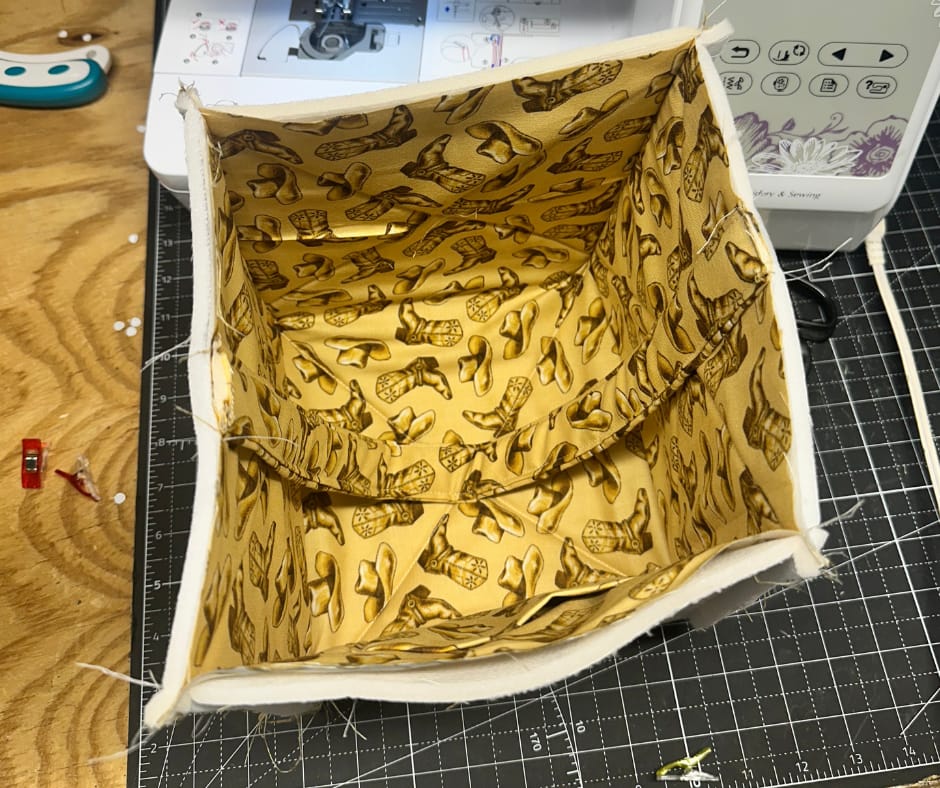
Now, repeat for all four corners. Once all four corners are sew, you will have the base of your basket. Even thoughu this is technically a basket with a handle, you need to add alining to hide the raw edge.
So, repeat the same process with the lining fabric.
Except, leave a 4″ opening for turning.
Finishing the Basket
First, turn the lining right side out.
Then, insert it into the outer basket.
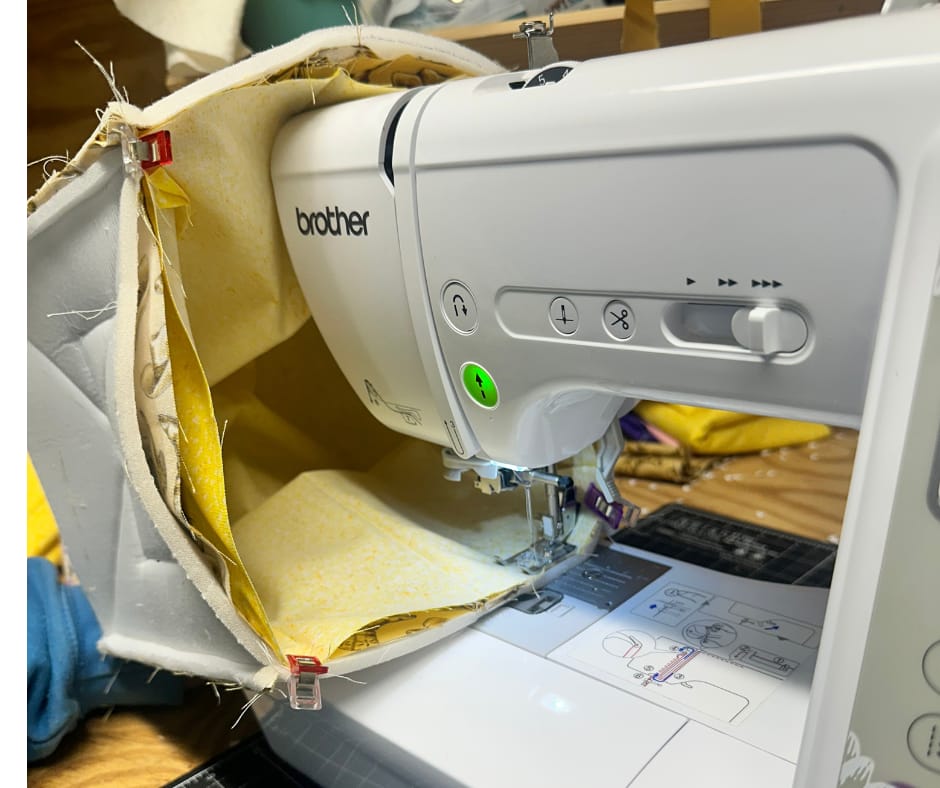
Now that the lining is inside the basket, with right sides together, align the top edges and corner seams.
Then clip all the way around.
Finally, sew around the top edge of the basket. Now, your lining has been inserted and the raw edges are hidden But everything is still inside out.
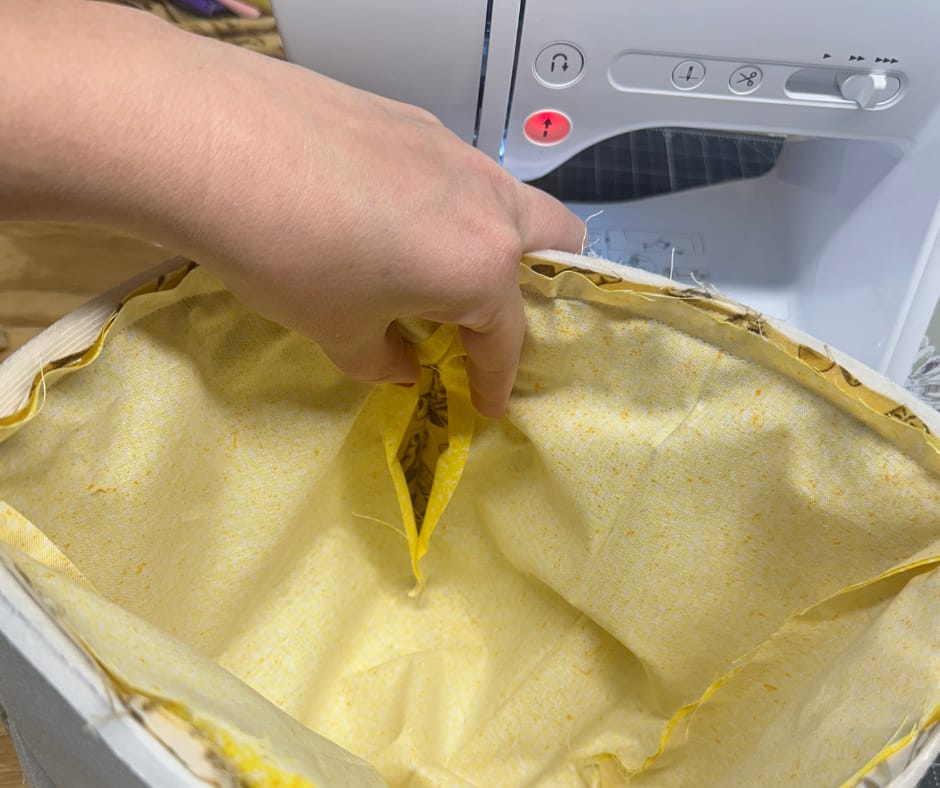
Provided that everything looks good and you don’t need to make any adjustments, turn the basket right side out through the lining opening.
By tugging on the edges of the hole, you can get the seam allowance to fold and tuck in correctly. Then you can use a stitch very close to the edges to sew the lining opening closed.
Push the lining inside the basket.
Press the top edge carefully with a warm iron.
Finally, topstitch ¼” from the top edge.
What to Put in a Structured Easter Basket
Surprisingly, these baskets hold more than you expect. You can really stuff them full of goodies.

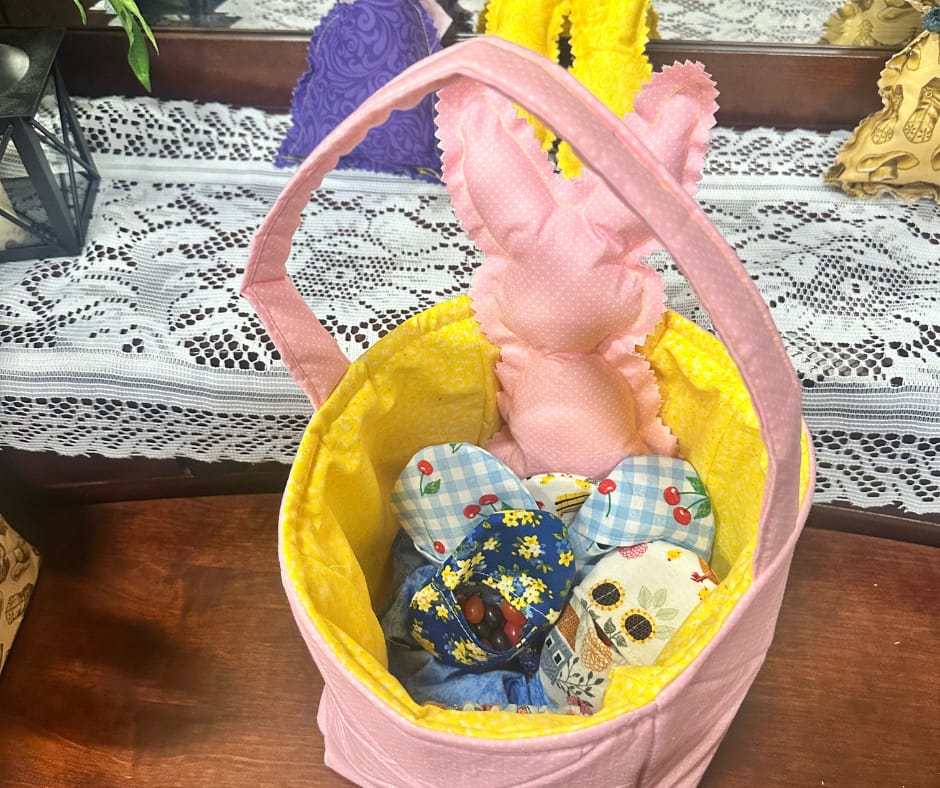
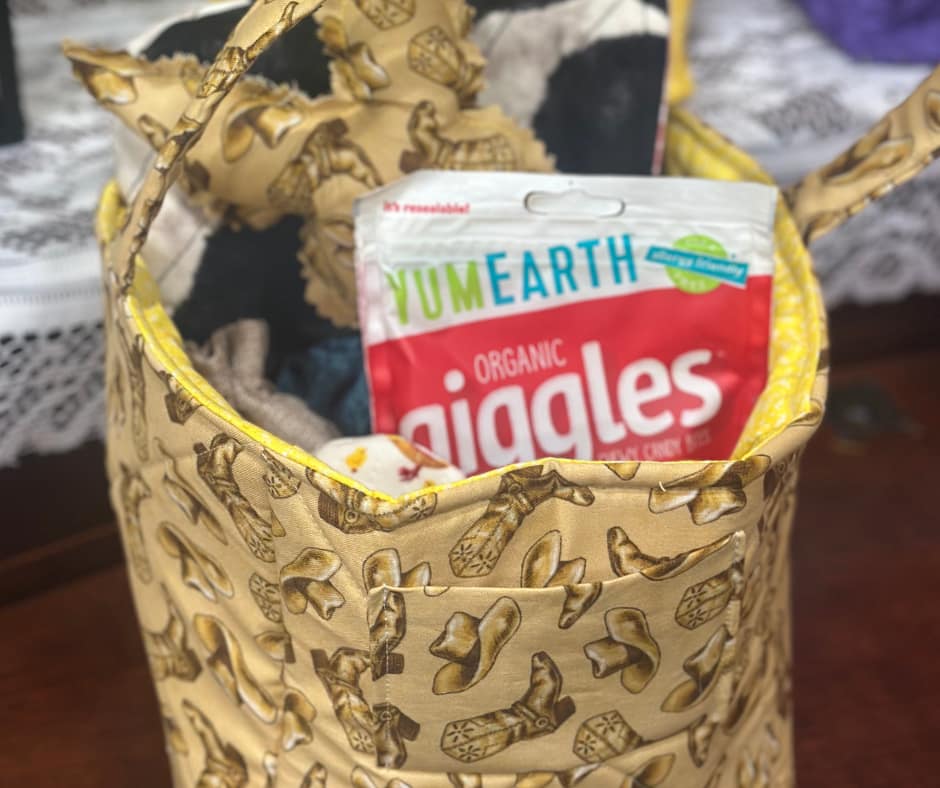


Fill them with:
- Fabric Easter eggs
- Stuffed bunny or peeps
- Carrot crayons ( I bought these for my 5 and 7 year old boys. My 14 year old was sad she didn’t get a set)
- Book sleeve
- Scrunchie or a scrunchie keychain
- https://amzn.to/4acXv6JPlay-dough eggs
- Church supplies like one of my quiet books
- Small books or toys
They also work well long after Easter is over.
Why These Baskets Became a Family Favorite
Each child picked their own fabric.
So each basket felt personal. Naturally, each child felt like I made them something special!
They carried them proudly.
In fact, they decided to carry them out and about. Acooridngly- they packed dtheir baskets and carried them for church, play, and storage.
That is my favorite kind of sewing project.
Useful. Meaningful. Loved.
Want access to all my free sewing printables?
get all of my free patterns
When you join the Plain Living Home Library, you’ll get access to printable sewing planners, project guides, and seasonal resources—plus everything new I add in the future.
Sign up once and use the library whenever you need it.
Structured Easter Basket FAQs
Quick answers about sizing, foam, fabrics, washing, and simple ways to fill this 8x8x8 structured fabric Easter basket.
What makes this Easter basket “structured”?
This basket uses foam batting quilted to the outer fabric, so the sides stand up on their own. The foam adds shape without turning the basket into a stiff box. It stays soft, but it does not flop over when you fill it.
What is the finished size of this basket?
The finished basket is about 8 inches wide, 8 inches tall, and 8 inches deep, plus a handle. It is big enough for Easter goodies and small toys, but still easy for kids to carry kid-friendly.
What fabric works best for a structured fabric Easter basket?
Quilting cotton works great and gives you endless cute prints. Duck cloth also works well and adds a little extra durability. If you want a crisp basket, pair either fabric with foam batting and quilt the layers together.
Is this Easter basket sewing pattern beginner friendly?
Yes, this is a confident beginner project. You will sew straight seams, topstitch the handle, and box corners. If you can sew a simple tote or pillow cover, you can make this basket.
Do I have to quilt the outer fabric to the foam?
Yes, quilting is what keeps the foam from shifting. It also helps the basket hold its shape. A simple X across each square is enough, and it goes quickly once you get started.
Can I wash this fabric Easter basket?
Yes. Wash on cold or gentle, then reshape the basket and let it air dry. Avoid high heat, because it can warp or damage the foam batting.
How do I keep the handle from twisting?
Lay the handle flat on the table before you baste it in place. Then match each raw end to the center of two opposite points and clip it. If the handle lays flat and smooth before sewing, it will not twist once the basket is finished.
What can I put in a structured Easter basket besides candy?
Fill it with handmade goodies like fabric Easter eggs, a stuffed bunny, or stuffed peeps. You can also add carrot crayons, scrunchies, a book sleeve, small books, or play-dough eggs. These baskets have plenty of room for real gifts, not just candy handmade.
Can kids use these baskets after Easter?
Yes, and that is part of why I love them. Kids use them as little purses, church bags, book baskets, or toy baskets. They are sturdy enough to carry around the house without collapsing.
How much fabric do I need if I want to make matching goodies?
One yard of a fun print is usually enough for the basket plus extra projects, especially if you use a separate lining fabric for the inside. The leftover corner squares are perfect for fabric eggs, small pockets, scrunchies, keychains, and other quick little makes.
Can I batch sew these baskets for multiple kids?
Yes, this is a great batch sewing project. Cut everything first, then quilt all the outer pieces, then sew the corners in one round. Once your machine is set up, you can finish several baskets in one session assembly line.
What is the best way to press this basket without melting the foam?
Use a warm iron, not a hot one. Press the top edge quickly and keep the iron moving. If you are unsure, place a pressing cloth on top and test a small area first.