How to Read a Sewing Pattern
Some links in this post may be affiliate links. That means I might make a small commission on qualifying purchases if you click the link. There is no extra cost to you.

How to Read Sewing Patterns (Beginner Guide to Understanding Instructions)
Have you ever opened a sewing pattern and felt confused before you even started cutting fabric? You are not alone.
Sewing patterns can look like a lot: tiny print, strange words, and big tissue pieces that feel hard to manage. But here is the good news. Patterns are not hard. They are just written in a special sewing language.
In this guide, I will walk you through patterns step by step in plain words. You will learn what to read, what to ignore, what to prep, and what order to do things. Keep my Sewing Terms Glossary (A–Z) open while you read. When you see a new word, look it up and come right back.
Patterns are not tests. You do not have to understand everything at once. Learn one word, sew one seam, and keep going.
Start With the Pattern Envelope (Don’t Open It Yet!)
This might surprise you, but the outside of the pattern envelope is full of important information. Before you open anything, take two minutes and read the envelope.
On the front, you usually see line drawings or photos. These give you a general idea of the shape, drape, and fit of the garment. You can often tell if something is loose, fitted, cropped, long, gathered, or structured.
On the back, you will find even more helpful details. Honestly, don’t even open the envelope until you read the back. The back is where patterns tell you what you need and how to choose the right size.
How to Use the Size Chart (Body + Finished Garment)
First, check the size chart. Most size charts show body measurements and finished garment measurements for each size. (Even if some sizes are not actually inside the envelope, they may still show up on the chart.)
Here is the simple goal: choose the size that is closest to your measurements. The most common measurements are bust, waist, and hip. Some patterns also include height, torso length, or finished length.
If your measurements fit one size, great. Pick that size line. If your measurements are very different (like bust in one size and hips in a different size), you may need to grade between sizes.
Grading means you blend from one size line to another so different parts of the garment fit your body. It is a normal skill, and lots of people do it. (If you are brand new, you can also start with a simple project first and learn grading later.)
Want help with the sewing words in size charts? Keep the glossary open: Sewing Terms Glossary (A–Z).
Pattern Views (Choose Your Style First)
Many patterns include multiple views. A “view” is simply a different style option using the same base pattern.
For example, a dress pattern may offer:
- Short sleeve or long sleeve
- Ruffles or no ruffles
- Different collar shapes
- Different skirt lengths
- Pockets or no pockets
Decide which view you want before you buy fabric. Your view choice affects the size chart, fabric amount, and notions list.
Fabric + Notions Chart (What to Buy or Pull From Your Stash)
Once you know your size and your view, read the fabric and notions chart. This is where the pattern tells you how much fabric and what supplies you need.
The chart may list:
- Fabric yardage for each size and view
- Thread (usually one matching spool is enough)
- Interfacing (for collars, waistbands, button plackets, and structure)
- Buttons, snaps, elastic, zippers, hook-and-eye
- Bias tape or seam binding (sometimes optional)
This is the moment to make your shopping list… or pull from your stash. Having everything ready before you begin saves a lot of frustration.
This is exactly the kind of step-by-step skill I cover in my Sew Like a Pro ebook.
Get the Sew Like a Pro ebook → https://plainliving.kit.com/sewlikeapro
Prep Your Fabric Before You Cut
Before you cut into fabric, prep it. This step feels boring, but it protects your finished garment.
Many fabrics need to be washed, dried, and pressed before you sew. Some fabrics shrink after the first wash. If you skip this step, your finished garment may shrink later.
Other fabrics may be pre-shrunk. Some may need no prep at all. When in doubt, follow the fabric’s care instructions and think about how you will wash the finished garment.
After washing (if needed), press the fabric so it lays flat. A flat fabric surface makes pattern placement and cutting much easier.
Prep the Pattern (Press, Trace, and Cut)
Now it is time to prep the paper pattern. Open the pattern pieces and press them with a hot iron. Tissue patterns often have lots of wrinkles, but heat fixes that quickly.
Next, select only the pieces you need for your chosen view. Patterns include extra pieces for other views. You do not need to cut everything.
I also highly recommend tracing the pattern onto tissue paper or kraft paper before cutting. This keeps the original pattern intact so you can:
- Use other sizes later
- Make a second garment without taping pieces back together
- Preserve the original if you want to resell or pass it down
Tracing also helps if you plan to grade between sizes. You can draw your blended lines clearly.
Lay Out Fabric + Place Pattern Pieces
Lay your fabric out flat on a large surface. Some patterns use one layer. Many use two layers with fabric folded.
Now place your pattern pieces on the fabric. Pay close attention to the markings. These markings control how your garment hangs and how pieces match.
Pin the pattern to the fabric before cutting, or use pattern weights. Beginners often do better with pins because fabric can shift.
Grainline, Fold Lines, Notches, and Markings
Grainline
A long line with arrows on both ends shows the grainline. The grainline should be parallel to the selvedge of your fabric.
The selvedge is the finished edge of fabric. When grainline is correct, garments hang straight and seams behave better.
Cut on the Fold
A line along one edge with two arrows pointing toward the edge means “cut on the fold.” Fold your fabric, place that edge of the pattern right on the fold, and cut around the piece. Do not cut on the fold side. When you unfold the fabric, you get a full, symmetrical piece.
Notches
Small triangles that jut in or out from an edge are called notches. Cut these notches into your fabric. You use them to line pieces up correctly and to identify direction.
Other markings
Patterns may also include dots, circles, pleat lines, dart points, or button placement marks. These markings guide you later, so take a minute and transfer them.
Cutting Cleanly + Transferring Marks
Now cut around each piece. Pattern pieces tell you how many to cut and whether you need a fabric piece, lining piece, or interfacing piece.
Use fabric scissors or a rotary cutter for clean lines. Clean cuts help seams line up.
Next, transfer markings from the pattern onto the fabric. You can use fabric chalk or marking pens that disappear with heat or water. (Always test your marker on a scrap first.)
Read Instructions Twice, Then Sew
Once all pieces are cut, read the pattern directions for prep. Some pieces may need interfacing ironed on. Some pieces may need to be gathered first.
I recommend reading the full instructions at least twice before you sew. You are not trying to memorize them. You are simply trying to understand the order and the “big picture.”
Then begin sewing. Go slowly. Complete each step carefully. Press every seam. Trim carefully. Your iron is one of your most important tools.
My Sew Like a Pro ebook teaches the small habits that make a big difference—pressing, trimming, finishing edges, and sewing in the right order.
Learn more about Sew Like a Pro →https://plainliving.kit.com/sewlikeapro
Finish Raw Edges (Easy Options)
Many fabrics fray. To keep seams strong and neat, finish raw edges. Here are simple options, from easiest to more advanced:
- Pinking shears (quick and simple for woven cotton)
- Zigzag stitch along the edge (great beginner method)
- French seams (beautiful finish that hides raw edges)
- Serger (fast and professional)
- Bias tape binding (pretty and sturdy)
- Self-binding seam allowance (folding and stitching the seam allowance to finish it)
If you are a beginner, start with zigzag or pinking shears. You can add fancy finishes later.
Beginner Projects to Practice Pattern Reading (PlainLivingHome)
If garment patterns feel like too much right now, you can build skill with simple projects. These teach the same pattern basics in a calmer way.
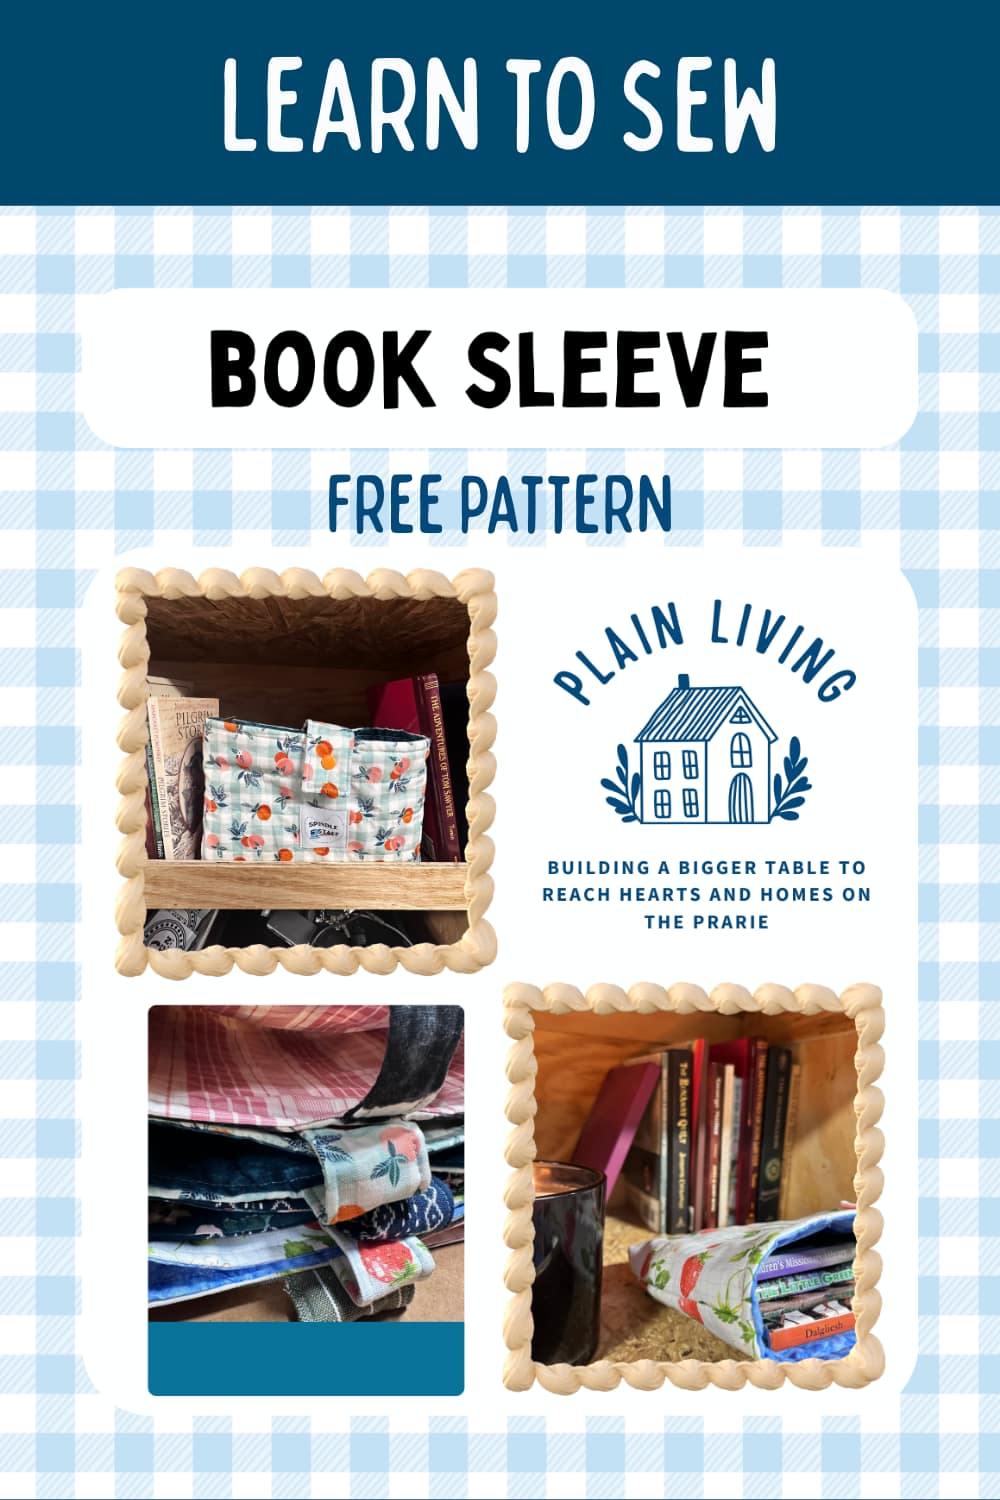
Book Sleeve (Beginner Friendly + Perfect for Gifts)
👉 How to Sew a Book Sleeve (Beginner Friendly, Perfect for Gifts)
Un-Paper Towels for Kids (Beginner Sewing + Hope Chest Skill)
👉 How to Sew Easy Un-Paper Towels for Kids (Beginner Sewing + Hope Chest)
Square Hot Pad with a Hanging Loop
👉 How to Sew a Square Hot Pad with a Hanging Loop
And if you want the quilting side of sewing explained clearly, read: 👉 What Is Quilting?
Keep your glossary open as you work: Sewing Terms Glossary (A–Z)
FAQ: Reading Sewing Patterns for Beginners
What if my measurements fit different sizes?
That is common. You can grade between sizes by blending the size lines (for example, one size at the bust and a different size at the hip). If you are brand new, you can also start with a simple project first and learn grading later.
Do I really need to pre-wash fabric?
Many fabrics shrink after washing. Pre-washing helps your finished garment keep its size. Always think about how you will wash the finished item and prep the fabric that way.
Should I cut the original tissue pattern?
You can, but tracing is a great habit. Tracing keeps the original intact and makes it easy to use other sizes later.
Is it good or bad to link to other blogs that teach sewing?
It can be good if you do it on purpose. Link out only when it truly helps your reader (like a clear diagram or a trusted technique). Use a few high-quality links, open them in a new tab, and keep your own content as the main answer.
Where can I look up sewing words fast?
Bookmark the Sewing Terms Glossary (A–Z). It is designed to help you while you sew, not overwhelm you.
Final Encouragement
Sewing patterns feel intimidating when you try to do everything at once. But you do not have to.
Read the envelope. Choose the view. Pick the size. Prep fabric. Prep pattern. Cut carefully. Read instructions twice. Sew one step at a time.
Keep this open as your helper: Sewing Terms Glossary (A–Z). And if you want a guided shortcut, grab the Sew Like a Pro ebook (link above).
You can do this. One pattern. One seam. One calm step at a time.
How I Turn Printables Into Real Workbooks
If you’ve ever printed a great freebie or printable curriculum and wished it felt more like a real book, this is the tool I use.
I bind our homeschool printables with the GBC ProClick binding machine, which lets me turn loose pages into spiral-bound workbooks that lay flat and hold up to real use. I’ve used it hundreds of times—for homeschool workbooks, morning work, journals, VBS materials, and more.
You can also bind your printable sewing tutorials and all your favorite Plain Living Recipes, so it really is super versatile!
The ProClick combs are reusable, so I can add or remove pages as we go, and the finished books feel far more durable (and motivating) than binders or stapled packets.
👉 You can read my full review of the GBC ProClick binding machine here
👉 Or check the current price here
➡️ Next Projects to Try
- New to sewing? Try the Basic Square Hot Pad Tutorial first.
- Or make a full Housewarming Gift Set with hot pads, an apron, cloth napkins, and more.
- Create a bakers gift basket with a sourdough starter jar cover, a bowl cover, a sourdough starter cozy, a bread bag, and a hot pad.
Introducing my new Book
Sew Like a Pro
✂️ Want your sewing to look neat, polished, and professional—without years of practice?
Grab my free ebook Sew Like a Pro! Inside, you’ll find my best beginner-friendly tips and tricks to help you sew with confidence, avoid common mistakes, and give every project a clean, finished look. Whether you’re just starting out or need a refresher, this guide will help you level up your sewing in no time. Enter your email below and start sewing like a pro today!