Unbelievably Easy Nutritious Protein Bites with Peanut Butter and Honey
Some links in this post may be affiliate links. That means I might make a small commission on qualifying purchases if you click the link. There is no extra cost to you.
These easy peanut butter protein balls are one of my favorite make-ahead snacks for busy school days. They’re made with peanut butter, oats, protein powder, honey, and mini chocolate chips—and there’s no baking required.
I can prepare a large batch in about 10 minutes and keep them in the refrigerator or freezer for quick breakfasts, lunchbox treats, homeschool snack breaks, road trips, and those afternoons when everyone suddenly needs something to eat.
Peanut Butter Protein Balls at a glance
These fun little bite size balls combine protein powder, peanut butter, and oats to crate a filling and fun snack.
Time: 7-10 minutes
Servings: 36 protein balls
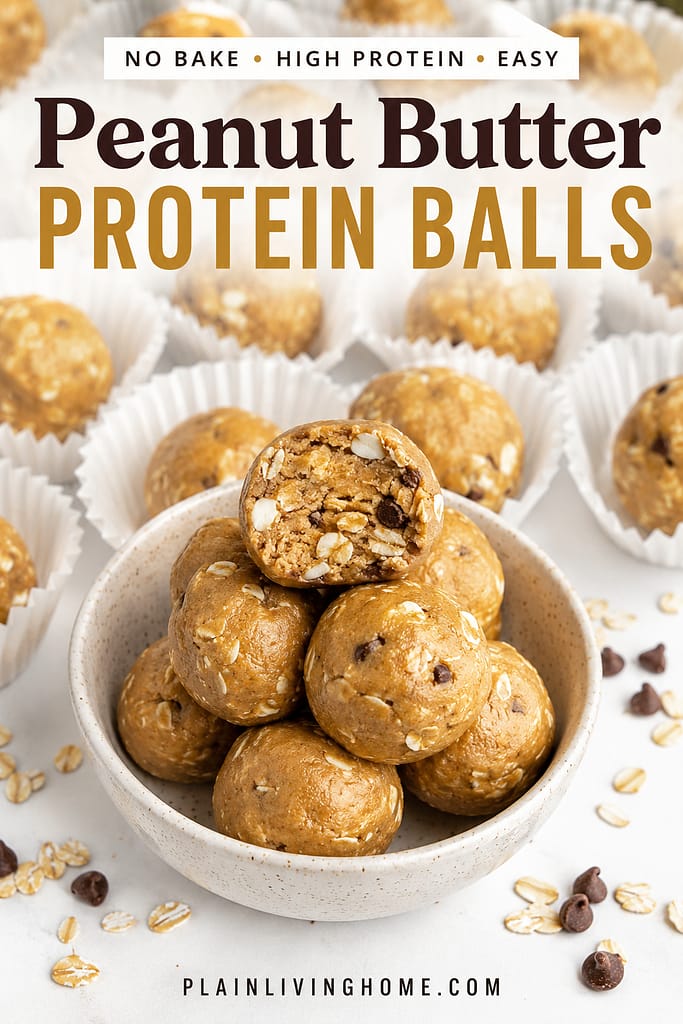
Table of Contents
- Why These Peanut Butter Protein Balls Are a Game-Changer
- Ingredients You’ll Need
- Step-by-Step Instructions
- Travel Tips & How We Use Them on Deputation Days
- Flavor Variations My Kids Love
- Storage, Make-Ahead & Freezer Notes
- FAQ
Why These Peanut Butter Protein Balls Work for Back-to-School
School days have a way of getting busy, even when school happens around the kitchen table. These protein balls are easy to make ahead, require no utensils, and are simple for older children to grab from the refrigerator when they need a filling snack.
They also work well for packed lunches, homeschool co-op days, sports practices, errands, and busy mornings when there isn’t time to prepare a full breakfast. I usually make enough to keep some in the refrigerator and freeze the rest for later.

Why These Peanut Butter Protein Ball Ingredients Work
Each ingredient has a practical job in this recipe. Peanut butter provides the main flavor and binds everything together. Rolled oats add texture and help make the protein balls more filling, while protein powder adds extra protein and structure.
Honey sweetens the mixture and helps it hold together. Mini chocolate chips make the protein balls feel like a treat, which certainly helps when I’m serving them to my children.
For a more complete school snack, pair one or two protein balls with fruit, cheese, yogurt, or another simple food your child enjoys.
Ingredients You’ll Need
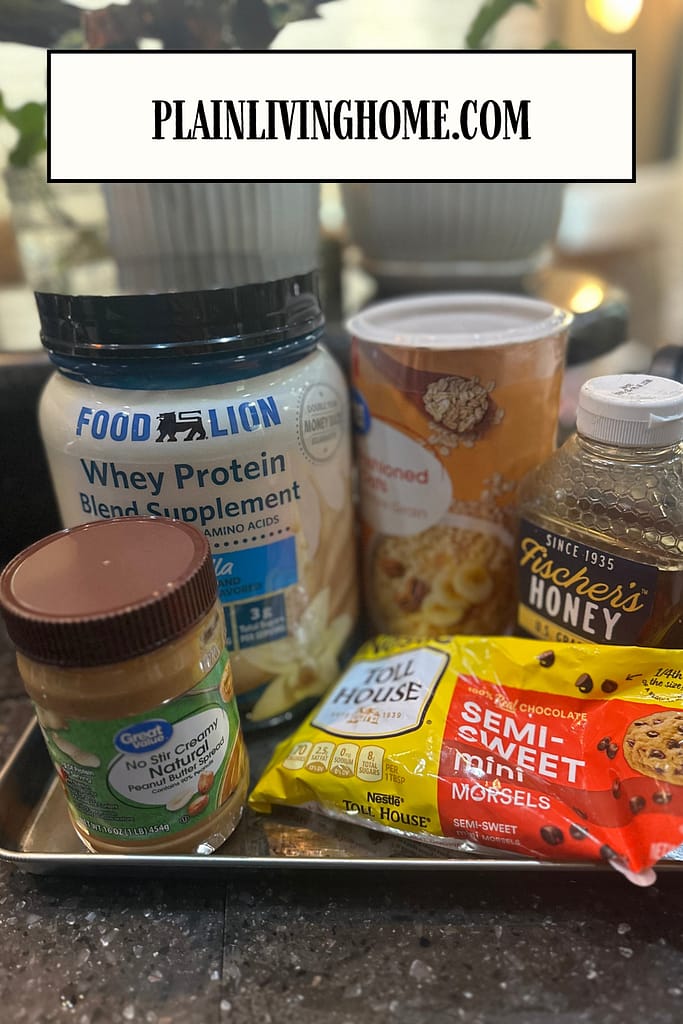
- 2 cup natural peanut butter (stirred well)
- ½ cup rolled oats
- 1 cup vanilla or plain protein powder
- 1/2 cup honey
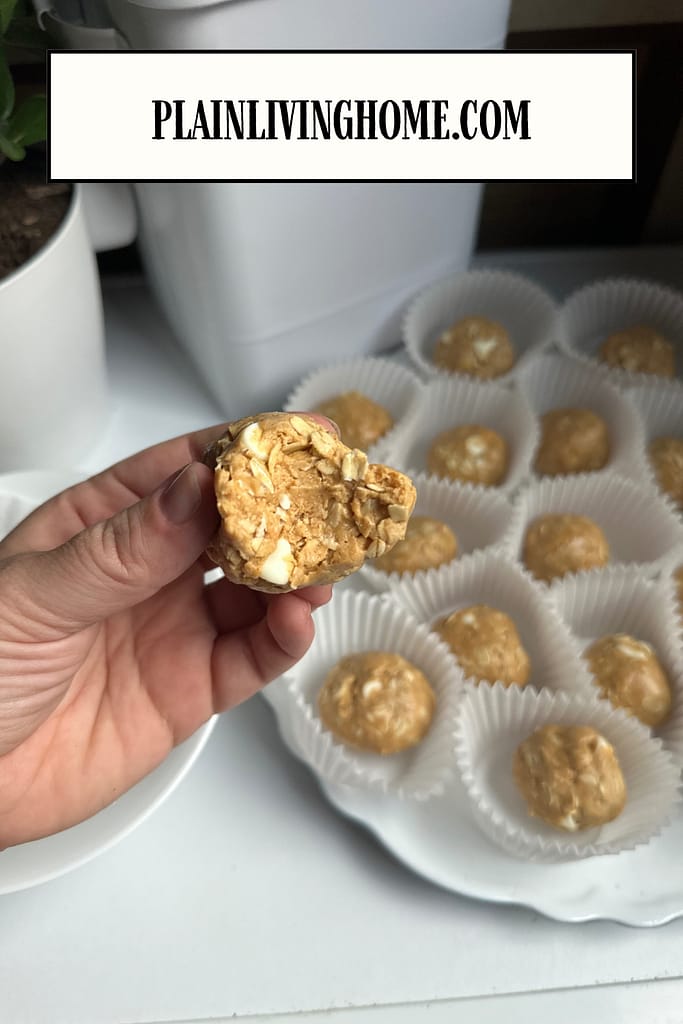
- 1/2 cup mini chocolate chips or white chocolate chips
- pinch of salt
Why these ingredients? Peanut butter binds the mixture and gives flavor. Oats provide fiber and bulk. Protein powder keeps everyone full longer. Honey adds sweetness and holds everything together. Chocolate chips make it fun for the kids—because a snack that feels like dessert is always a win on travel days!
Step-by-Step Instructions
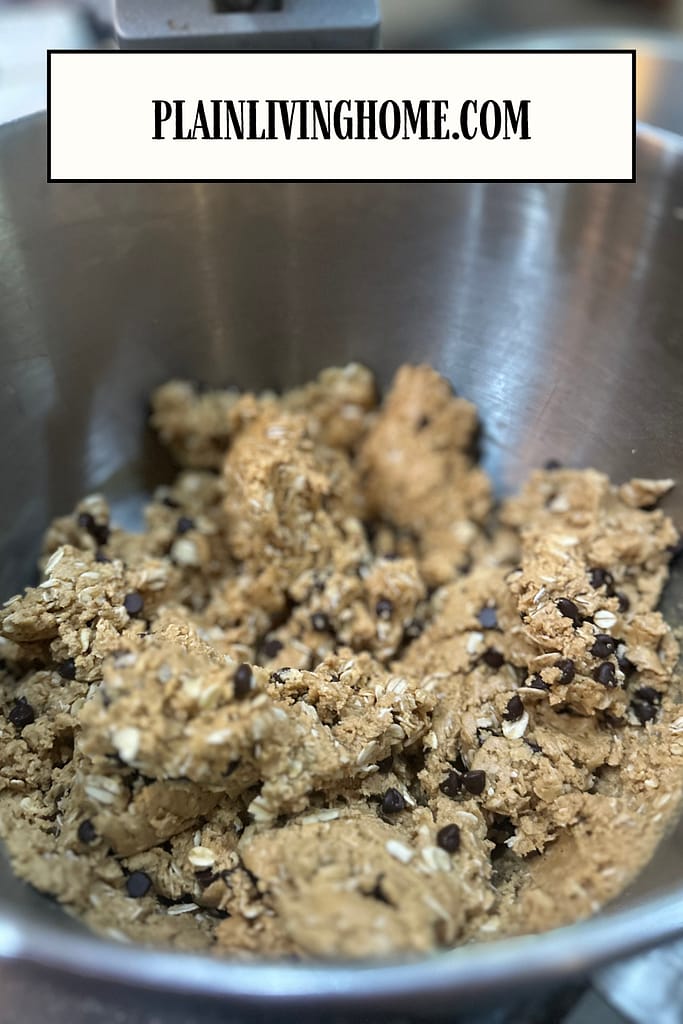
- In a medium bowl, combine peanut butter, oats, protein powder, chia seeds, honey, and chocolate chips.
- Mix with a spoon (or your hands) until the mixture holds together. If too dry, add 1 Tbsp water. If too sticky, add more oats.
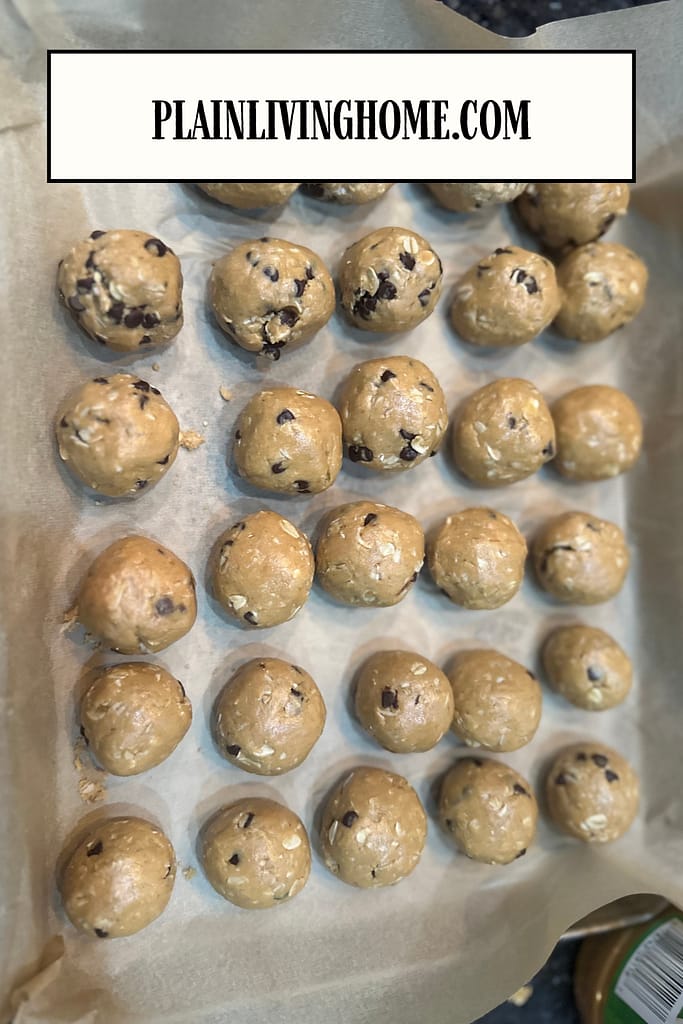
- Use a tablespoon or cookie scoop to portion and roll into balls (about 1 inch in size).
- Place the balls on a parchment-lined tray and chill for 10–20 minutes to firm up.
- Store in an airtight container in the fridge for up to 1 week, or freeze up to 3 months.
Nutrition Facts & Protein Breakdown
Other Grab-n-Go Breakfasts and Snacks You’ll Love
- Easy 3 Ingredient Sausage Balls
- How to Make Banana Muffins with Fresh Milled Flour
- How to Make a Healthy Greek Yogurt Parfait (Easy Summer Snack)
How to Pack Protein Balls for School and Busy Days
These peanut butter protein balls are easy to portion for lunchboxes, homeschool co-op days, sports practices, road trips, and afternoon snacks. I like to make a large batch and keep them chilled until we’re ready to leave.
- Place one or two protein balls in a small lidded container or reusable snack bag.
- Use an ice pack in packed lunches to keep the protein balls firm and fresh.
- Pair them with fruit, cheese, yogurt, or another simple food for a more complete snack.
- Check your school or co-op’s allergy policy before packing anything made with peanuts.
- For a peanut-free option, substitute sunflower seed butter and check the labels on the protein powder and chocolate chips for allergen warnings.
Flavor Variations My Kids Love
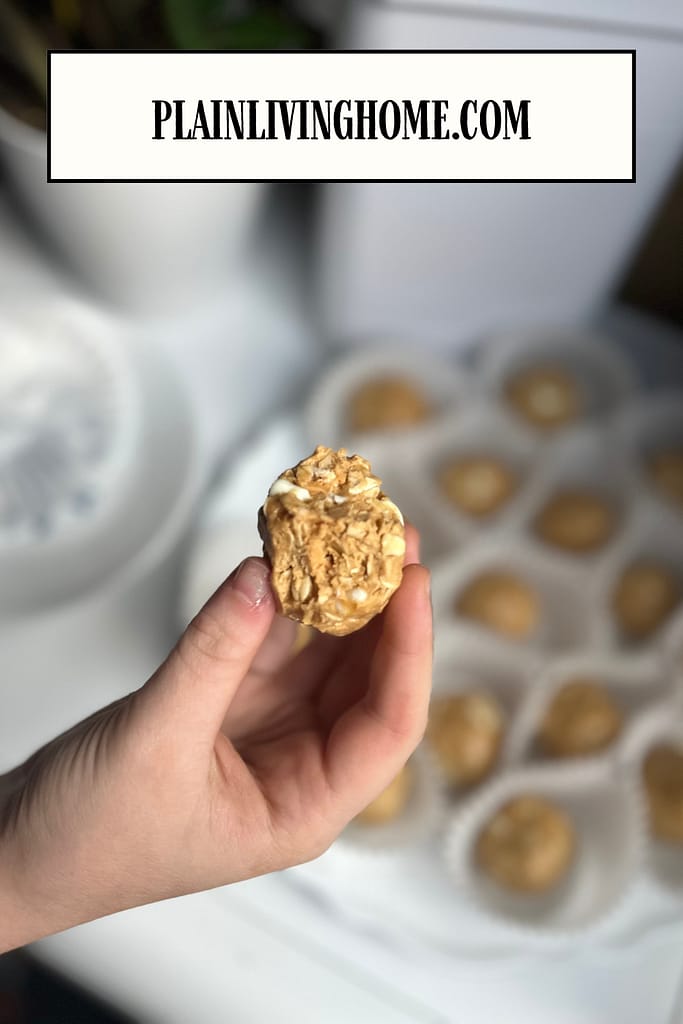
- White chocolate chip: Swap mini chocolate chips for white chocolate chips for a sweeter version.
- Double chocolate: Use chocolate protein powder + chocolate chips.
- Nut butter swap: Almond butter or cashew butter work well.
- Seed mix-in: Add pumpkin or sunflower seeds for crunch.
- Dried fruit twist: Chopped dried cranberries or cherries add tartness.
- No protein powder: Add more oats or flax if skipping the protein powder.
- Chia seed variation: Stir 2 tablespoons of chia seeds into the mixture. If the mixture becomes too dry to hold together, add a little extra peanut butter or 1 teaspoon of water at a time until it reaches the right consistency.


Storage, Make-Ahead & Freezer Notes
- Fridge: Store up to 1 week in an airtight container.
- Freezer: Store up to 2–3 months in a zip bag. Freeze individually on a tray first to avoid sticking.
- Thawing: Pull from the freezer the night before travel and they’ll be perfect by morning.
These easy peanut butter protein balls are exactly the kind of recipe I like to keep ready for busy family days. They take only a few minutes to mix, require no baking, and can be stored in the refrigerator or freezer until someone needs a quick snack.
Make a batch before the school week begins and use them for lunchboxes, homeschool snack breaks, after-school hunger, sports practices, or grab-and-go breakfasts. If you try them, leave a rating and tell me which chocolate chips or flavor variation your family liked best.
Frequently Asked Questions
Store in an airtight container in the refrigerator for up to 1 week.
Yes — freeze on a tray until firm, then transfer to a sealed bag for up to 2–3 months.
Calories vary by ingredients, but expect roughly 100–150 calories per 1-inch ball depending on peanut butter and protein powder used.
The exact calories will vary depending on the peanut butter, protein powder, honey, and chocolate chips you use. For the most accurate number, add the nutrition totals for your specific ingredients and divide by the approximately 36 protein balls in the batch.
The amount of protein in each ball depends primarily on the brand and type of protein powder you use. Check the nutrition labels on your ingredients and divide the total protein for the complete recipe by approximately 36 balls.
Yes — skip the powder and add extra oats, flaxseed, or chia to maintain texture and bulk.
Yes —they are a kid-friendly snack, but cut or flatten slightly for toddlers and always supervise young children while eating.
Yes — almond, cashew, or sunflower seed butter work in the same volume as peanut butter; adjust sweetness if needed.
If they’re crumbly, the mixture needs more binder — add 1 Tbsp peanut butter or 1 tsp honey at a time until they hold, then chill and roll.
Pack 2–3 balls per child along with fruit or yogurt for a balanced travel breakfast.

Easy Peanut Butter Protein Balls
Equipment
Ingredients
- 2 cup natural peanut butter stirred well
- ½ cup rolled oats
- 1 cup vanilla or plain protein powder
- 1/2 cup honey
- 1/2 cup mini chocolate chips or white chocolate chips
- pinch of salt
Instructions
- Combine the peanut butter, rolled oats, protein powder, honey, chocolate chips, and salt in a large mixing bowl.
- Stir with a sturdy wooden spoon until all the protein powder is absorbed and the mixture holds together.
- Use a 2-tablespoon cookie scoop to portion the mixture onto parchment paper.
- Leave the portions as scooped or roll each one between your hands until smooth.
- Chill for 10–20 minutes to help the protein balls firm up. Store in a covered container in the refrigerator or freeze for longer storage.
Notes
- Yield and serving: Makes approximately 36 protein balls when portioned with a 2-tablespoon cookie scoop.
- Texture adjustments: If the mix is too dry, add 1 tablespoon peanut butter or 1 teaspoon water at a time until it holds. If it’s too sticky, stir in 1–2 tablespoons more oats and chill for 10–15 minutes.
- Protein powder swaps: Whey or plant protein powders both work. If using a very absorbent plant powder, add a splash of water or extra honey to reach the right texture.
- No-protein-powder option: Omit protein powder and add 1/4–1/2 cup extra oats plus 2 tablespoons ground flax or chia to keep the texture and boost nutrition.
- Nut-free version: Use sunflower seed butter or soy nut butter in place of peanut butter. Check chocolate chips and other add-ins for cross‑contact allergens.
- Sweetness tips: Taste before chilling. Add more honey for sweetness or a pinch of salt to enhance flavors if needed.
- Make-ahead & freezing: Roll balls, freeze on a tray until firm, then transfer to a sealed bag. Freeze up to 2–3 months; thaw overnight in the fridge or in a cooler for travel.
- Packing for travel: Keep chilled in an insulated cooler with an ice pack to stay below 40°F during the day. Pack in a single layer or separate layers with parchment paper.
- Storage: Refrigerate in an airtight container up to 1 week. Label with date and discard at first sign of spoilage.
- Calorie & protein note: Nutrition varies by brand and protein powder. Estimate roughly 100–150 kcal and 6–10 g protein per ball depending on ingredients.
- Allergy & child safety: For small children under 4, chop or flatten slightly to reduce choking risk and always supervise while eating.
About the Author

Kim is an adventurous mama of 5 who has been building new skills over 16 years of marriage. Over the past decade, she and her family have built a homestead from the ground up, starting with meat and egg chickens, growing into a large garden, and learning to preserve their harvest.
She taught herself to sew, crochet, and knit 13 years ago through books and early YouTube tutorials, and has been making handmade projects ever since.
Cooking from scratch became a necessity and a passion as her family learned to eat more nutritionally and live more frugally. She tests all of her sourdough and fresh milled flour recipes on the kids to ensure they’re delicious and nutritious.
At Plain Living, Kim shares what she’s actually lived — not theory, but the real skills she’s picked up through years of trial, error, and love for her family and home.
