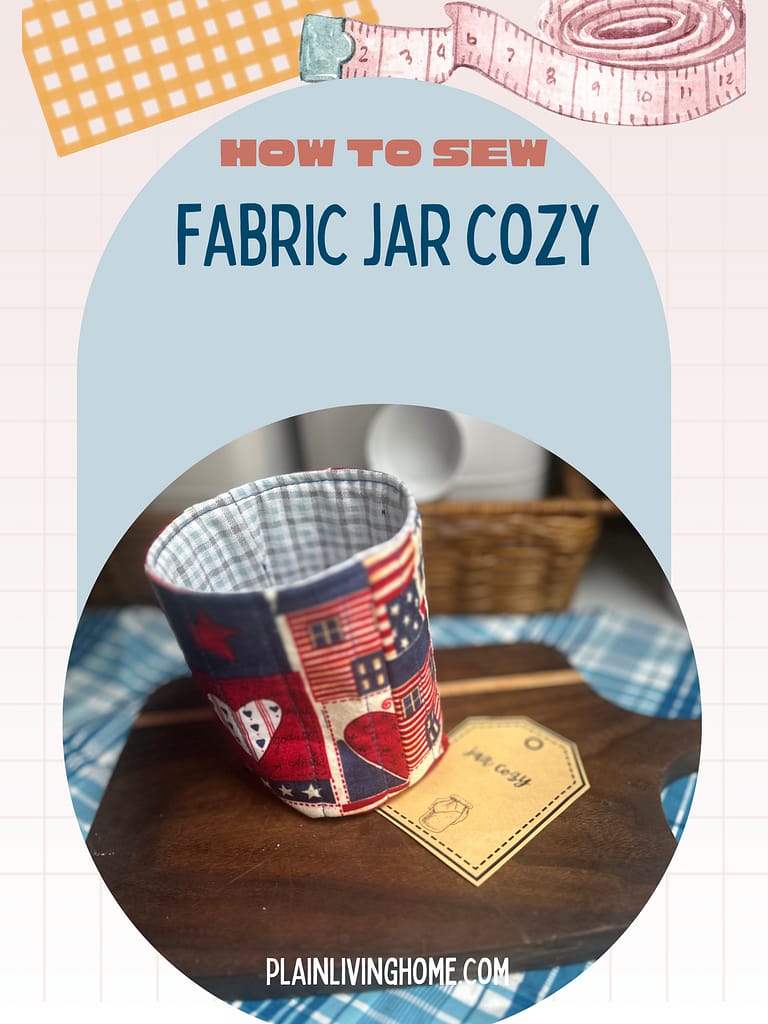
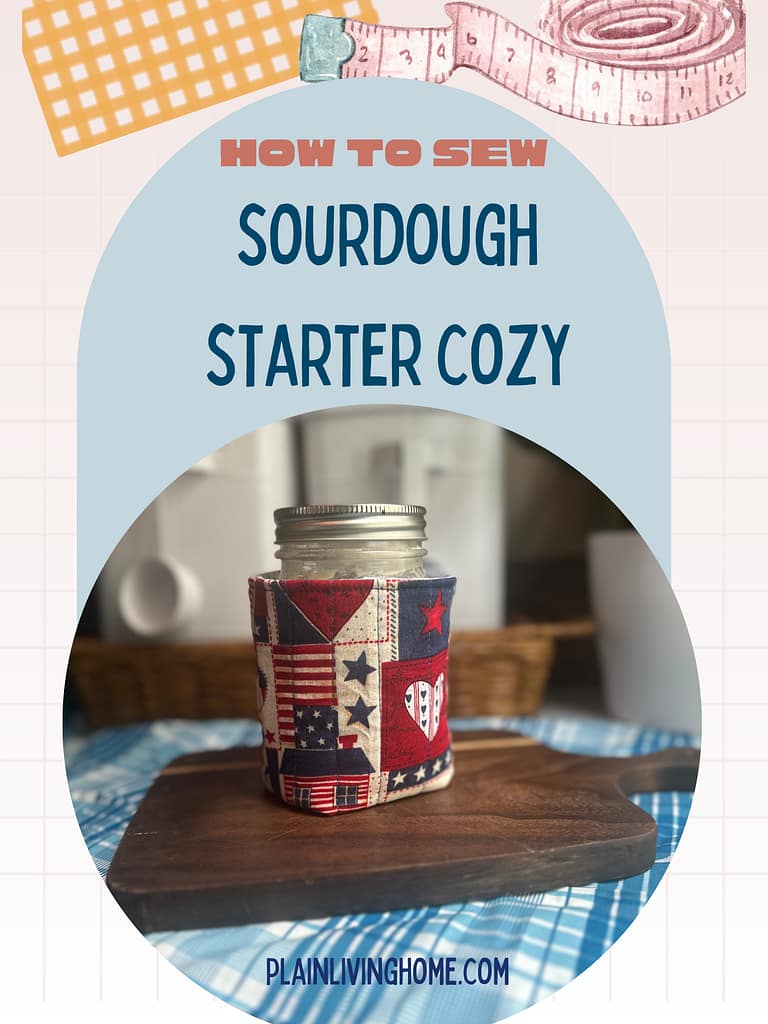
How to Sew a Sourdough Starter Jar Cozy (Easy Sewing Tutorial)
Some links in this post may be affiliate links. That means I might make a small commission on qualifying purchases if you click the link. There is no extra cost to you.
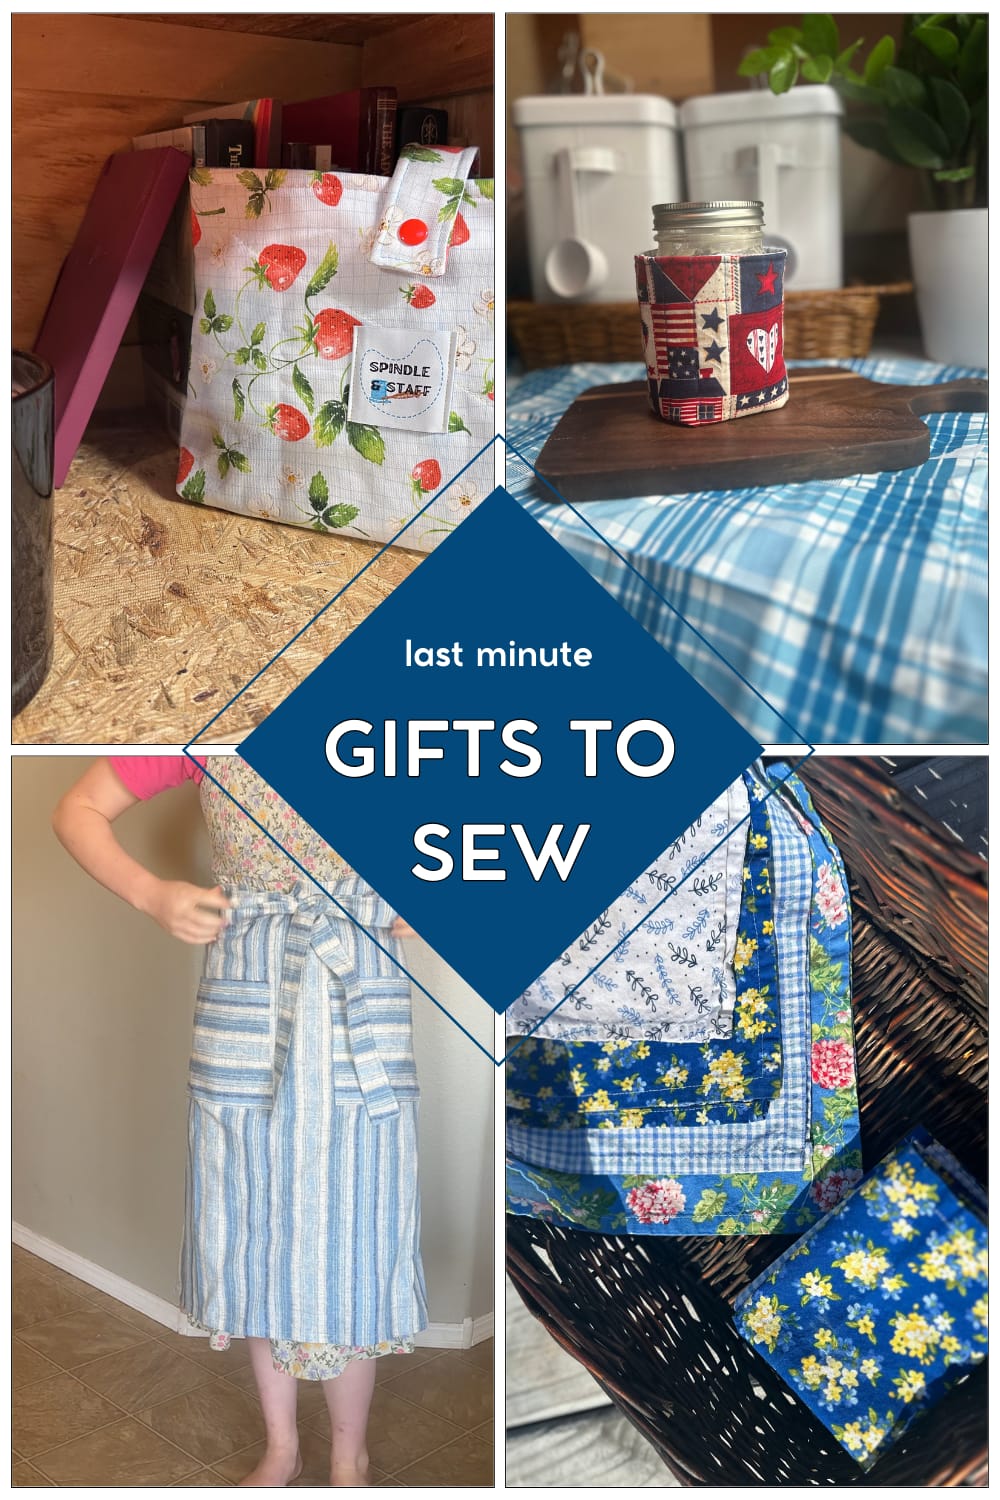
If you’re a sourdough baker, you know how important it is to keep your starter happy. A cozy for your sourdough starter jar helps insulate it, protect it from drafts, and adds a touch of handmade charm to your kitchen. The best part? This project is beginner-friendly, takes less than an hour, and works for most mason jars. Plus, it can be a fun way to carry a hot or cold drink around in your cute jars. Let me show you how simple it is to sew a jar cozy.
Whether you’re brand new to sewing or looking for a fun weekend project, this sourdough starter jar cozy is the perfect way to combine your love of sewing and baking.
Supplies You’ll Need for your jar cozy
- 2 pieces of fabric for the exterior (7” square each)
- 2 pieces of fabric for the lining (7” square each)
- 2 pieces of batting, about 8” square (Insul-Bright works great, but any batting will do)
- Coordinating thread
- Fabric scissors or rotary cutter
- Sewing machine (set to a 3.0mm straight stitch or decorative stitch)
- Pins or clips
- My printable jar cozy template
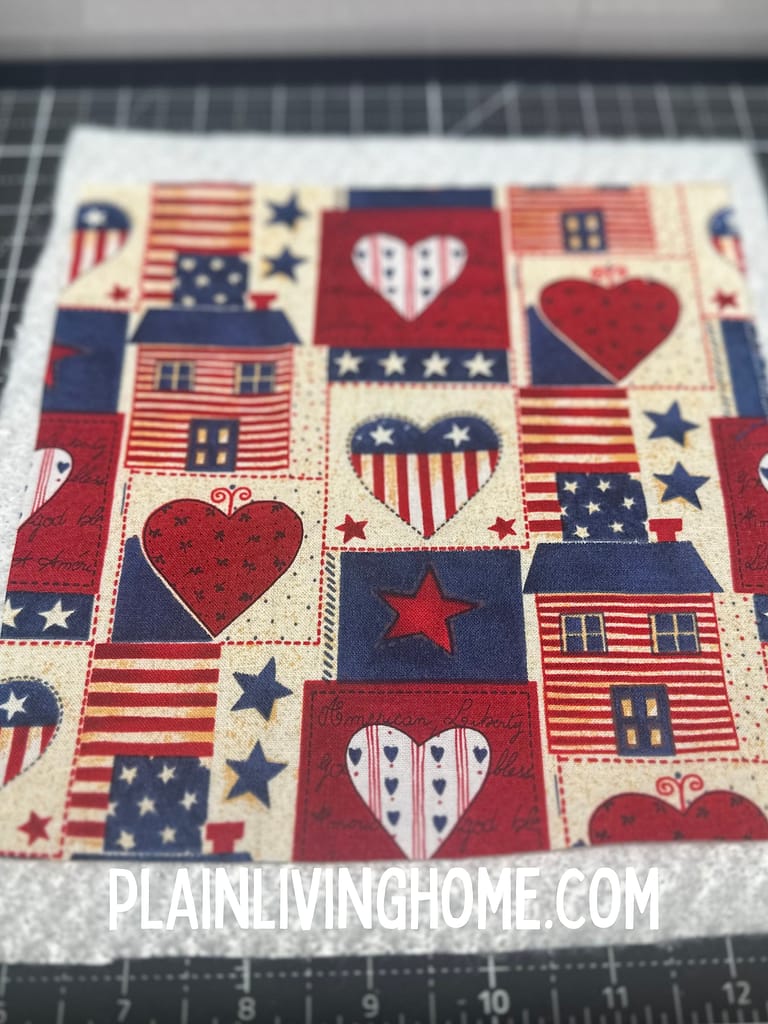
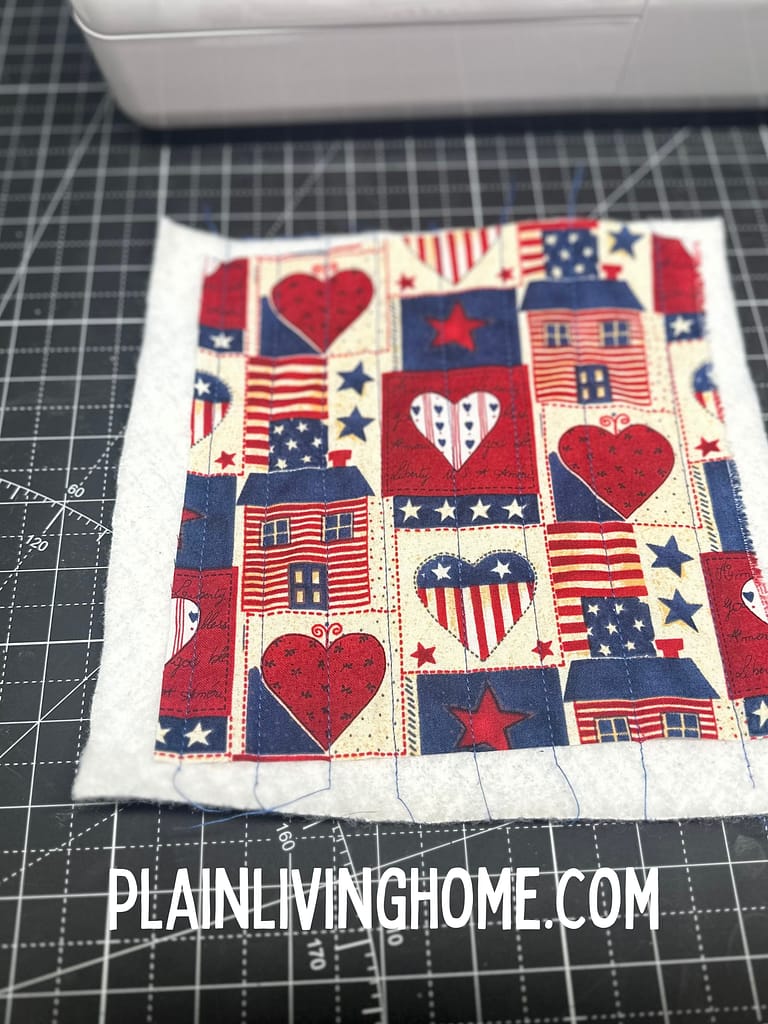
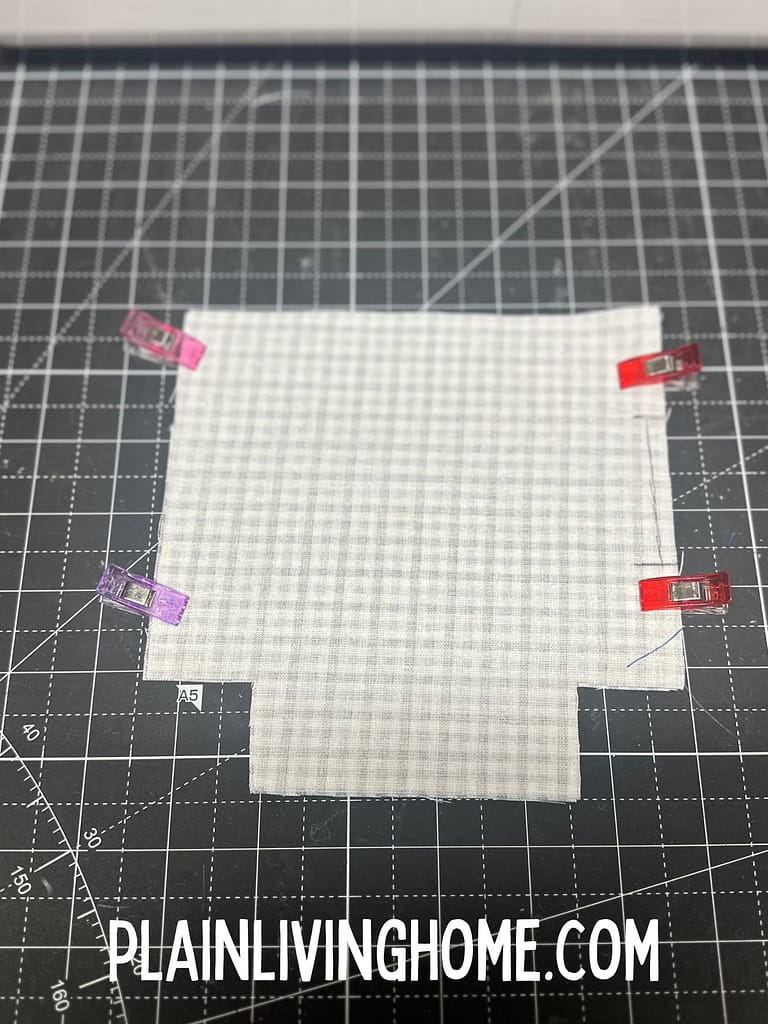
Simple Step 1: Quilt the Exterior Pieces
- Layer each exterior fabric square on top of a piece of batting.
- Quilt the fabric to the batting using a 3.0mm straight stitch or a decorative stitch. This not only keeps the layers together but also adds texture.
- Once quilted, use your template to cut out the two exterior cozy pieces. Do the same for your lining pieces.

Easy Step 2: Sew the Exterior
- Place the two quilted exterior pieces right sides together.
- Then, sew down both sides and across the bottom, backstitching at the beginning and end.
- Leave the top open.
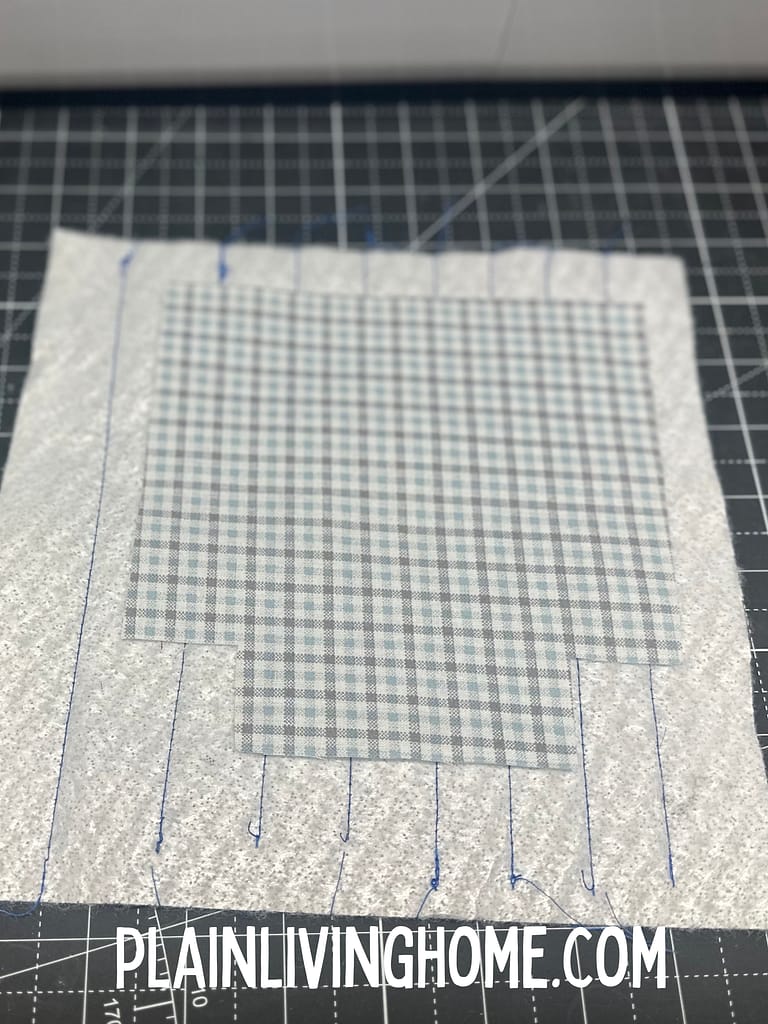
Step 3: Sew the Lining of the jar cozy
- Place the two lining pieces right sides together.
- Sew down both sides and across the bottom, but leave a 1.5” opening on one side (this will be used to turn the cozy later).
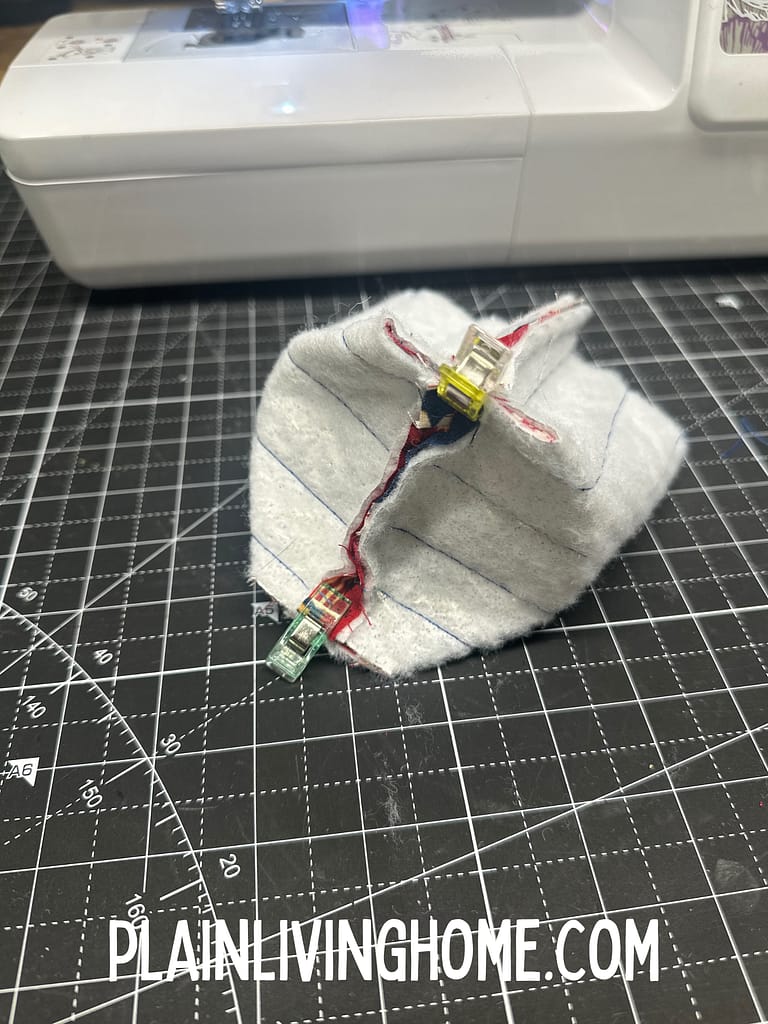
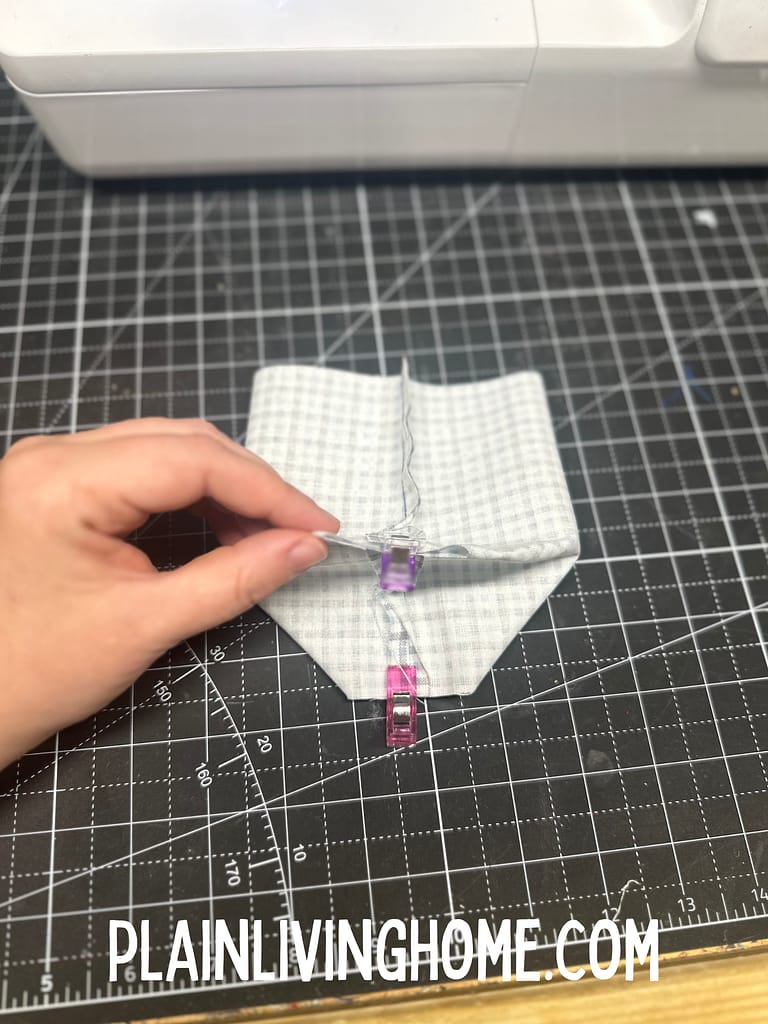
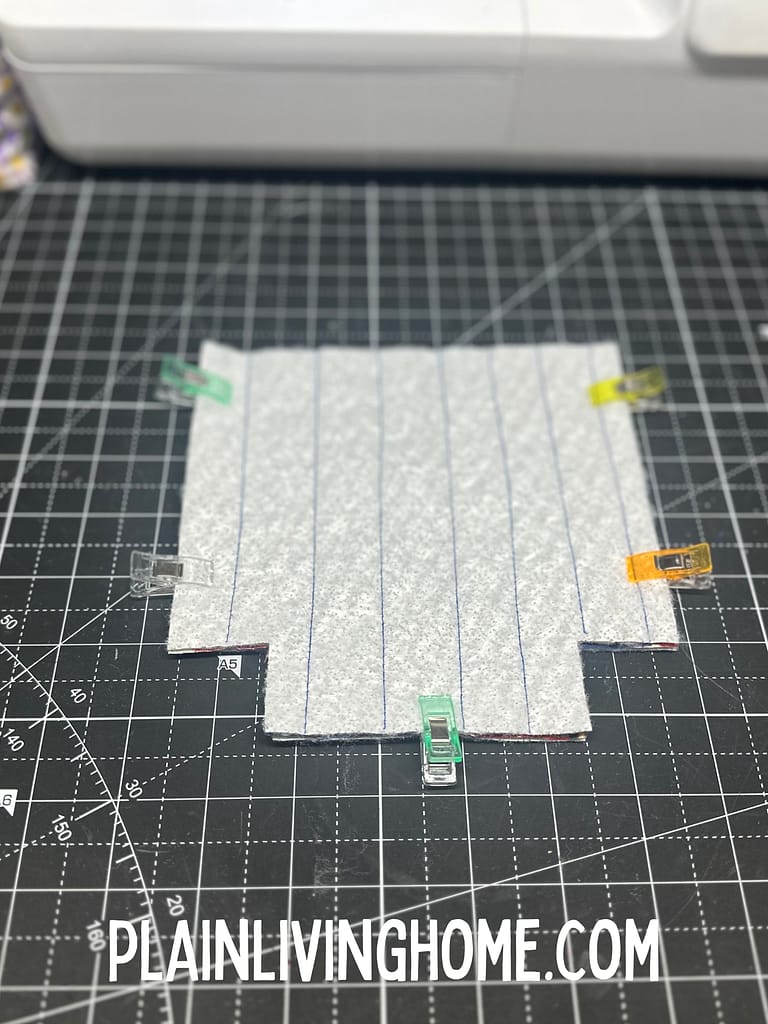
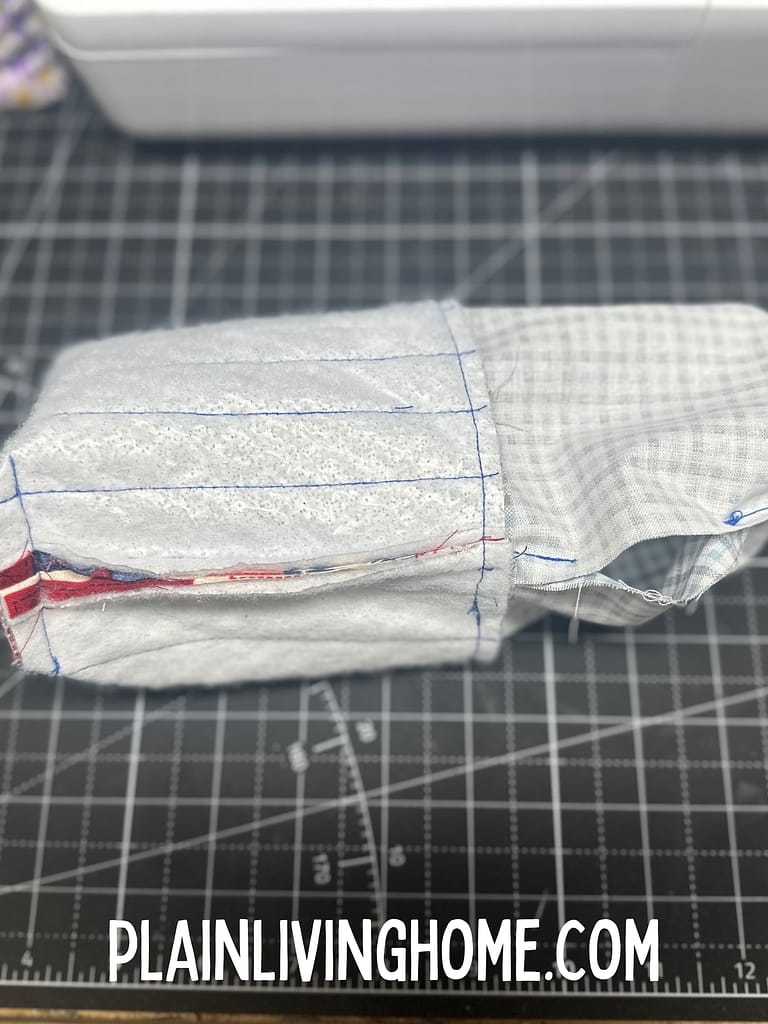
Now, Step 4: Box the Corners
This step gives the cozy its shape so it can hug your sourdough jar.
- Notice the 1” cut-out squares at the bottom corners of your template.
- Pull apart the layers at one corner and match the bottom seam to the side seam, forming a straight line.
- Clip in place.
- Sew straight across the boxed corner.
- Repeat for the other side, and then repeat the same process with the lining.
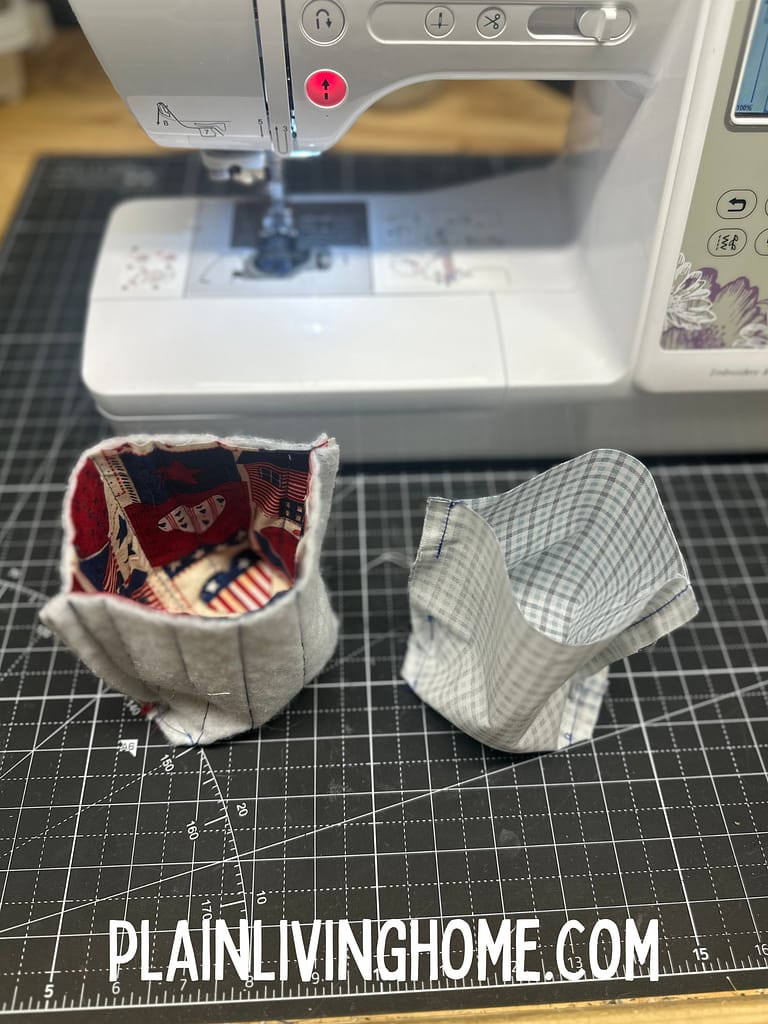
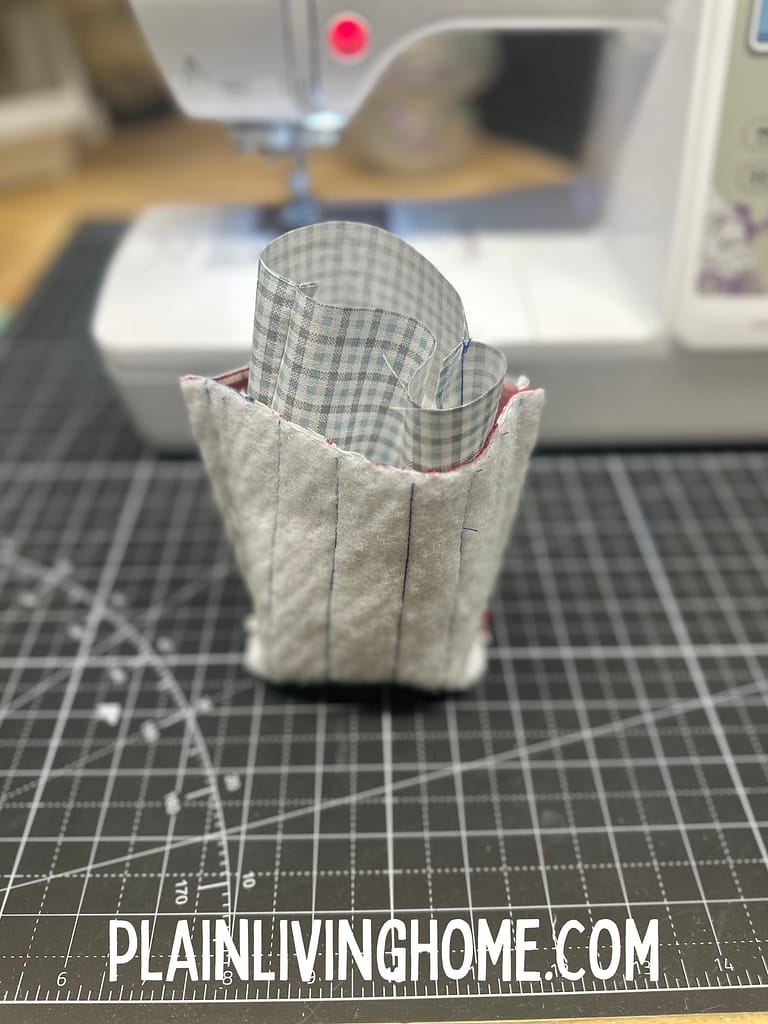
Step 5: Attach Lining and Exterior
- Turn the lining right side out and place it inside the exterior piece (still wrong side out).
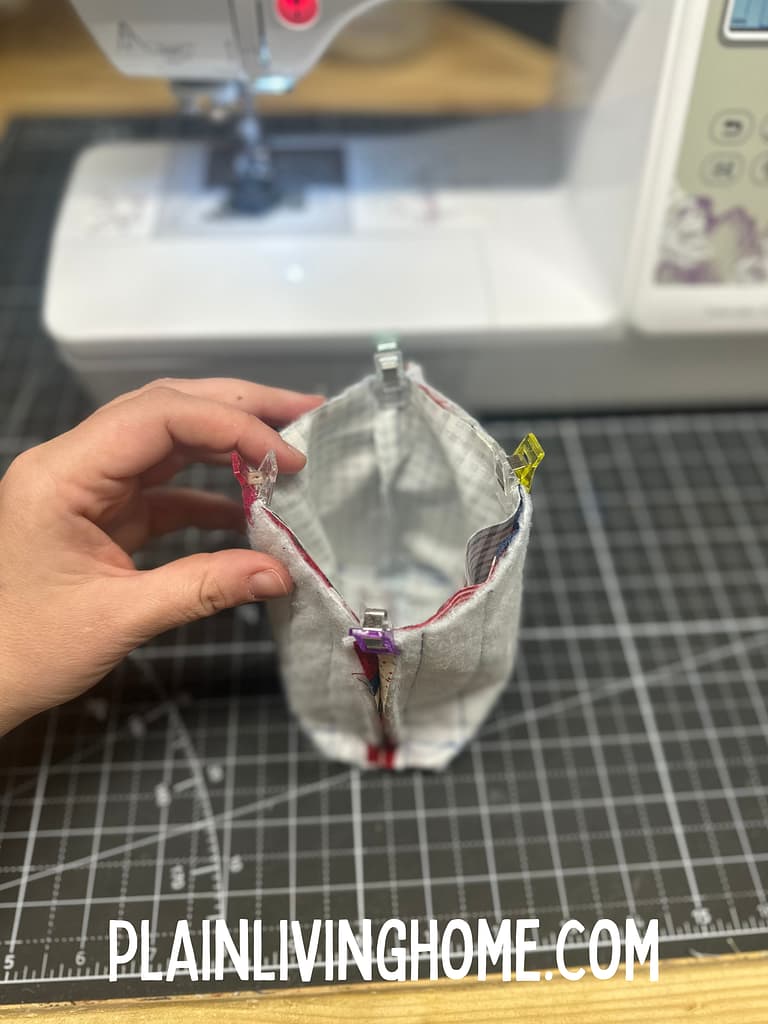
- Match up the side seams and the top edges.
- Sew around the top edge carefully, keeping the seam smooth and even.
Pro Tip: Roll the seam slightly outward as you sew for a neat, professional finish.
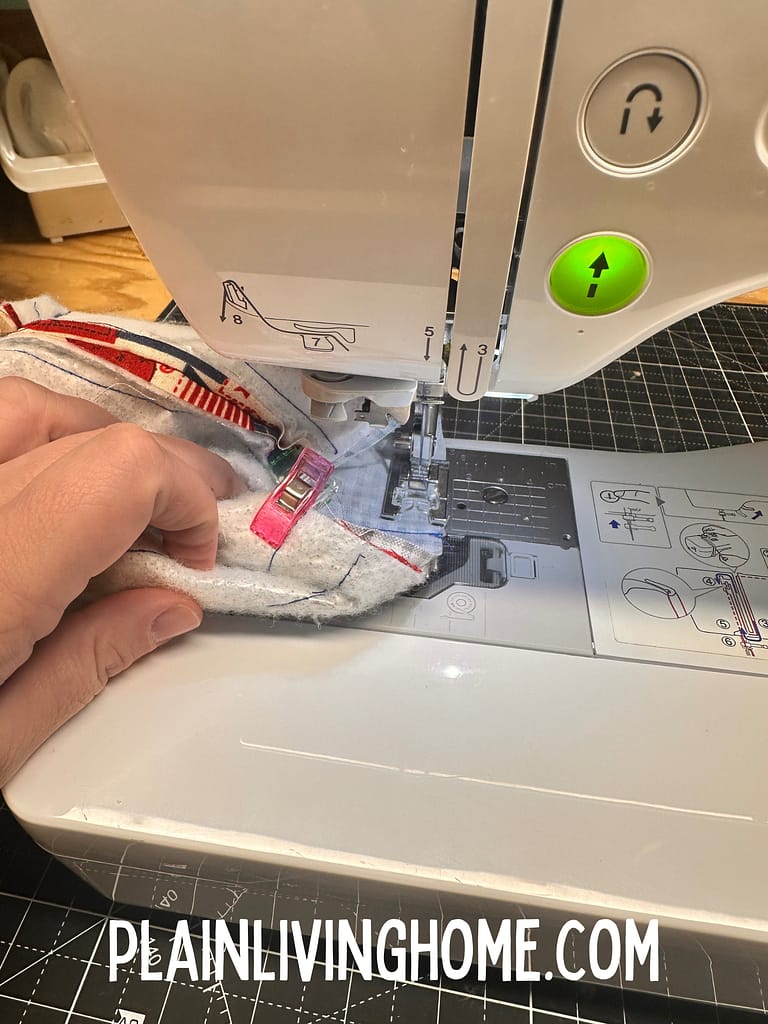
Step 6: Turn and Finish
- Turn the entire cozy right side out through the hole you left in the lining.
- Sew the opening in the lining closed with a tiny seam allowance (⅛” or less).
- Push the lining down into the exterior and press lightly if needed.
Your sourdough starter jar cozy is ready to use!

Why Make a Sourdough Starter Jar Cozy?
- Insulation: Helps keep your sourdough starter warm and active.
- Protection: Keeps jars from clinking together or getting scratched on the counter.
- Style: Adds a handmade touch to your sourdough baking station.
- Gift Idea: Pair a cozy with a jar of sourdough starter for a thoughtful gift.


This simple sewing project is a great way to care for your sourdough starter while also practicing quilting and basic construction techniques. With just a few fabric scraps and less than an hour of your time, you’ll have a handmade cozy that keeps your sourdough starter happy and thriving.
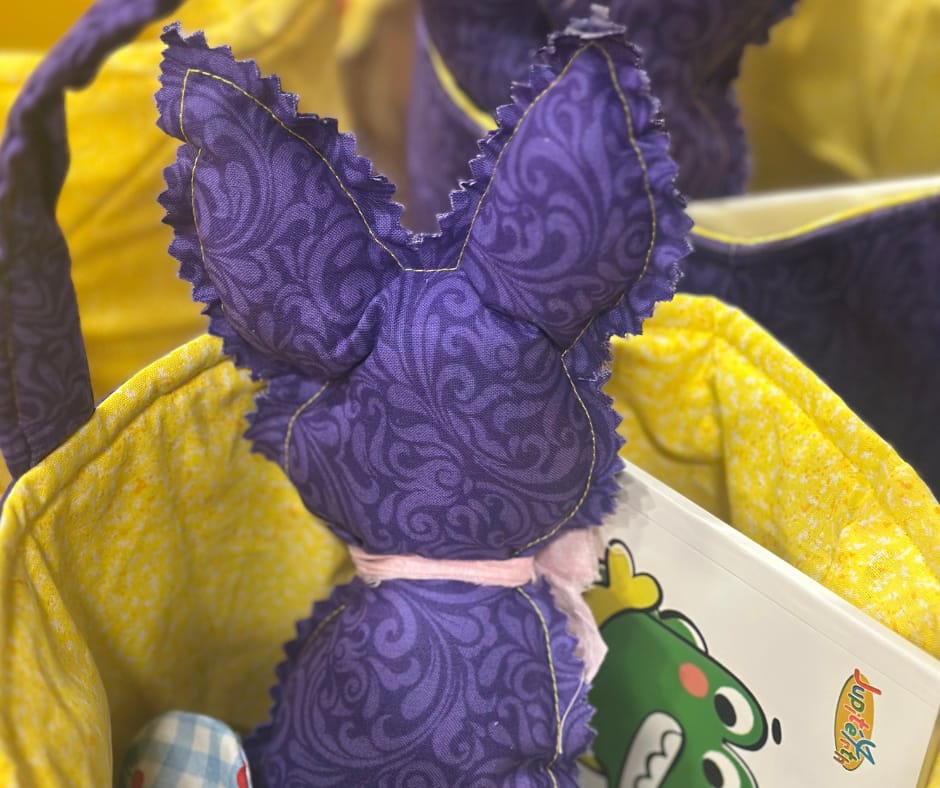
Sourdough Gift Basket
I put together a tutorial to create a handmade gift basket full of goodies for your favorite baker. Make items off this list to put together for anyone who is interested in sourdough. Find the post and tutorials here:

- How to make a Sourdough gift basket
- Sew a Sourdough Proofing Cover
- Sew a Sourdough Starter Cover
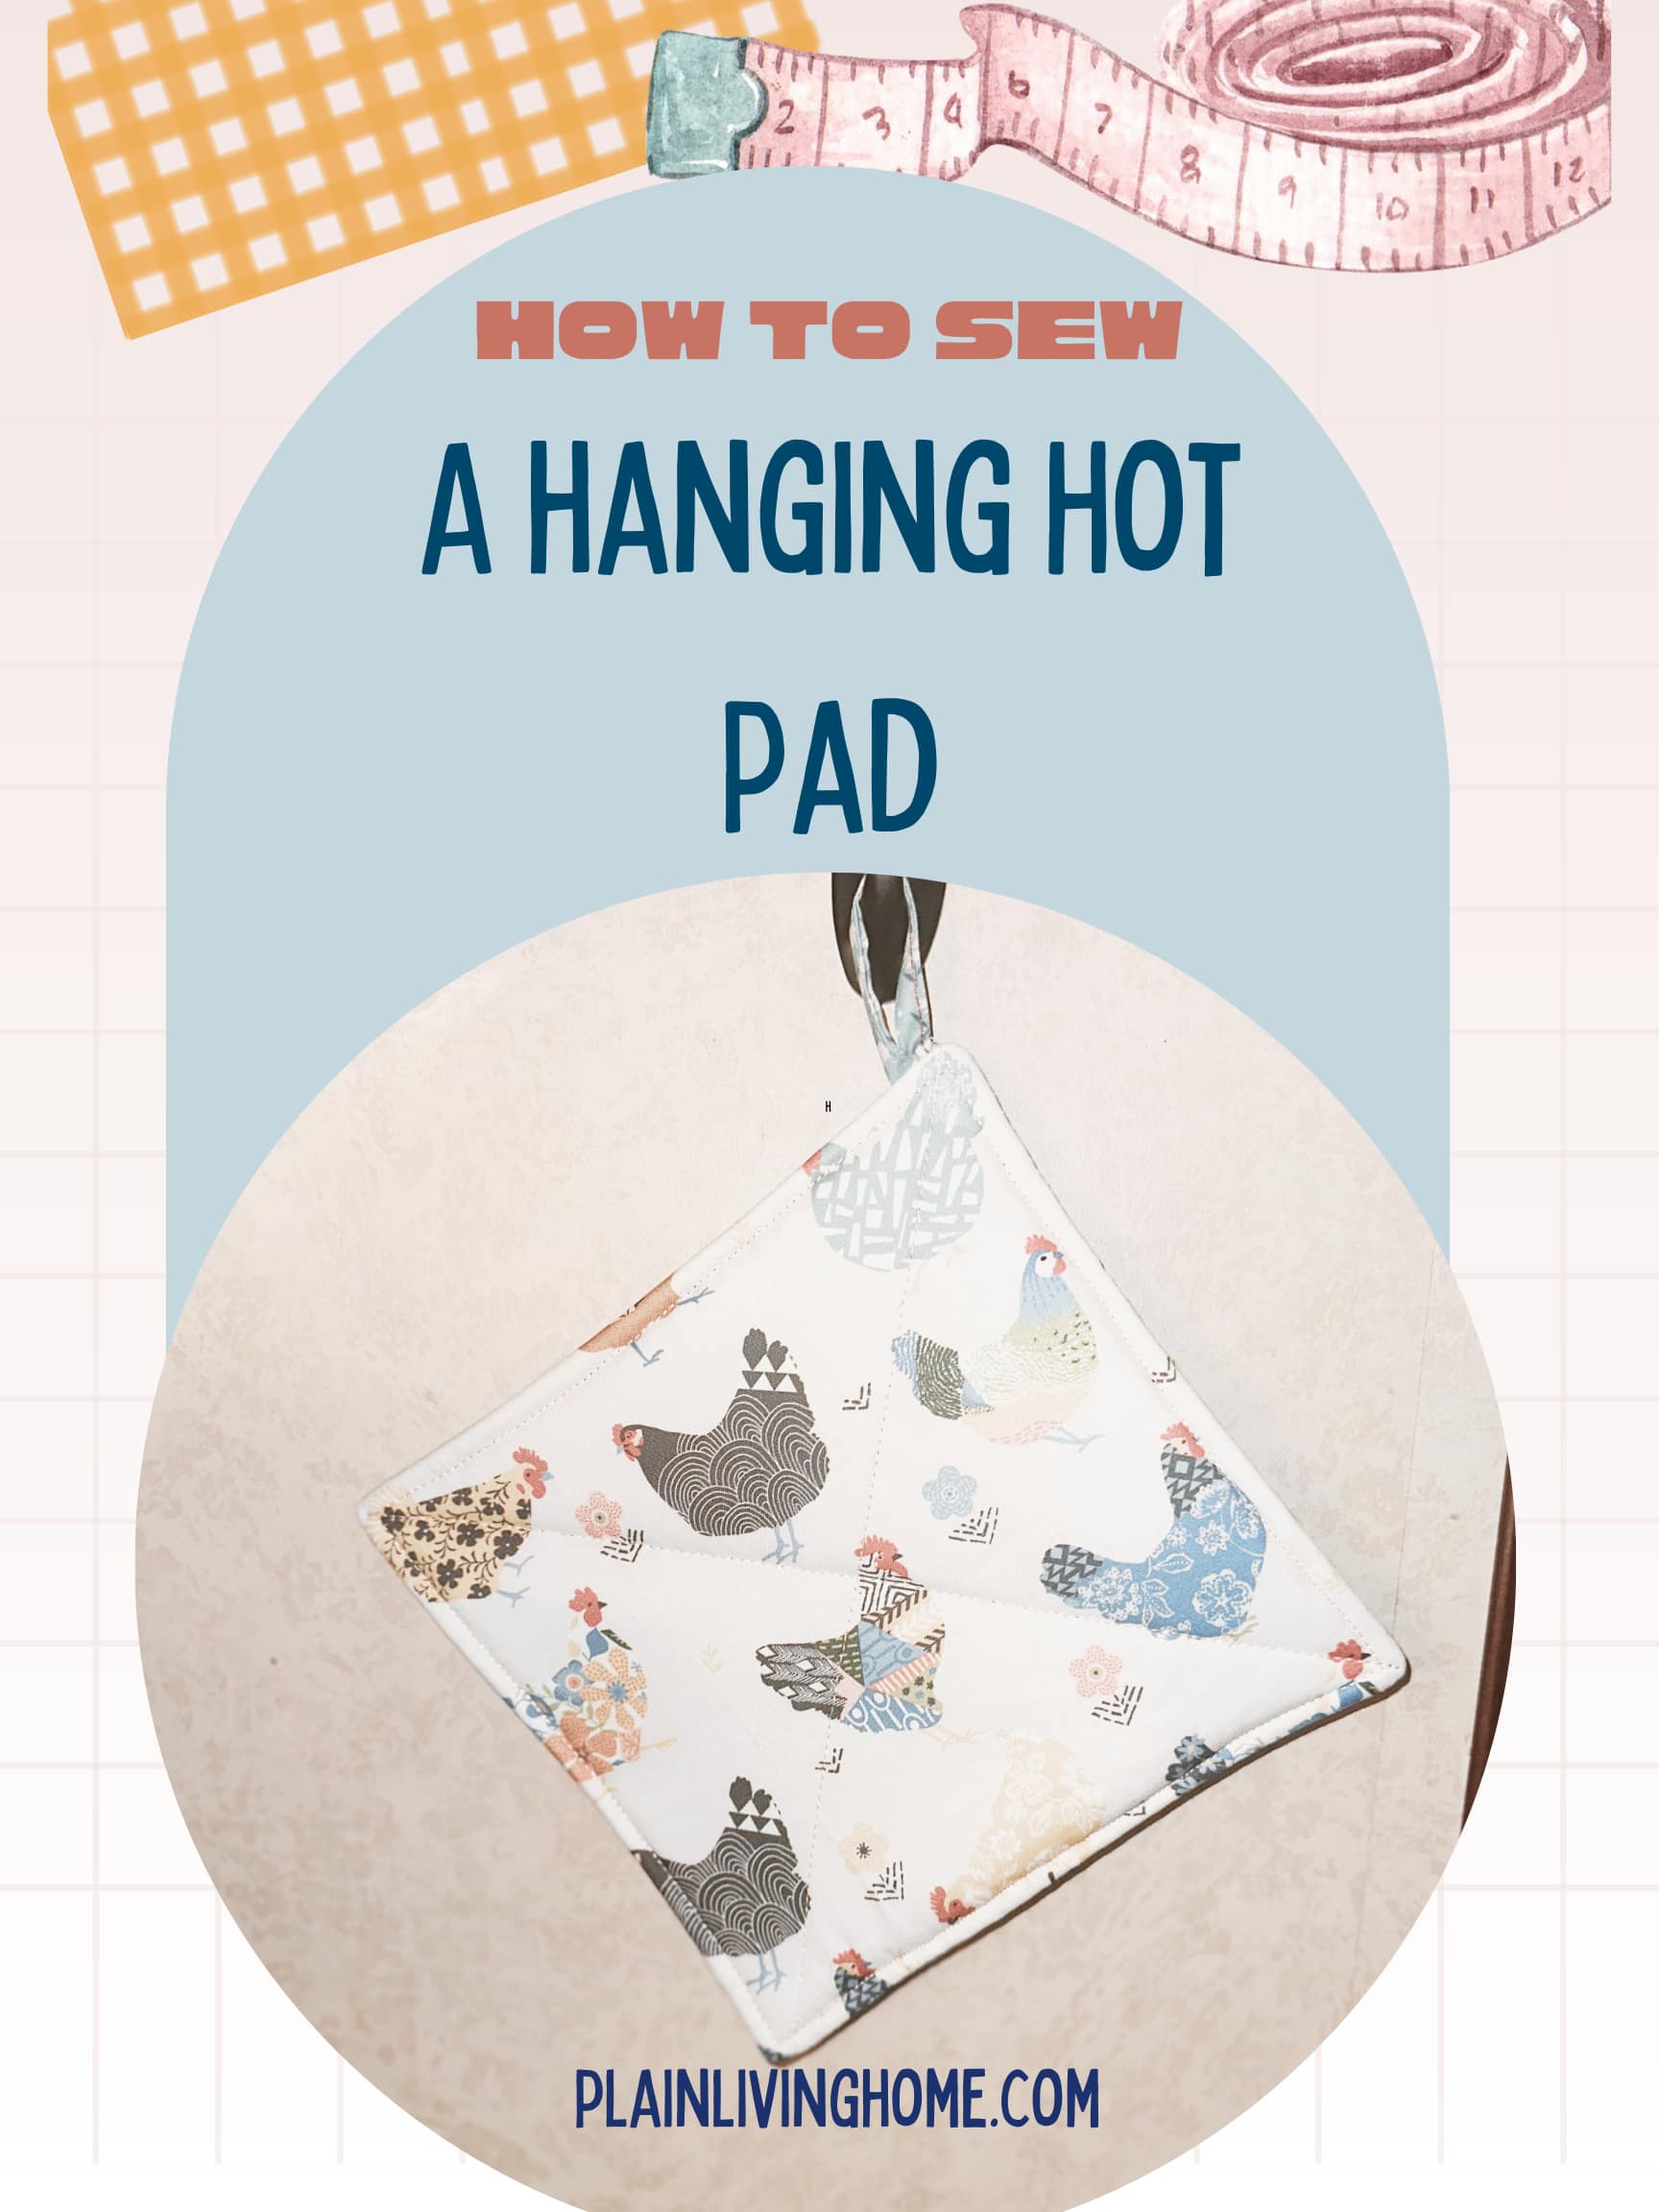
- Sew a sew of hot pads for baking bread
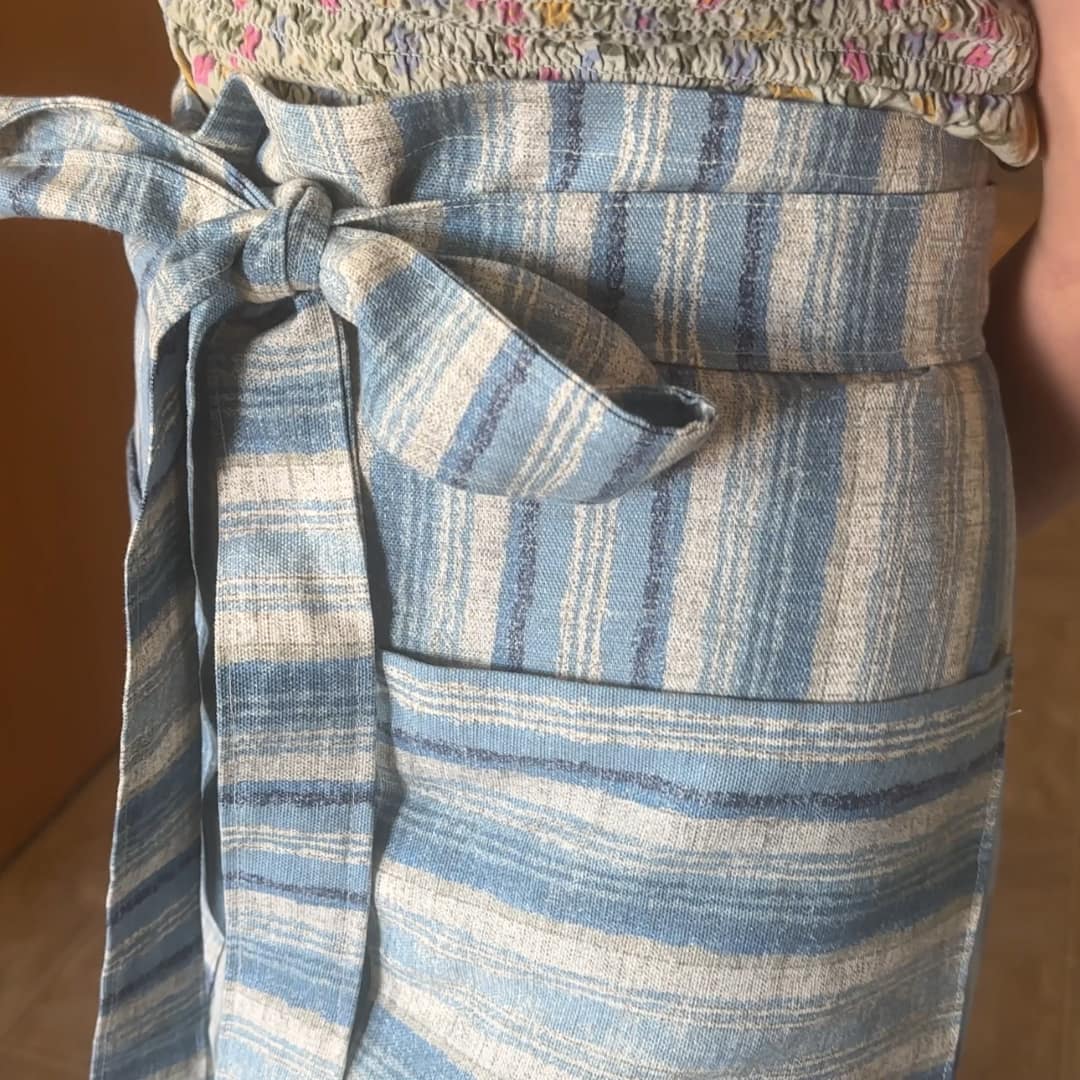
- Sew a waist apron