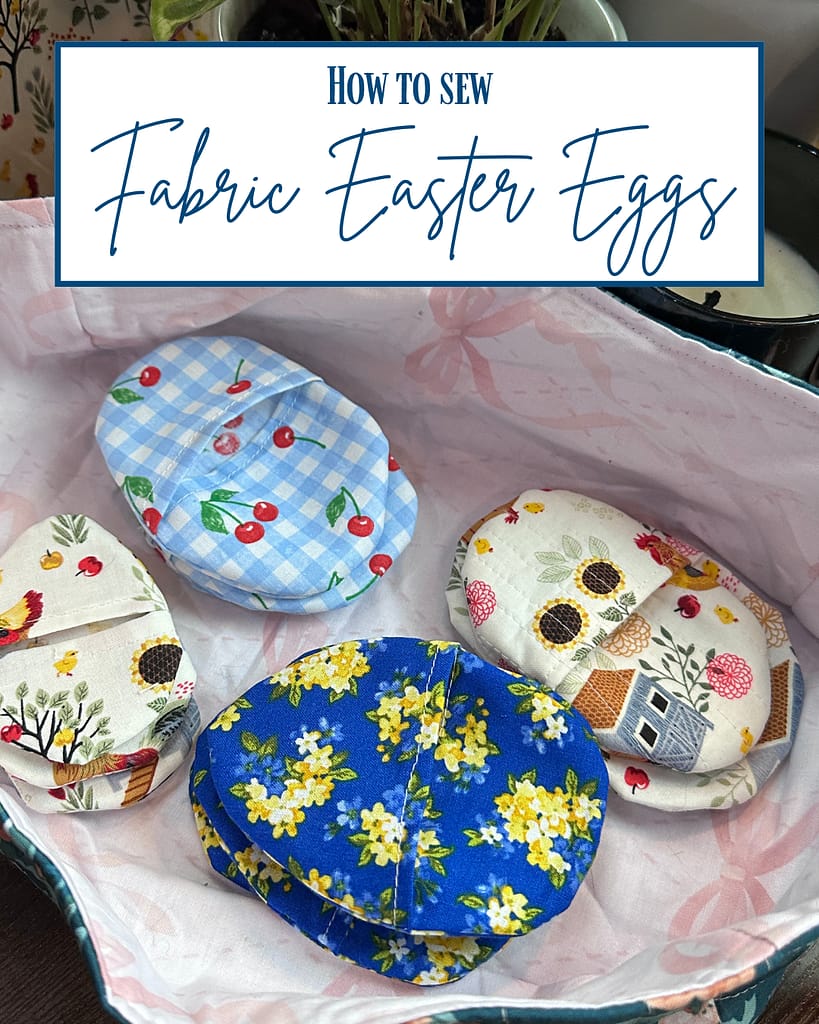
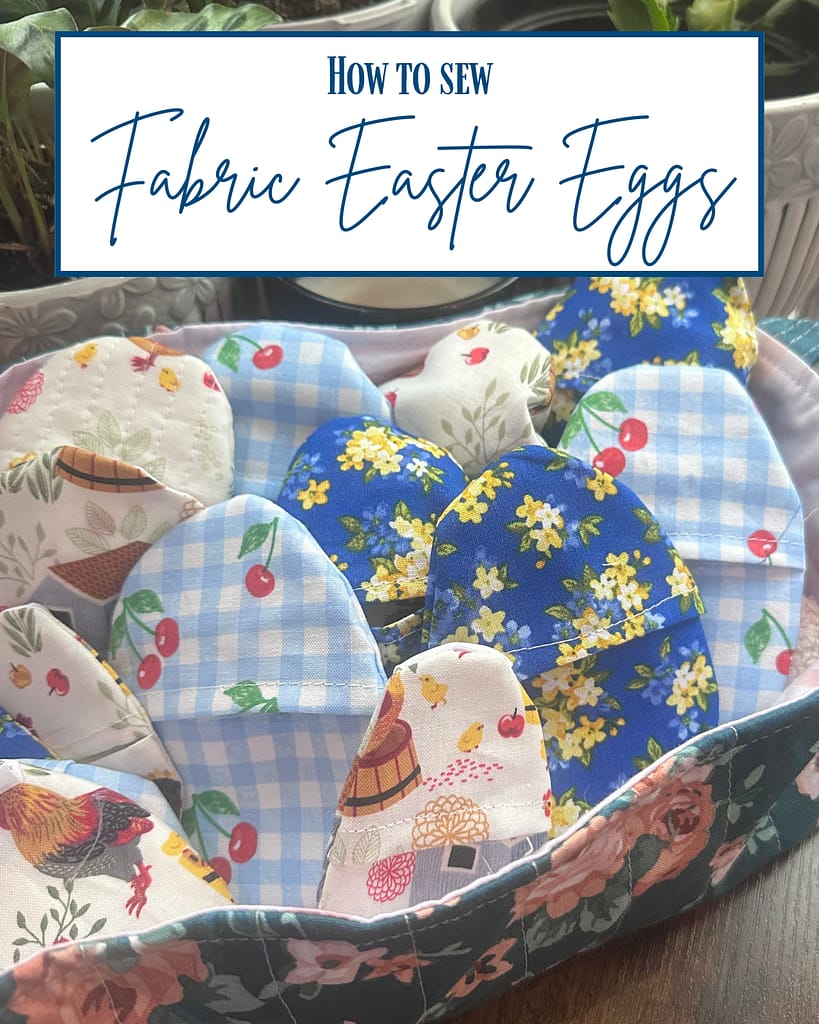
How to Sew Fabric Easter Eggs (Free Pattern + Reusable Tutorial)
Some links in this post may be affiliate links. That means I might make a small commission on qualifying purchases if you click the link. There is no extra cost to you.
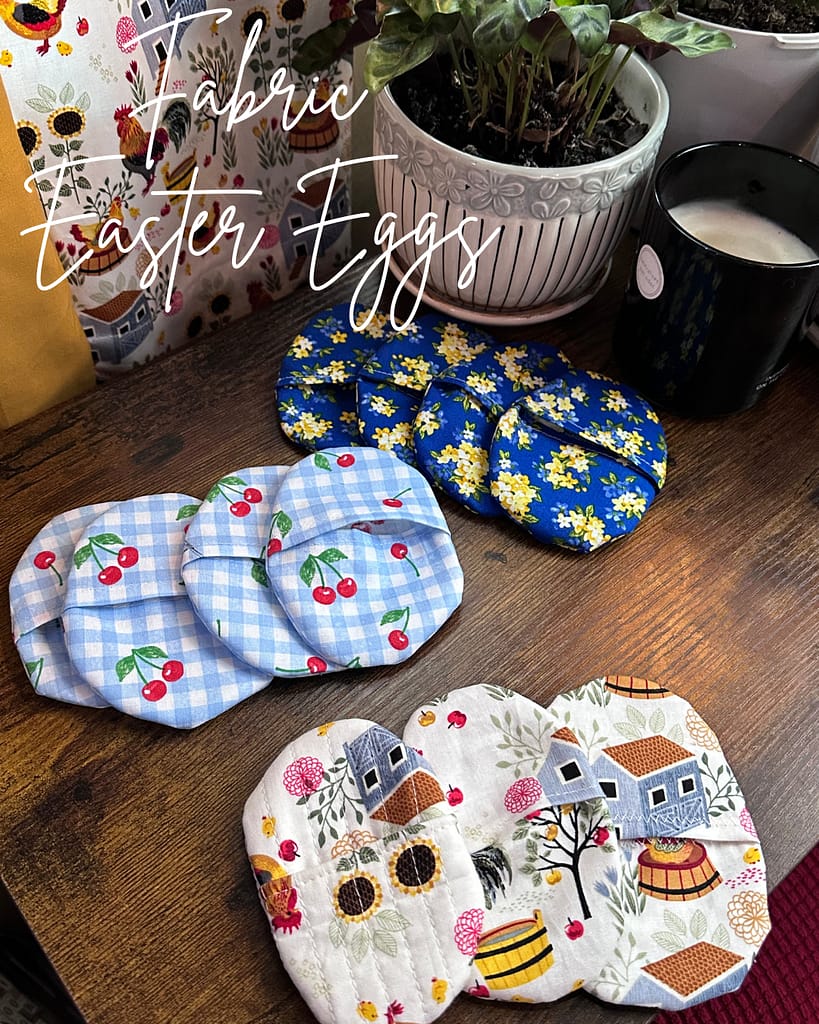
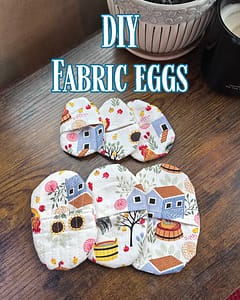
Fabric Easter eggs are one of the sweetest handmade toys you can sew for spring. Plus- they make adorable home decor and gifts!
These soft eggs work beautifully for egg hunts, Easter baskets, pretend play, and homeschool activities. They stay quiet when dropped, never crack, and last for years as a reusable Easter tradition. I’ll give you a free printable pattern for this beginner sewing project. You can sew up a batch as a reusable alternative to plastic Easter eggs.
In this tutorial, I’ll show you how to sew fabric Easter eggs with an envelope-style opening using three different construction methods. You can choose a fast single-layer version, a fully lined version, or a quilted version for extra structure.
See how to use your fabric easter eggs in a handmade easter basket.
Get more ideas for a candy-free Easter.
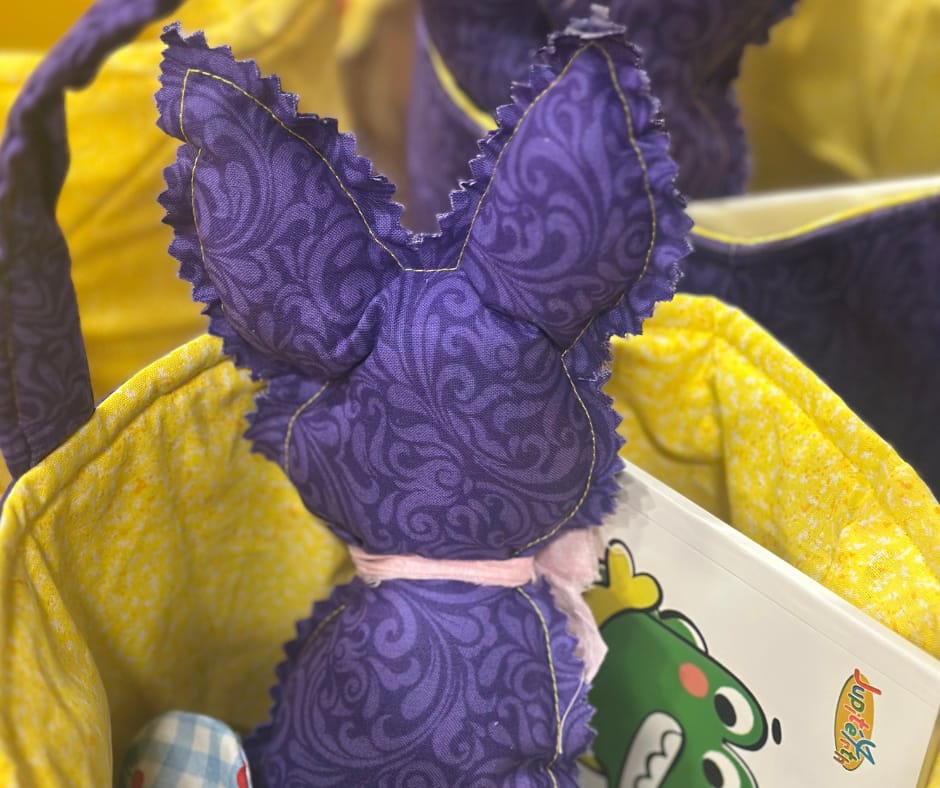
Pair these eggs with a stuffed raggedy bunny!
Why Make Reusable Fabric Easter Eggs?
If you’re looking for a sustainable alternative to plastic Easter eggs, fabric Easter eggs are a beautiful solution. Unlike plastic eggs that crack, get lost, or end up in landfills, reusable fabric Easter eggs can be enjoyed year after year.
They’re especially helpful for:
- Quiet indoor egg hunts
- Toddlers who may crack plastic eggs
- Candy-free Easter baskets
- Spring sensory play
- Homeschool seasonal activities
Because these soft Easter eggs don’t break or snap open unexpectedly, they’re safe for little hands and perfect for creating a calm, meaningful Easter tradition.
Grab your FREE printable pattern below by entering your email address. I’ll send it right to your inbox!
Table of contents
- Download the Free Fabric Egg Pattern
- Supplies and Materials Needed
- Three Ways to Sew Fabric Easter Eggs
- Method 1 – Single Layer with Hemmed Flaps
- Method 2 – Double Layer Turned and Topstitched
- Method 3 – Quilted Fabric Easter Eggs
- Ways to Use Fabric Easter Eggs
- Pair These Eggs with a Reusable Easter Basket
- You Should Try Making Fabric Easter Eggs!
Download the Free Fabric Egg Pattern
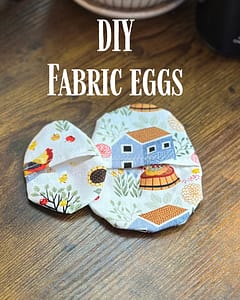
Start by printing my free fabric Easter egg pattern, which includes both regular-size eggs and jumbo-size eggs.
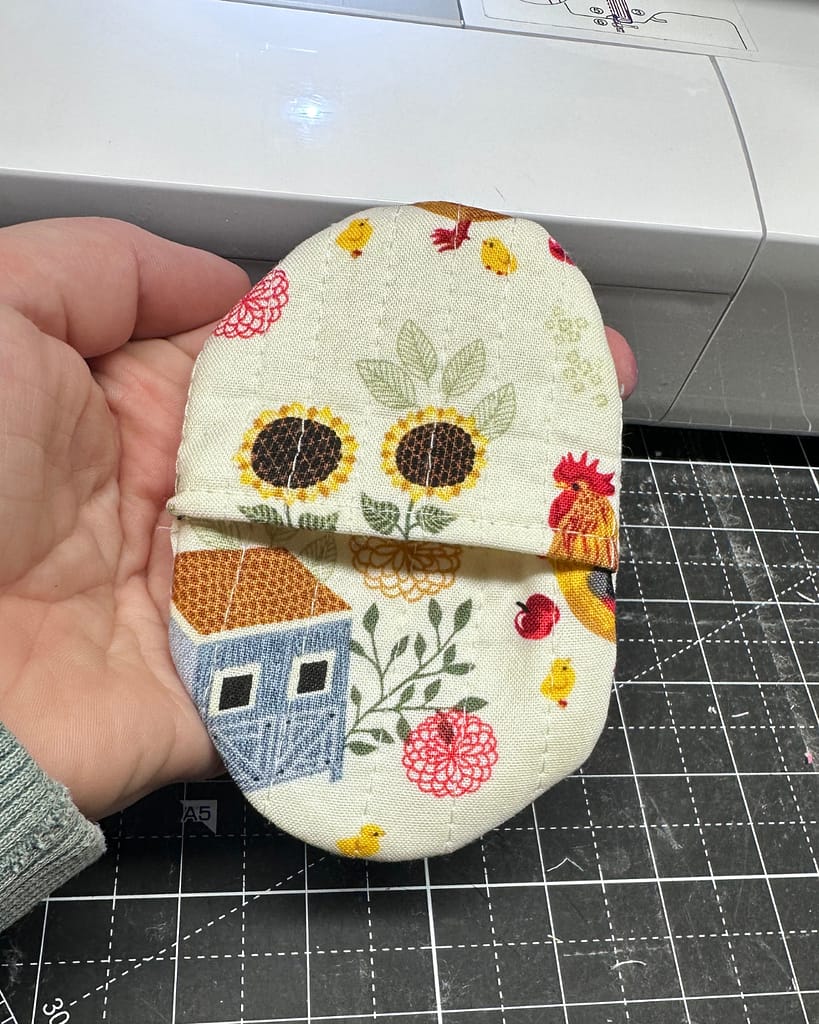
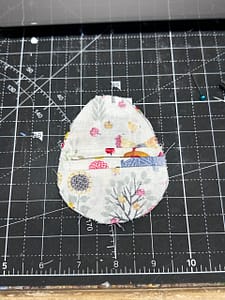
The pattern includes three pieces: one back piece, one top front piece, and one bottom front piece. The front pieces form an envelope-style opening that overlaps so the egg opens and closes easily.
👉 Download the free fabric Easter egg pattern by entering your email address here:

Supplies and Materials Needed
You only need a few basic sewing supplies to make fabric Easter eggs.
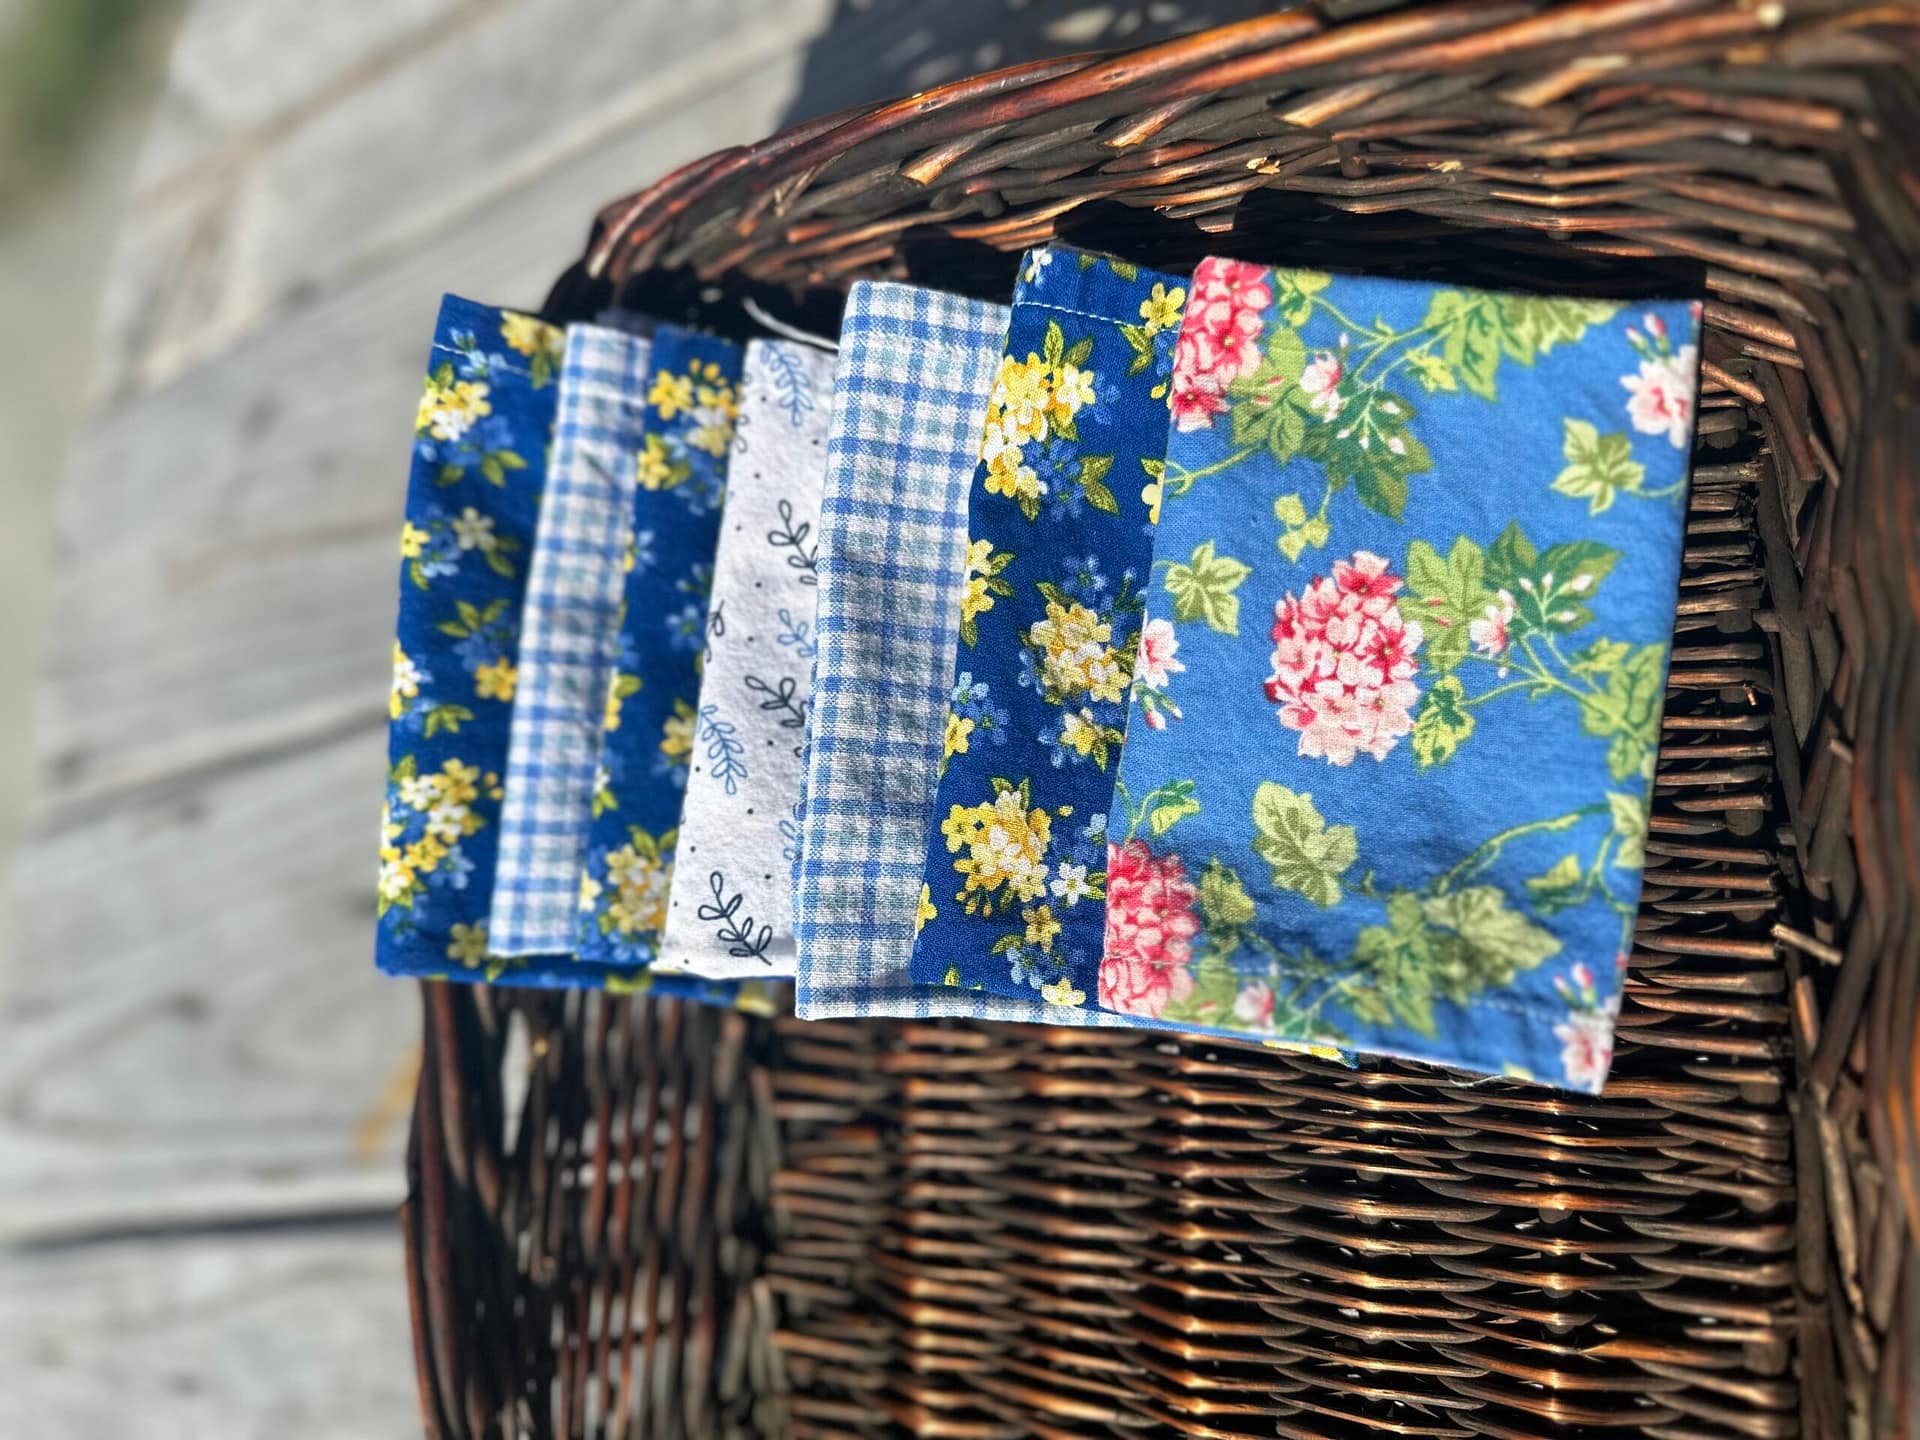
Choose quilting cotton for soft eggs, or add batting or foam if you want more structure. Sharp scissors and a good press make the shapes look clean and professional.
Three Ways to Sew Fabric Easter Eggs

This pattern works with three different construction methods.
Each method creates the same finished shape, but the fabric layers change the look and feel of the egg. Choose the method that best fits your time, skill level, and style.
Method 1 uses a single layer with narrow hems and sews very quickly.
Method 2 creates a fully lined egg with turned edges and topstitching.
Method 3 quilts the fabric to batting for extra body and structure.

Grab a copy of my free
Fabric Easter Eggs Pattern
These fabric Easter eggs are perfect for spring time. Use them for gifts in an Easter basket, hide candy and gifts for an egg hunt, and then reuse them for your spring decor! Throw a few into the kids play basket for some sprint inspired play. This pattern is simple and works up quick. Let me send it to your inbox so you can sew up a few.
What Skill Level Is Needed for This Easter Sewing Project?
This is a beginner sewing project, but it does require comfort sewing curves and working with small pattern pieces.
If you can:
- Sew a basic straight stitch
- Clip curved seams
- Press narrow hems
…then you can successfully make fabric Easter eggs.
The single-layer method is the easiest and fastest for beginners. The lined and quilted versions add structure but require slightly more precision.
If you’re new to sewing, consider practicing on scrap fabric first before cutting into your favorite spring prints.
Method 1 – Single Layer with Hemmed Flaps
This method works best for fast sewing and large batches. It’s quick and simple. Accordingly, you can whip up a ton in very little time.
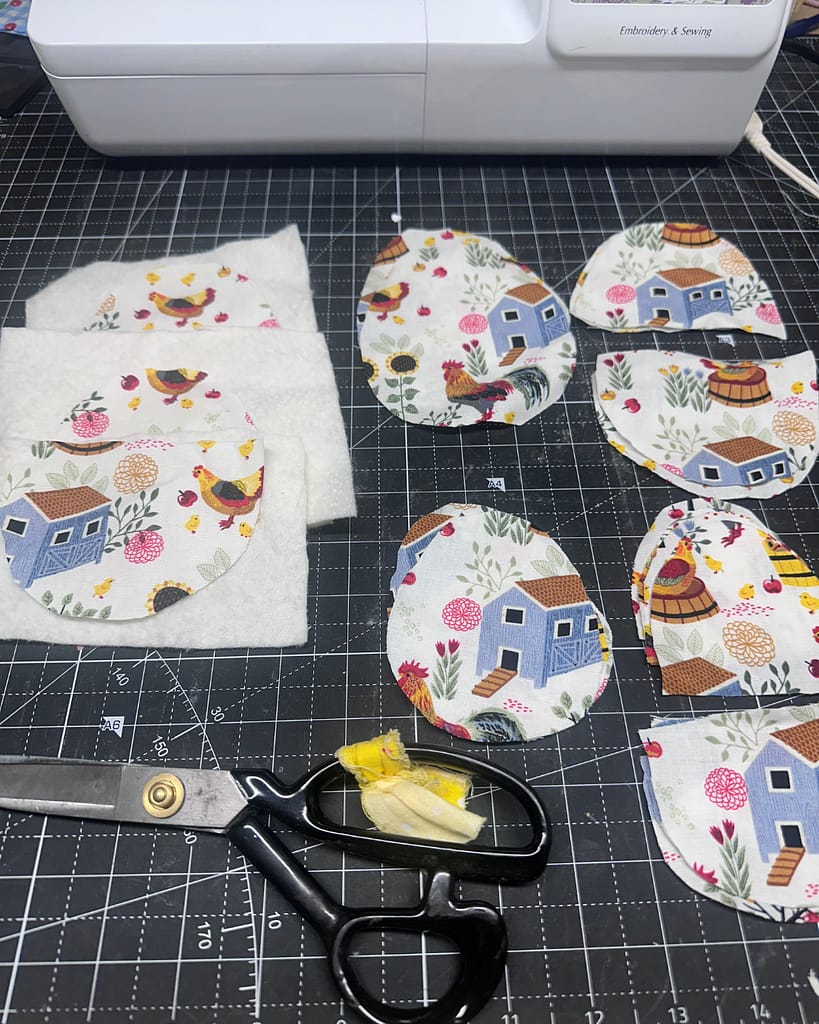
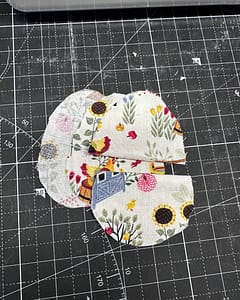
First, cut one back piece, one top front piece, and one bottom front piece from cotton fabric.
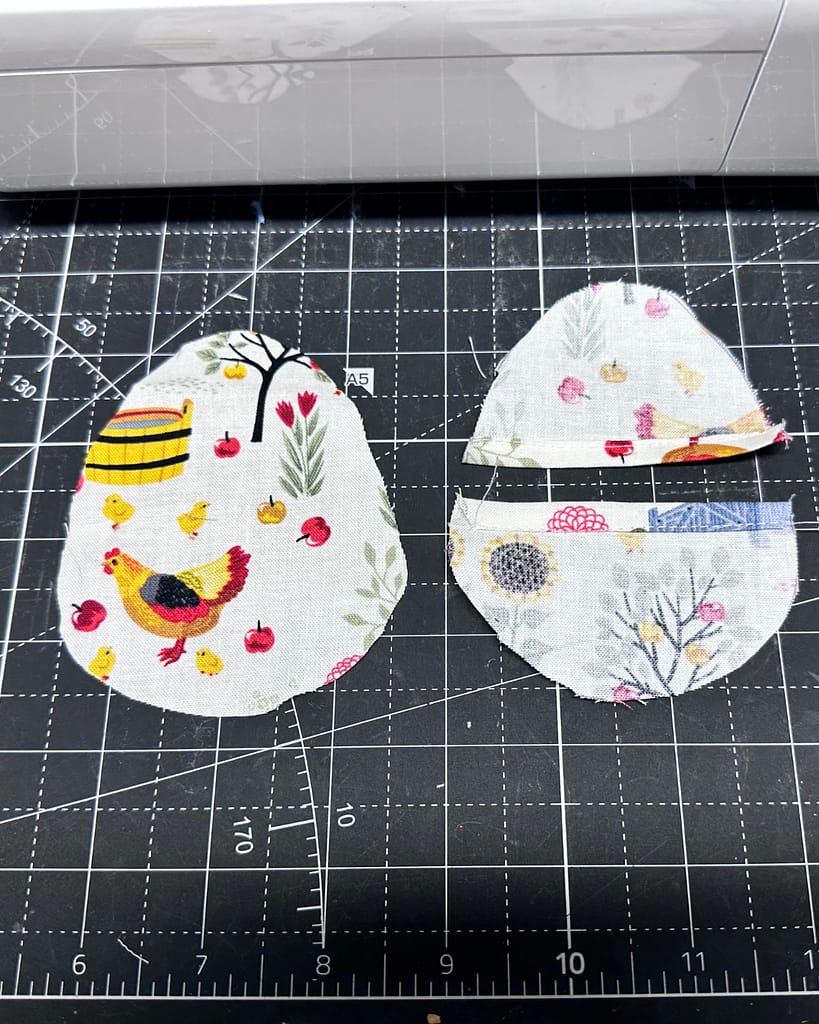
On the flat edge of each front piece, fold the raw edge over ⅛ inch and press. Fold again, press, and topstitch the narrow hem close to the folded edge.
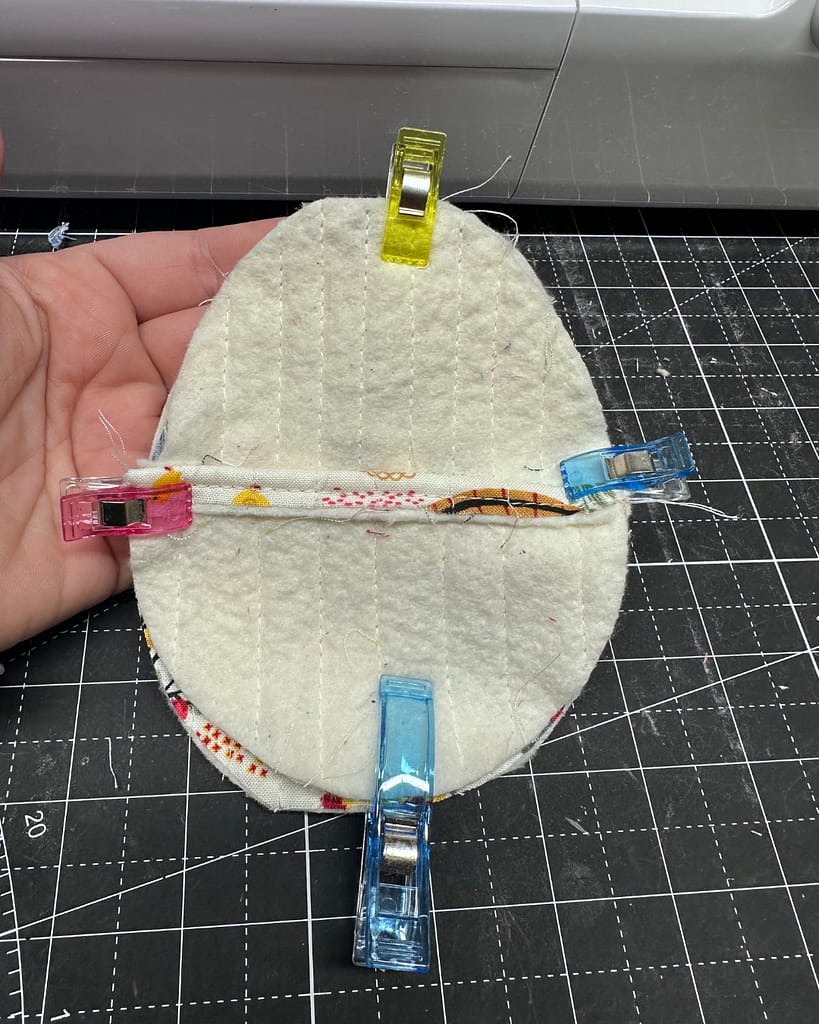
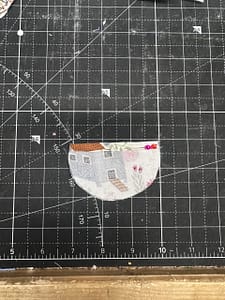
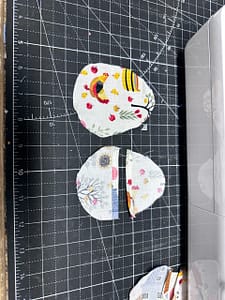
Lay the back piece on your workstation with the pretty side facing up.
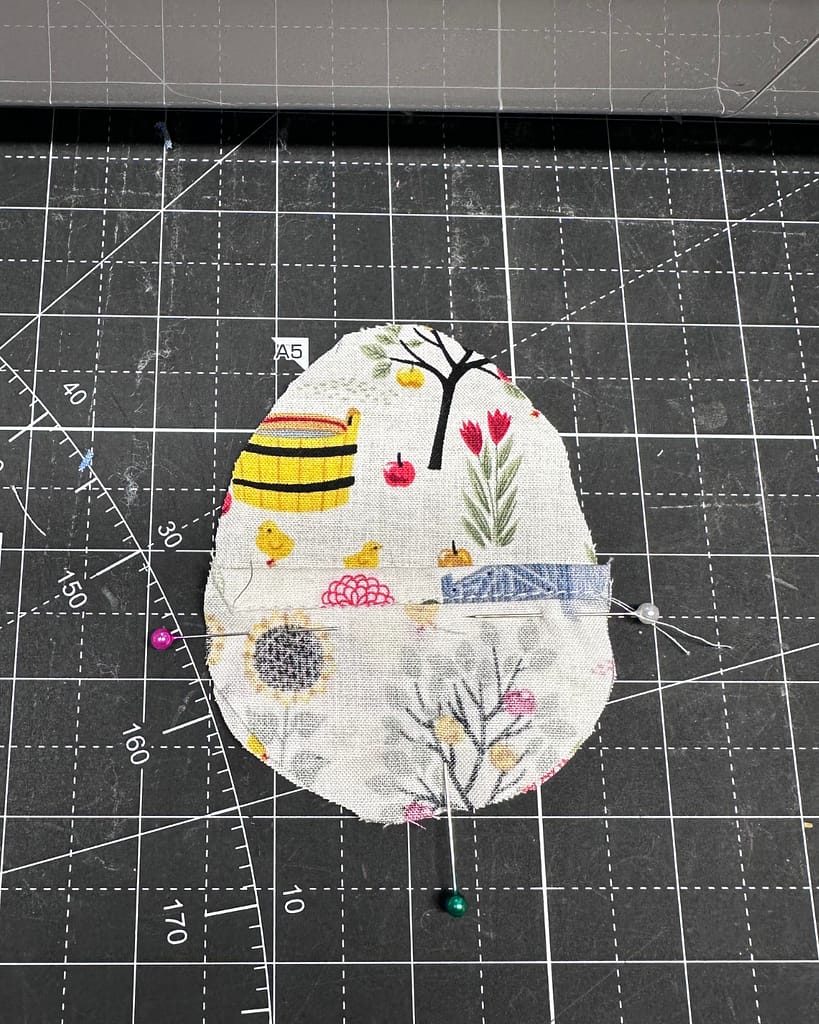
Place the two front pieces on top with the pretty sides facing down. Let the flat edges overlap slightly, and align the curved edges with the shape of the back piece.

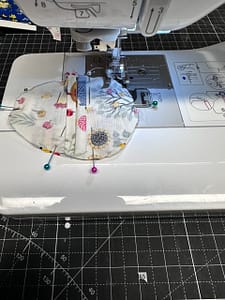
Sew around the entire egg shape and backstitch at the beginning and end.
Clip the curves or use pinking shears to reduce bulk, then turn the egg right side out and press it smooth.
If you’re making a full handmade Easter set, see my tutorial for sewing a reusable fabric Easter basket.
Method 2 – Double Layer Turned and Topstitched
This method creates a fully lined egg with clean finished edges. It takes only slightly longer and has a little more structure.
Cut two of each pattern piece from cotton fabric.
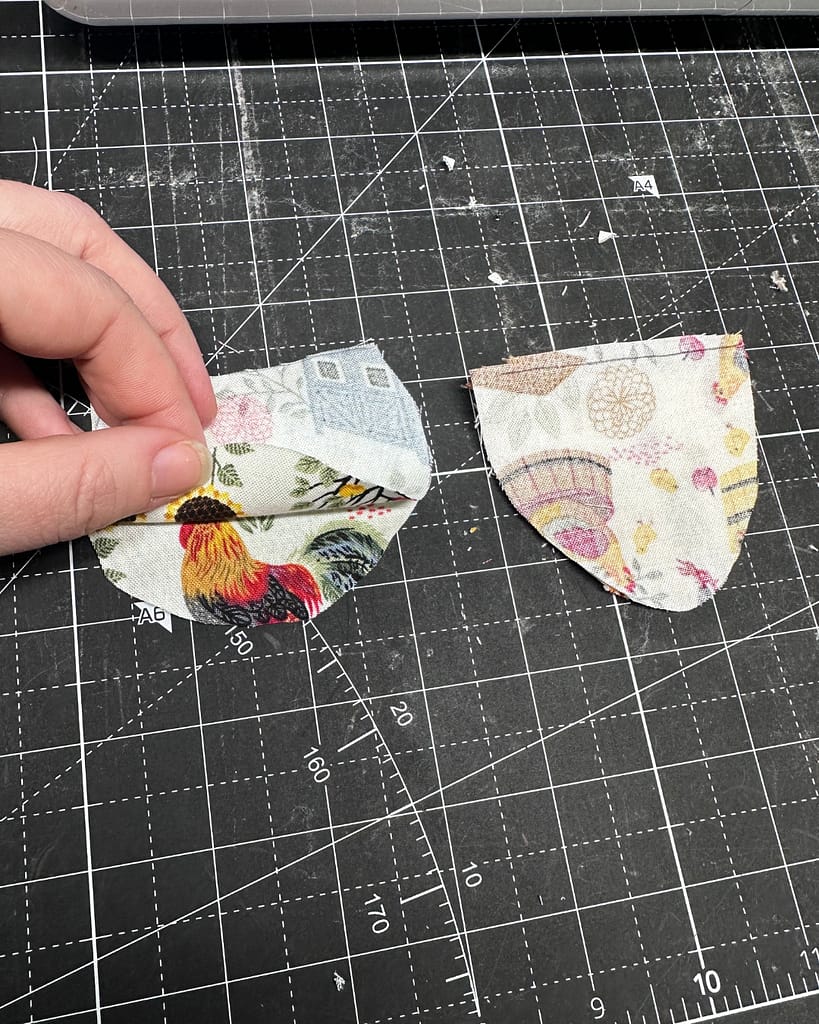
Place the two top front pieces together with pretty sides touching and sew along the flat edge. Turn right side out, press flat, and topstitch along the flat edge.
Repeat this process with the bottom front pieces.
Layer one back piece face down, one back piece face up, and then place the two finished front pieces on top.
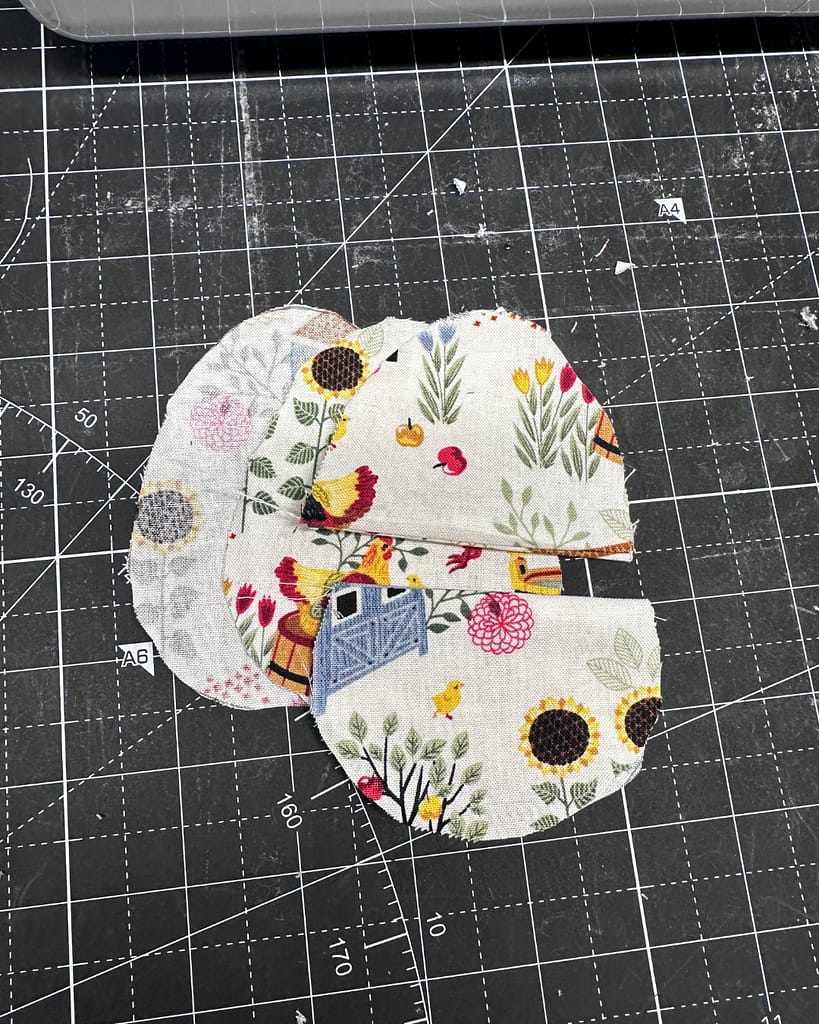
Let the flat edges overlap and match all curved edges to the egg shape.
Sew around the entire egg, clip curves or use pinking shears, then turn right side out and press.
Method 3 – Quilted Fabric Easter Eggs
This method adds structure and texture to your eggs. Also, it is more aesthetically pleasing for a country look as well as for durability.
Cut one of each pattern piece from cotton and one of each piece from batting, interfacing, or foam.
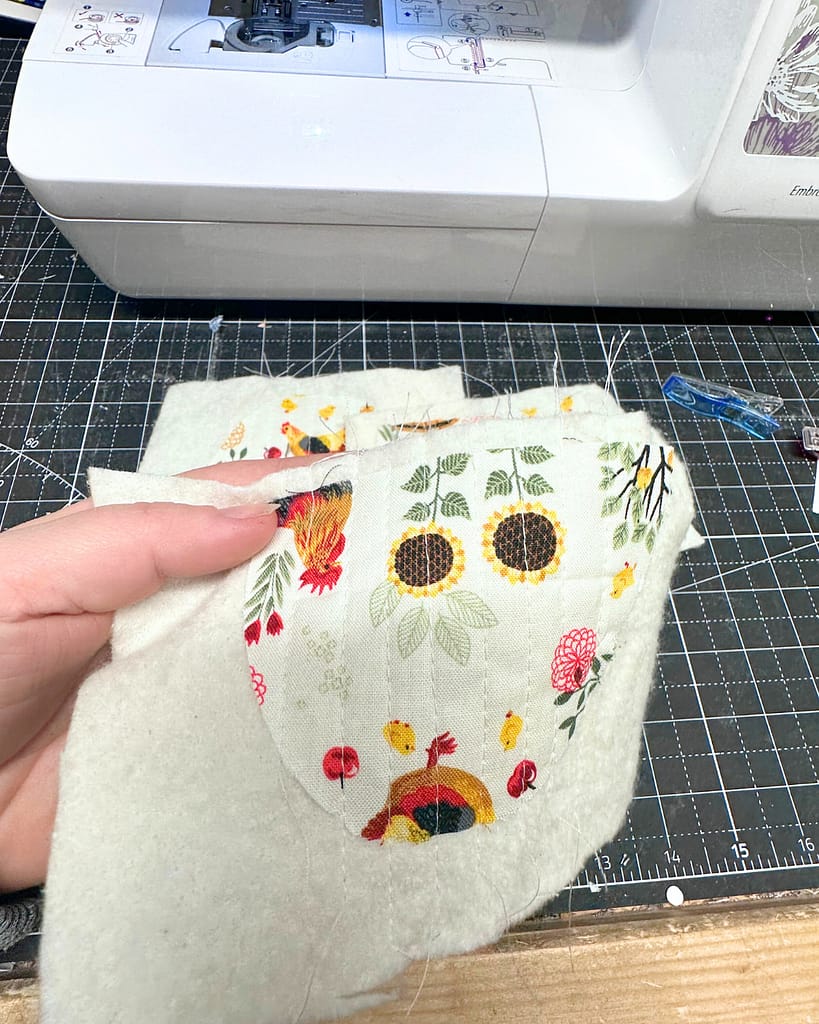
Quilt each cotton piece to its matching batting piece before assembling the egg.
Once quilted, follow the steps in Method 1 to hem the flaps, layer the pieces, sew around the egg, and turn right side out.
Quilted eggs hold their shape well and look beautiful in baskets and displays.
Ways to Use Fabric Easter Eggs
Fabric eggs work beautifully for egg hunts, pretend kitchens, and spring play. For a gift basket or egg hunt, fill each egg with candy, mini gift, novelty items, and more. I put together a list of fun items, and it’s not all candy! Check out the great prices on some of these items:
- Mini Easter Party Favors that fit inside eggs
- Mini play dough cups in pastel colors, useful and will fit in the eggs
- Everybody loves a slappy hand!
- Egg shaped play dough– fits in your fabric eggs and fills out the shape nicely
- Healthy mini fruit bars
- Snack Size giggles
Young children can carry them safely without cracking or spilling candy, and you can reuse the same eggs year after year.
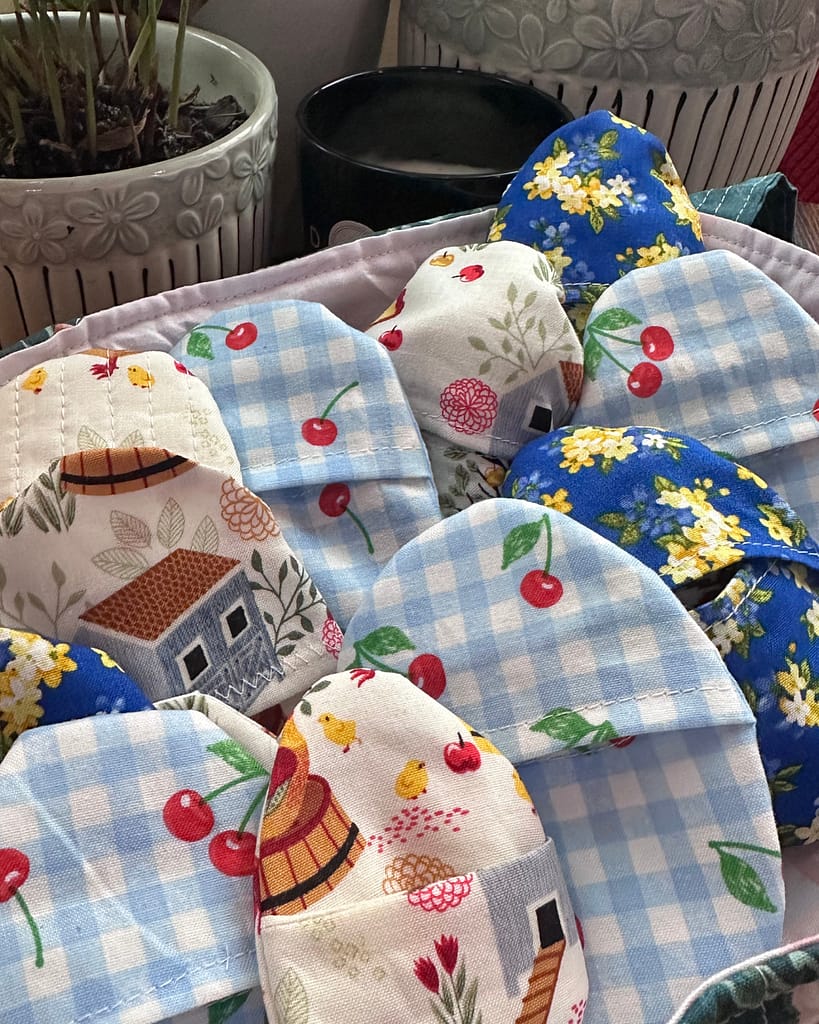
These eggs also make lovely decorations for bowls, baskets, and centerpieces.
Candy-Free Easter Basket Ideas That Fit Inside Fabric Eggs
One of the best things about these reusable Easter eggs is that they work beautifully for non-candy Easter gifts.
Here are a few ideas that fit perfectly inside:
- Mini erasers
- Hair clips or bows
- Small toy animals
- Scripture cards for Easter
- Stickers
- Temporary tattoos
- Coins
- Small Lego pieces
- Play dough
- Mini craft supplies
Using fabric Easter eggs for candy-free Easter baskets creates a meaningful tradition while reducing sugar overload.
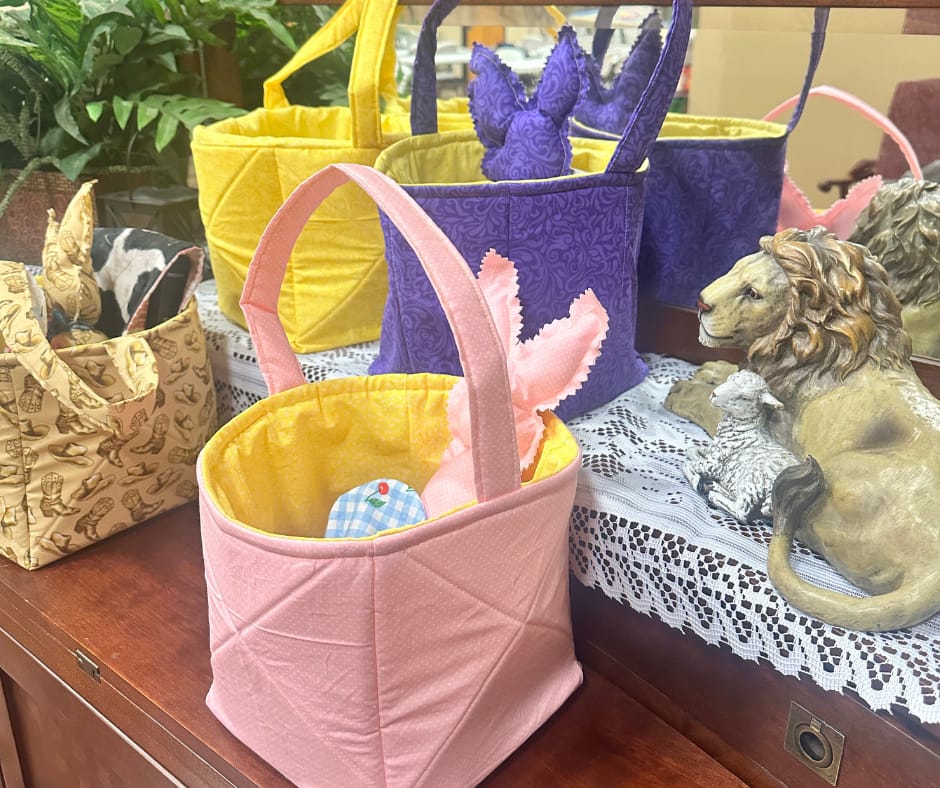
Pair These Eggs with a Reusable Easter Basket
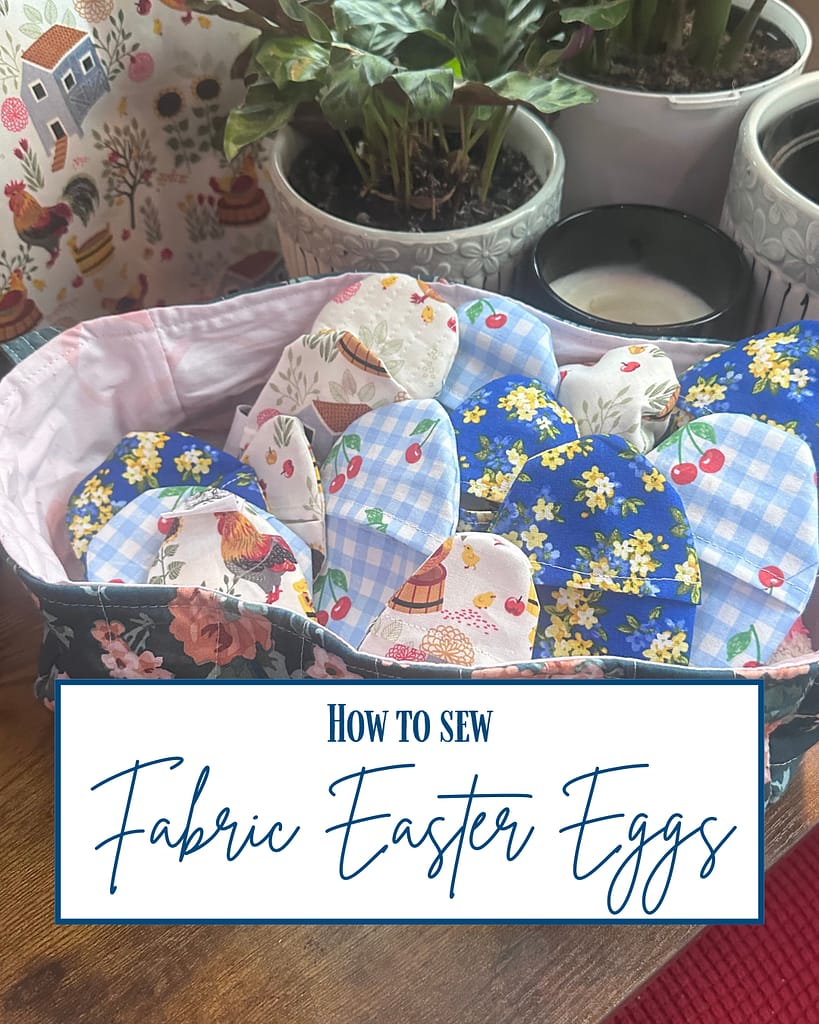
Fabric eggs fit perfectly inside a handmade Easter basket.
Common Mistakes When Sewing Fabric Easter Eggs
If your eggs don’t turn out quite right the first time, here are a few things to check:
Not clipping the curves:
Clipping seam allowances (or using pinking shears) reduces bulk and allows the egg to turn smoothly.
Skipping the pressing step:
Pressing hems and final seams makes a big difference in the finished shape.
Using stretch fabric:
Stick with woven fabrics like quilting cotton, duck cloth, or pre-quilted fabric. Stretch fabrics can distort the shape.
Forgetting seam allowance consistency:
Keep your seam allowance consistent (¼ inch works well) so the egg pieces align correctly.
With just a little practice, you’ll be able to batch sew fabric Easter eggs quickly and confidently.
How Long Do Fabric Easter Eggs Last?
When made with quality cotton fabric and proper stitching, reusable fabric Easter eggs can last for many years. They can be machine washed on gentle, air dried, and stored in a dry container until next spring.
Unlike plastic eggs that crack or fade, fabric eggs develop a soft, vintage charm over time — making them part of your family’s handmade Easter tradition.
How to Sew Fabric Easter Eggs
Equipment
- 1 pair of scissors or a rotary cutter
- 1 iron
- 1 pair of pinking shears optional
Materials
- Cotton quilting fabric (fat quarter, scraps, or yardage)
- 1 spool coordinating or contrasting thread
- 1 piece batting optional, any kind
Instructions
- Print or draw your pattern pieces. Cut one back piece, one top front piece, and one bottom front piece from cotton fabric.
- Hem the flat edge of both top pieces using a scant 1/8" double-fold hem. Press and stitch close to the folded edge.
- Place the back piece right side up. Layer the two front pieces on top with right sides down, allowing the flat edges to overlap. Align all curved edges.
- Pin or clip. Sew around the outer edge.
- Using pinking shears, trim the seam allowance off. Alternatively, use your scissors to create small snips in the curves. Be careful not to cut through your seam.
- Turn the egg right side out through the envelope opening and gently push out curves. Press flat to finish.
Notes
- Estimated Skill Level: Beginner
Estimated Cost: Under $5 - Cotton quilting fabric works best for soft, durable reusable fabric Easter eggs. Lightweight fabrics may require interfacing for structure.
- If sewing with young children, pre-cut the egg pieces and supervise stuffing and stitching.
- For a no-sew option, fabric glue can be used, though stitched eggs are more durable for Easter egg hunts.
- These fabric Easter eggs can be machine washed on gentle and air dried before storing for next year.
- Customize your eggs with embroidery, ribbon loops, or small fabric scraps for a patchwork look.
- Check the blog post for alternative methods, including a quilted version.
- These reusable fabric Easter eggs are a sustainable alternative to plastic eggs for Easter baskets and egg hunts.
- Store finished fabric Easter eggs in a dry container until next year.
If you are sewing a reusable basket this year, these eggs create a soft, quiet, and meaningful alternative to plastic eggs.
👉 See the full tutorial here: *How to Sew a Reusable Fabric Easter Basket (Quilted & Washable)*
You Should Try Making Fabric Easter Eggs!

Fabric Easter eggs turn a simple sewing project into a lasting family tradition.
Whether you sew a few for baskets or a full set for egg hunts, these soft eggs bring warmth, creativity, and handmade joy to your spring celebrations.
Fabric Easter eggs are so versatile. You can replace your plastic easter eggs for eggs hunts and Easter gift baskets. You can also use them for home decor for the spring season. They would also make a great toy for small children.
I’ll be honest- this is not a super kid-friendly sewing project. Children may be able to help, but it’s a tricky one with tight turns.
Stick with woven fabrics for your eggs. Quilting cotton and duck cloth/canvas are great options because they’re affordable, durable, and come in so many prints and colors. Pre-quilted fabric would be great too- and save you a step!
The first few will be slow while you get the hang of sewing around the curves of the Easter eggs. But after that, it’s a pretty quick project. I would guess 5 minutes per egg, or even faster if you batch sew.