
✂️How to Sew a Casserole Dish Hot Pad (13″ x 18″) – A Beginner-Friendly Tutorial
Some links in this post may be affiliate links. That means I might make a small commission on qualifying purchases if you click the link. There is no extra cost to you.
If you’ve ever tried to balance a steaming casserole on two mismatched hot pads that were too small, you’re not alone! That’s exactly why this oversized casserole dish hot pad is such a game-changer. Now, you’ll be able to fit any size casserole dish on a single, level hot pad. It will be both beautiful and functional. So, lets’s get started. In this post, I’ll show you step by step how to sew a casserole dish hot pad in this post.
Measuring about 13″ x 18″ with rounded corners, this project is simple, affordable, and perfect for beginners. Even better, it’s a thoughtful handmade gift for just about any occasion. It makes a perfect hostess gift for that friends who is always having you over for supper. Or, you could pair it with one of my other kitchen sewing projects to make a gift basket of home items.
In this tutorial, I’ll walk you step-by-step through how to sew a casserole dish hot pad using cotton fabric, Insul-Bright batting, and some basic sewing supplies. Along the way, I’ll share ideas for customizing it, how to use it beyond casseroles, and why you’ll want to make a whole stack of these for yourself and your friends. Don’t discount the opportunity to sell these- I think they’d be a great project for a craft fair.
Why Make a Casserole Dish Hot Pad?
A hot pad this size is more than just practical—it’s versatile, gift-worthy, and fun to sew. First, let’s take a look at all the ways it can be used:
- For casseroles: Perfectly fits under a 9×13 dish with room to spare for your hands. Now, can enjoy no more teetering casserole dish. Plus, it will give amore polished look as you set your table, rather than two mismatched hot pads that you’ve tried to shove under the casserole to keep it off the table.
- For Dutch ovens and stockpots: Ideal for those heavy, oval pots you want to set down without worrying about scorching your table. The insulbright will reflect the heat back towards the pot so your table is safe.
- As a serving pad: Place it in the center of your dining table and put multiple serving bowls or pots on it. Just me, you can serve whole meal at once. It will hold several bowls or pots.
- As a hostess or housewarming gift: A thoughtful, handmade item paired with a favorite recipe. Select the hostess’ favorite decor print or something unique. Hand write your favorite casserole recipe and gift them together.
- With a meal delivery: If you bring a casserole to a new mom, a grieving family, or a sick friend, include the hot pad—it’s both useful and memorable. You could even embroider something on it in memory of the occasion.
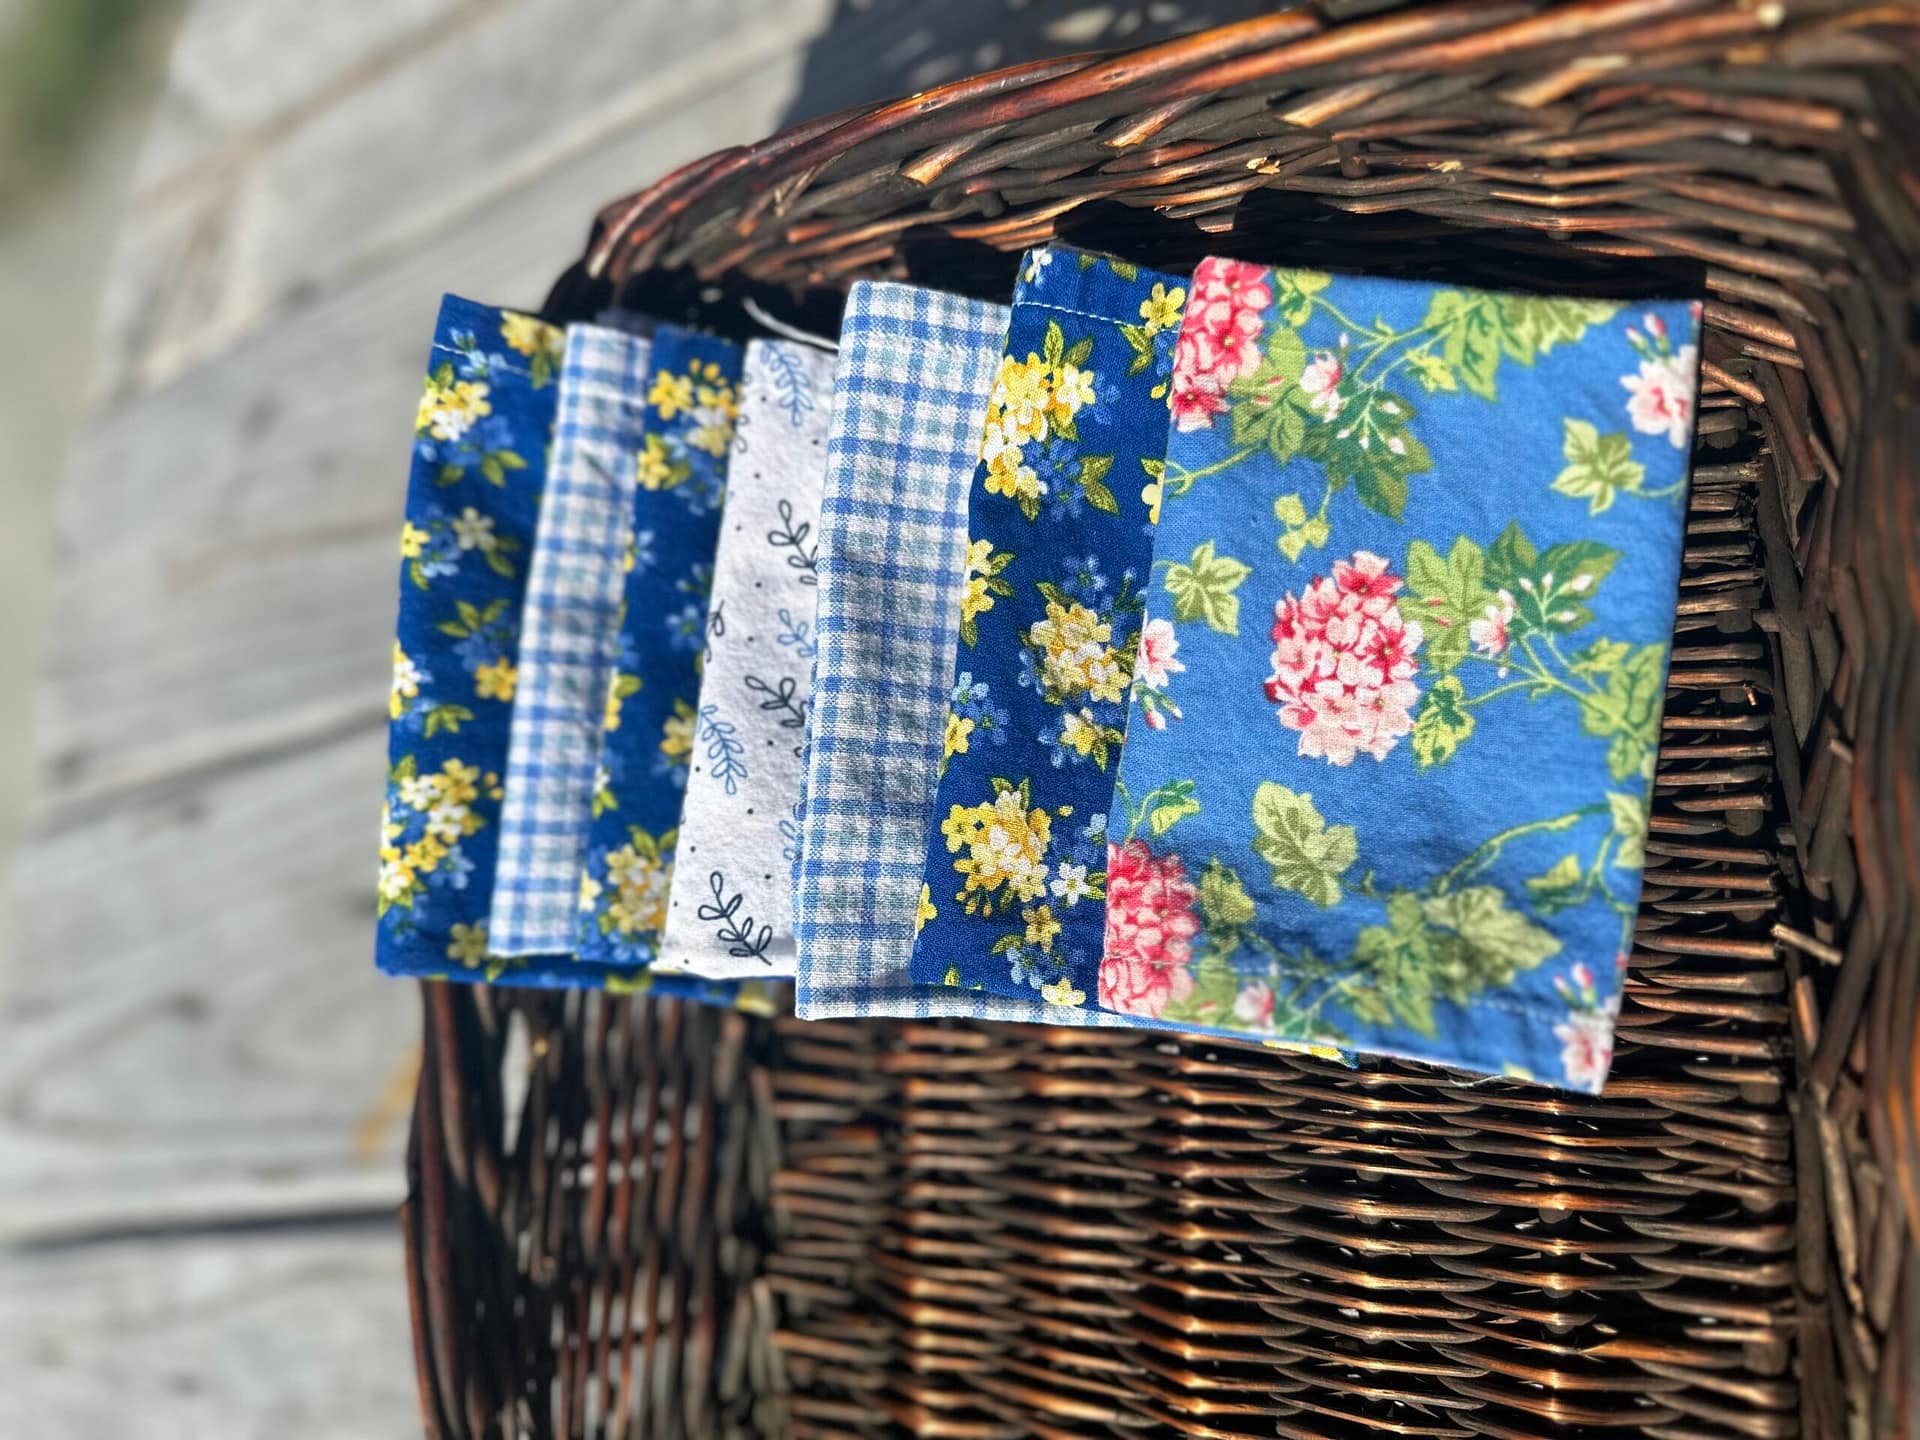
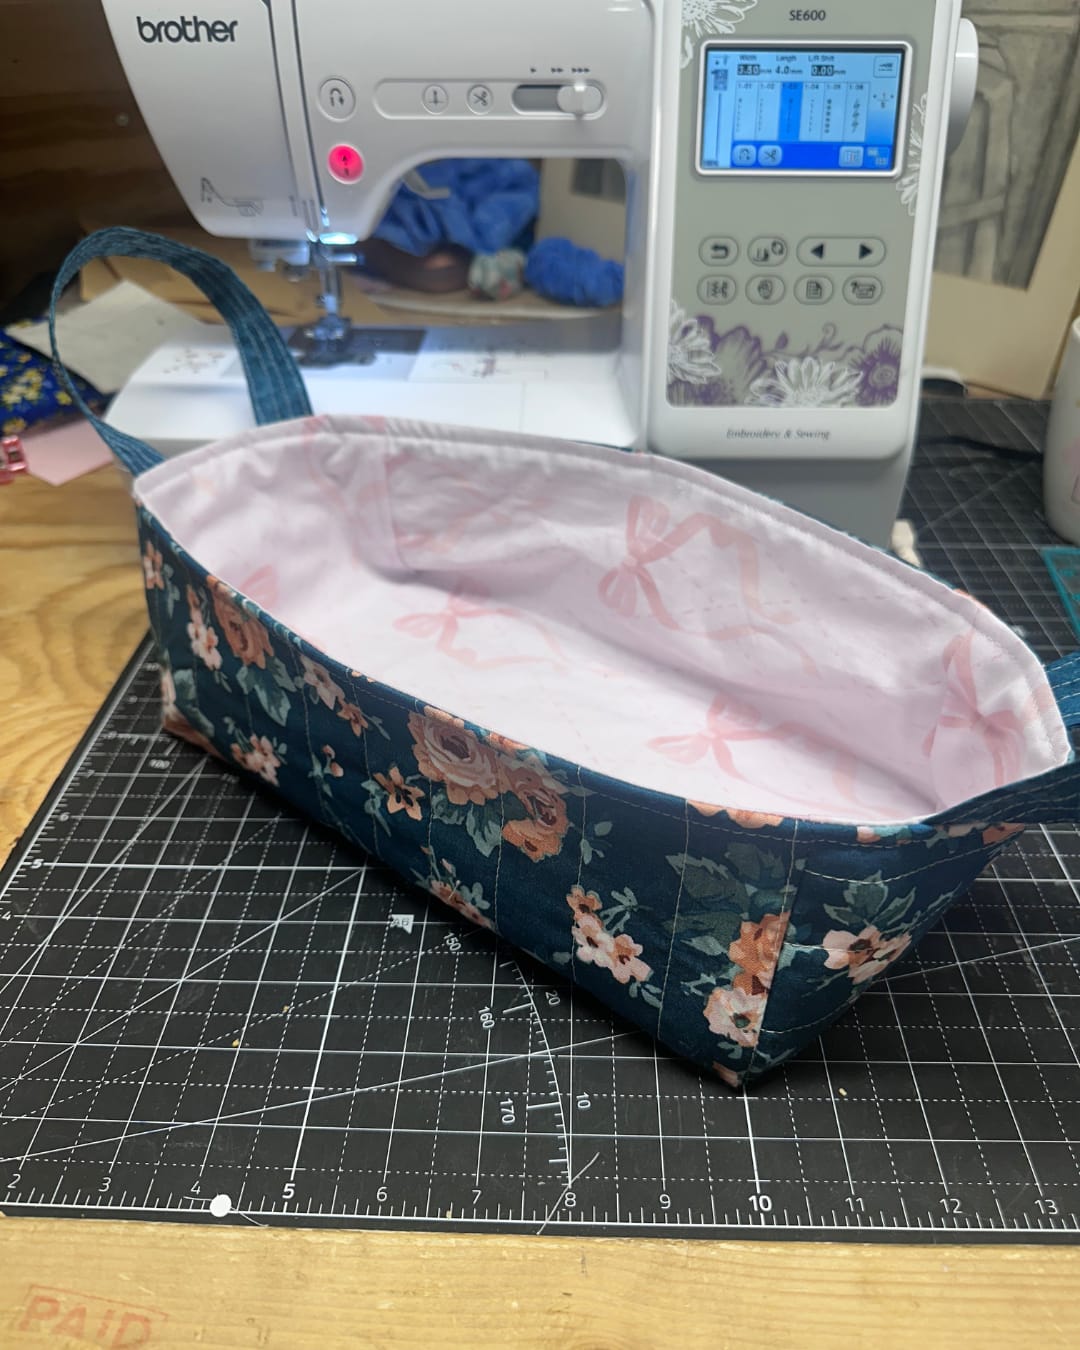
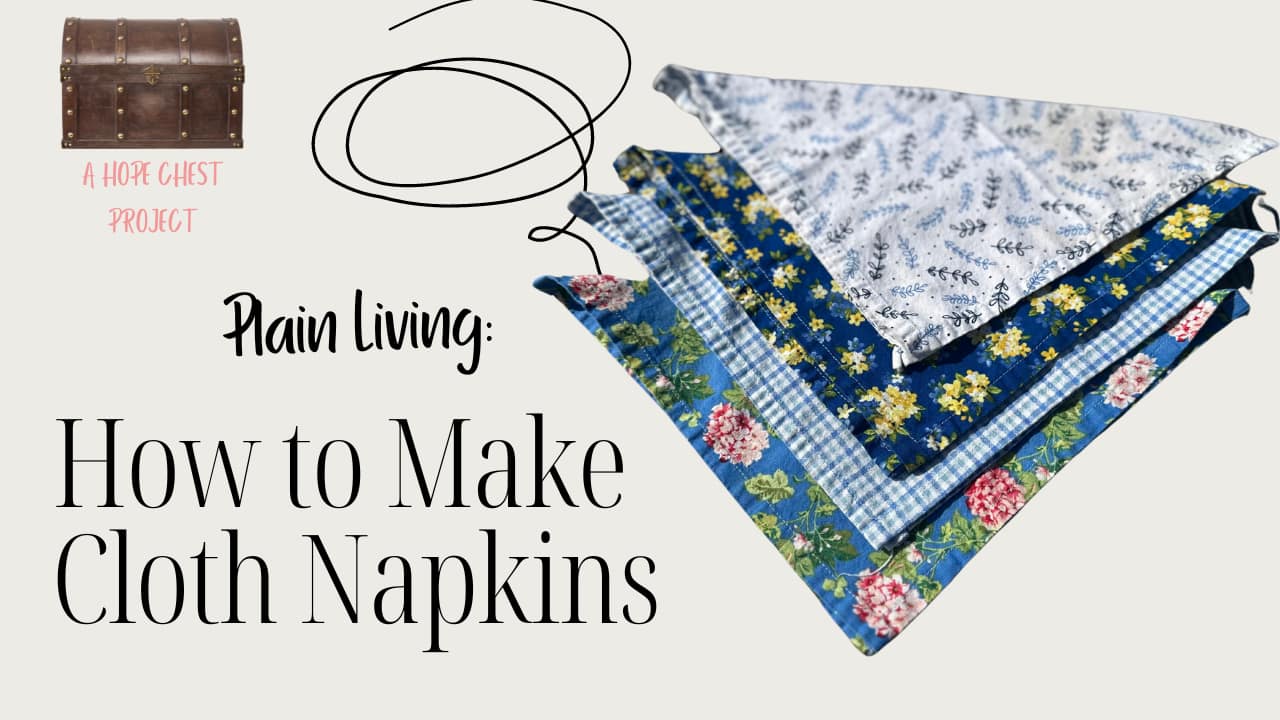
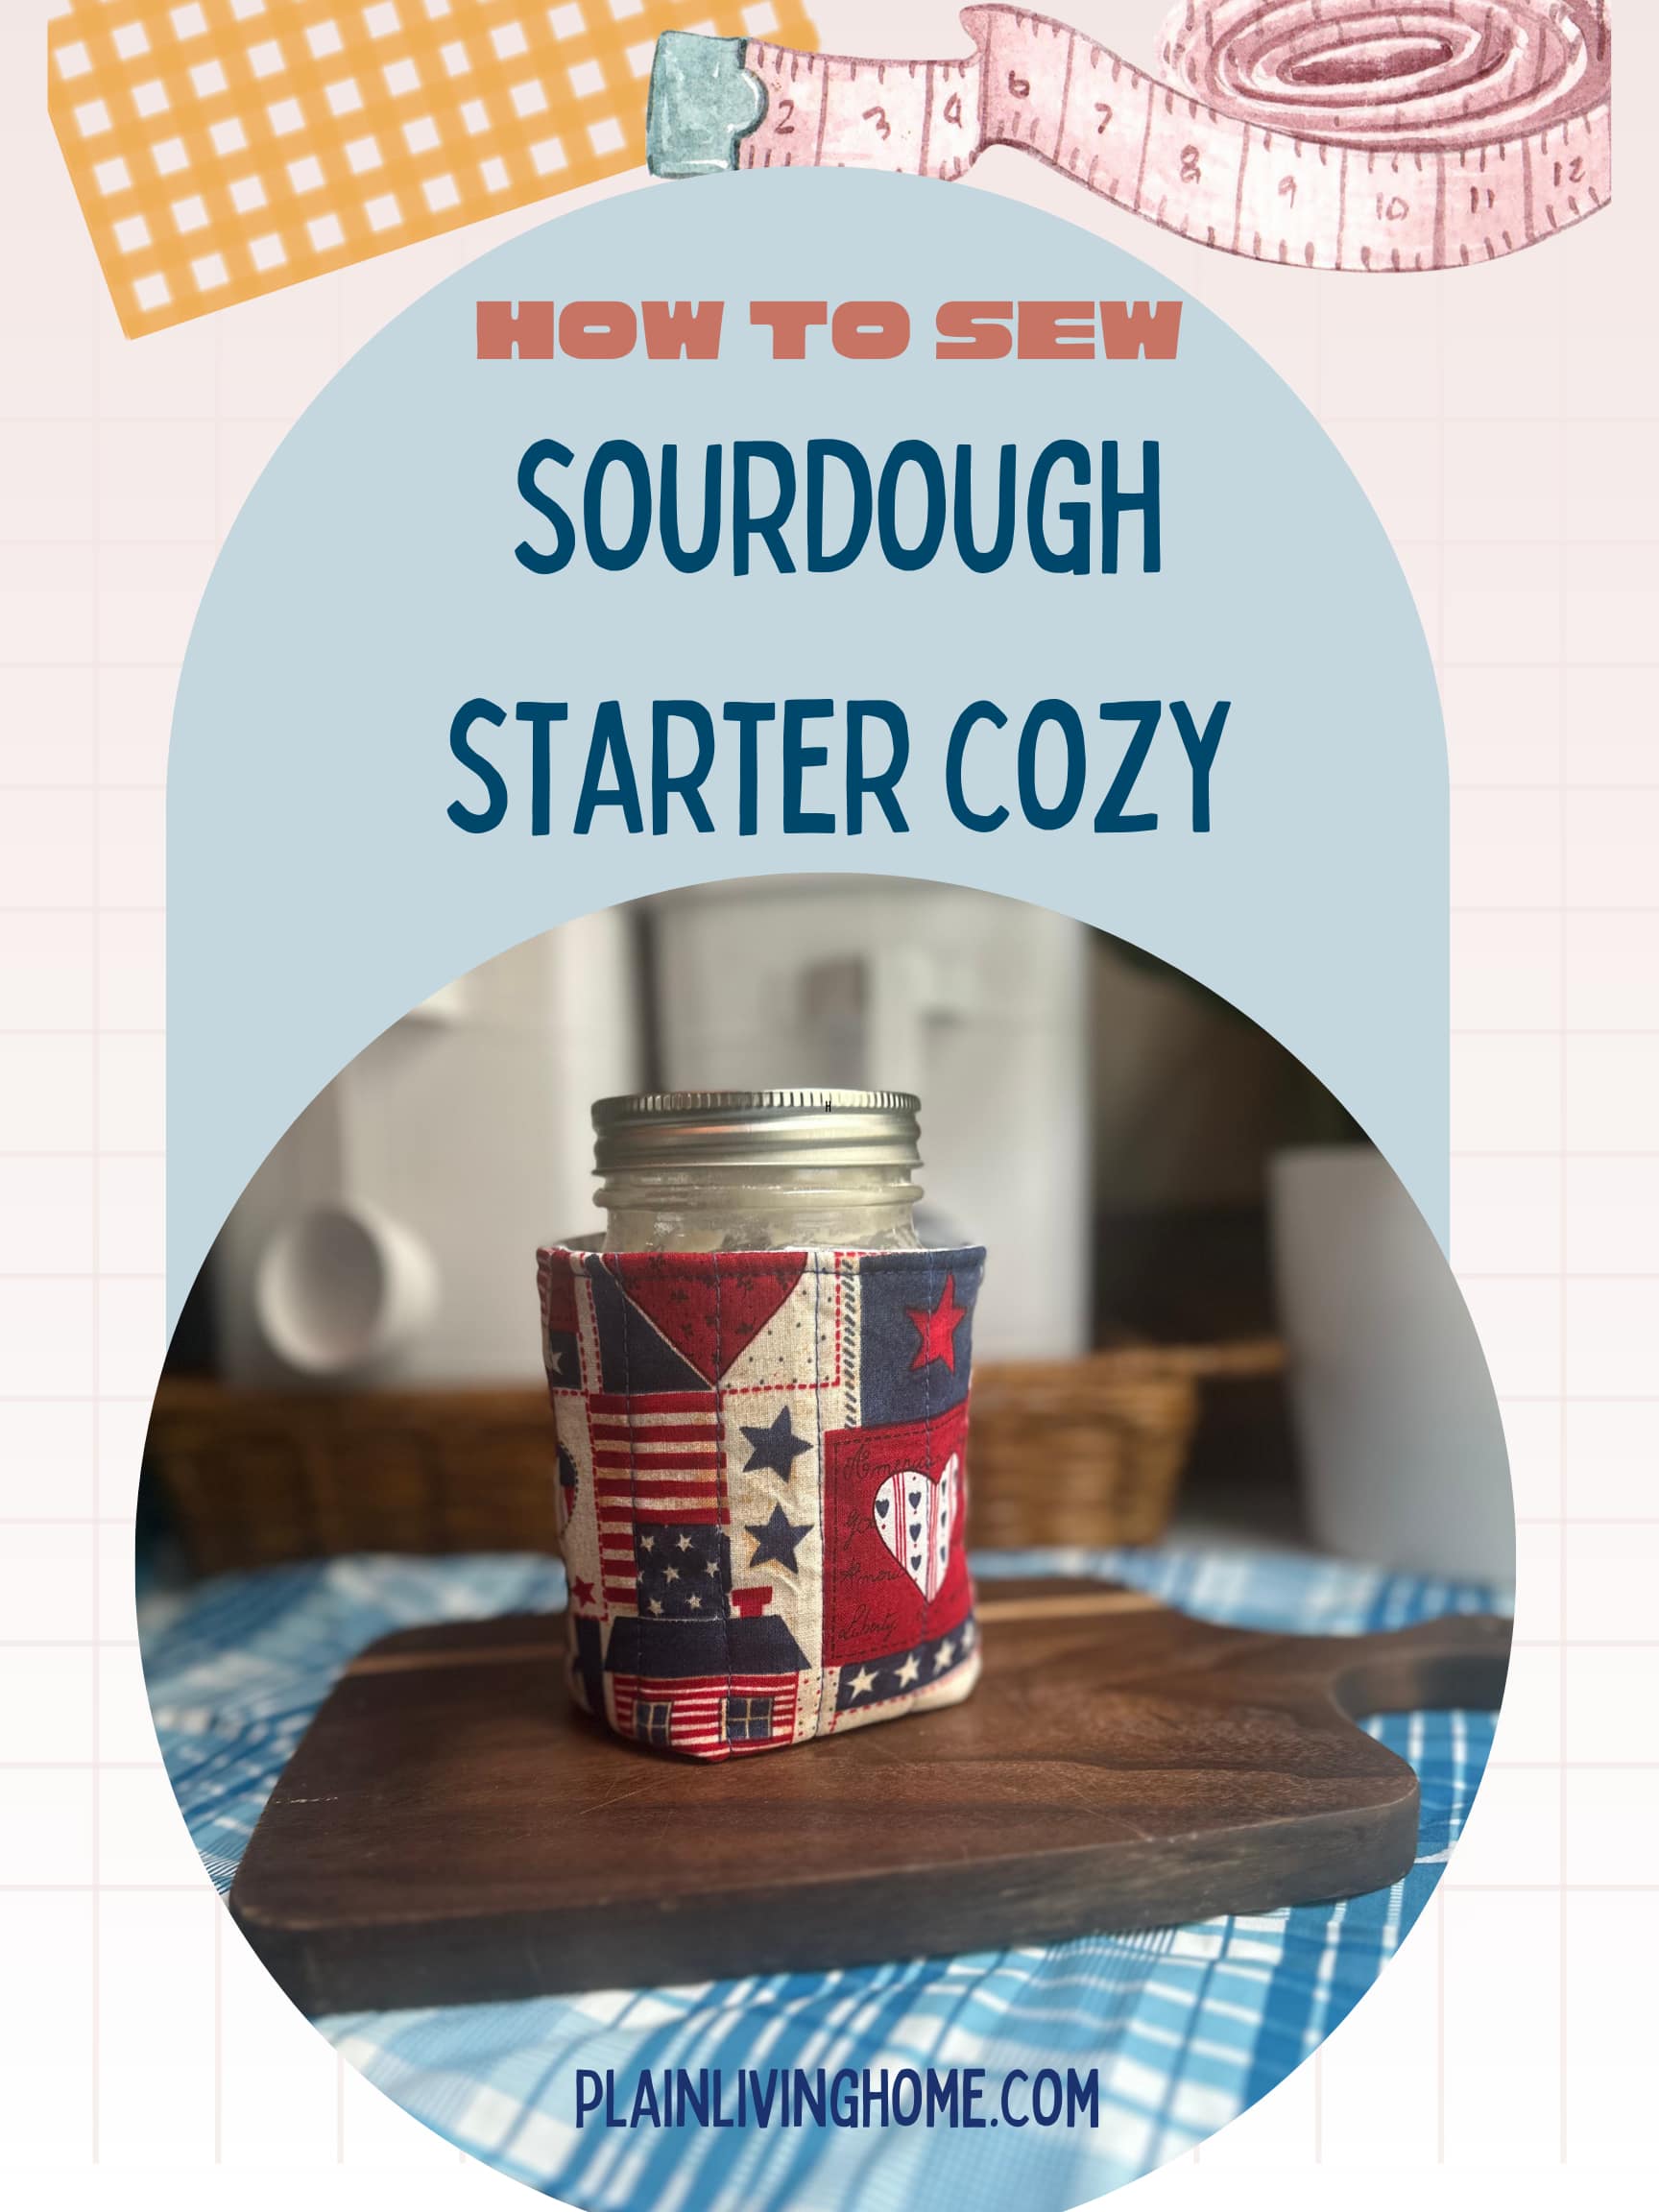
- As part of a kitchen gift basket: Combine it with items like my waist apron tutorial, cloth napkins tutorial, or even some homemade cookies for a gorgeous, personalized set.
With so many uses, you’ll quickly see why one is never enough. Let’s dive into the supplies and get sewing.
Supplies You’ll Need
Here’s everything you’ll need for one hot pad:
- Two pieces of cotton fabric (13″ x 18″ each, plus seam allowance). These can be matching or contrasting if you want a reversible hot pad. Quilting cotton works best. Fat quarters are a great way to get coordinating fabric without buying yardage.
- One piece of Insul-Bright batting (13″ x 18″). This special batting reflects heat and keeps surfaces protected.
- Coordinating or contrasting thread (all-purpose cotton).
- A plate or bowl to trace and round the corners.
- Basic sewing tools: scissors or rotary cutter, pins or clips, fabric marker or chalk, ruler, and your sewing machine. See my favorite tools here.
Optional: If you want to add extra thickness, you can also use a layer of cotton batting underneath the Insul-Bright.
Step 1: Cut Your Fabric and Batting
- Cut two rectangles of cotton fabric, each 13.5″ x 18.5″ (this includes 1/4″ seam allowance on all sides).
- Cut one rectangle of Insul-Bright the same size.
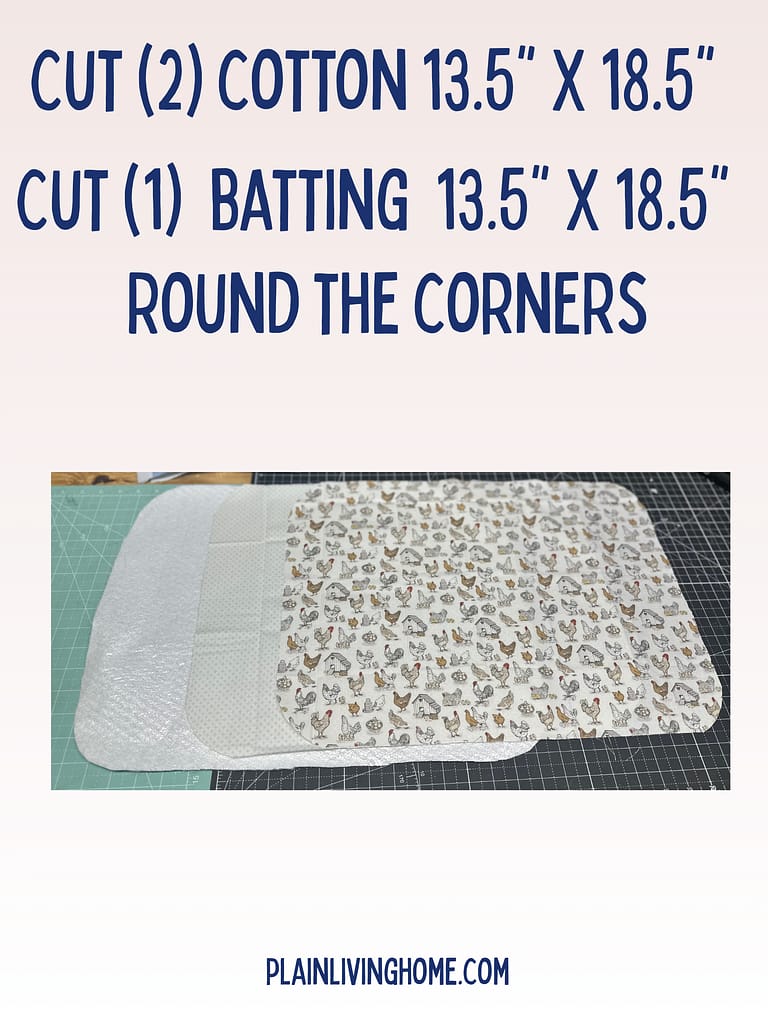
Step 2: Round the Corners
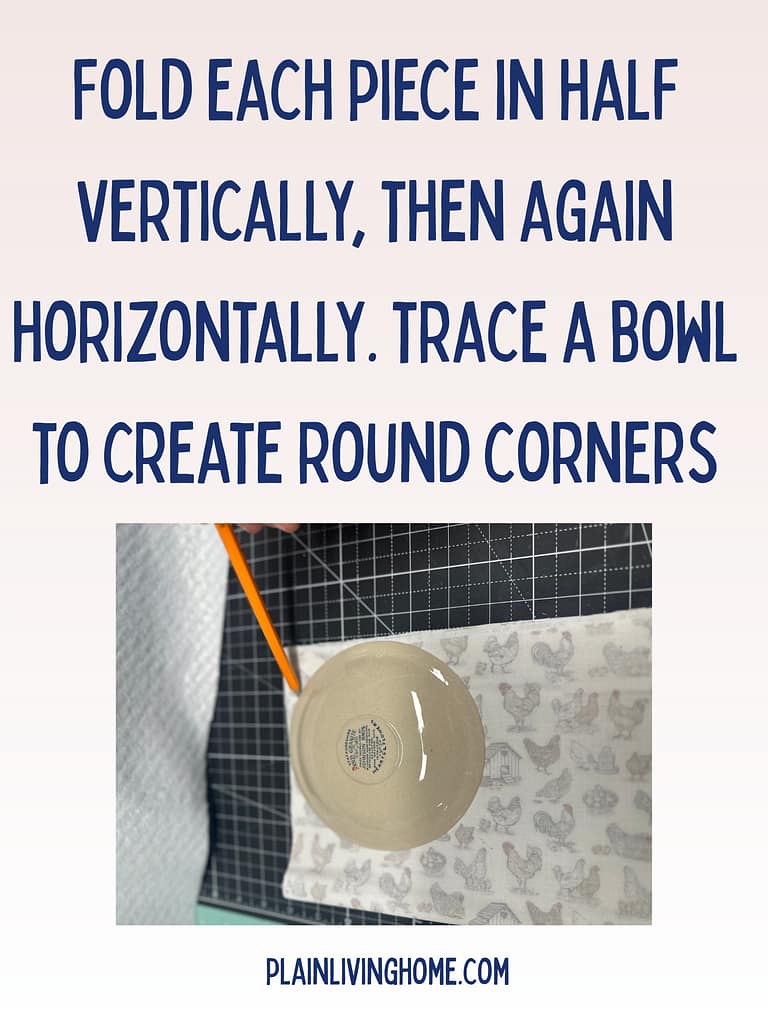
Rounded corners give the hot pad a softer look and make sewing easier (no tricky sharp corners to turn).
- Fold one piece of cotton in half vertically. Be sure to carefully line up all of the edge.
- Next, fold it in half again, but horizontally.
- Now, you should have all 4 corners of your fabric neatly stacked together.
- Trace around a plate or bowl from the top edge to the side edge, creating a rounded corner.
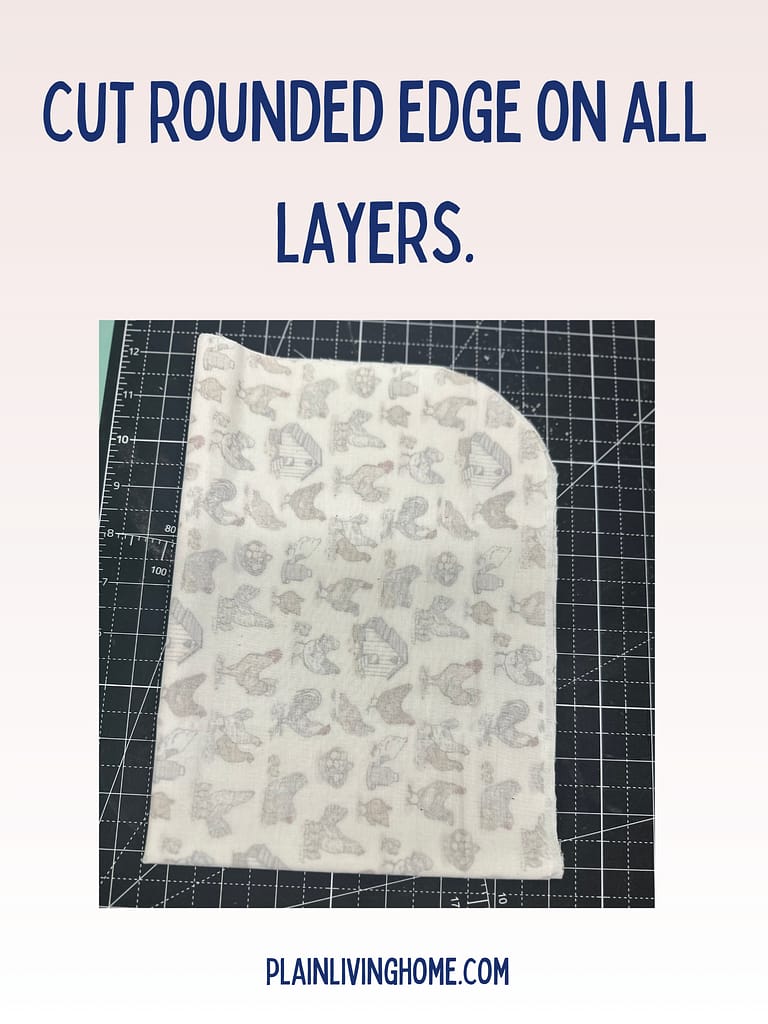
- Cut through all 4 layers.
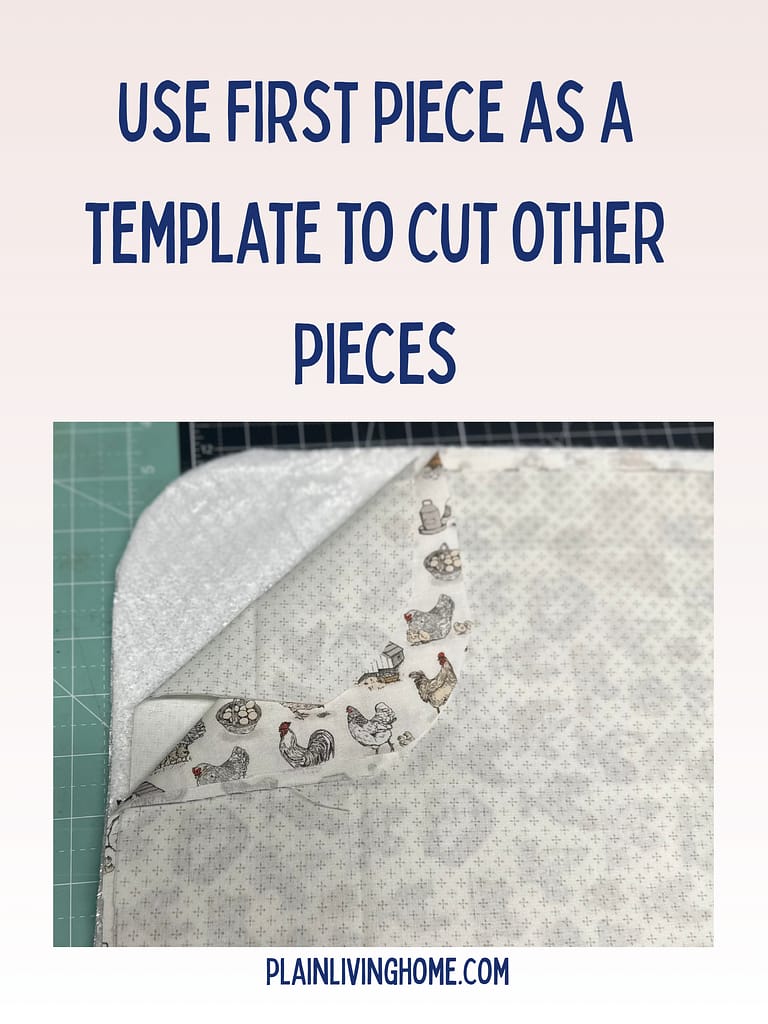
- Next, open up your fabric. Lay it on top of the other fabric and the batting. Line up all sides precisely.
- Now you can cut all of the corners, using the first piece of cotton as a template to get exact cuts.

Step 3: Make Your Fabric Sandwich
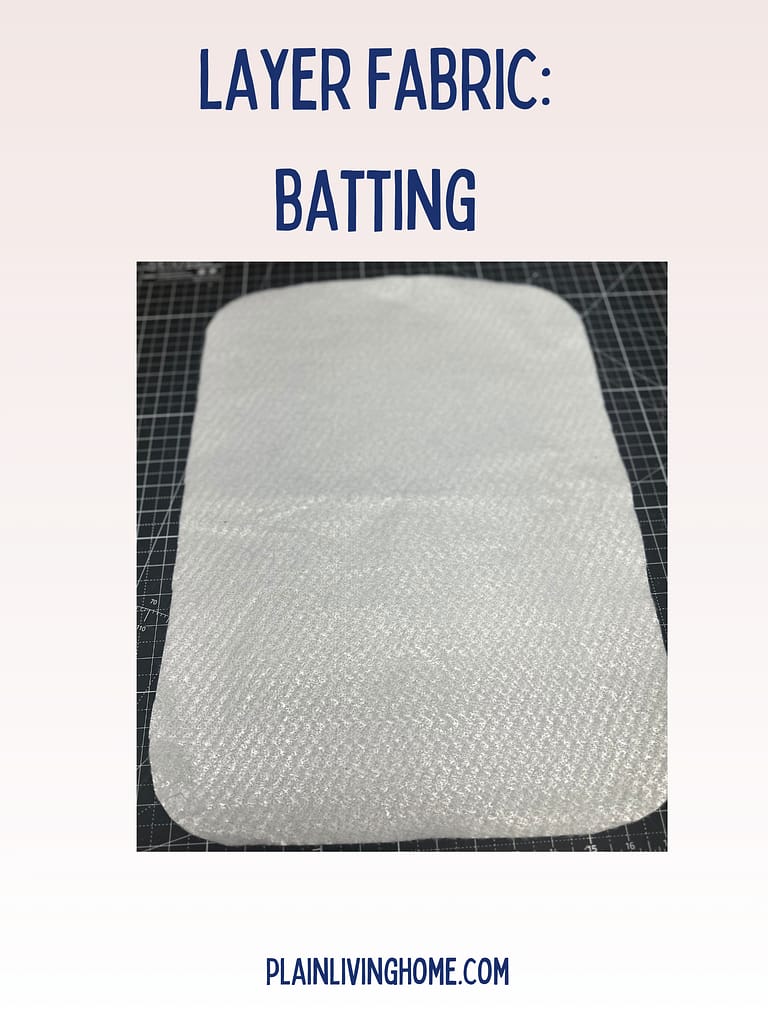
Lay out the layers in this order:
- Insul bright fabric (it’s not directional)
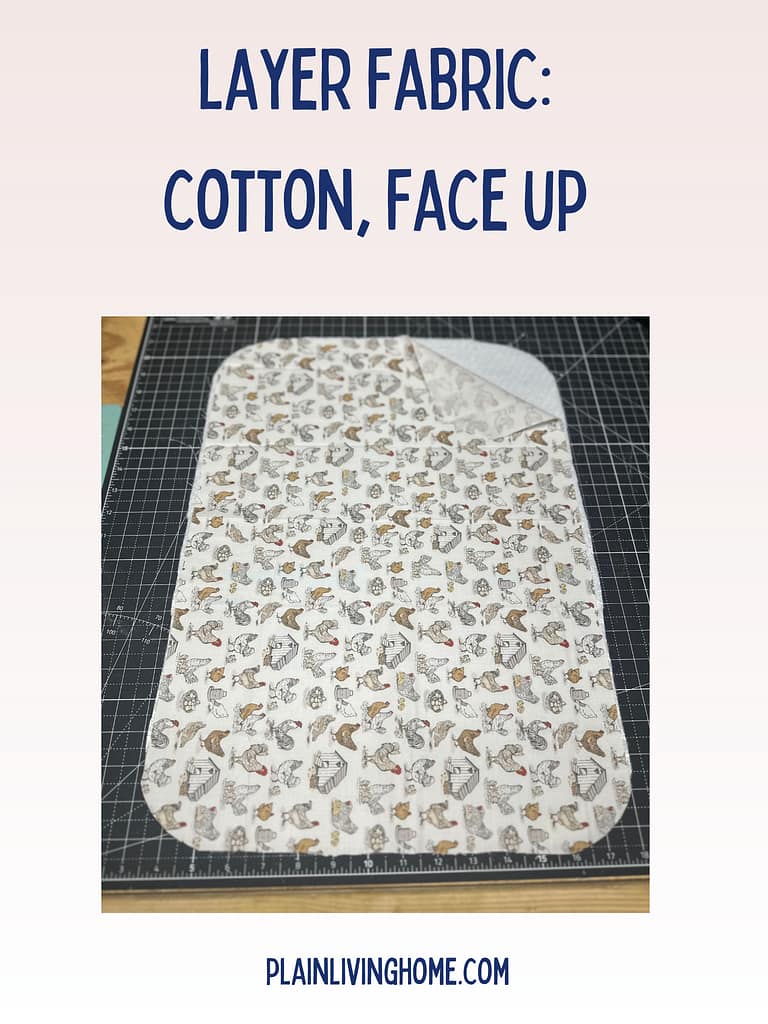
- One piece of cotton fabric, pretty side up.
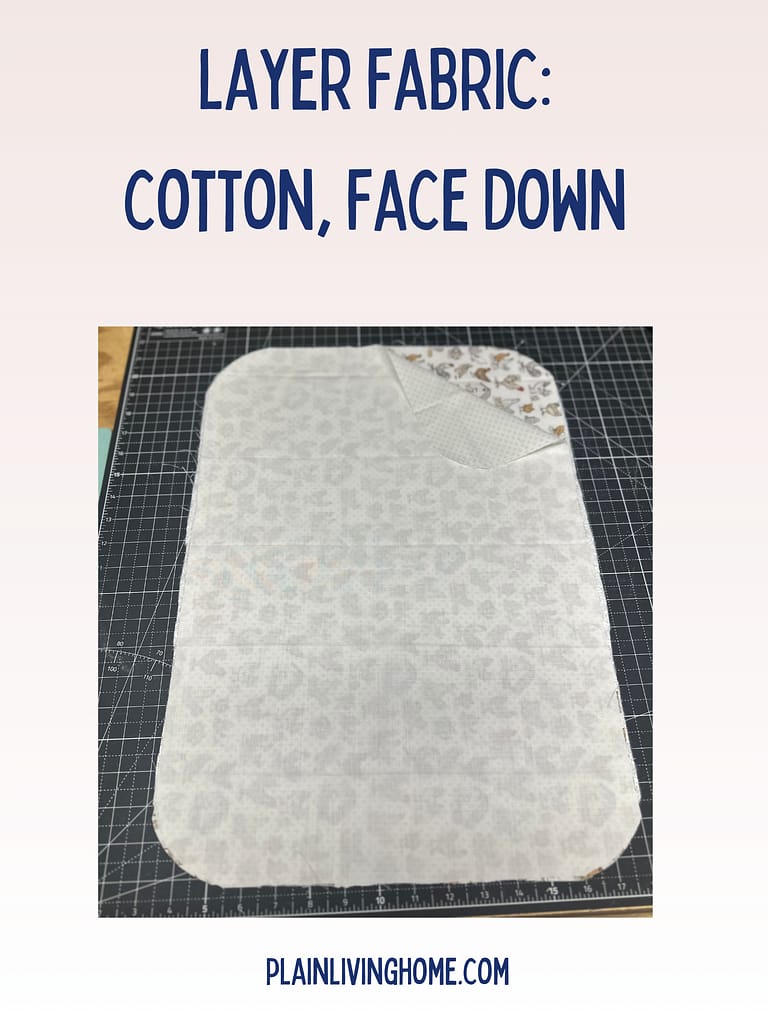
- The second piece of cotton fabric, pretty side down.
Clip or pin around the edges so everything stays aligned. Mark a 3″ spot where you won’t sew. Leave this opening so you can turn the project right side out.
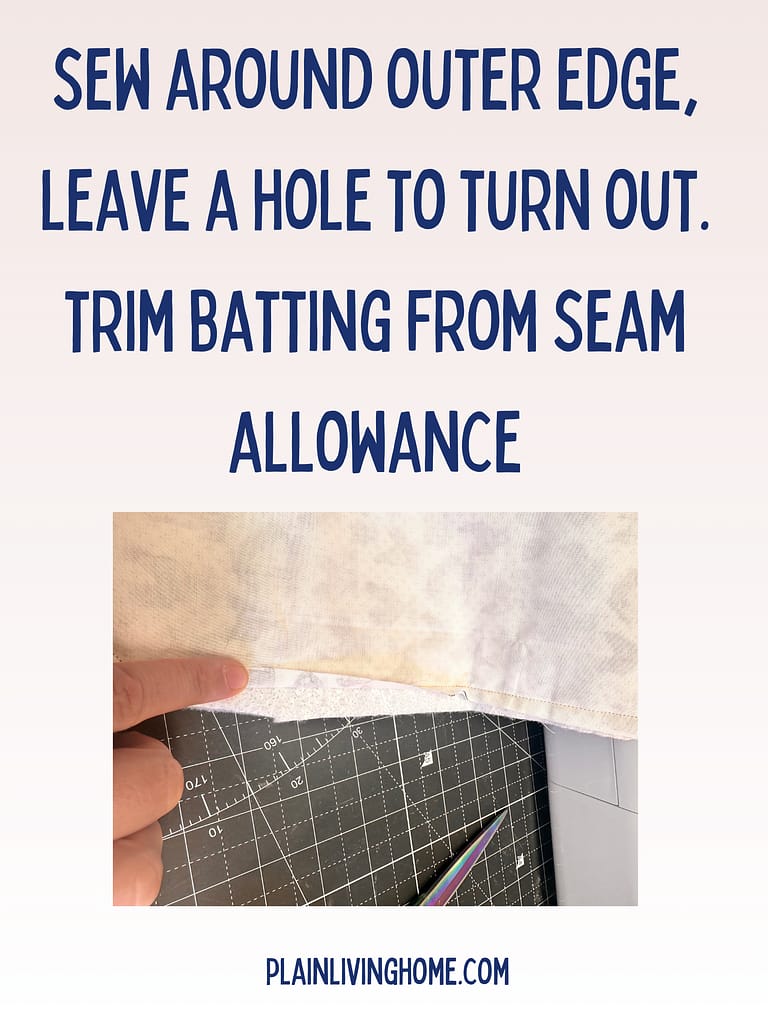
Simple Step 4: Sew Around the Hot Pad
- Using a 1/4″ seam allowance, sew all the way around the edge of the hot pad.
- Leave a 3″ opening on one short side for turning.
- Backstitch at the beginning and end to secure.
Step 5: Turn and Press
- Trim the seam allowance slightly to reduce bulk (especially around the curves).
- Turn the hot pad right side out through the opening.
- Use a turning tool or the blunt end of a pencil to smooth the rounded corners.
- Press everything flat with a hot iron, folding the raw edges of the opening inward.
Step 6: Topstitch
- Starting at the opening, topstitch all the way around the hot pad about ⅛” from the edge.
- This closes the opening and gives the project a neat, professional finish.
- For extra durability, sew a few quilting lines across the hot pad—vertical, horizontal, or even diagonal. This helps keep the layers secure and adds a nice decorative touch.

Tips for Customizing
- Fabric choices: Go bold with seasonal prints, farmhouse neutrals, or even use leftover quilt blocks.
- Thread choices: Matching thread blends in, while a contrasting color adds a fun accent.
- Quilting lines: Try simple straight lines or even a crosshatch design for more texture.
- Size variations: Adjust the dimensions to fit your favorite pans or even make smaller versions for everyday hot pads.
Gift-Giving Ideas
This project really shines as a gift. Here are a few fun ideas:
- Housewarming basket: Pair the hot pad with wooden spoons, a jar of homemade spice mix, and a handwritten recipe card.
- Wedding gift: Make a set of two or three hot pads in the couple’s kitchen colors and tie them with a pretty ribbon.
- Holiday hostess gift: Use Christmas fabric and include homemade fudge or cookies.
- New baby meal drop-off: Bring dinner in a casserole dish and give the hot pad to keep. It’s a small kindness that lasts far longer than the meal itself.
- Ministry and encouragement gifts: If you’re visiting someone who’s been sick or discouraged, this little handmade touch communicates care.
Why This Is Perfect for Beginners
If you’re new to sewing, this is a great project to start with because:
- Straightforward cuts—just rectangles and rounded corners.
- Basic stitching—no zippers, buttons, or complicated piecing.
- Forgiving design—the topstitching hides the turning hole neatly.
- Quick results—you can finish one in under an hour once you’ve made one or two.
It’s confidence-building and fun, and once you’ve made one, you’ll want to keep going. For other beginner friendly tutorials, check out these other posts:
Frequently Asked Questions
Can I wash these hot pads?
Yes! Since they’re made from cotton fabric and batting, they’re machine washable. Just use cold water and tumble dry low.
What if I can’t find Insul-Bright?
You can substitute with a couple of layers of cotton batting, but Insul-Bright works best for reflecting heat.
Do I need to quilt across the pad?
It’s optional, but quilting adds durability and prevents the layers from shifting over time. The quilting design can add a lot of character to your hot pad too!
How many hot pads can I make from a yard of fabric?
A yard of 44″ wide fabric will give you enough for at least two casserole hot pads (more if you piece fabrics together).
Beyond the Kitchen
One of my favorite things about this project is that it goes beyond just being a “hot pad.” Use it as:
- A table centerpiece mat—place candles or serving dishes on it.
- A picnic or camping pad—perfect for setting down pots outdoors.
- A tray liner—use on a serving tray to keep dishes from sliding.
Final Thoughts
This casserole dish hot pad is practical, quick, and endlessly customizable. With just a little fabric and thread, you can create something that will be used and appreciated every single day.
Whether you keep it in your own kitchen, pair it with a casserole for a friend, or tuck it into a thoughtful gift basket, this project is proof that handmade doesn’t have to be complicated to be meaningful.
So go ahead—dig into your fabric stash, grab a plate to round your corners, and start sewing. You’ll be surprised how quickly you can whip up a stack of these, and how much joy they’ll bring to others.

This tutorial for making a casserole dish hot pad was exactly what I needed! I love how you explained each step clearly, especially the tip about using Insul-Bright and rounding the corners. Living here in Georgia, we’re always bringing casseroles to church potlucks, football tailgates, and family gatherings, and this oversized hot pad makes such a difference compared to juggling little square ones. I also think these would make wonderful homemade hostess gifts for the holidays. Thank you for such a beginner-friendly sewing project that’s both practical and beautiful—I can’t wait to make a stack for my kitchen and to share with neighbors!