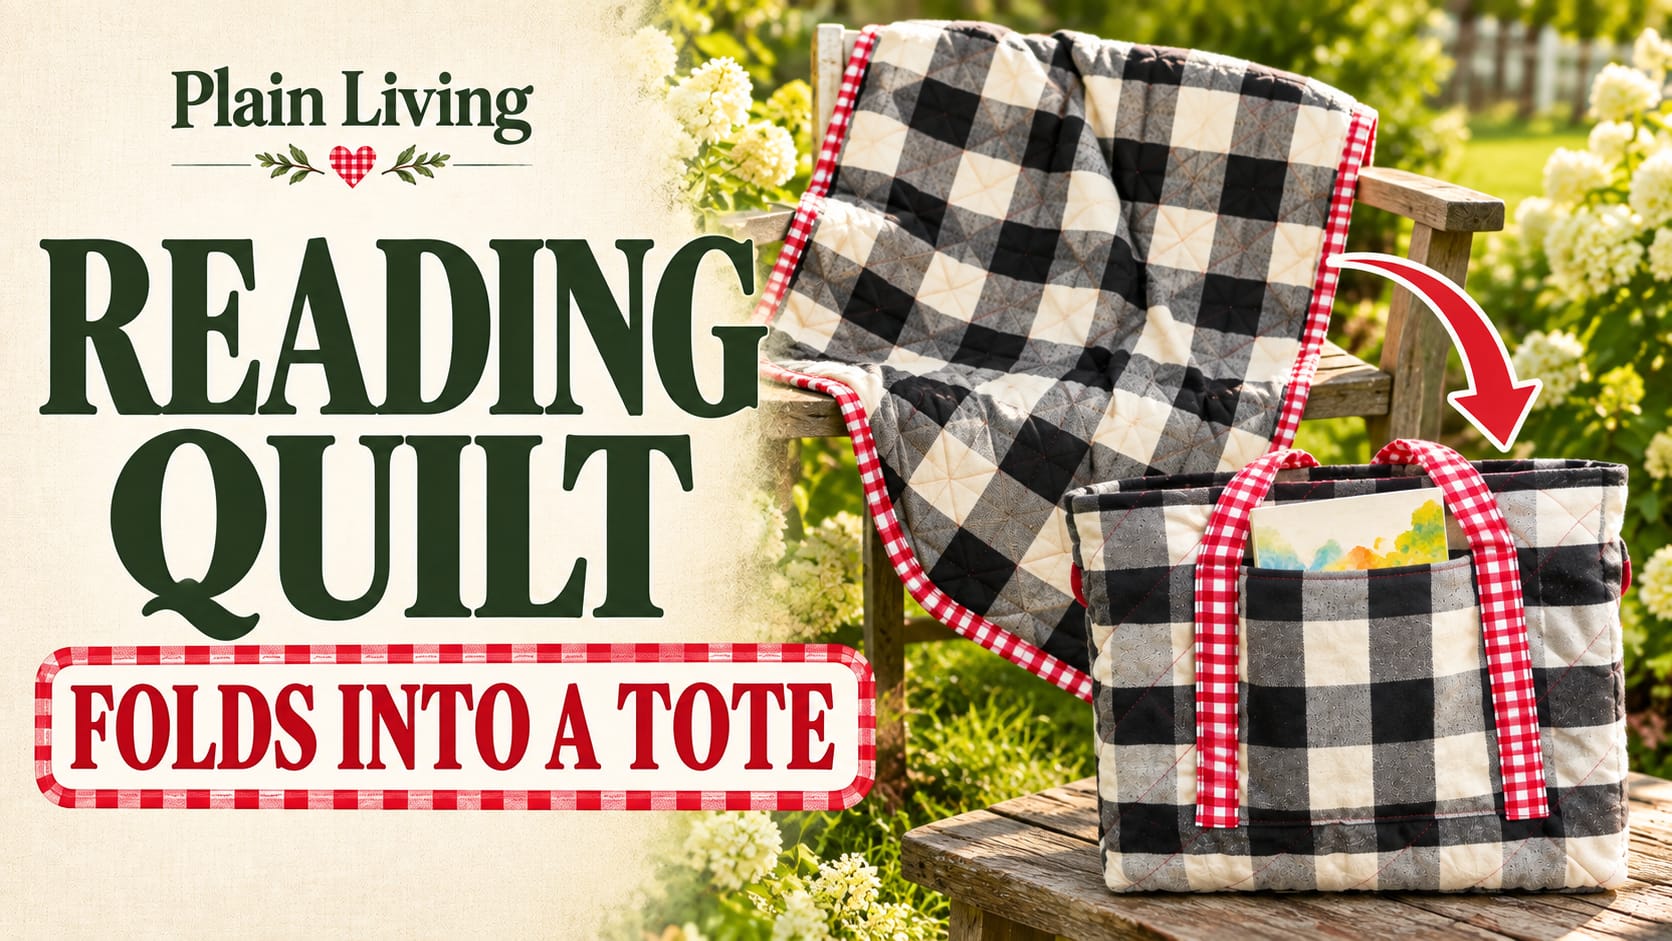
Quilted Reading Tote
A reading quilt that folds into a tote gives you a soft place to sit and a handy way to carry your book.
Yield: 1 quilted tote
Equipment
- safety pins
Materials
- 1 yard duck cloth pick a favorite print
- 1 yard quilting cotton pick a favorite print
- 5 yards bias tape single or double fold
- 1 yard cotton batting
Instructions
Step 1: Wash, press, and cut
- Wash and dry the outer fabrics as their care labels allow. This helps deal with shrinkage before you sew. Follow the batting maker's directions; do not assume loose batting should go through the wash.
- Cut: (1) 36" x 36" quiltling cotton, (1) 36" x 36" duck cloth, (1) 37" x 37" batting, (2) 8" x 8" pocket or (2) 9 " x 9" (choose either fabric), (2) 4" x 22" straps (choose either fabric).
- Press the fabric flat. Lift the iron and set it down rather than pulling the cloth out of shape. Smooth fabric is easier to measure and sew.
- Cut your quilt front, backing, batting, pocket squares, and handles. Measure twice before cutting. For this guide, use a 1/4-inch seam allowance for the pocket. Your 9-inch pocket squares will finish about 8 1/2 inches square before they are attached.
- Lay the intended book on the pocket fabric. Allow room for its width and thickness, plus the seams. Make a larger pocket if needed, then check that it fits inside the folded tote area.
Step 2: Make the quilt sandwich
- A quilt sandwich has three layers. Lay the backing on a clear table with its right side down. Place the batting over it. Add the quilting cotton with its right side up.
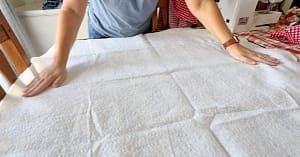
- Smooth each layer from the middle toward the edges. The batting and backing should extend beyond the front fabric. Keep the layers flat without stretching them.
- Cotton smoothed over batting and duck cloth to make the quilt sandwich.
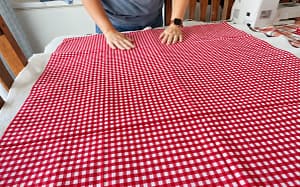
- Baste the layers with quilting safety pins or a fabric basting spray made for this use. Follow the spray label if you use one. Edge clips alone do not hold the middle of a quilt steady.
- I skip basting in the video, but I recommend it here. It gives a new sewist more control and helps keep the back from bunching.
Step 3: Quilt the layers together
- Quilting means sewing through the front, batting, and backing to hold them together. You can use straight lines; there is no need for a fancy design.
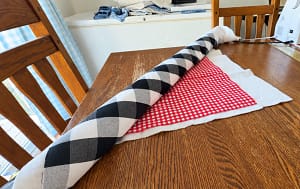
- I sew diagonal lines about 2-“3 inches apart. Check the batting label for its maximum quilting distance. Your lines must meet that limit. Mark your chosen lines with a ruler and a tested fabric marker.
- Support the quilt on the table. Roll the extra fabric so it fits in the space beside the needle. Lower the presser foot, then sew slowly along a marked line. Let the machine move the fabric. Do not push or pull it.
- Check the back after the first line. If you see a fold sewn into the backing, stop and remove those stitches before doing more. Remove pins before they reach the needle.
Step 4: Trim the quilt square
- Lay the quilt flat. Use a ruler to trim away extra backing and batting. Aim for four straight sides and square corners. Cut only as much as you need to tidy the edges.
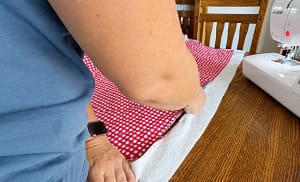
- Measure the trimmed quilt. A little shrinkage from quilting is normal. Use its actual size for the next steps. Check that all three layers reach each edge and that no loose folds remain.
Step 5: Prepare the binding
- Measure around all four quilt edges. Add about 12 inches for joining and handling the ends. A 36-inch square has a 144-inch edge all the way around; adding 12 inches gives 156 inches, or about 4 yards.
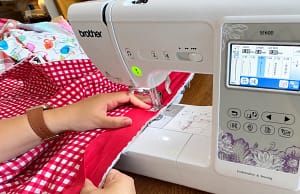
- Ready-made wide bias tape saves a step. You can also make your own. Sew4Home's bias binding guide shows cutting, joining, pressing, and attaching it. Choose the section that matches your tape type.
- If you need to join packaged pieces, open the folds first. Sew a diagonal join, check that the strip lies flat, and trim the seam allowance. Press the seam open and restore the folds. Practice with two scraps before joining your full length.
Step 6: Sew the binding around the quilt
- For the pre-folded tape method in my video, open the tape and place one raw edge against the quilt's raw edge. Start on the duck-cloth side so the final visible stitching can be on the cotton side. Leave a loose starting tail.
- Clip the tape in place and sew along its first crease. Test this on your layered scrap first. The finished tape must cover the edge and the first stitch line when wrapped over.
- At each corner, make a miter: a small diagonal fold that lets the tape turn neatly. The stopping point depends on your seam width, so do not copy a fixed one-inch stopping distance for every tape. Use the corner directions for your chosen binding method.
- Leave about 10-“12 inches of the quilt edge unsewn near the starting point. Join the loose ends, then sew down that gap. Watch my demo at 7:11 and check the linked guide before cutting the tails.
- Wrap the tape over the raw edge to the cotton side. Tuck the raw edge inside its fold. Clip it so the folded edge covers the first stitch line. Form a neat diagonal fold at each corner.
- Sew close to the folded edge. I use a blanket stitch in the video. A straight stitch works too if it catches the folded edge all the way around. Check both sides for missed spots and sew them again.
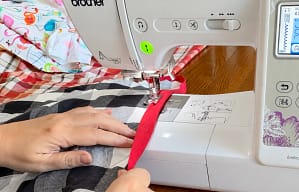
- For a different option, WeAllSew's quilt binding lesson explains folded quilt binding. Follow that method's own cut width and seam allowance rather than mixing its steps with packaged tape directions.
Step 7: Sew the pocket
- Place the two pocket squares right sides together. Pin the edges. Mark a 3-4" opening along the edge that will become the pocket bottom.
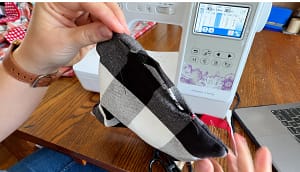
- Use a straight stitch around the square, 1/4" inch from the cut edges. Start and stop at the opening, backstitching at both ends. In the video, I use about a 2.5 mm stitch for this seam.
- Trim a small triangle from each corner without cutting the stitches. Turn the pocket right side out through the opening. Gently push the corners out with a blunt tool.
- Fold the opening's seam allowance inward and press the pocket flat. Topstitch close enough to the edge to catch the folded opening shut. Check it before moving on. This sewing closes the turning gap; the pocket's top will stay open when we attach it to the quilt.
- Black-and-white fabric pocket turned right side out.
Step 8: Make two handles
- Fold one 4 " x 22-inch strip in half lengthwise and press a center crease. Open it. Fold each long raw edge to the center crease, then press again. Fold it in half along that first crease. It should now be about 1 inch wide, with the long cut edges hidden inside.
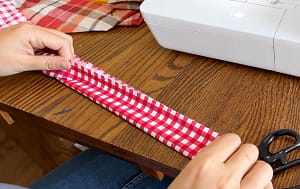
- Clip the folds together. Topstitch close to both long edges, sewing slowly. Make the second handle the same way. The short ends will be tucked under when attached.
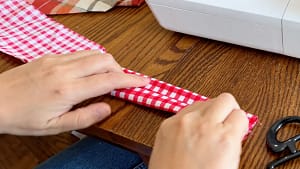
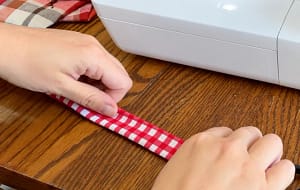
- Pressing helps here. My video shows finger-folding, but an iron makes those narrow layers much easier to keep lined up.
Step 9: Plan the pocket and handle placement
- Lay the quilt duck-cloth side up. Fold it in half both ways to find the center. Mark the two center lines with removable marks or pins.
- Center the pocket from left to right on one side of the horizontal middle line. Its opening points toward that side's outer quilt edge. Its bottom sits near the middle line. In the video, mine is about 3 inches away; I note that moving it a little closer would help the fold.
- Place one handle over the pocket's side edges. Each pocket side runs beneath the center of a handle end. The free loop points toward the outer quilt edge. Tuck each short raw end under and pin it.
- Mirror the second handle across the horizontal center line. Match its left and right positions to the first handle. Its loop points toward the opposite outer edge. Trace each handle with your fingers to check for twists.
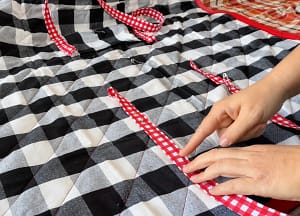
- Now test the fold using the steps below. Keep sharp pins away from your hands. Check that the handles meet, the pocket stays outside, and the book fits. Adjust and mark the layout before sewing. This test matters more than copying my rough placement exactly.
Step 10: Attach the pocket and handles
- Unfold the quilt and lay it flat again. Sew through the quilt layers when attaching the pieces. Keep the free handle loops out of the needle's path.
- On the pocket side, stitch along both long edges of each handle's attached section, across its tucked short end, and across the point where the free loop begins. These stitch lines secure the handle and catch the pocket's side edge beneath it.
- Sew across the pocket bottom to close it against the quilt. Leave the top opening free. Backstitch at the start and end of the attachment seams.
- On the opposite side, sew a rectangle around each handle's attached end. Make sure all short cut edges are tucked inside. An extra diagonal line inside each rectangle can add reinforcement; this is an optional addition to the video method.
- Check the pocket with your hand. Check all four handle ends for missed fabric. Remove every pin and trim the thread tails.
Step 11: Fold the reading quilt into a tote
- Lay it cotton side up, with the handles and pocket underneath. Fold the left and right sides inward, roughly in thirds. Adjust the folds to follow the outside handle positions.
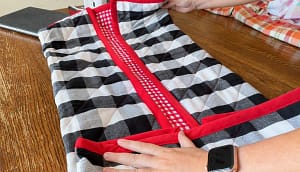
- Fold the top and bottom edges inward toward the places where the handles attach. Fold the whole quilt in half across its middle so the handles come together.
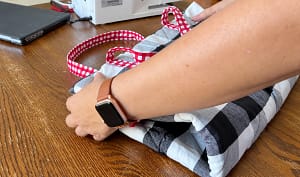
- The pocket should be on the outside and open at the top. Slide in a book and lift gently by both handles. If the shape seems awkward, unfold it and adjust the side folds. The batting's thickness can change how tightly it folds.
Troubleshooting and care
- If the quilt bunches, check your basting and support its weight. If the machine skips stitches, stop and test the needle and settings on matching scraps. If a handle twists, remove its attachment stitches, flatten it, and pin it again.
- If the binding misses the folded edge, clip the area and sew it again. If the pocket is too tight, make a larger one before attaching it. Changing the fold cannot make a small pocket hold a large book.
- Choose wash settings that suit every material in the project. Check fabric, batting, and thread care guidance. Expect some shrinkage or quilted texture after washing. Cotton and duck cloth are not waterproof, so keep books away from wet ground.
Notes
Make it your own Use favorite colors, animal prints, or a soft floral fabric.
Add a book and a handmade bookmark for a reading gift. A teacher might enjoy one for a reading corner, and a child can use it for pretend picnics or reading outside.
For another book-lover project, try my quilted book sleeve tutorial. Your first quilt does not have to look perfect. Take your time, check each step, and enjoy making something you can use.
