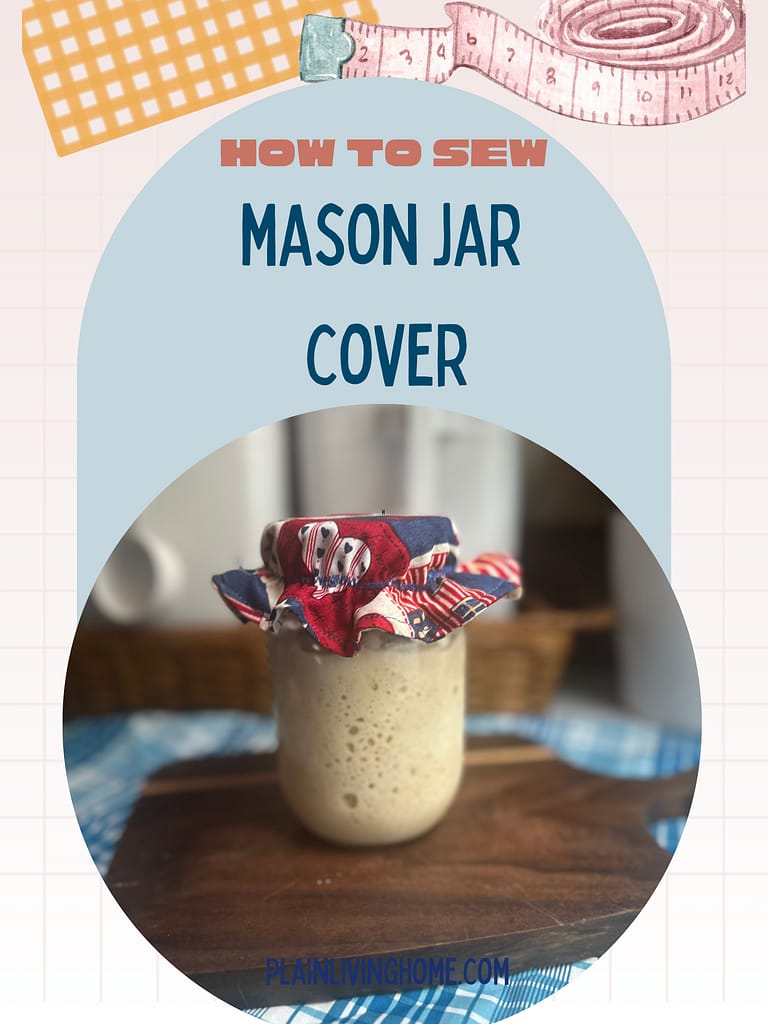
How to Sew Reusable Cotton Jar and Bowl Covers (Easy Tutorial!)
Some links in this post may be affiliate links. That means I might make a small commission on qualifying purchases if you click the link. There is no extra cost to you.
Looking for a simple, satisfying sewing project that’s both cute and useful? These reusable cotton jar and bowl covers are the perfect solution! Well, whether you’re a beginner or just want a quick project to use up some fabric scraps, this tutorial will show you exactly how to sew your own washable, eco-friendly jar or bowl covers in under an hour.
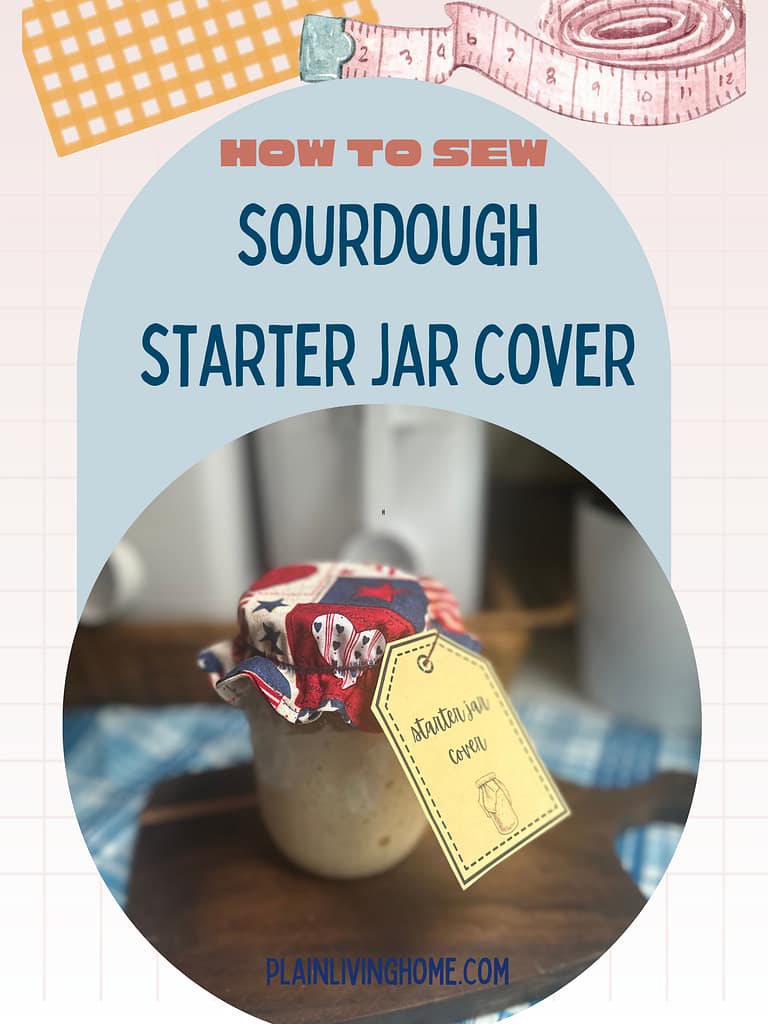


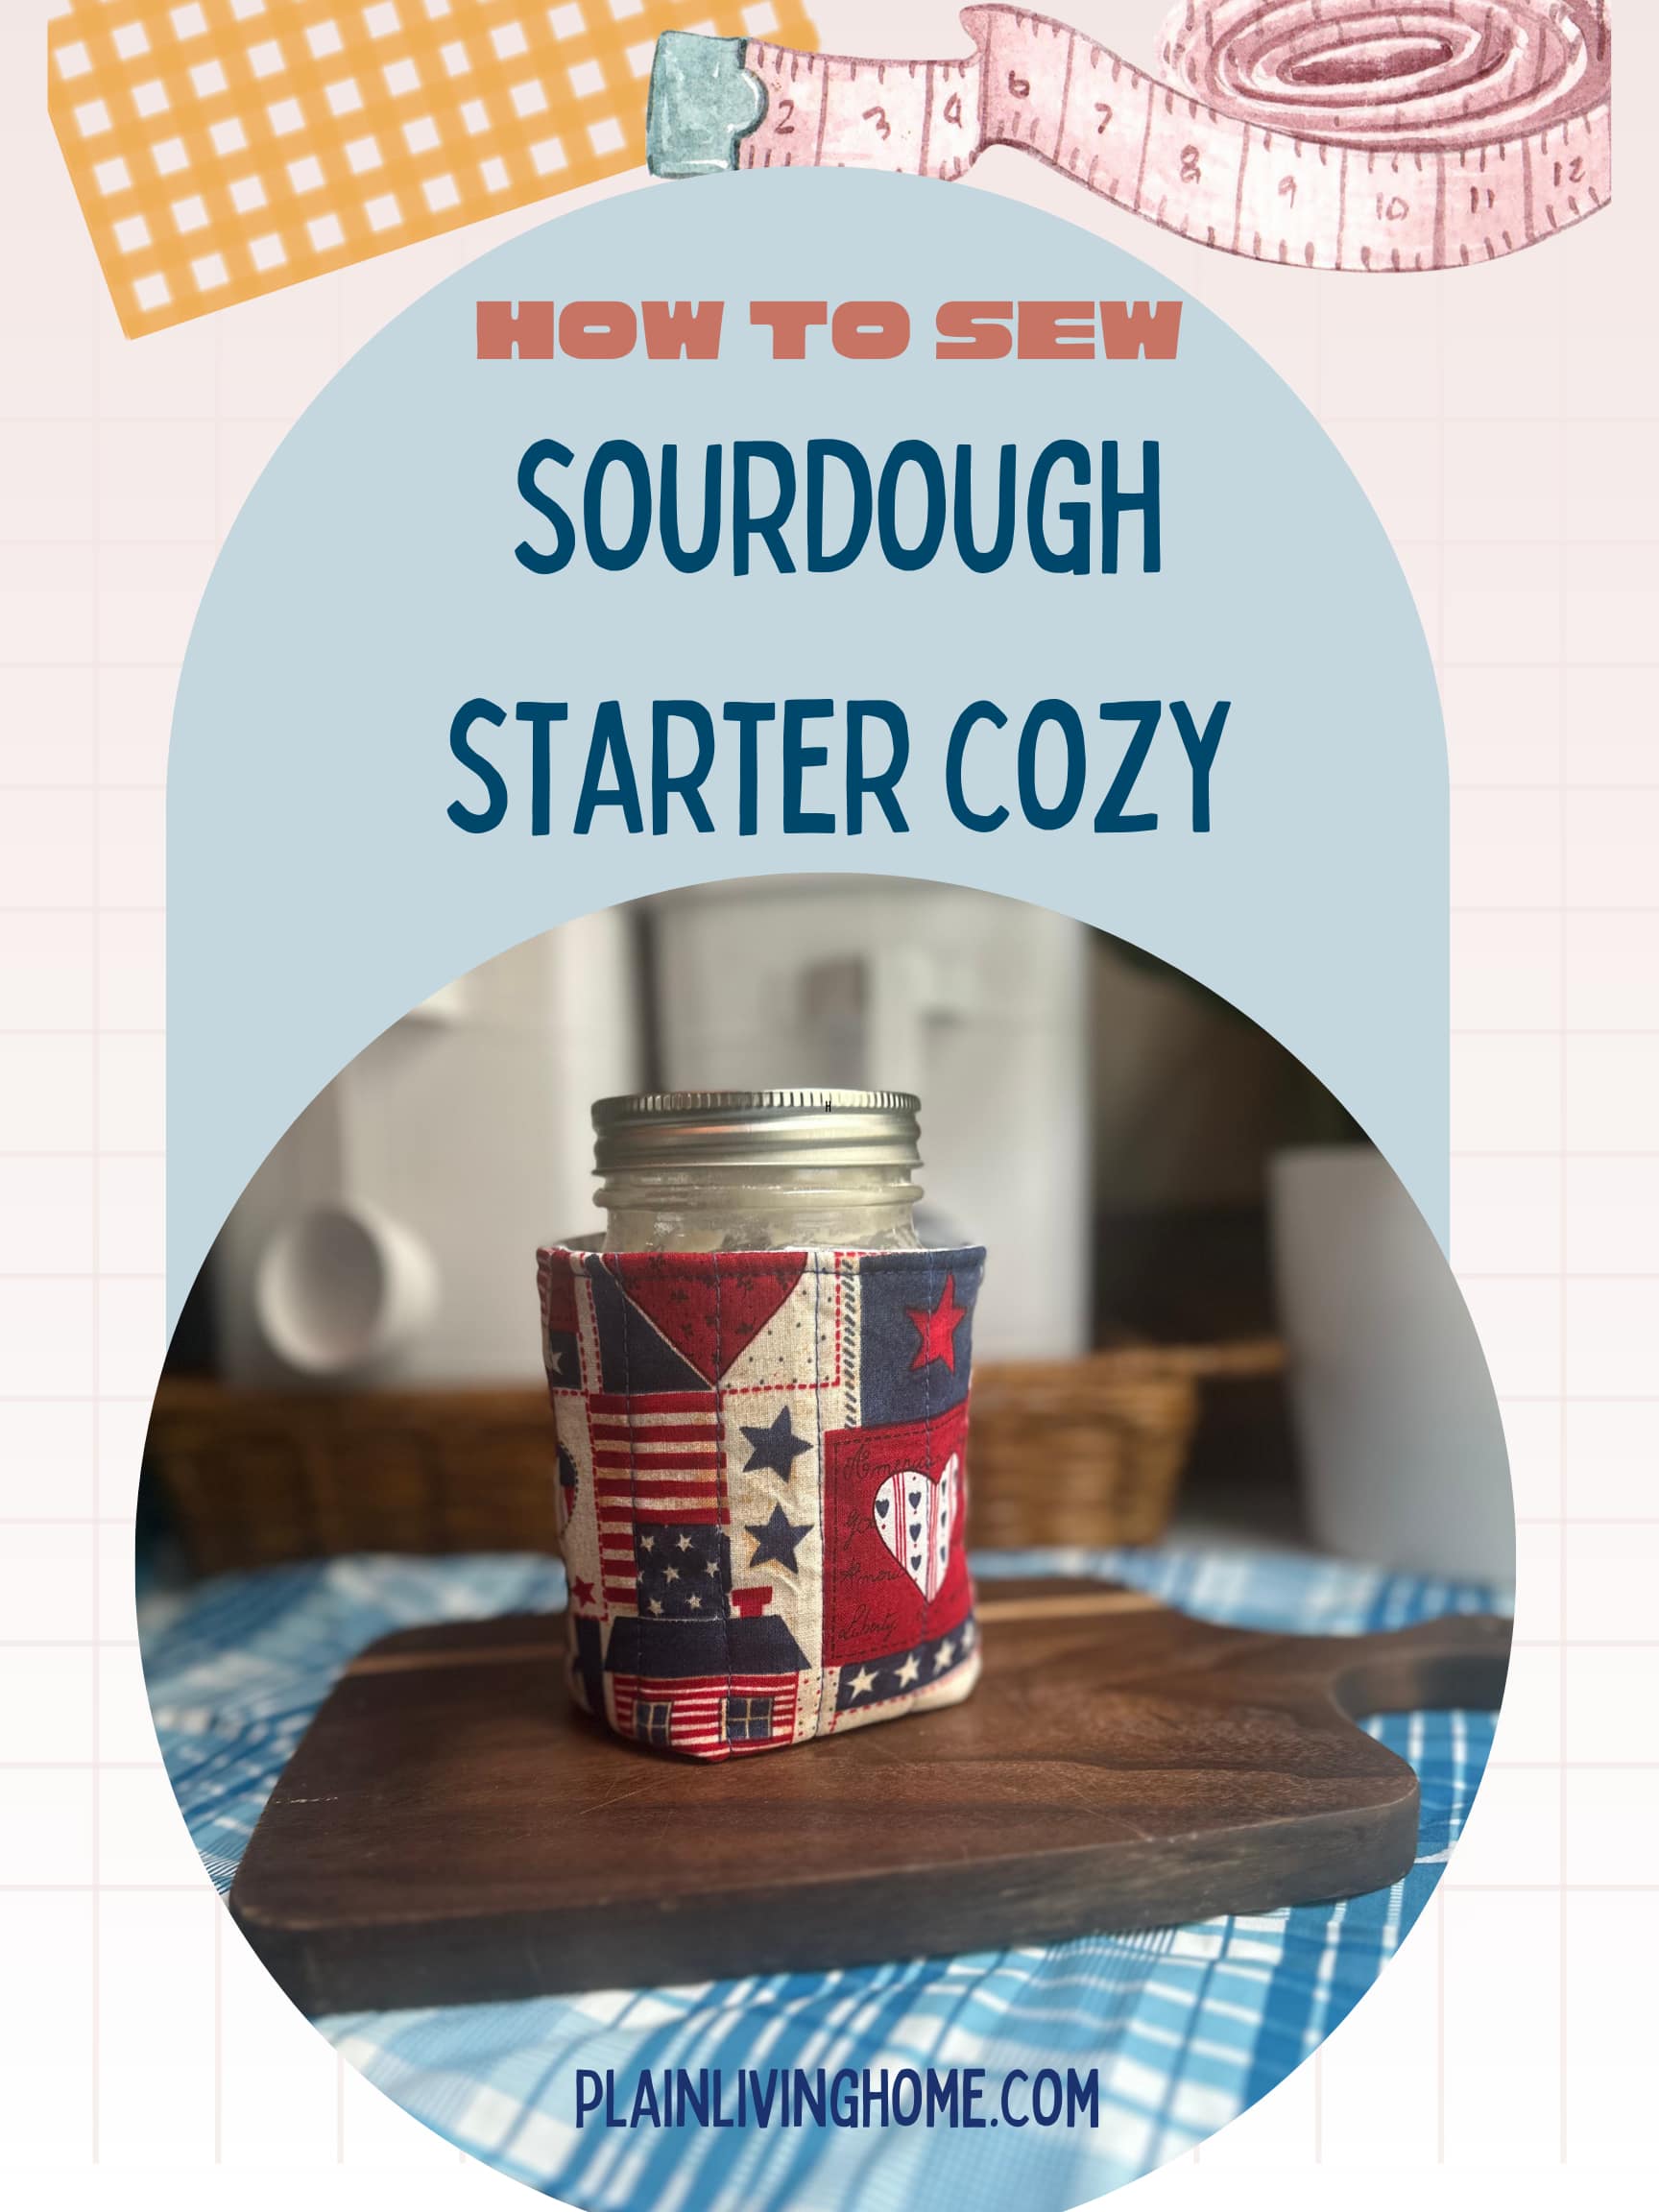
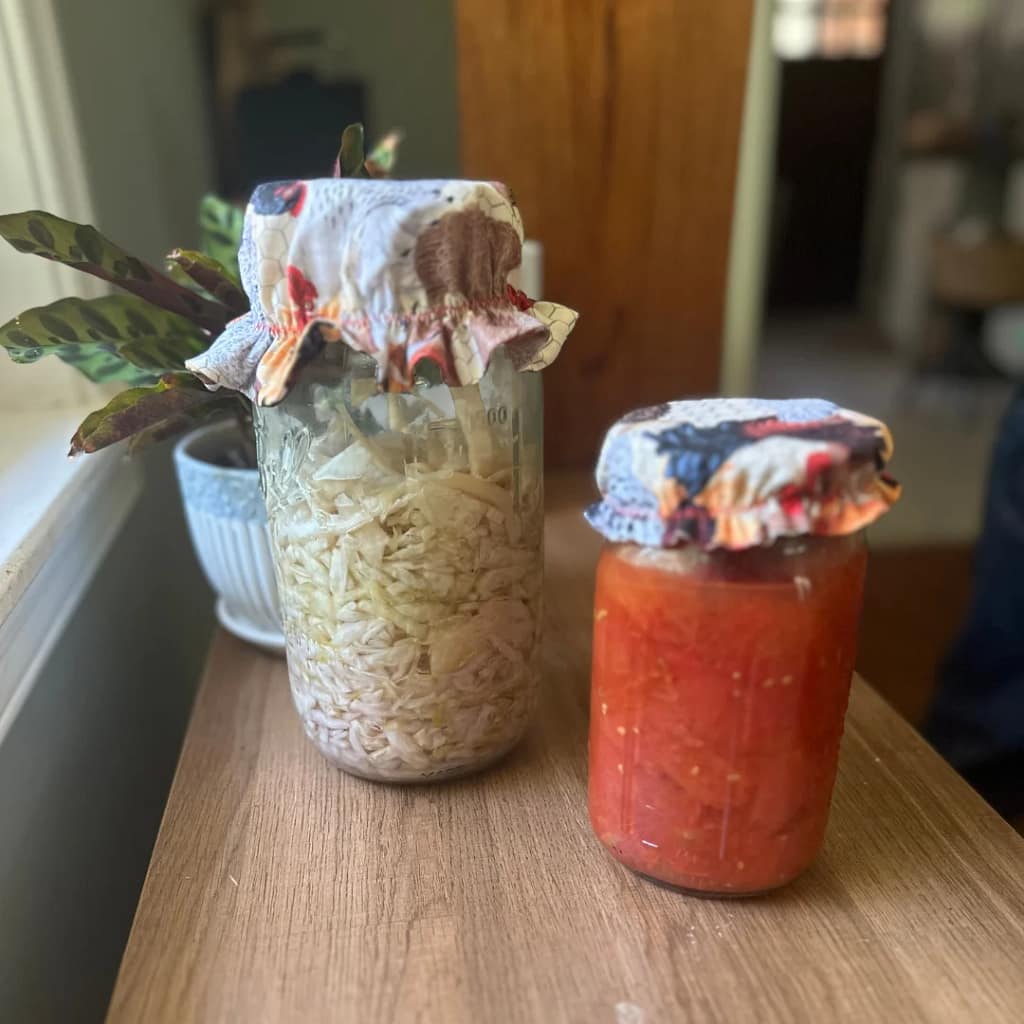
These fabric covers are perfect for covering anything from sourdough starters to proofing bread dough, leftovers in the fridge, or even pet bowls on the porch. Plus-they’re also great for gifting—pair one with a homemade mix or treat in a jar, and you’ve got a thoughtful, handmade present.
Links in this post may be Amazon Affiliate links, for which I can earn a small commission at no extra cost to you!
Are you wondering right about now…
Why do I need to sew a jar cover?!
What You’ll Need
quilting cotton
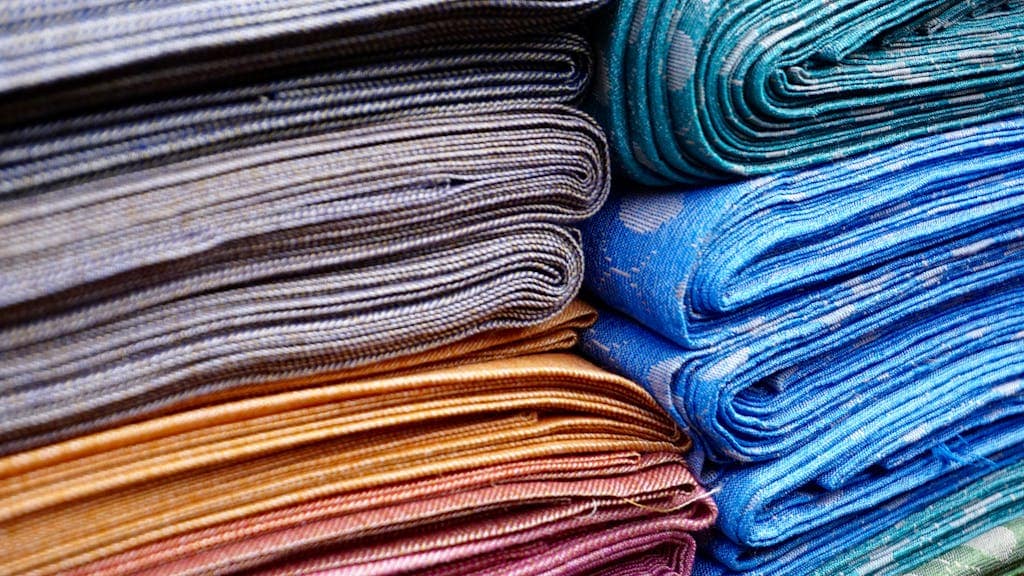
This project is great for using fat quarters or using up scrap fabric. It doesn’t take much per jar cover. Customize it to your liking!
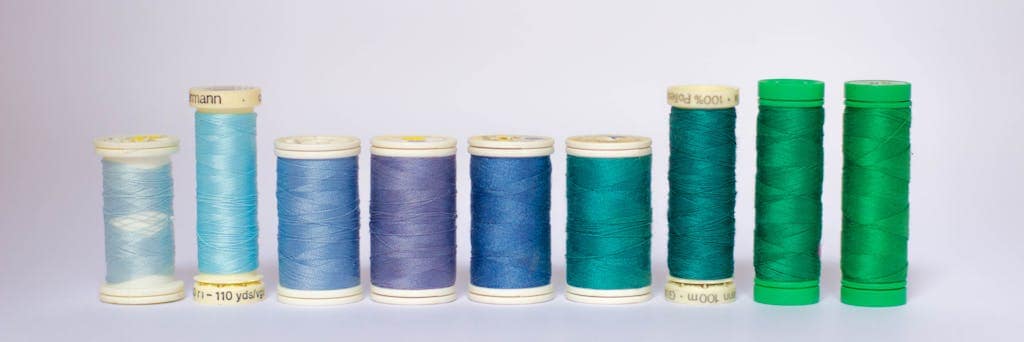
Thread
Use an all purpose cotton thread. You can use a coordinating or contrasting color.

Scissors, shears, cutter
Fabric scissors are a necessity. Or, you can use a rotary cutter if you have it. Of course, pinking shears will be handy, but are optional.

elastic
1/4″ elastic works best. I buy mine in bulk, but you really only need enough to go around the jar or bowl that you want to cover.
Supplies You’ll Need to Sew a Jar Cover
- Sewing machine, This is my favorite lately
- Cotton fabric (quilting cotton or scraps work great)
- Scissors or rotary cutter, optional pinking shears
- Thread to match or contrast
- 1/4″ or 3/8″ elastic
- Iron
- household items to trace circles
- Pins or clips (optional)
How to Sew Fabric Jar Covers
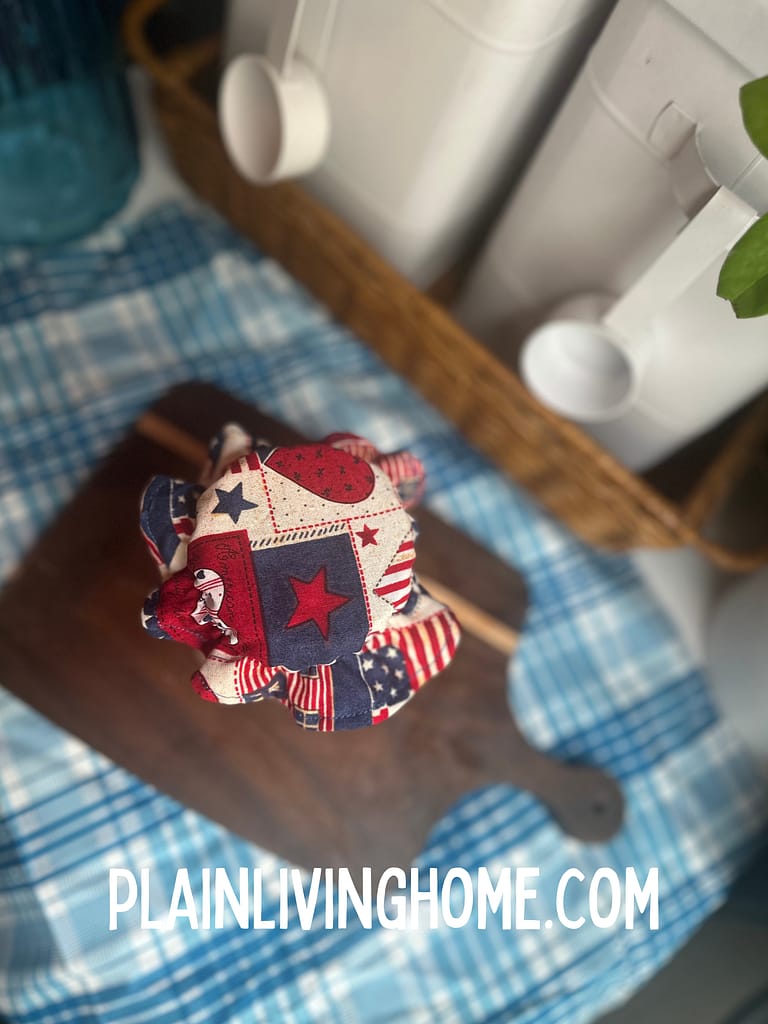
This method creates a two-layer cotton cover with exposed elastic on the outside edge. The elastic helps the cover stretch snugly over jars and bowls of various sizes. You can make a set in different sizes in one afternoon!
1
Cut Out Two Circles of Fabric
First, decide what size cover you need based on your bowl or jar. Measure across the top and add 1–1.5″ for overhang and seam allowance.
The you can use a bowl, plate, or compass to trace two matching circles onto your fabric. Now, you’ll be able to cut them out. This is a great chance to use fabric scraps in fun colors or prints!
2
Sew the Circles Together
Next, place your fabric circles pretty sides together (also known as right sides together).
Then sew all the way around the edge with a 1/4-inch seam allowance, but leave a 3-inch opening so you can turn the cover right side out.
Pro tip: Backstitch at the beginning and end of your seam to keep the opening secure when turning.

3
Clip the Seam or Use Pinking Shears
To help your circle lay flat, clip small slits around the seam allowance every 1–2 inches, being careful not to cut through your stitches. Or, use pinking shears to trim the edge in one step. This prevents puckering and creates a smoother curve.
4
Turn Right Side Out and Press
Gently turn your cover right side out through the opening. Then use a pencil or point-turner to push out the edges if needed.
Press your circle flat with a hot iron, folding in the raw edges of the opening neatly so they line up with the rest of the seam.
5
Topstitch the Opening Closed
With your circle smoothed and pressed, topstitch close to the edge all the way around. This step closes the 3-inch opening and gives the cover a clean, finished look.
6
Attach the Elastic
Next, ut a piece of elastic that’s slightly smaller than the circumference of your circle—usually 2 to 3 inches shorter, depending on how snug you want it.
Position the elastic about 3/8 inch from the edge of your circle. As you sew, stretch the elastic and use a zigzag stitchto sew it in place. The zigzag stitch allows the fabric to stretch with the elastic and keeps it secure.
As you pull the elastic tight, the fabric will scrunch up, forming that cute gathered look that helps the cover grip the bowl or jar.
Once you’ve gone all the way around, trim off any excess elastic and backstitch to secure.
7
Done! Use and Enjoy
Finally, turn your cover back to the right side and try it out on a jar or bowl. It should fit snugly and stretch gently around the container.
For efficiency, make a few in different sizes all at once, for everything from jelly jars to salad bowls. Keep a basket of them in your kitchen or add them to your hope chest or gift stash.
Bonus Tips for Sewing Jar Covers
- For outdoor use (picnics or porch dinners), try making the outer layer from oilcloth or laminated cotton for water resistance.
- Add a label or tag for gifting.
- embroider initial for a gift, or a cute motif to match the receivers style
- Want a neater look? Sew a channel for the elastic instead of stitching it to the outside edge.
- Use themed fabric prints for holidays, farmhouse decor, or matching your kitchen colors.
- Make matching gift sets with other sewing tutorials like my cloth napkins, hot pads, and casserole size hot pad
Final Thoughts
This little project is a satisfying blend of form and function. It’s practical, reusable, and a great way to use up leftover fabric. Once you make one, you’ll want to sew a whole stack!
If you enjoyed this tutorial, be sure to pin it for later and share it with a friend. Will you make a bowl cover soon? Happy sewing!