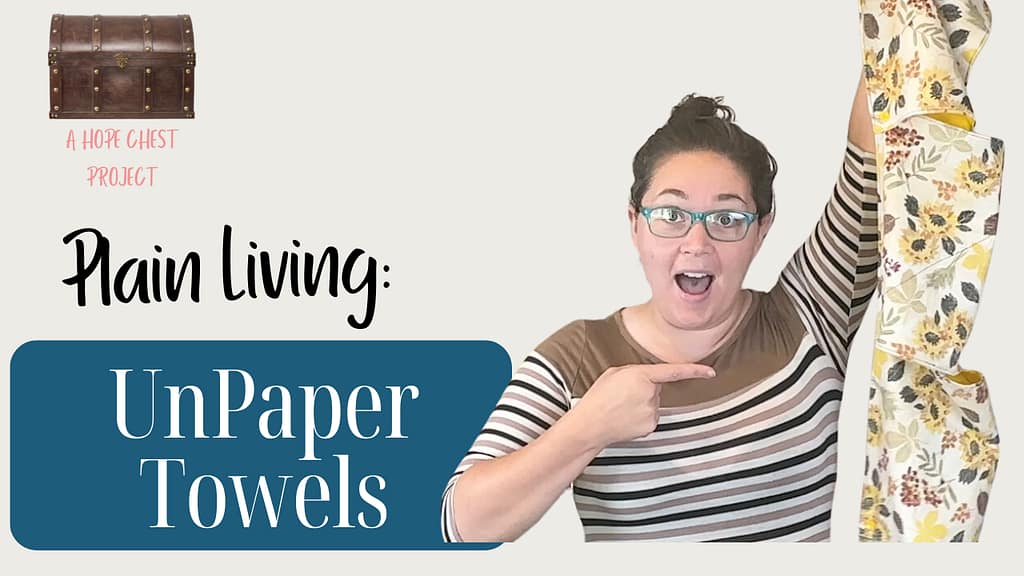
How to Sew Easy Un-Paper Towels for Kids (Beginner Sewing + Hope Chest)
Some links in this post may be affiliate links. That means I might make a small commission on qualifying purchases if you click the link. There is no extra cost to you.
Un-paper towels are like cloth napkins- fabric sewn together inlayers to make a reusable, eco friendly, handmade cloth towel. They save money and cut down on trash in your home. Plus, it makes a funky little pop of color for your kitchen or bathroom! In this video tutorial and post, I’ll teach you how to sew unpaper towels.
This beginner sewing project uses straight seams and simple shapes. Kids can help with safe jobs like pinning and turning.
- Watch the Tutorial
- Why Make Un-Paper Towels
- Materials
- Step-by-Step Instructions
- Kid & Hope Chest Ideas
- Beginner Tips
Watch the Tutorial
I’ll embed the full video right here so you can see each step. Watching once makes the written steps feel extra easy.
Why Make Un-Paper Towels
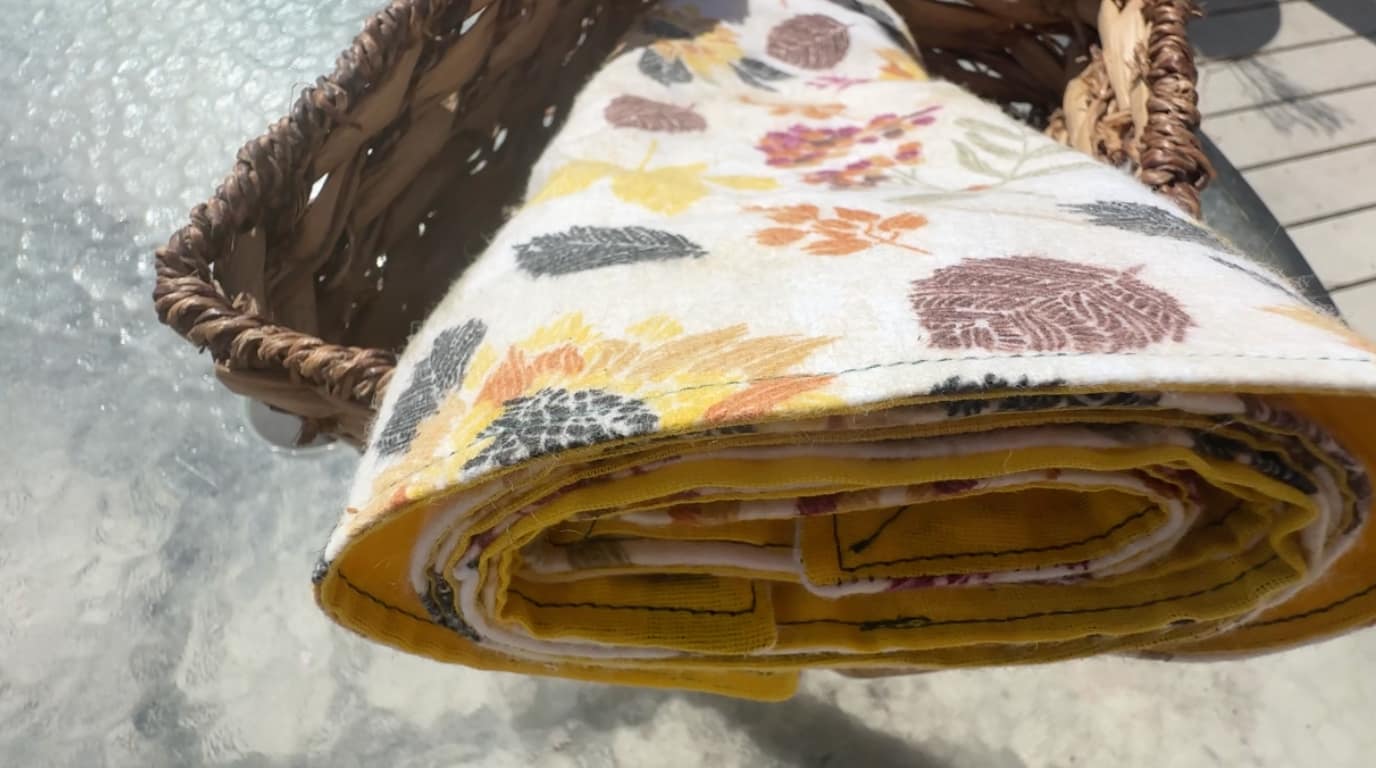
These towels are soft, strong, and reusable. You can fold or roll them just like a paper towel roll.
This project is perfect for beginners because the pieces are squares or simple rectangles. The steps repeat, so you learn by doing several in a row.
Materials
Choose one “pretty” cotton or flannel for the top and an absorbent terry cloth for the back. Pre-wash fabrics so they do not shrink later.
- Cotton or flannel (top layer), cut into squares
- Terry cloth or other absorbent fabric (bottom layer)
- Sewing machine, universal needle, and matching thread
- Fabric scissors, or a rotary cutter
- pins or clips
- ruler or quilting square
- Iron for pressing seams
- (Optional) Plastic snaps if you want to roll them on a holder
Need more beginner projects? Start with my Handmade Home Sewing Tutorials. You’ll find simple, step-by-step guides for new sewists.
Introducing my new Book
Sew Like a Pro
✂️ Want your sewing to look neat, polished, and professional—without years of practice?
Grab my free ebook Sew Like a Pro! Inside, you’ll find my best beginner-friendly tips and tricks to help you sew with confidence, avoid common mistakes, and give every project a clean, finished look. Whether you’re just starting out or need a refresher, this guide will help you level up your sewing in no time. Enter your email below and start sewing like a pro today!
Step-by-Step Instructions
1) Choose a Size
Decide how big you want each towel. Ten-inch squares work great and feel like a normal paper towel.
If you plan to roll them, measure one sheet from your paper towel roll. Copy that size so they fit your stand nicely.
2) Cut Your Fabric Pieces
Cut one square from cotton and one square from terry cloth the exact same size. Go slowly and keep edges straight for easy sewing.
Use a ruler or a quilting square to check your corners. Matching pieces make tidy seams and sharp corners.
3) Put Right Sides Together
Place the two pieces with the “good” sides touching each other. Pin or clip around all four edges to hold the layers still.
This trick hides the seam inside after we flip it. It helps your towel look clean and professional.
4) Sew Around the Edges (Leave a Hole)
Sew all the way around with a 3/8″ seam allowance. Leave a 2–3″ opening on one side so you can turn it right-side out.
Backstitch at the start and the end to lock the seam. Keep your stitch length medium so loops do not snag on the terry cloth.
5) Trim and Clip Corners
Trim the extra fabric in the seam allowance to remove bulk. Clip the corners at a diagonal so the points turn out crisp.
Be careful not to cut through your stitches. A tiny snip too far can cause a hole after washing.
6) Turn Right-Side Out and Press
Reach in through the opening and gently pull the towel right-side out. Use a blunt tool, like a chopstick, to push out the corners.
Press the edges flat with an iron. Pressing makes the next seam easy and helps your towel lie nice and smooth.
7) Top-Stitch to Close and Finish
Sew a neat line all the way around about 1/8″ from the edge. This closes the opening and keeps the layers flat.
Want extra strength? Sew a big “X” or a couple of straight lines across the middle. Extra stitches help the towel keep its shape in the wash.
8) Optional: Add Snaps for a Rolled Set
If you want to roll the towels on a paper towel holder, add plastic snaps to two sides. Test the spacing on your stand before pressing them in.
If you skip snaps, stack the towels in a basket or drawer. Both storage ideas work well for busy families.
New to straight seams, seam allowance, or top-stitching? Browse more basics inside Handmade Home Sewing Tutorials for simple practice projects.
Kid & Hope Chest Ideas
Let kids pick fun prints so the towels feel special. They can help pin, press the foot pedal slowly, or turn corners with a safe tool.
Add a tiny label with a name and date to make it meaningful. Place a few in a hope chest box to build real-life homemaking skills.
Beginner Tips
- Practice on a scrap first to test tension and stitch length. One minute of practice saves many minutes of fixing.
- Use many clips if the terry cloth slides around. A walking foot helps, but you can sew slowly and still get good results.
- Watch the seam guide, not the needle. Your eyes on the guide will give you straighter lines every time.
- Press after turning and again after top-stitching. Pressing is the secret to a tidy, store-bought look.
- Wash finished towels before first use. Skipping fabric softener keeps absorbency high.
➡️ Next Projects to Try
- New to sewing? Try the Basic Square Hot Pad Tutorial first.
- Or make a full Housewarming Gift Set with hot pads, an apron, cloth napkins, and more.
- Create a bakers gift basket with a sourdough starter jar cover, a bowl cover, a sourdough starter cozy, a bread bag, and a hot pad.
Keep learning with more easy wins inside the Handmade Home Sewing Tutorials. Small projects build big confidence.
Want more easy sewing wins for your home and hope chest? Browse the Handmade Home Sewing Tutorials and pick a quick project to try today.
Un-Paper Towels: Frequently Asked Questions
Quick answers for fabric choices, sizes, care, and kid-friendly steps, with tips for brand-new sewists.
What size should I cut my un-paper towels?
Ten-inch squares are a great starting size. If you want them to roll on a stand, copy the size of a normal paper towel sheet.
Make one test towel first, then batch-cut the rest to save time. Matching sizes helps your stack look neat.
Do I have to use terry cloth on the back?
Terry cloth is very absorbent and beginner-friendly, but you have options. Try waffle weave, diaper cloth, or even an old towel you cut up.
Always pre-wash fabrics first to prevent shrinking or twisting later. Pre-washing keeps the towel flat and tidy after laundry day.
Can kids help make these safely?
Yes, with supervision. Kids can pin layers, flatten edges with an iron using safe rules, and help turn corners with a blunt tool.
Older kids can sew slow, straight lines while you guide. Add a tiny label with their name and the date for a sweet keepsake.
How do I wash and dry un-paper towels?
Wash with kitchen towels on warm and dry as usual. Skip fabric softener because it can reduce absorbency.
Top-stitching around the edge helps them keep their shape. If an edge curls, press it flat and it will behave again.
Do I need snaps to roll them on a holder?
Snaps are optional. They make a cute roll, but stacking in a basket works just as well.
If you use snaps, test spacing on your holder first. Place snaps on opposite edges so they “click” together in a tidy roll.
What stitch length and needle should I use?
A universal 80/12 needle and a medium stitch length works well. If layers feel thick, slow down and lengthen the stitch a little.
Practice on a scrap to test tension before sewing the real towel. One minute of practice saves lots of seam-ripping.
Where can I learn more beginner skills?
Visit my Handmade Home Sewing Tutorials. You’ll find simple, step-by-step projects to build confidence.
Each post uses friendly language and clear photos. Start small and celebrate each finish.