How to Hold a Kitchen Knife Properly (The Over-Explained Beginner’s Guide… But Safe)
Some links in this post may be affiliate links. That means I might make a small commission on qualifying purchases if you click the link. There is no extra cost to you.
Let me show you how to
Hold a Kitchen Knife
cutting. chopping. dicing. slicing. these are soem of the most basic skills in the kitchen. almost any recipe you follow will tell you to use a knife in some way. so, let me show you how to hold your knife. if you learn this well, you’ll be quick, efficient, and safe. and…enjoy my weirdness with a bit of humor.
TL;DR (for the “just tell me” crowd)
- Use a pinch grip: pinch the blade (not the handle) where it meets the handle—thumb on one side, index finger on the other.
- Wrap your remaining three fingers comfortably around the handle.
- Your guide hand forms a claw—tuck fingertips under, knuckles forward; the knife rides along your knuckles, not your fingertips.
- Keep the tip down or the spine level, move the knife in smooth, controlled strokes, and let a sharp blade do the work.
Now, if that’s enough direction, you’re ready to dice an onion. But, if you’d like the deluxe, everything-bagel version—with every step, why it matters, common mistakes, and a dash of comedy—read on.
Why Bother? (A tiny sermon on safety and speed)
Now, you can absolutely hold a knife however you’ve been holding it since 2004. Gordon Ramsey won’t jump out from behind your pantry door to call you an idiot sandwich for holding your knife incorrectly. But the pinch grip + claw hand combo gives you three superpowers:
- Control: The blade becomes an extension of your hand.
- Speed: Less wobble, fewer stops.
- Safety: Your fingers stay attached to you (always a crowd favorite).
Instead of worrying, think of this like learning to ride a bike correctly. Naturally, that will be a better experience than that of Flintstoning with your feet. Of crows, You’ll get where you’re going either way, but one of them is… better.
Meet the Knife (An over-introduction to parts)
- Blade: The sharp, shiny part that should never meet your fingertip.
- Spine: The dull back edge; safe to touch and guide with.
- Tip: The business end; delicate work, piercing tomatoes, precision cuts.
- Heel: The rear of the cutting edge; power zone for chopping carrots and squash.
- Bolster: The thick transition area between handle and blade on many chef’s knives—your finger pinch often sits right in front of or lightly on this area.
- Tang: The metal that extends into the handle (full tang = sturdy).
- Handle: Where your remaining three fingers will live rent-free.
Now you know the parts. So you have context to why the pinch grip works. If you hold the blade near the bolster, not just the handle, the knife obeys you like a very sharp, very compliant puppy.
Choose the Right Tool (Yes, size matters)
For 90% of kitchen life, an 8-inch chef’s knife is the sweet spot. Really, it’s the most versatile option and easy to find.
- 6-inch: Nimble, good for smaller hands, but you’ll outgrow it when tackling bigger jobs.
- 10-inch: Powerful, but can feel like wielding a canoe paddle if you’re new.
- Paring knife: Great for peeling and hand-held tasks—different grip guidance below.
- Serrated knife: Bread and tomatoes love it, but it’s not for general chopping.
Beginner note: One good chef’s knife + one paring knife + one serrated bread knife = a complete starter trio.Cheese
The Pinch Grip (Where the magic happens)
First, Check alignment: The blade should feel like it’s aligned with your forearm. If your wrist is twisted like a pretzel, reset.
Next, place the blade on the board so it’s steady.
Then, pinch the blade right where the blade meets the handle. Your thumb sits on the flat of one side of the blade; the side of your index finger rests on the opposite side. (Not the edge—obviously. But let’s be painfully clear: not. the. edge.)
Finally, wrap your remaining three fingers around the handle in a relaxed curl. Avoid the “death grip.” If your knuckles are white, loosen up; knives respond to finesse, not brute force.
Common mistakes (and how to fix them):
Thumb over the handle: Limits mobility. Keep the thumb on the blade, not hugging the handle.
All-handle grip: Feels safe, but it’s wobbly. Slide your thumb and index finger forward to the blade for control.
Finger on the spine: Some chefs do it; beginners tend to over-torque the wrist. Learn the pinch first; experiment later.

Stance, Board, and Setup (Because stability = safety)
- Stable Board: Put a damp towel or non-slip mat under your cutting board. Sliding board = surprise tap dance for your fingers.
- Board Position: Board close to the counter’s edge, knife hand elbow relaxed by your side, shoulders level.
- Body Stance: Stand square to the board, feet shoulder-width apart. If the counter is high, step back a touch; if low, widen your stance to lower your center of gravity.
- Cut Flats on Round Foods: Before slicing round fruits/veggies, shave a thin side to create a flat surface. Flat food doesn’t roll. Rolling food causes drama.

The Motions: Rock, Push, and Pull
- Rock Chop: Tip lightly anchored to the board (especially for herbs), raise the heel, rock through the cut. Great for mincing.
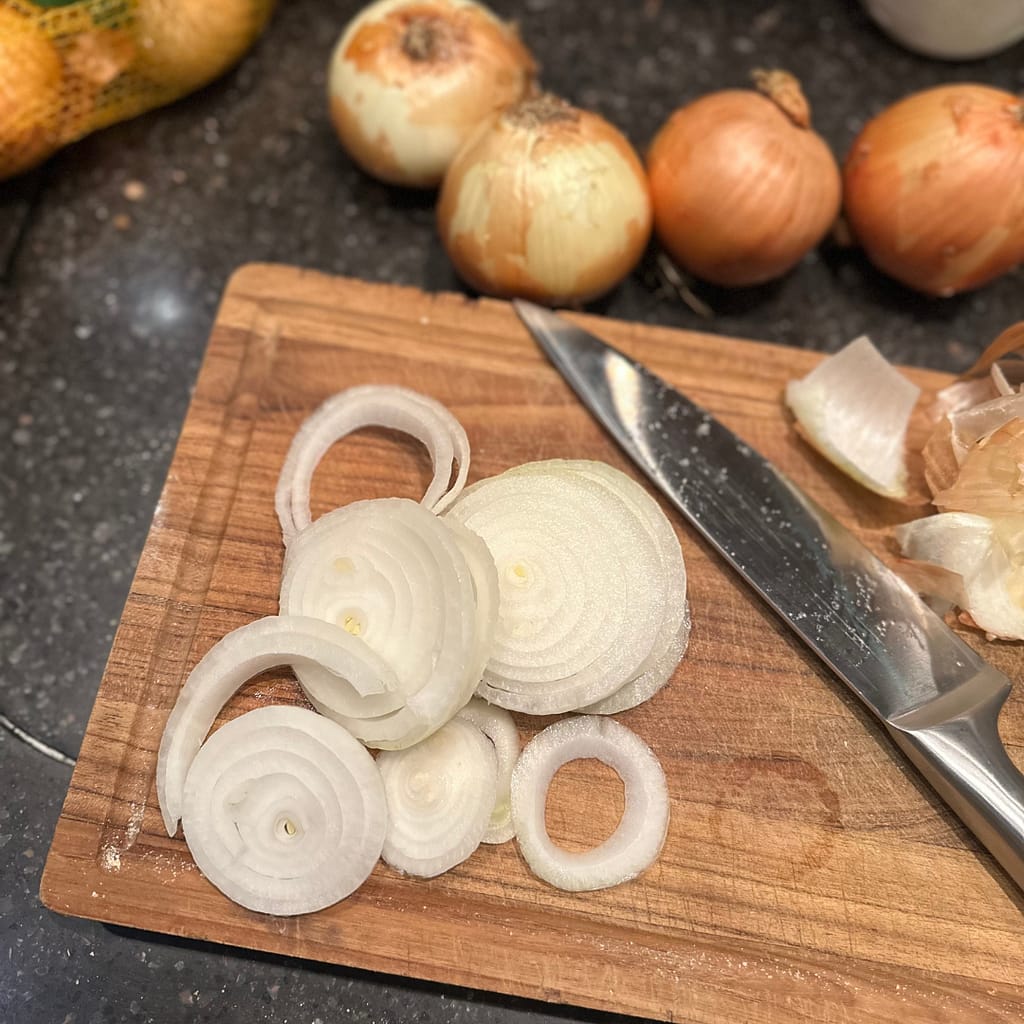
- Push Cut: Lift the whole blade a bit, push forward and down through the food, then reset. Excellent for carrots, onions, and precise slices.
- Pull Cut: Draw the blade back and down toward you. Helpful for delicate items like tomatoes or fish.
Pick one motion at a time and practice until it feels smooth. Jerky cuts usually mean you’re either sawing or the knife is dull (see maintenance below).
Get all of our family favorites, right to your inbox.
Recipes to Try

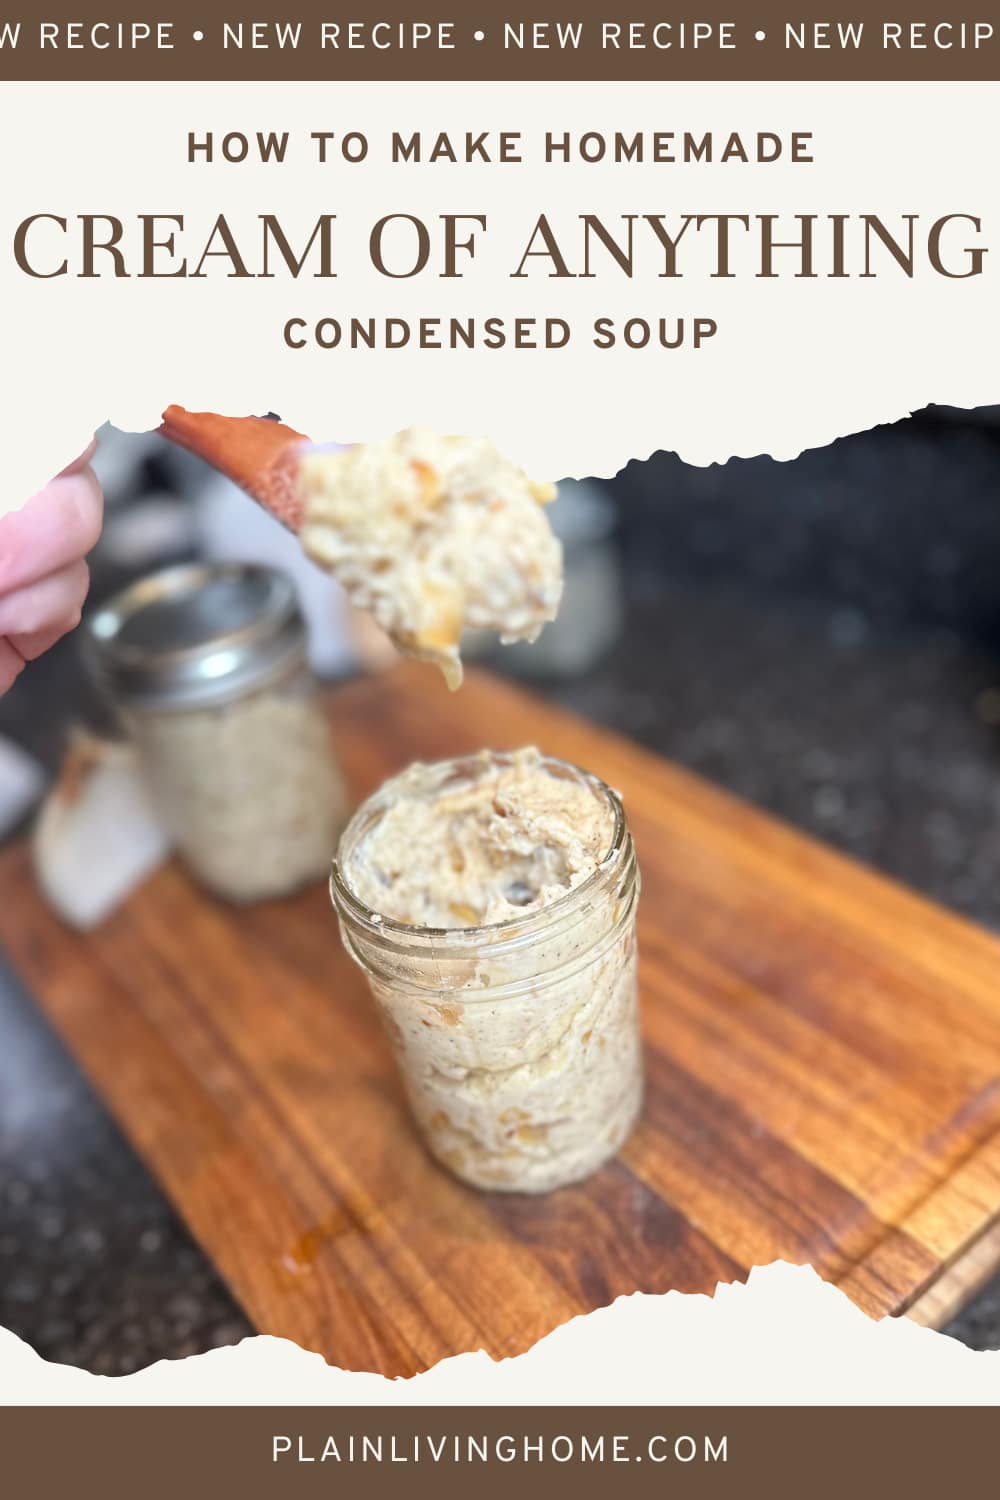
Condensed soup
Caramelized onions are a great start to making a homemade chicken casserole. Skip the store bought and learn how to make your own.

Sourdough Buns
Buns aren’t just for burgers. They also make a great dinner roll to serve on the side of your casserole. .


Safety Habits You’ll Thank Yourself For
- Sharp beats dull. Dull knives skid and slip. Honing realigns, sharpening recreates the edge.
- Eyes on the blade. No scrolling mid-slice. The group chat can wait.
- Knife down, eyes up. If you need to look away, park the blade flat on the board first.
- No sink swimming. Never drop a knife into soapy water. Someone (maybe you) will reach in and learn a fast lesson.
- Walk safely: If you carry a knife, hold it point down, blade turned inward, announce “behind” if passing someone, like a polite kitchen ninja.
Maintenance: The Part No One Wants to Read (But Everyone Needs)
- Hone little and often: A few light strokes on a honing rod before each session.
- Sharpen as needed: Depending on use, every few months. If tomatoes fear you no more, you’ve waited too long.
- Board matters: Use wood or plastic. Glass/stone looks pretty and turns edges into confetti.
- Clean and dry: Hand-wash, towel dry, store in a block, on a magnetic strip, or in a sheath. Drawer-tossing is blade abuse.
Sharpness tests: Slice paper cleanly, or nick a tomato skin without squish. If you compress the tomato into a pancake, sharpen.
Paring Knife Grip (Because not everything happens on the board)
For in-hand tasks (peeling, trimming), choke up near the heel, thumb and forefinger closer to the blade, gentle pressure, small movements. Keep the blade moving away from your supporting fingers, not toward them. If you’re nervous, switch to a peeler; confidence beats bravery.
Over-Explained Practice Drills (No shame, only progress)
- Carrot rails: Cut a flat side, then thin planks, then batons, then dice. Focus on claw discipline.
- Onion classic: Halve, peel, horizontal cuts (carefully), vertical cuts, then down. Slow is smooth; smooth becomes fast.
- Herb confetti: Bunch parsley into a tight mound, pinch grip, rock chop with the tip anchored, fingers out of the traffic lane.
Set a 10-minute timer and practice one drill a day for a week. Your hands will learn the choreography.
From our kitchen to yours…
Shop our Favorite Kitchen Tools
8″ Chef’s Knife (beginner-friendly)
Honing Rod (steel or ceramic)
Boiling-Water-Level Over-Explained Recap (just because it’s our brand now)
- Pinch the blade, not just the handle.
- Make your other hand a claw so your knuckles, not fingertips, meet the blade.
- Stabilize your board and your stance.
- Pick a motion and practice until it’s smooth.
- Keep it sharp; respect the tool.
You’ve got this. Today: safe hands. Tomorrow: perfectly diced onions that would make a cooking show judge nod approvingly.
Knife Skills: Frequently Asked Questions
What is the safest way to hold a kitchen knife?
Use a pinch grip—thumb and index finger pinch the blade near the bolster—while the other three fingers wrap the handle. Your guide hand forms a claw so knuckles, not fingertips, touch the blade.
Why do chefs pinch the blade instead of the handle?
Pinching the blade gives better control and alignment with your forearm, which improves accuracy and reduces wobble—safer and faster for most tasks.
Do I really need a sharp knife for safety?
Yes. Dull knives require more force and are more likely to slip. Hone regularly and sharpen when the knife crushes tomatoes instead of slicing them cleanly.
Is it okay to put a finger on the spine of the knife?
Some cooks do for fine control, but beginners often over-rotate the wrist. Master the pinch grip first; experiment later if it feels natural and stays safe.
How do I hold a paring knife for peeling?
Choke up near the heel with a light grip and make small, controlled movements away from your fingers. If in doubt, use a peeler to build confidence.
Left-handed tips?
Everything mirrors: pinch with left hand, claw with right. Consider ambidextrous knives (no single-bevel grind) and boards with good non-slip mats.
How can I prevent the cutting board from sliding?
Place a damp towel or non-slip mat under the board. Stability is a major safety upgrade for every cut you make.
Should kids learn knife skills?
With supervision, yes. Start with soft foods, small knives, and strict claw-hand discipline. Cut-resistant gloves can help beginners build confidence.
What’s the best way to store knives safely?
Use a block, magnetic strip, or blade guards. Avoid tossing knives into drawers unprotected—it dulls edges and risks accidents.
And now you know, cause that’s Kim’s super-short show! (any 2000s Disney channel fans here? no?). Practice using your knife correctly- it’s more enjoyable to be in the kitchen when you have confidence in your skills.