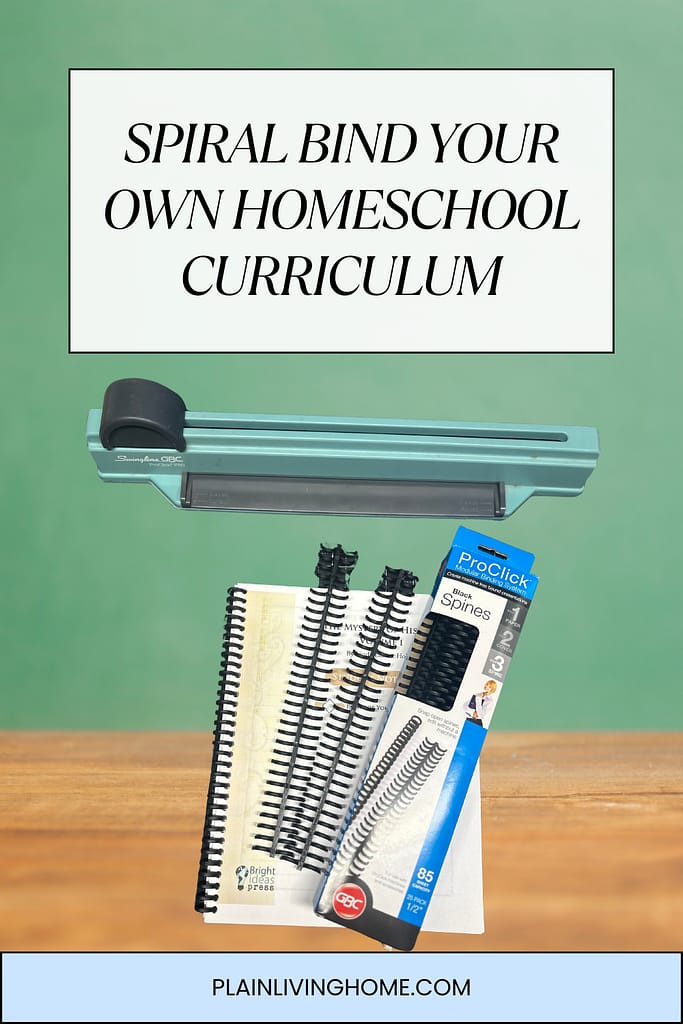
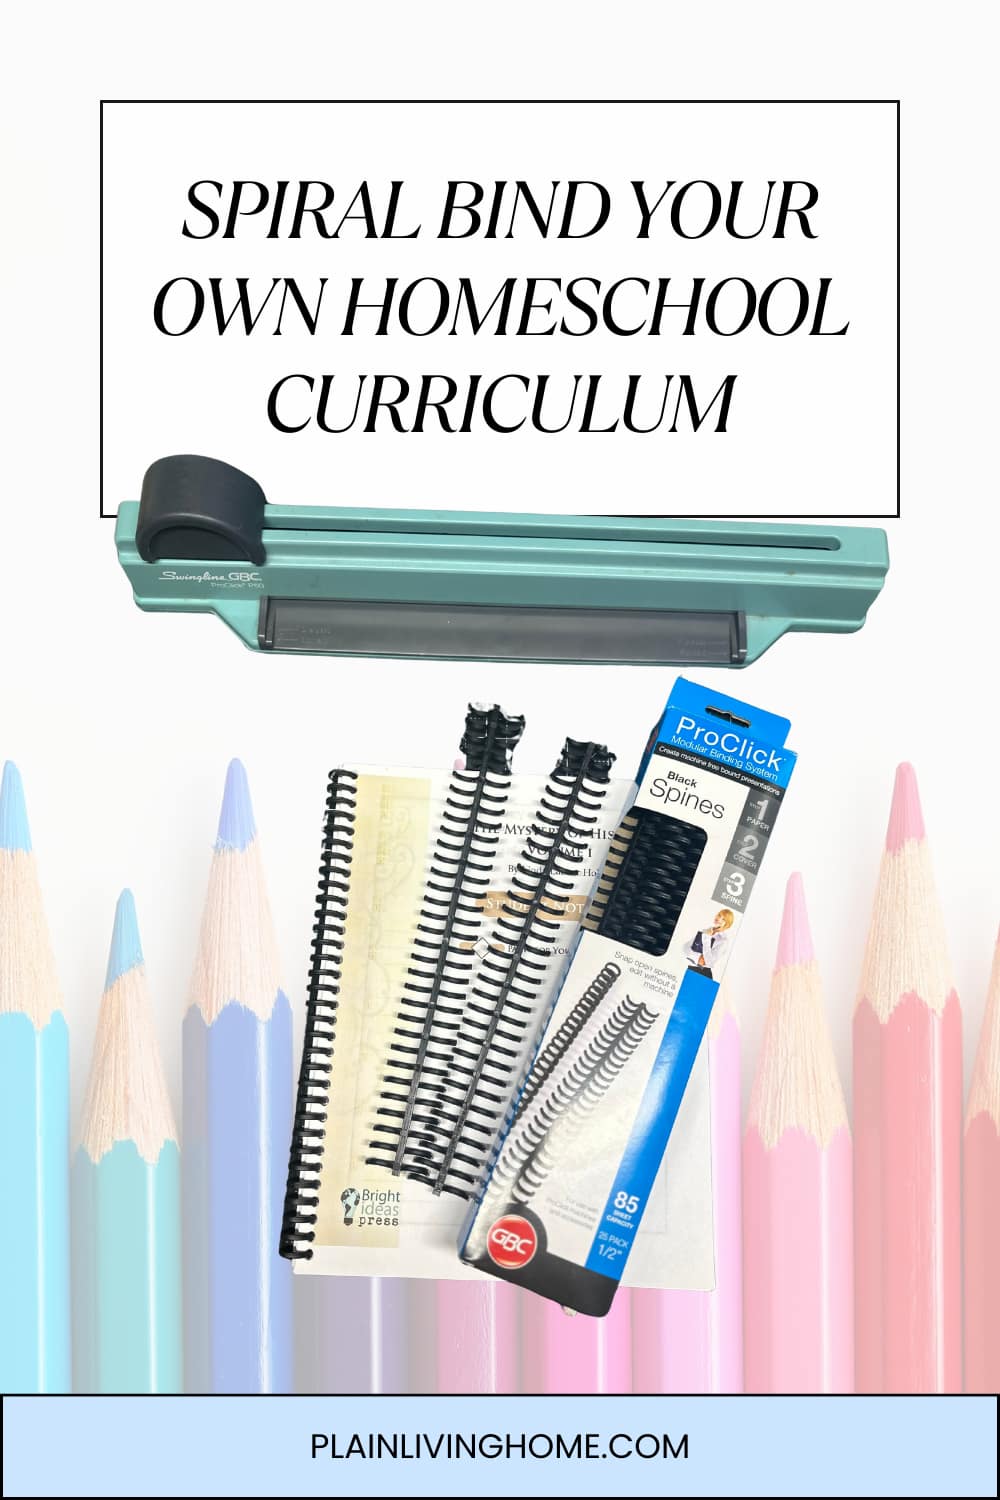
Why I Love My GBC ProClick Binding Machine for Homeschool
Some links in this post may be affiliate links. That means I might make a small commission on qualifying purchases if you click the link. There is no extra cost to you.
Have you ever heard of a binding machine? One of the simplest upgrades I’ve ever made to our homeschool didn’t involve curriculum, schedules, or lesson plans.
It was a binding machine.
I’ve used my GBC ProClick hole punch and binding machine hundreds—maybe even thousands—of times over the years. I’ve also loaned it out to other homeschool mom friends so they could bind their children’s workbooks, morning work, and printed curriculum too.
Once you use it, it’s hard to go back.
Table of Contents
- From Loose Papers to Real Books
- Why Spiral Binding Works So Well for Homeschool
- What Makes the ProClick System Special
- How I’ve Used This Binding Machine Beyond Homeschool
- Using a Binding Machine to Preserve Childhood Artwork
- Creating Practical Life Skill Books
- Memory Keeping and Meaningful Keepsakes
- How to Bind Your Own Homeschool Workbook
- Why This Is a Game-Changer for Kids
- A Worthwhile Homeschool Investment
- Final Thoughts
From Loose Papers to Real Books
Free printables are abundant not eh internet. Homeschool moms are bound to snag a free printable, or even a paid one from sites like pinterest or teacherspayteachers. And sometimes homeschool moms just get a wild creative hair and make something up. I know I have done all of those things.
So, if you’ve ever:
- Printed a stack of worksheets and shoved them into a 3-ring binder
- Stapled packets together only to have pages rip out
- Tried to keep track of loose printables floating around your house
…you already know the problem.
Printed pages don’t feel finished.
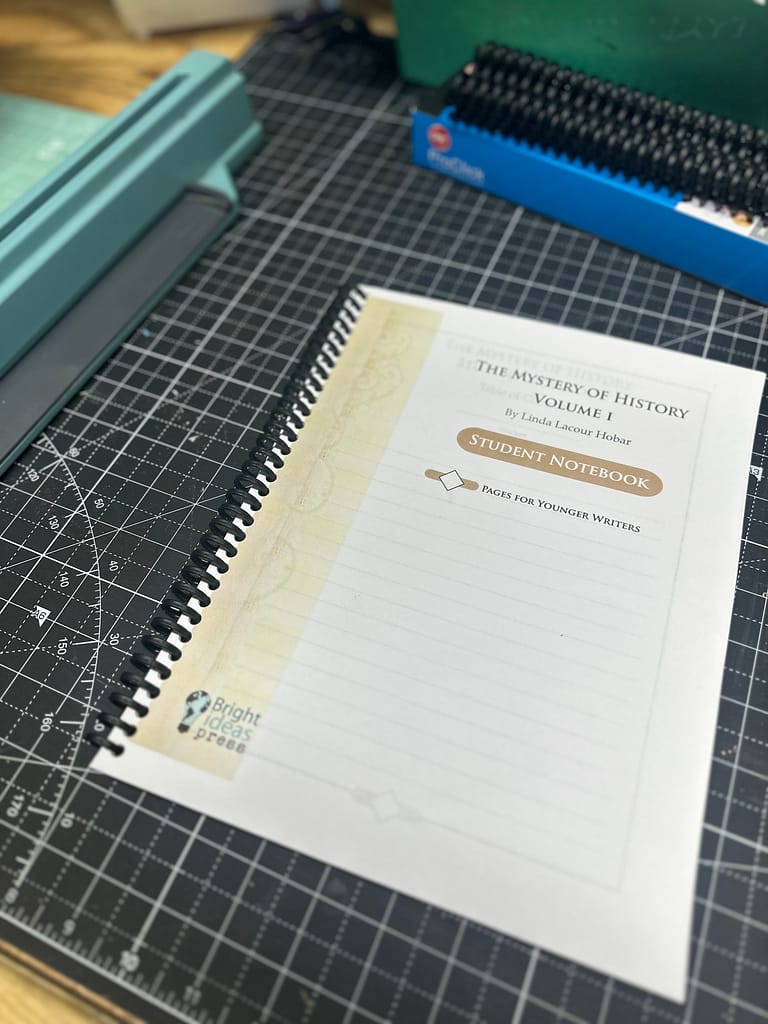
With a binding machine, you can turn printables into actual books—the kind kids take more seriously, flip through easily, and want to complete.
Instead of “just another worksheet,” it becomes their workbook.
Why Spiral Binding Works So Well for Homeschool
There of so many benefits to Spiral-bound books:
- Lay flat on the table
- Don’t have pages falling out
- Are easy for small hands to flip
- Feel permanent and purposeful
For a busy homeschooling mama, those are HUGE benefits. Binding each workbook is especially helpful for:
- Morning work
- Copywork
- Unit studies
- Free printables you’ve collected
- Purchased printable curriculum
It allows you to build your own homeschool curriculum using the resources you already love—and give them a polished, professional feel.
If you’re building your own homeschool curriculum with printables, this binding machine is one of the most-used tools in our home.

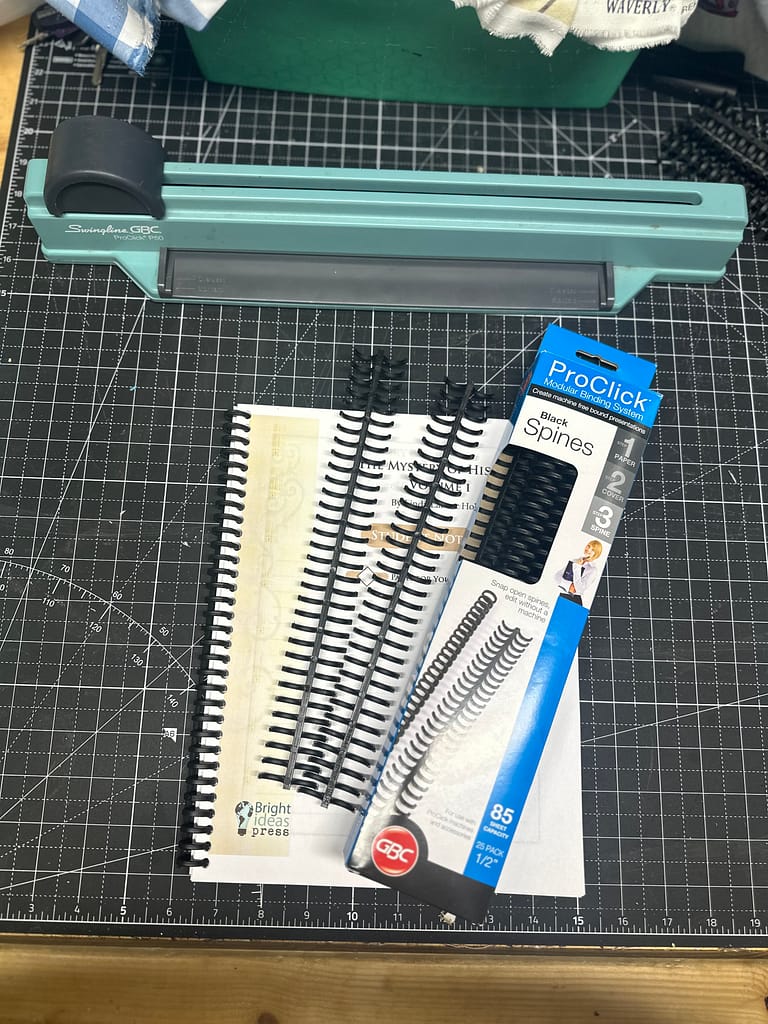
What Makes the ProClick System Special
The ProClick binding system uses plastic combs instead of traditional metal spirals. Plus- they’re reusable! Pop open the combs and swap out the papers for something new.
That might sound like a small detail, but it’s actually one of my favorite features.
The ProClick combs:
- Come in several sizes (45 sheets, 85 sheets, 110 sheets)
- Open and close easily
- Are reusable
- Can be unsnapped if you need to add or remove pages later
- Can be cut down to size if you make a unique size booklet
If you realize halfway through the year you want to add more pages, you don’t have to start over. You can reopen the binding and keep going.
For homeschoolers, that flexibility matters.
How I’ve Used This Binding Machine Beyond Homeschool
While I originally bought this binding machine for homeschooling, it quickly became useful in many other areas of life and work.
We are a very busy and active homeschool family. But we also keep ourselves involved in lots of other things. We own and operate several small businesses. We are very active in ministry- everything from teaching Sunday school, children’s choir, VBS, summer camps, directing plays and musicals, and more.
With all of those activities, I’ve used my binding machine to create:
- Assembly guides for products we sell in our business
- VBS-style or AWANA-style workbooks for students at summer camp
- Devotional booklets for personal use or group study
- Student workbooks for camps, classes, and events
- Custom instruction manuals and reference guides
- Scripts and choir song books
Any time I needed printed material to feel organized, durable, and professional, this machine delivered.
Using a Binding Machine to Preserve Childhood Artwork
One unexpected use I’ve loved over the years is using the binding machine to save children’s artwork.
Instead of storing loose drawings in bins or folders that rarely get opened, you can:
- Select favorite pieces from each season or year
- Punch and bind them into a simple book
- Label the spine with the child’s name and year
It turns artwork into something honored and revisit-able, without the clutter.
These books become treasured keepsakes—far more meaningful than stacks of loose papers tucked away in storage. If you’re on a Hope Chest journey, you could throw a spiral bound collection of artwork into your daughter’s hope chest each year!
Creating Practical Life Skill Books
The binding machine is also incredibly useful for creating custom life-skill workbooks.
Some examples include:
- Budgeting books for teens learning money management
- Pre-written journal prompt books for daily writing practice
- Special essay collections from a particular school year
- Sermon note booklets for church or Bible study
- Instructions to your favorite sewing pattern
Binding these materials into a book communicates that the work matters—and that these skills are worth keeping.
Memory Keeping and Meaningful Keepsakes
Beyond schoolwork, this machine has been a wonderful tool for preserving family memories.
You can use it to:
- Save letters and cards from a pen pal or family member
- Create simple photo albums
- Make baby books or memory books for milestones
- Compile written prayers, devotions, or reflections
These don’t need to be elaborate scrapbooks. Even simple printed pages, thoughtfully bound, become keepsakes that are easy to store and revisit.
How to Bind Your Own Homeschool Workbook
Don’t let the machine intimidate you—it’s much simpler than it looks.
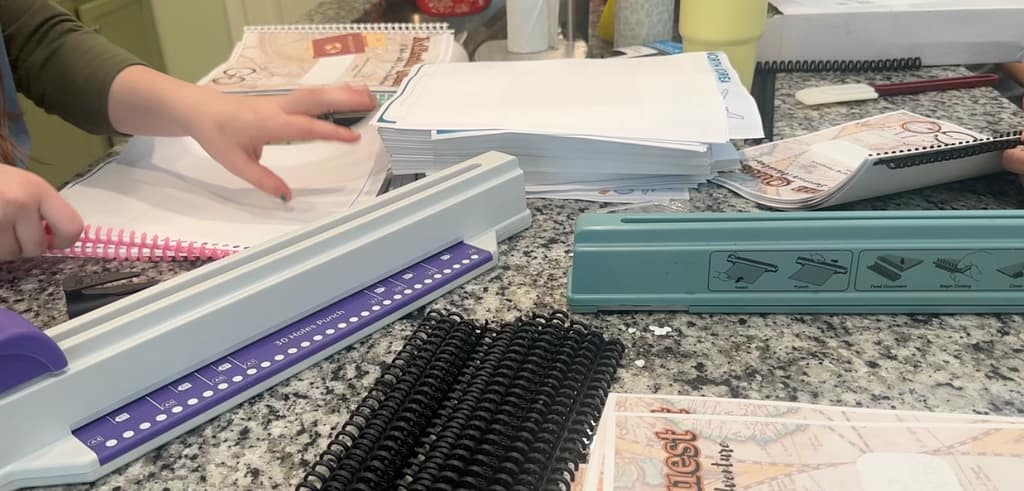
Step 1: Stack Your Pages
Take 4–5 printed pages at a time and stack them neatly so all edges line up.
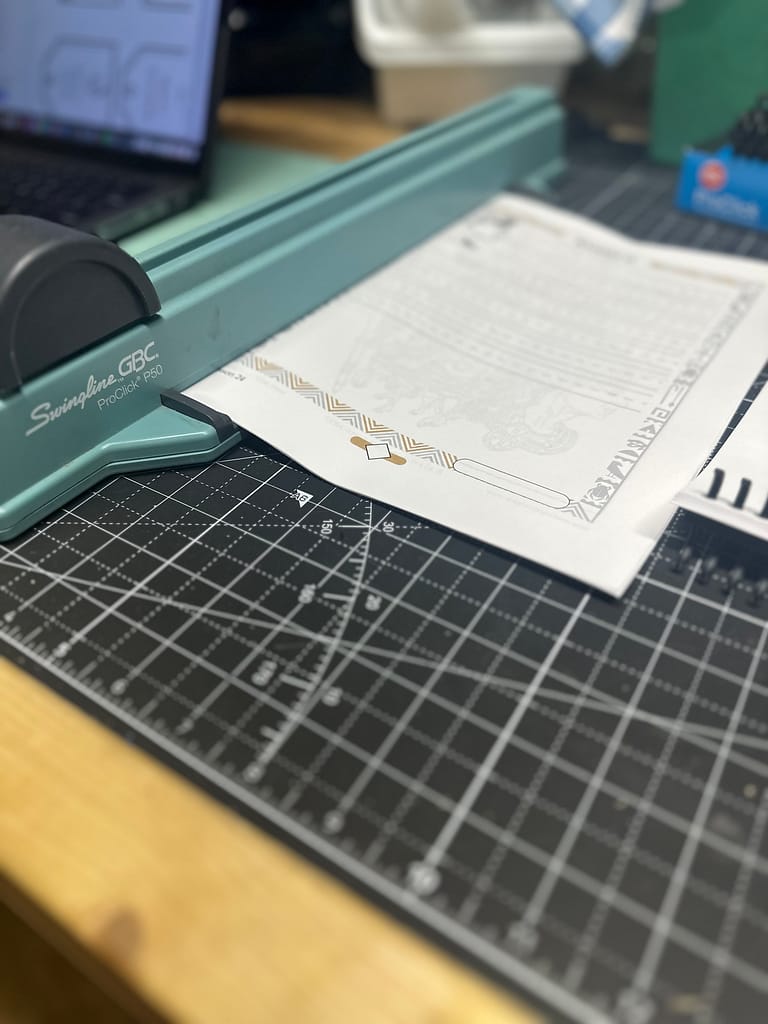
Step 2: Insert Pages into the Machine
Insert the left long edge of the paper into the binding machine.
Pay close attention to the tabs for letter size vs. A4 paper.
Choose either the top or bottom tab and use the same one consistently throughout the entire project.
(This is important—switching tabs can cause uneven holes.)
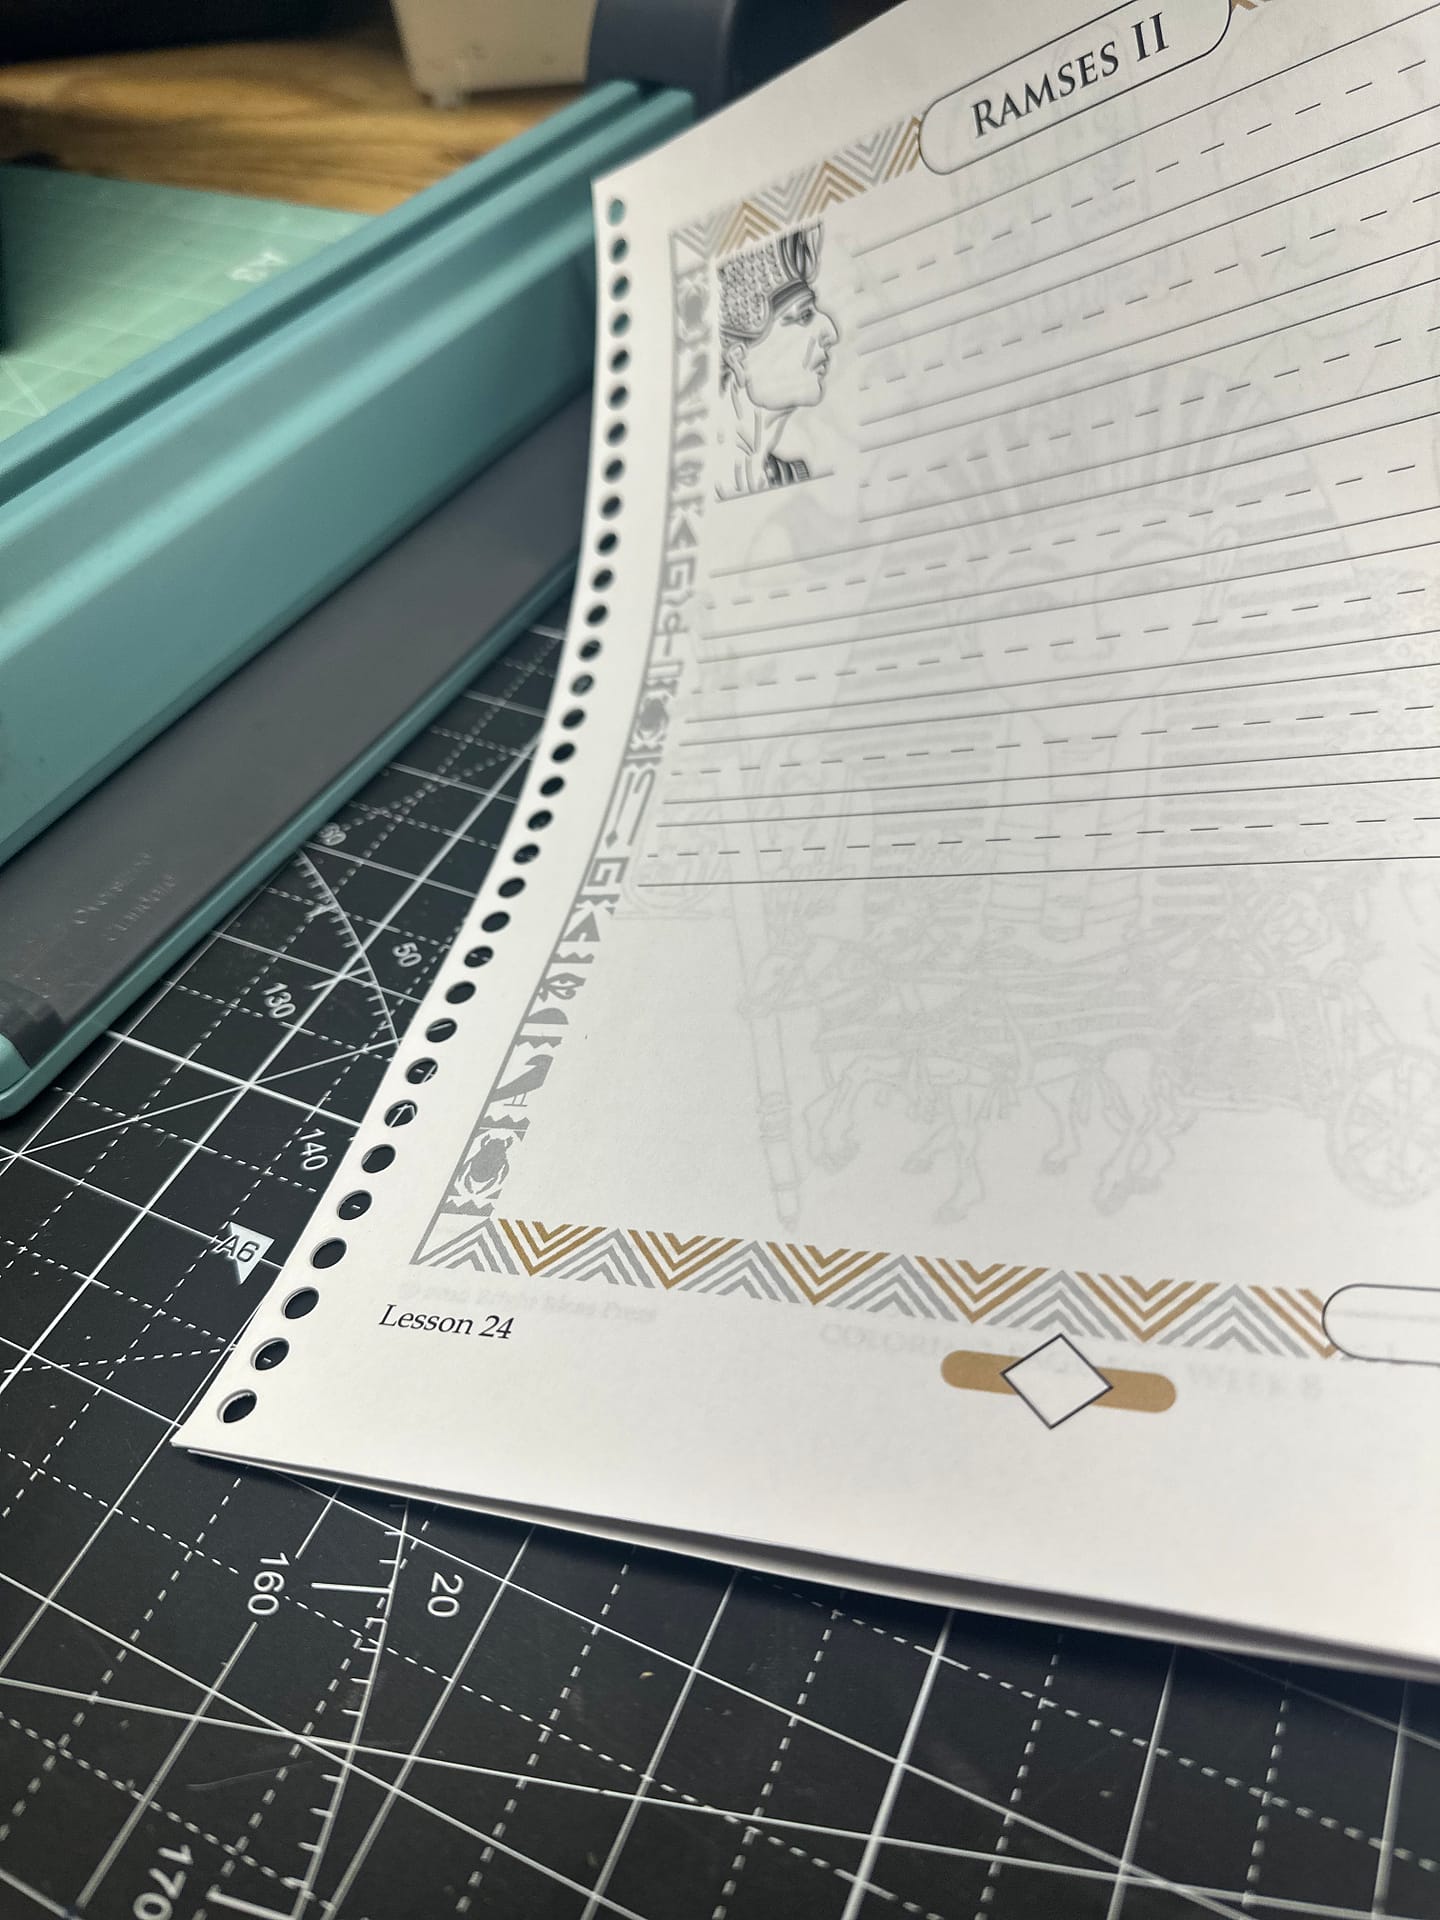
Step 3: Punch the Holes
Push the pages all the way into the machine.
Grab the black handle and gently push or pull it down the slot.
You’ll hear it punch the holes.
Remove the pages and set them aside.
Step 4: Repeat
Continue punching 4–5 pages at a time until the entire stack is complete.
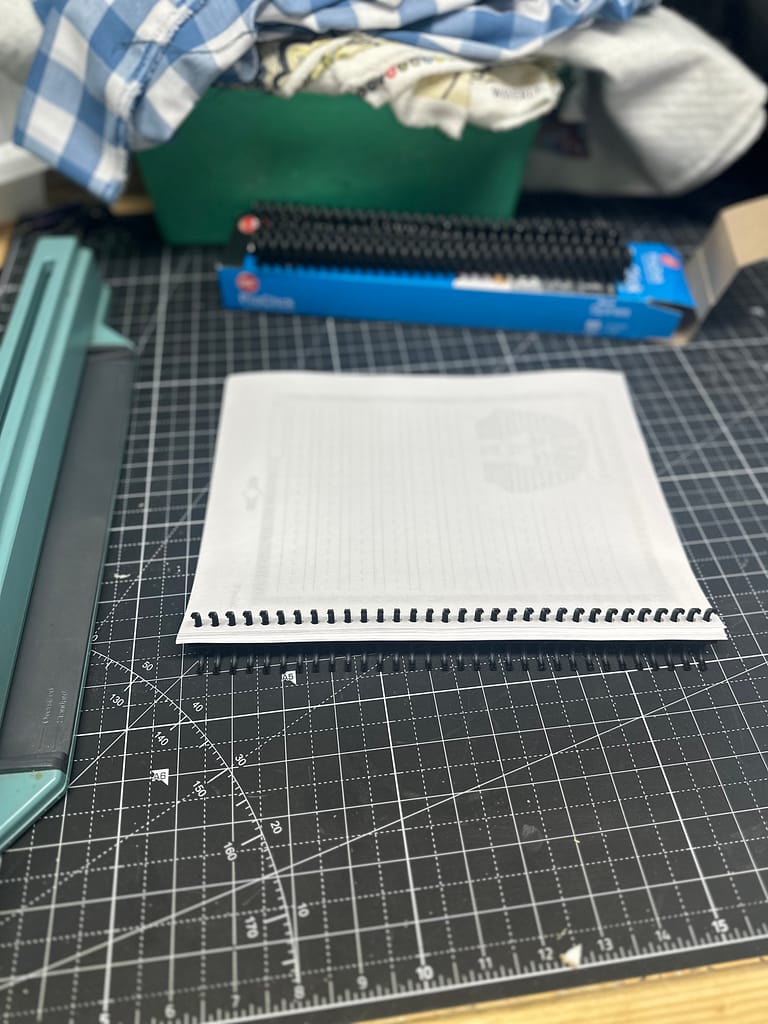
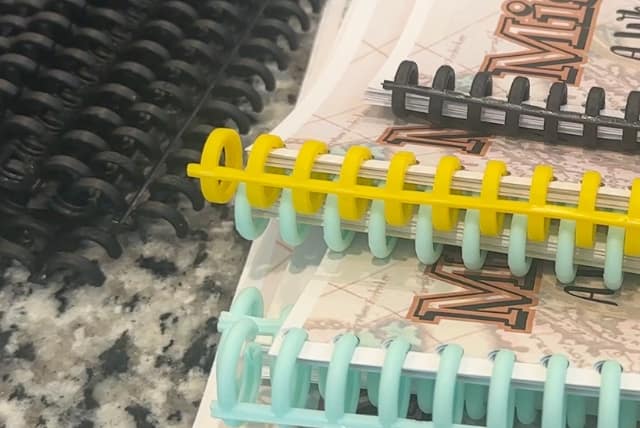
Step 5: Open the ProClick Comb
Take one ProClick comb and gently pull it apart at the join.
Step 6: Load the Pages
Fit all the punched pages onto one side of the open comb.
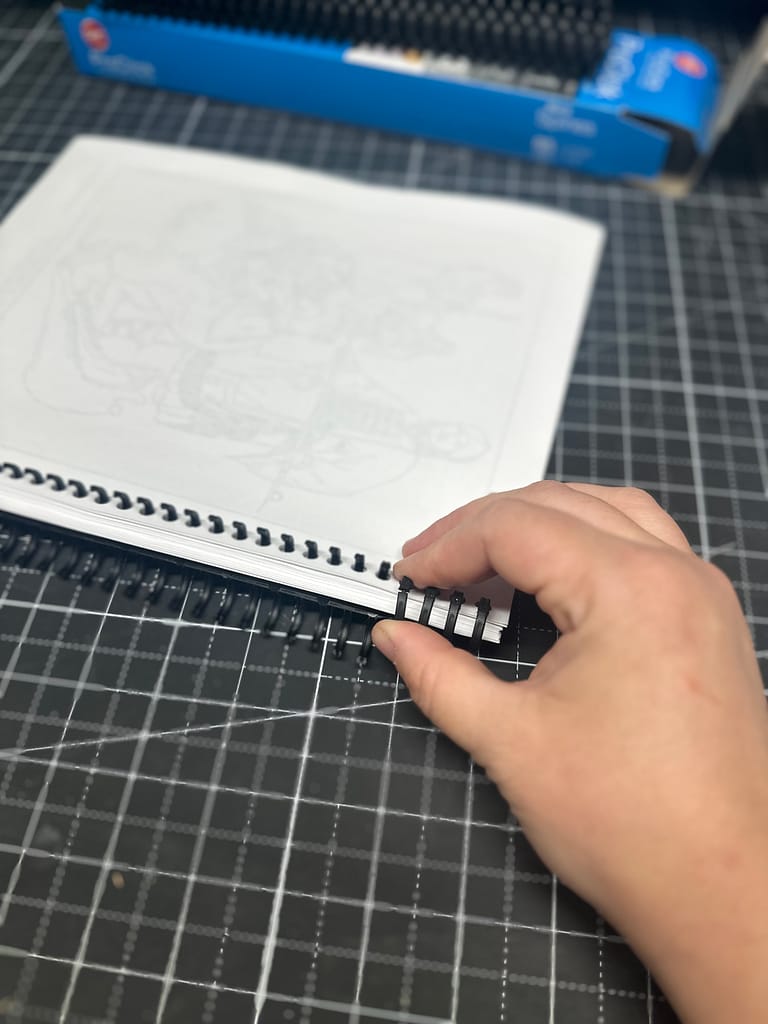
Step 7: Close and Lock
Squeeze the two sides of the comb together until they snap into place.
You now have a professionally bound spiral workbook—and if you ever need to change it, the comb can be reopened.
Why This Is a Game-Changer for Kids
When children are handed a bound book instead of loose pages, something shifts.
They will almost always:
- Take ownership
- See progress as pages fill up
- Are more motivated to finish
- Treat the work as “real”
It’s a small change that makes a big difference—especially for kids who thrive on structure and completion.
A Worthwhile Homeschool Investment
This machine definitely isn’t a must-have for everyone. You can absolutely homeschool without a binding machine.
But, trust me, if you:
- Print a lot of resources
- Use free printables regularly
- Buy printable curriculum
- Value organization and preservation
…this is one of those tools that earns its place quickly.
Mine has paid for itself many times over.
Final Thoughts
Homeschooling doesn’t have to look complicated to feel intentional.
Sometimes the right tool simply helps you take what you’re already doing—and turn it into something lasting.
For me, the ProClick binding machine has been more than a homeschool tool.
It’s been a way to preserve learning, creativity, and memories—one book at a time.
But…let me give you a quick warning. Not all binding machines are created equal. Check the price on the GBC pro click. Then, you’ll be tempted to to shop around for other binding machines like this one.
I tested this one when we had to make 50 VBS booklets with over 100 pages each. Let me tell you…the cheap-o did not impress.
It doesn’t have any guides to make sure you line up your pages correctly.
The combs are 1/2 ” too long for letter size paper, so you have to cut the ends off, but then it looks raggedy.
The colorful combs seem fun, but were definitely not as sturdy as the GBC combs.
Don’t do it!
Frequently Asked Questions About the GBC ProClick Binding Machine
Straightforward answers for homeschool moms who want to turn printables into real, professional-looking workbooks (without binders, staples, or flimsy punchers).
Is the GBC ProClick binding machine worth the price?
Yes. The upfront cost is higher than cheaper binding machines, but it’s built for repeated, real-world use. I’ve used mine hundreds—possibly thousands—of times, including large projects like VBS workbooks, and it consistently punches clean, aligned holes.
What’s the biggest benefit of binding homeschool printables?
Binding turns loose papers into real books. Spiral-bound workbooks lay flat, flip easily, and feel more “official,” which helps kids take ownership of their work and keeps materials organized.
Are ProClick binding combs reusable?
Yes. ProClick combs can be opened to add or remove pages and then snapped closed again. This makes them ideal for homeschool materials that grow and change over time.
How many pages should I punch at a time?
For best results, punch about 4–5 pages at a time. This keeps the holes clean and the pages properly aligned, especially for thicker booklets or bigger projects.
Why shouldn’t I buy a cheaper binding machine?
Not all binding machines are created equal. Check the price on the GBC ProClick, and you’ll be tempted to shop around—but I tested a cheaper machine when we needed to make 50 VBS booklets with over 100 pages each, and it simply wasn’t built for volume or precision.
What went wrong with the cheaper machine?
It didn’t have alignment guides, so pages didn’t line up consistently. That led to uneven hole punches and a finished product that looked sloppy compared to the ProClick. When you’re binding a lot of booklets, those small inconsistencies add up fast.
What else can I use this binding machine for?
Beyond homeschooling, I’ve used it for assembly guides for products we sell, VBS and AWANA-style workbooks, devotionals, sermon notes booklets, budgeting books, journals, keepsakes, and more.


I have a machine like this that was gifted to me a few years ago and it’s totally a game changer 🙂 I love that you have one now too!