NEVER Consider a Camper Without…
Some links in this post may be affiliate links. That means I might make a small commission on qualifying purchases if you click the link. There is no extra cost to you.
..doing a pre-purchase inspection! Dealers and individuals alike will want top dollar for their campers. But a lot of those rigs are duds- full of water damage, rot, and major issues. As a large family that lived full time in a camper for 3 years (and we’re in one again!), we have looked at a ton of campers. That’s why we want to help you avoid some of the mistakes we’ve seen so many others make. With Scott’s Mobile RV Repair business, he knows precisely where people miss little red flags. Let us help so you don’t get stuck with a lemon.
Don’t even consider a camper until…
You must complete a pre-purchase inspection!
Before you show up
Before you go look at a camper, whether it’s at a dealership or being sold by an individual, request that it be plugged in at least 24 hours prior to your meeting. The fridge will take at least that long to cool off. Plus, 24 hours will give all the systems a change to show any issues. If they wont plug the unit it, consider that a major red flag.
The outside of a camper isn’t just about looks. You’re looking for little red flags that might alert you to bigger issues. First, evaluate the surface condition. Campers are similar to vehicles with a clear coat that should be buffed, polished, and cared for.
Next, take a good look around for any signs of leaks. A leak in a camper is usually catastrophic. Verify that everything is caulked well, including:
- lights
- seals
- trim pieces
- doors
- windows
- vents
- awning arms
The Roof is a Make-it or Break-it For any camper deal
Once you finish visually inspecting the exterior of the camper, go ahead and get up on the roof. This task may seem daunting, but trust me. The roof is the single most expensive repair that we do on campers. It the roof has issues, you won’t even need to look at the inside.
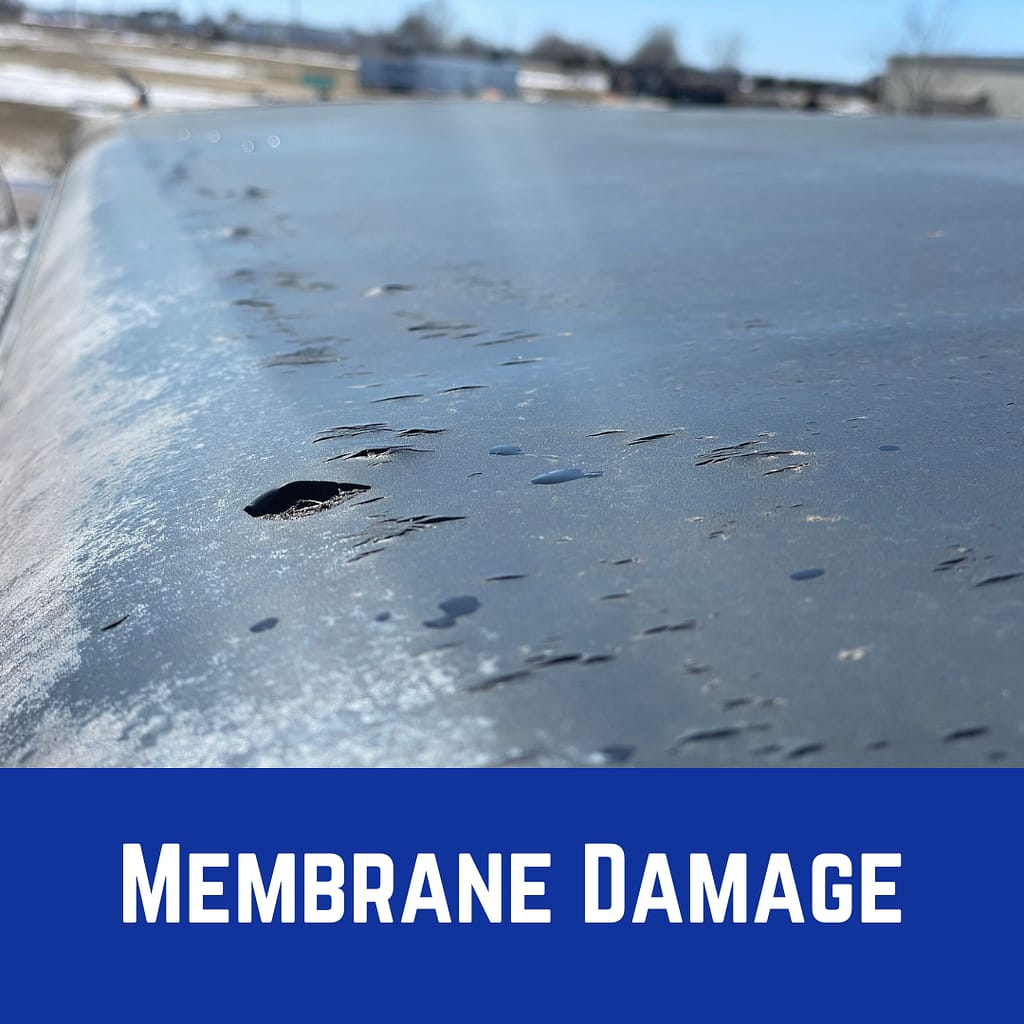
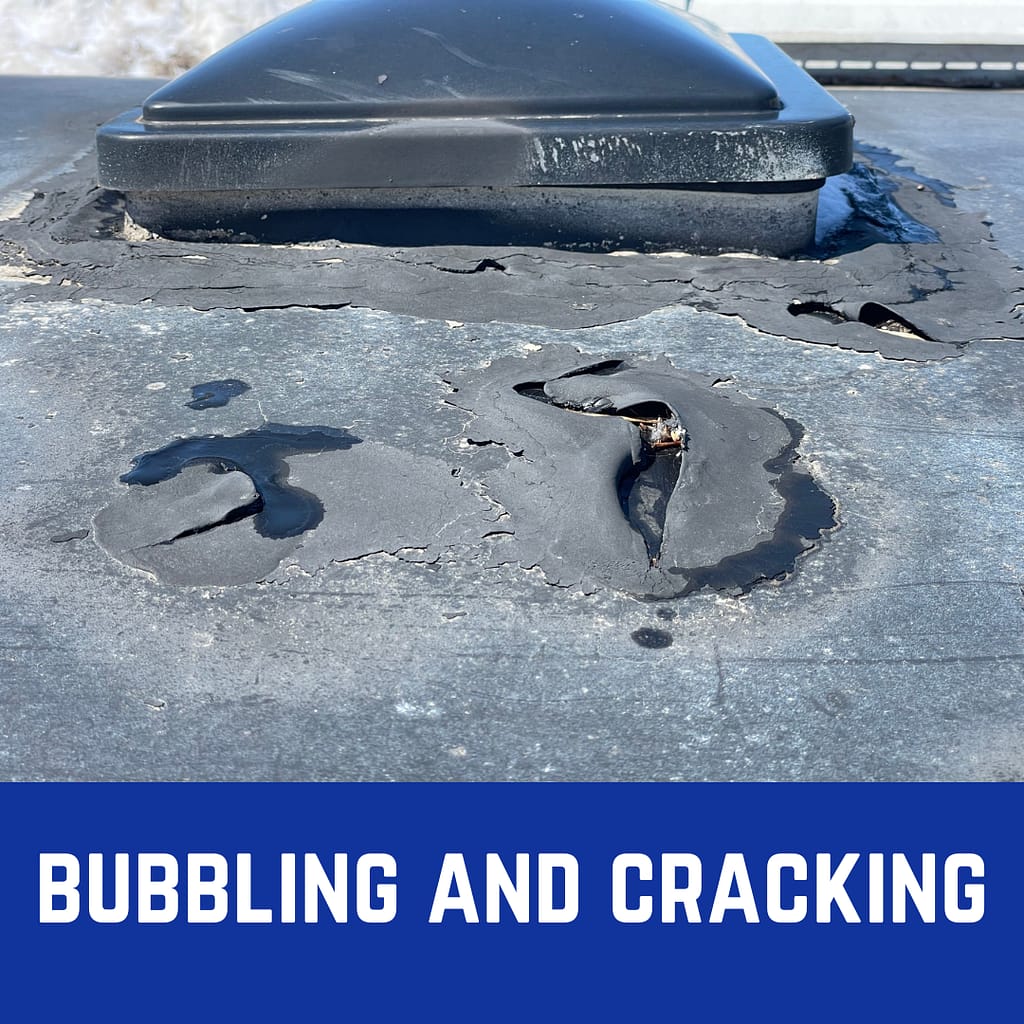
When you’re on the roof, there are several specific things you should be looking for. First, look at the condition of the roof membrane. Some discoloration is expected. Some slight scaling may be present. That’s normal wear and tear. However, any dry rotting, signs of leaks, holes in the membrane, seals damaged or caulk missing are sure signs of latent damage. Every vent, skylight, AC unit, ladder bolt, or solar panel should be well caulked.
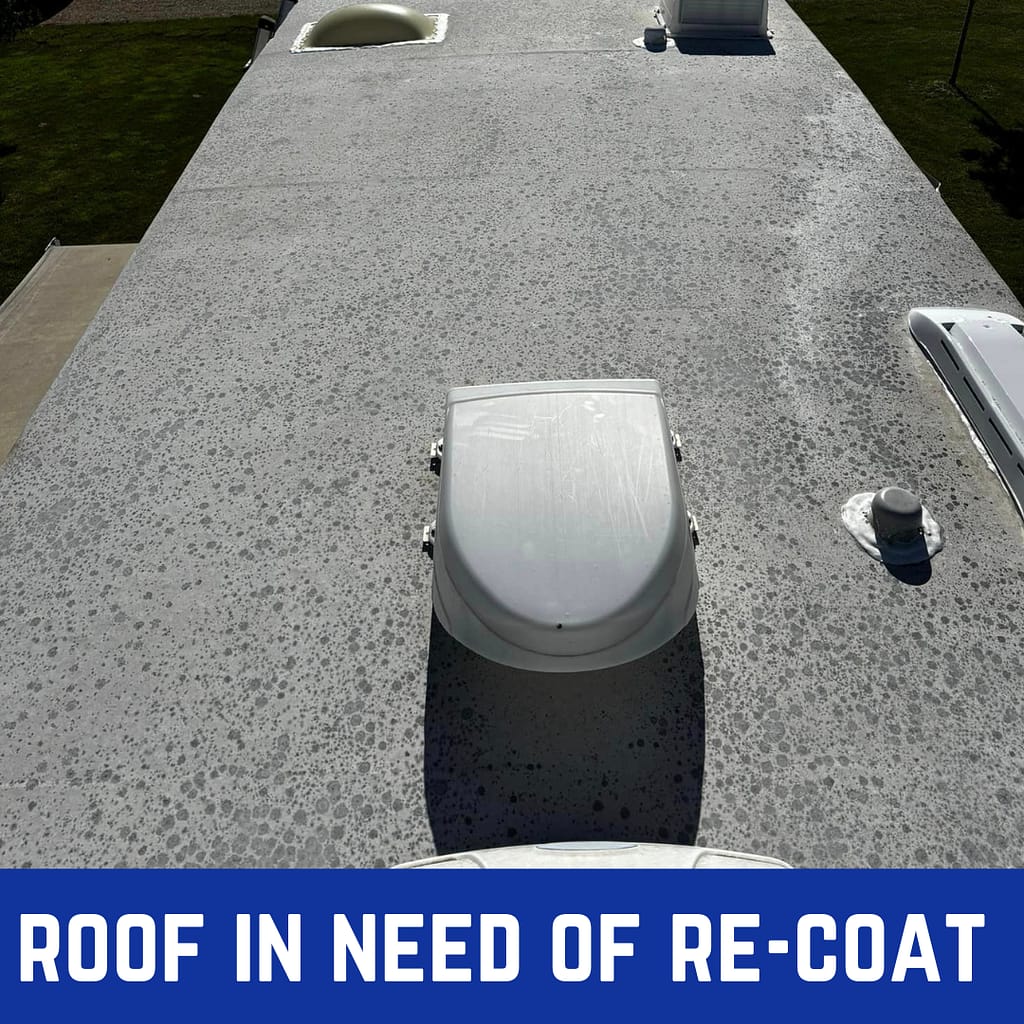
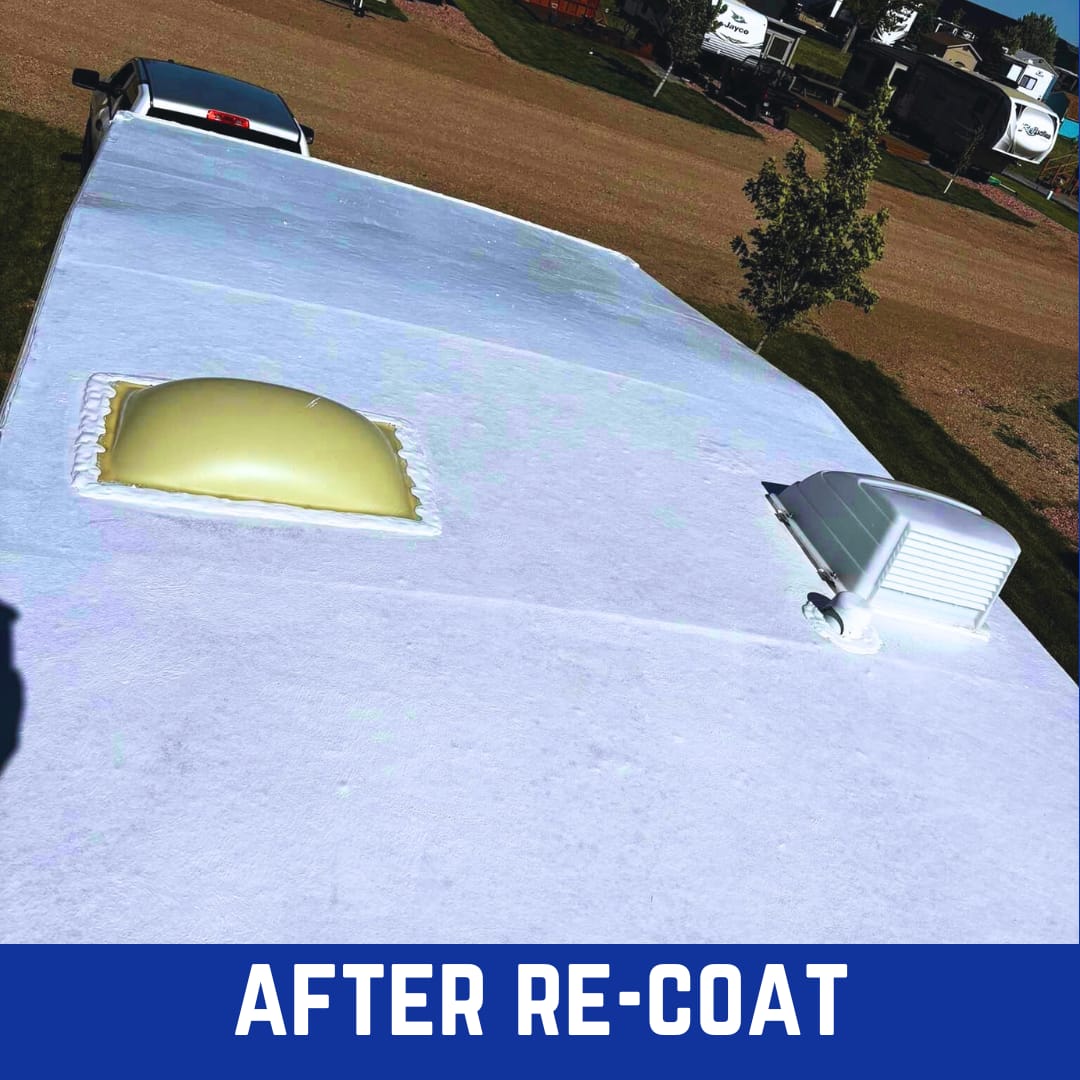
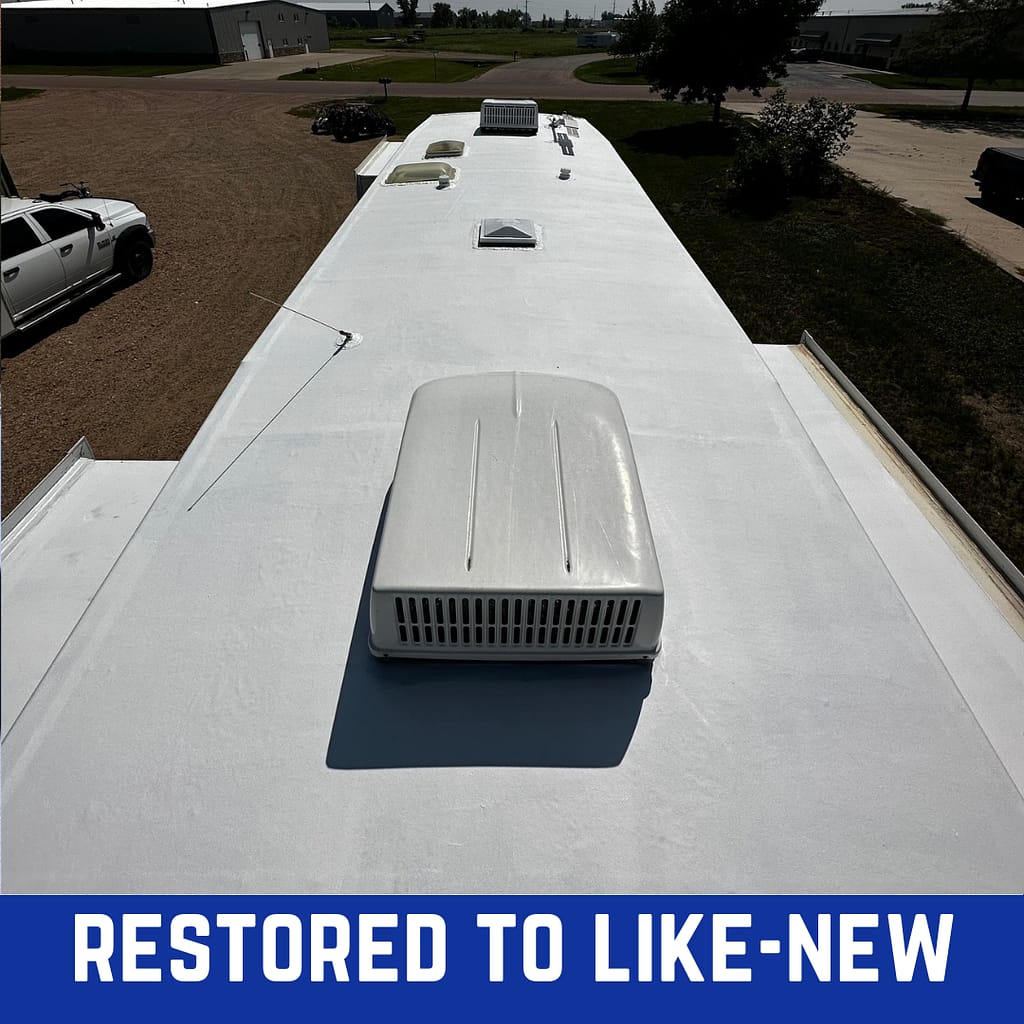
Some maintenance is expected on a camper roof. Every 2-5 years, the roof will need to be washed, sealed, and recoated with a paint on rubber coating. But even a pinhole can allow the ceiling and walls to fill with water and cause rot and mold.
Camper Underbelly Visual Inspection
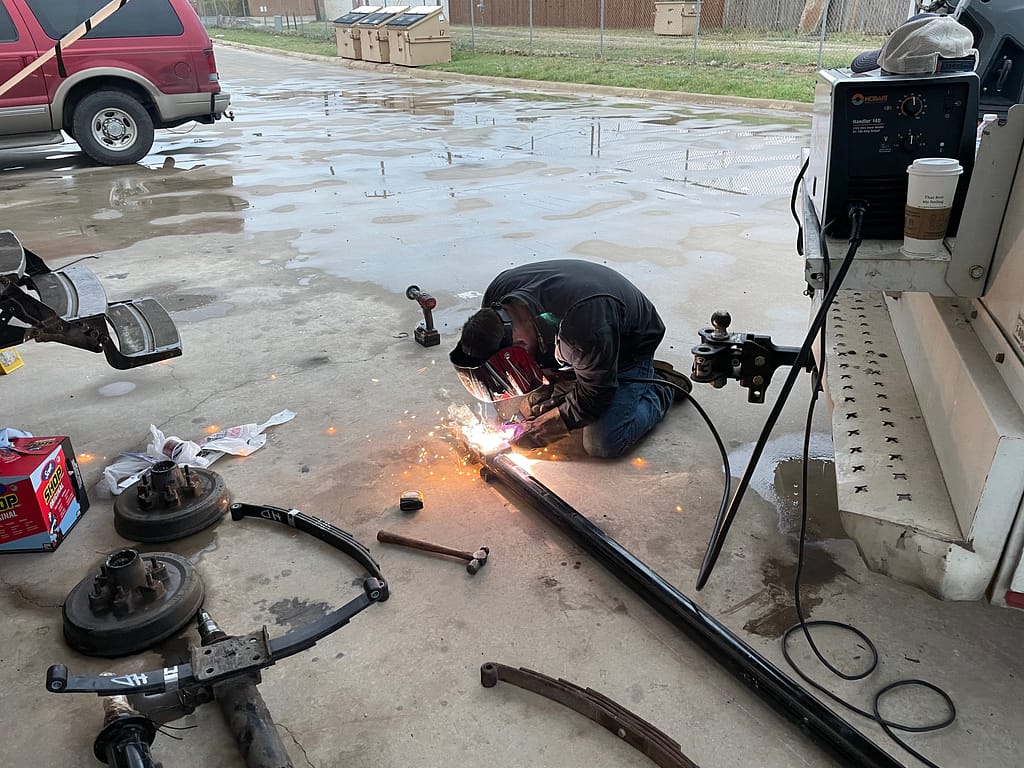
Once you’ve approved the roof, it’s time to get down on the ground under the camper. Look for fluid leaks. Evaluate the axles. This is something that requires a little more experience, so do your research. Watch lots of YouTube videos so you know what to look for. Make sure the suspension looks good. Rust should be at a minimum.
Inspect the plumbing for leaks, cracks, and other damage. Take a look at the holding tanks and valves. The black tank is for sewage and the gray tank is for used water- usually from sinks, showers, and laundry. Test all of the jacks and leveling system.
While you’re on the ground, evaluate the tire tread. Poor tread won’t make or break a deal, but it might give some bargaining power.
If all of this sounds a bit silly, go check out our video where Scott walks you through a camper with lots of hidden issues. We actually talked to a prospective buyer- he was going to pay $4,000 for that camper, but never even saw the major issues that Scott points out int eh video.

Inside the Camper- don’t fall in love yet
Now it’s time to check out the inside of the camper. Remember, a little but of paint can cover a lot of damage. Stomp all around on the floor to check for sagging, weak spots, or soft spots from water damage. Poke the walls, especially in corners and at ceilings joints. Make sure there’s no water inside light fixtures.
Look closely at all of the cabinets, doors, fixtures, and hardware. If the laminate is peeling off of everything, it can be difficult to fix and impossible to paint over. Open every single door and use a flashlight to check for water, mold, or damage. Move any furniture that is not attached. Don’t forget to lift the mattresses. Camper mattresses are notorious for molding underneath due to lack of air flow.
Kitchen Inspection
Check the refrigerator and freezer. Both should be cold if the camper was plugged in ahead of time. Go ahead and turn each appliance on to make sure they work. Don’t be afraid to light the stove burners. Make sure the pilot light in the oven will light. You may need a lighter for this, so show up prepared.
Inspect all of the plumbing. Look for signs of old leaks. Laminate may bubble up and wood may warp if it’s been leaked on before. Most campers won’t come with a dishwasher or ice maker, but don’t forget to check just in case.
Check both form and function in the camper
It’s obviously important for everything in the camper to be in working condition. Turn the AC on. Mess with the thermostat. Flip every light on. Flush the toilet. If it doesn’t have water Hooke dup, at least make sure all of the levers work.
While you’re inside the camper, take a moment to imagine the usability of it. Be sure that you can live with the floorpan. Is that space between the island and couch a tight squeeze? Can you put up with it or do you hate it? Check the bed size. You can find campers with full, queen, and king size beds. Think about whether you need to do laundry in your camper. Is there a spot for machines, or even a hookup?
What is the storage situation? If you’re just looking for a weekender to enjoy at the lake, storage probably won’t be an issue. Campers are built with efficiency in mind. But if you have a large family, or if you’re going full time in your camper, you’ll want to pay close attention to closets, cabinets, pantry space and wall space.
Don’t miss a red flag that could warn you of hidden damage. This image is what happens when a small water leak goes unnoticed. The entire camper had to be ripped apart and replaced.
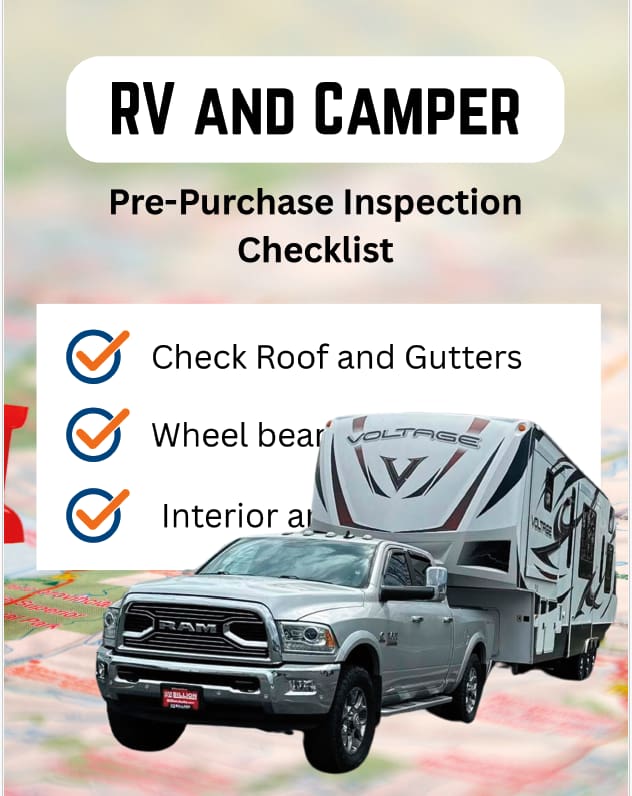
RV Pre-purchase inspection checklist
Plain Living
Expert checklist for buying an rv
Let us walk you through an inspection step by step. We’ll tell you every item to evaluate and what you’re looking for. We want other families to enjoy camper living, so please use this checklist to avoid heartache!